Ready, set, swing! There are a few basic clothing shapes that once you master making them, you can experiment with so many different designs and ideas.
And no silhouette is easier to create, but also has as much impact, as the circle. Simple to draft, cut and put together, the movement inherent in items made out of a circle pattern – whether a dress, skirt or top – catches the eye and without fail has people asking you where you bought it.
You guys will probably remember the design we created last year, showing you how to use a circle pattern to create a top, skirt and a dress. This version is different because it’s made from a full circle with a waist/shoulder radius that’s twice your measurements, which results in lots of gathering. Basically, it’s a much more full style which gives that swinging movement… That will make you want to dance!
Naturally, I knew that the seersucker fabric I bought would need to be used for this project… Read on to see how to recreate it for yourself.
One thing I love about this set is that you can wear it in two different ways – either as a strapless style or an off the shoulder.
- Option 1: Strapless
- Option 2: Off Shoulder
DIY Circle Top and Skirt Set
What You'll Need
1
Begin by drafting the pattern onto your fabric. To draft the full circle pattern, fold your fabric in half and make sure the length of the folded edge is enough to accommodate double the waist radius plus the length of your top/skirt. If your fabric is patterned, you'll also have to take into account the direction of the pattern after folding.
An easy way to draft your circle is to secure one end of your measuring tape as the centre point, then pivot the measuring tape using this point as you find and mark the curve of the circle.
2
Leave a seam allowance and cut. Be mindful of the fact that the top hem's seam allowance needs to be wider than normal to accomodate the elastic. You will need to fold and sew a tunnel for it later on. You will end up with a full circle piece after unfolding the pattern.
3
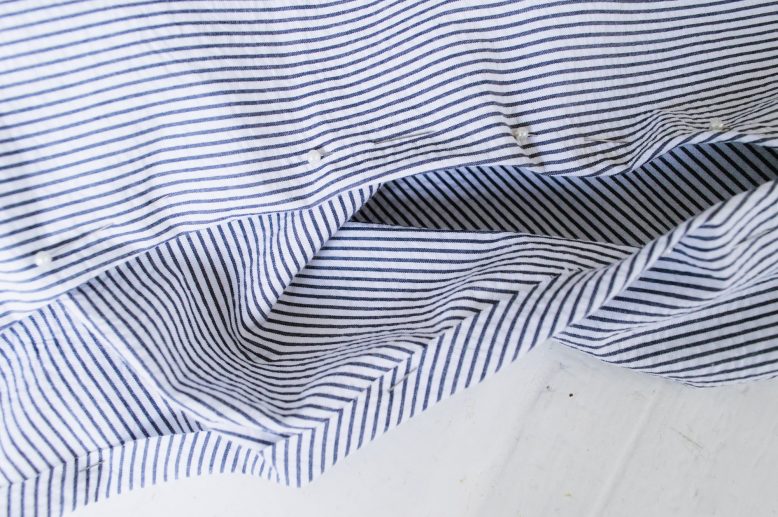
Sew a straight stitch along the bottom hem of your piece. The fabric will pucker a little, and that will help with folding in and finishing the hem.
4
Fold and finish the bottom hem.We used fusing tape for an invisible finish, but you could also sew it shut using a straight stitch.
5
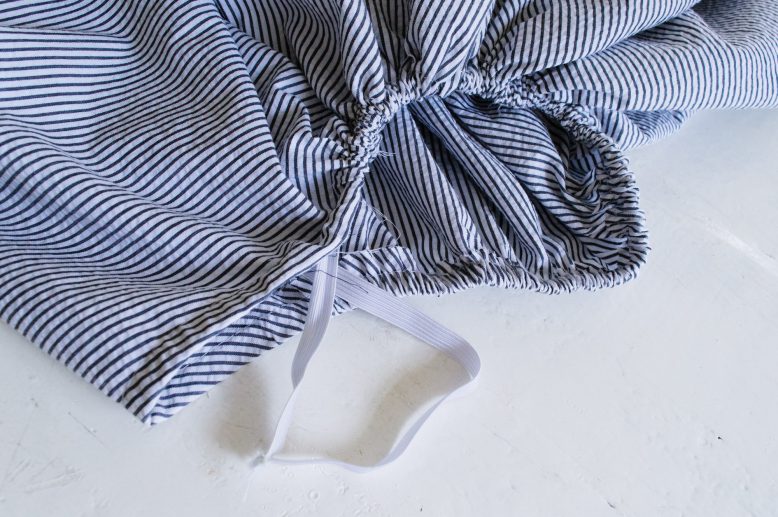
You don't have to sew a straight stitch before folding when finishing the upper hem. Sew a tunnel to accomodate your elastic using the seam allowance.
6
But remember to leave an inch as an opening as you sew, which is for inserting the elastic.
7
Pin a small safety pin to one end of the elastic, and pull it through the tunnel. Make sure the elastic does not twist inside the tunnel. Then sew both ends of the elastic together and finish up by sewing the opening of the tunnel shut. Then ease and even out the gathers.
Voila
By using the same fabric for this set, you can create the feel of a dress with lots of movement. So fun! If you wear it off the shoulder you’ll just have to remember to wear a bandeau bra, because it may flip up if you lift your arms all the way up.
Like this easy top & skirt set DIY? Pin it on Pinterest!


