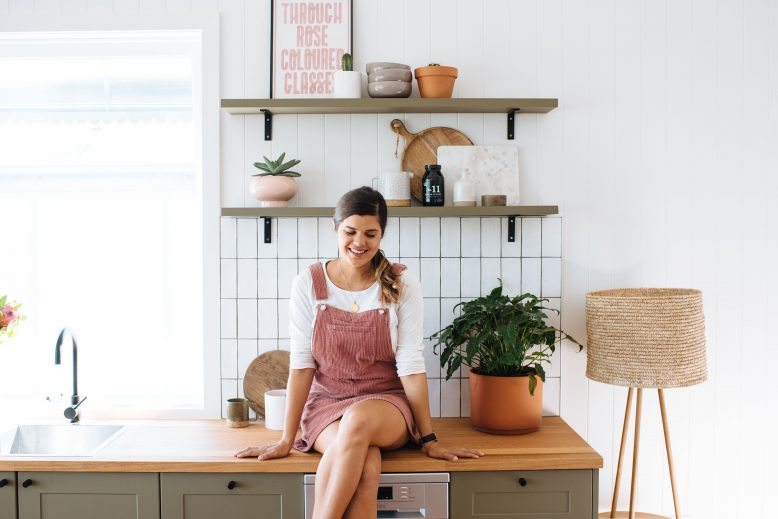
Hey guys! As I’ve mentioned perhaps 100 times before, what we wanted with our renovation was for it to feel really unique, but let’s be honest, we lacked the budget to do anything bespoke.
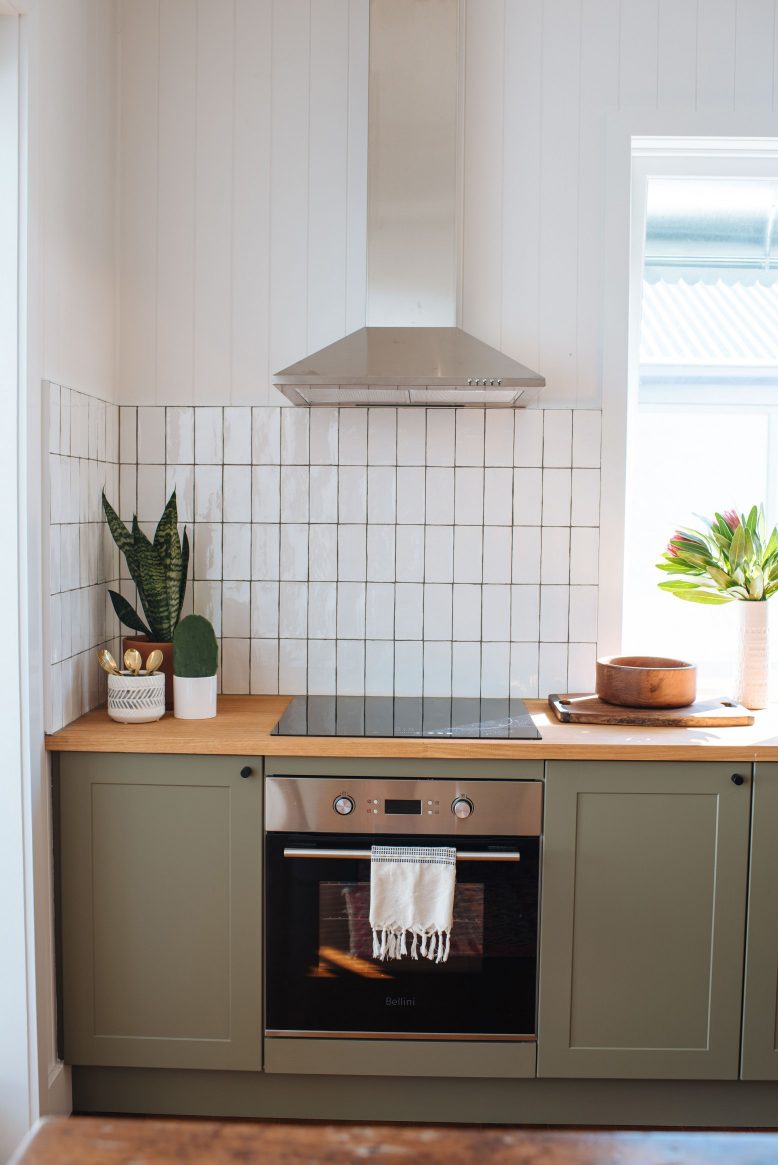
Luckily, Ben came up with a whole heap of ways to create a bespoke-y feeling space, without completely blowing the budget. In the kitchen, it was all about creating kitchen cabinets that felt really designer and interesting, without having to create a bespoke kitchen from scratch (which, quite frankly, is only something you do when you’ve tonnes of cash to splash). Turns out we were able to do this really easily!
How To Create A Bespoke Kitchen
Choosing the cabinets
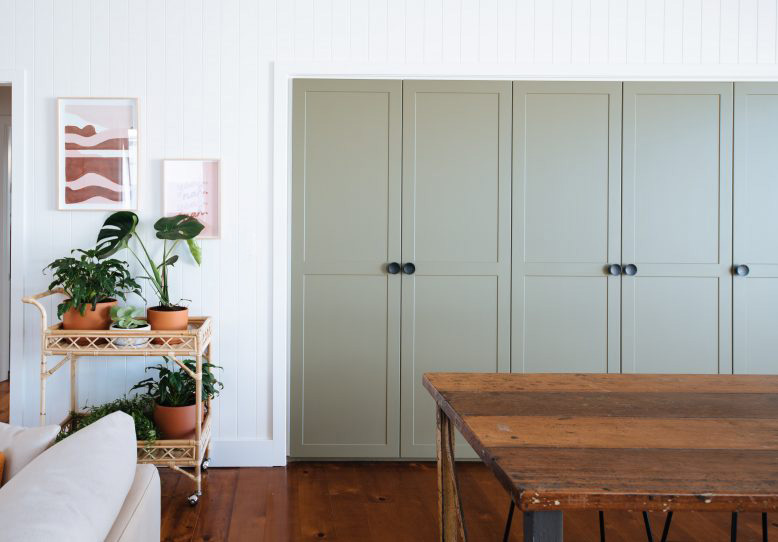
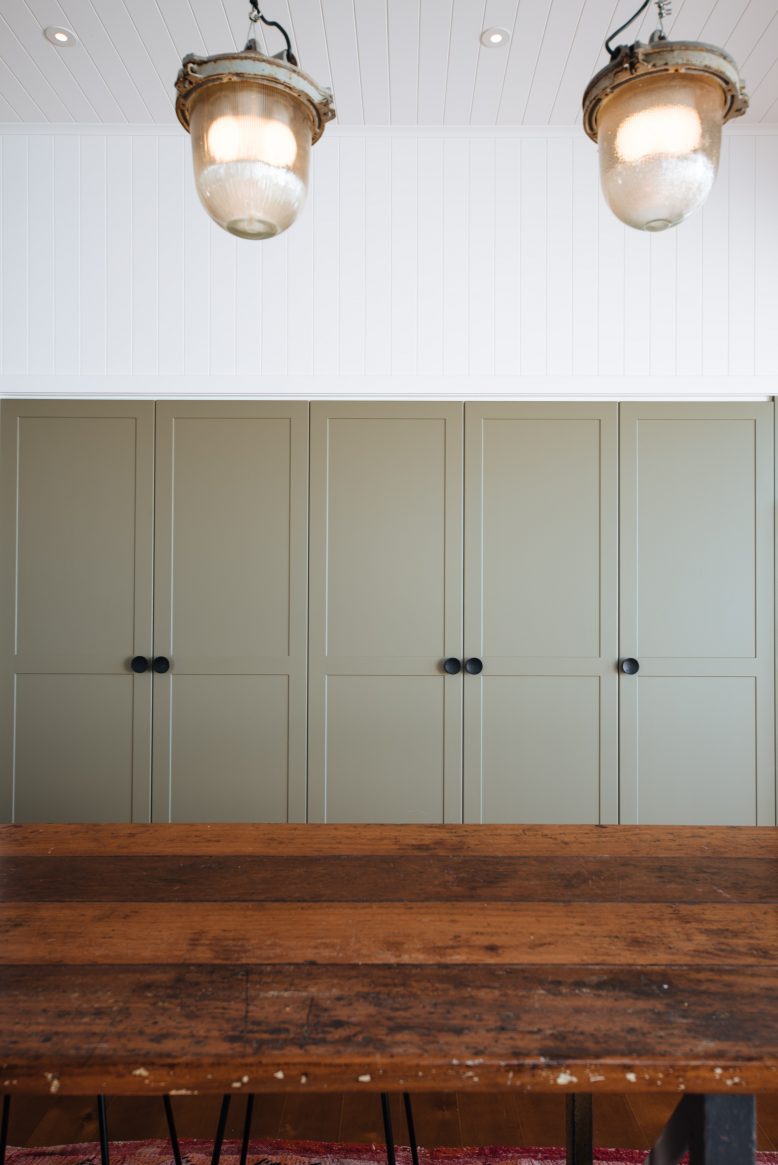
Something I have loved for a long time is a kitchen cabinet with a recessed panel profile. This is a look I have been searching high and low for, and was so happy to discover that Kaboodle Kitchens did it. Although it can be seen as a very traditional shape of cupboard door, I think when mixed with a few interesting design elements like doorknobs and other furniture you can make them feel really modern and chic. Ben then designed the kitchen using the dimensions of the cabinets – I love how he inset the pantry cabinets into the wall to give them a really modern feel. For inside the cabinets, we went with a mix of shelves and pull out metal baskets, meaning there is SO much storage.
How to Paint Your Own Kitchen Cabinet D0ors
You need
- Kitchen Cabinets – we used the ‘Alpine’ profile from Kaboodle Kitchens.
- Primer paint
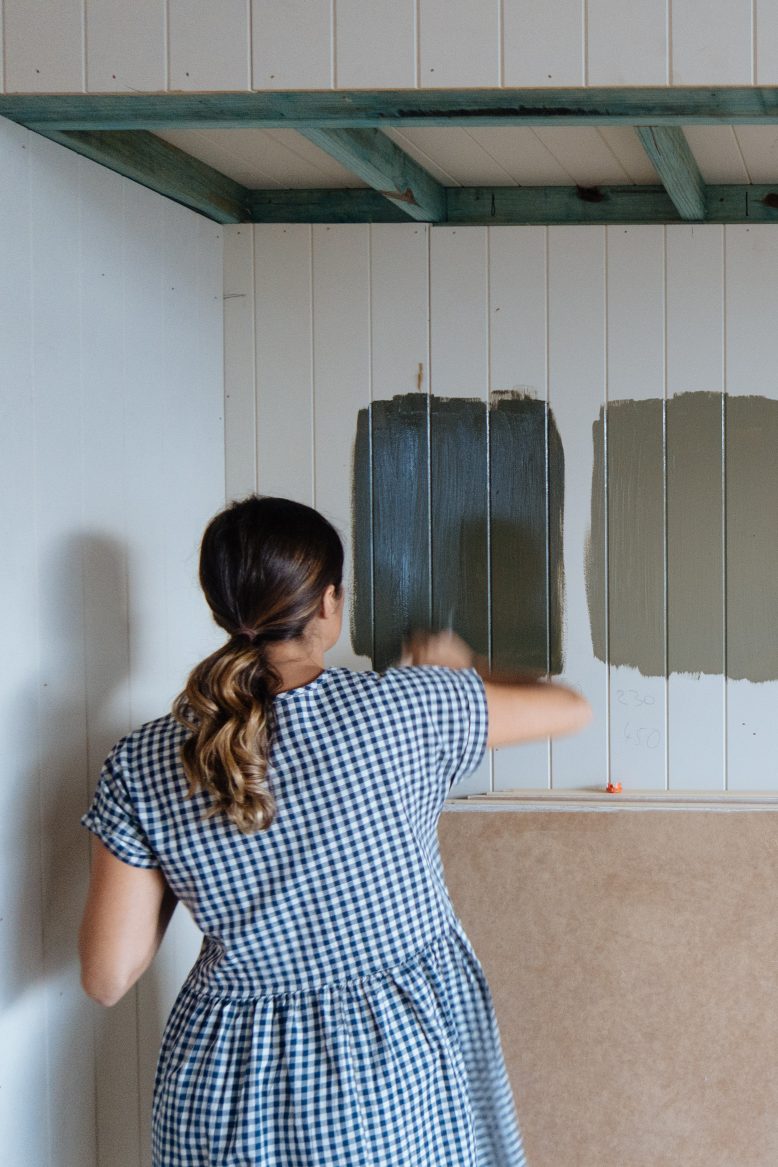
- Chosen paint colour (ours was Haymes Paint in Bay Berry)
- Paint brushes
- Drop cloths
- Sand paper
Step 1
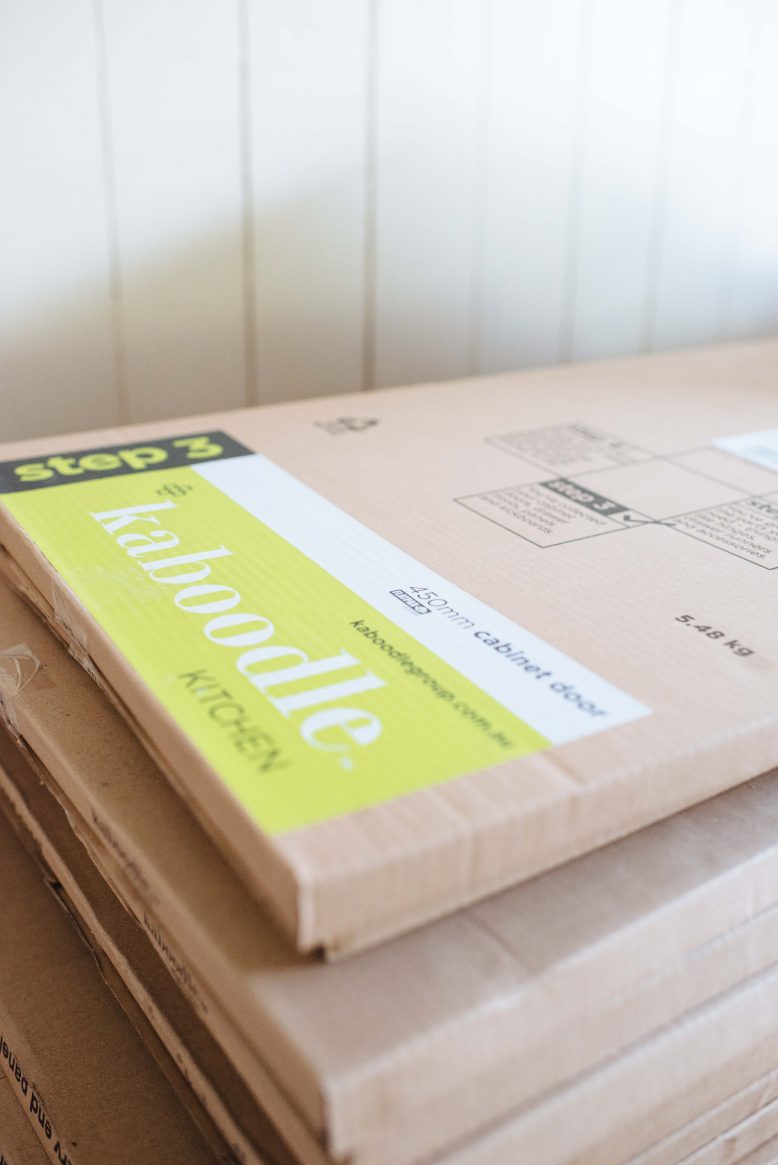
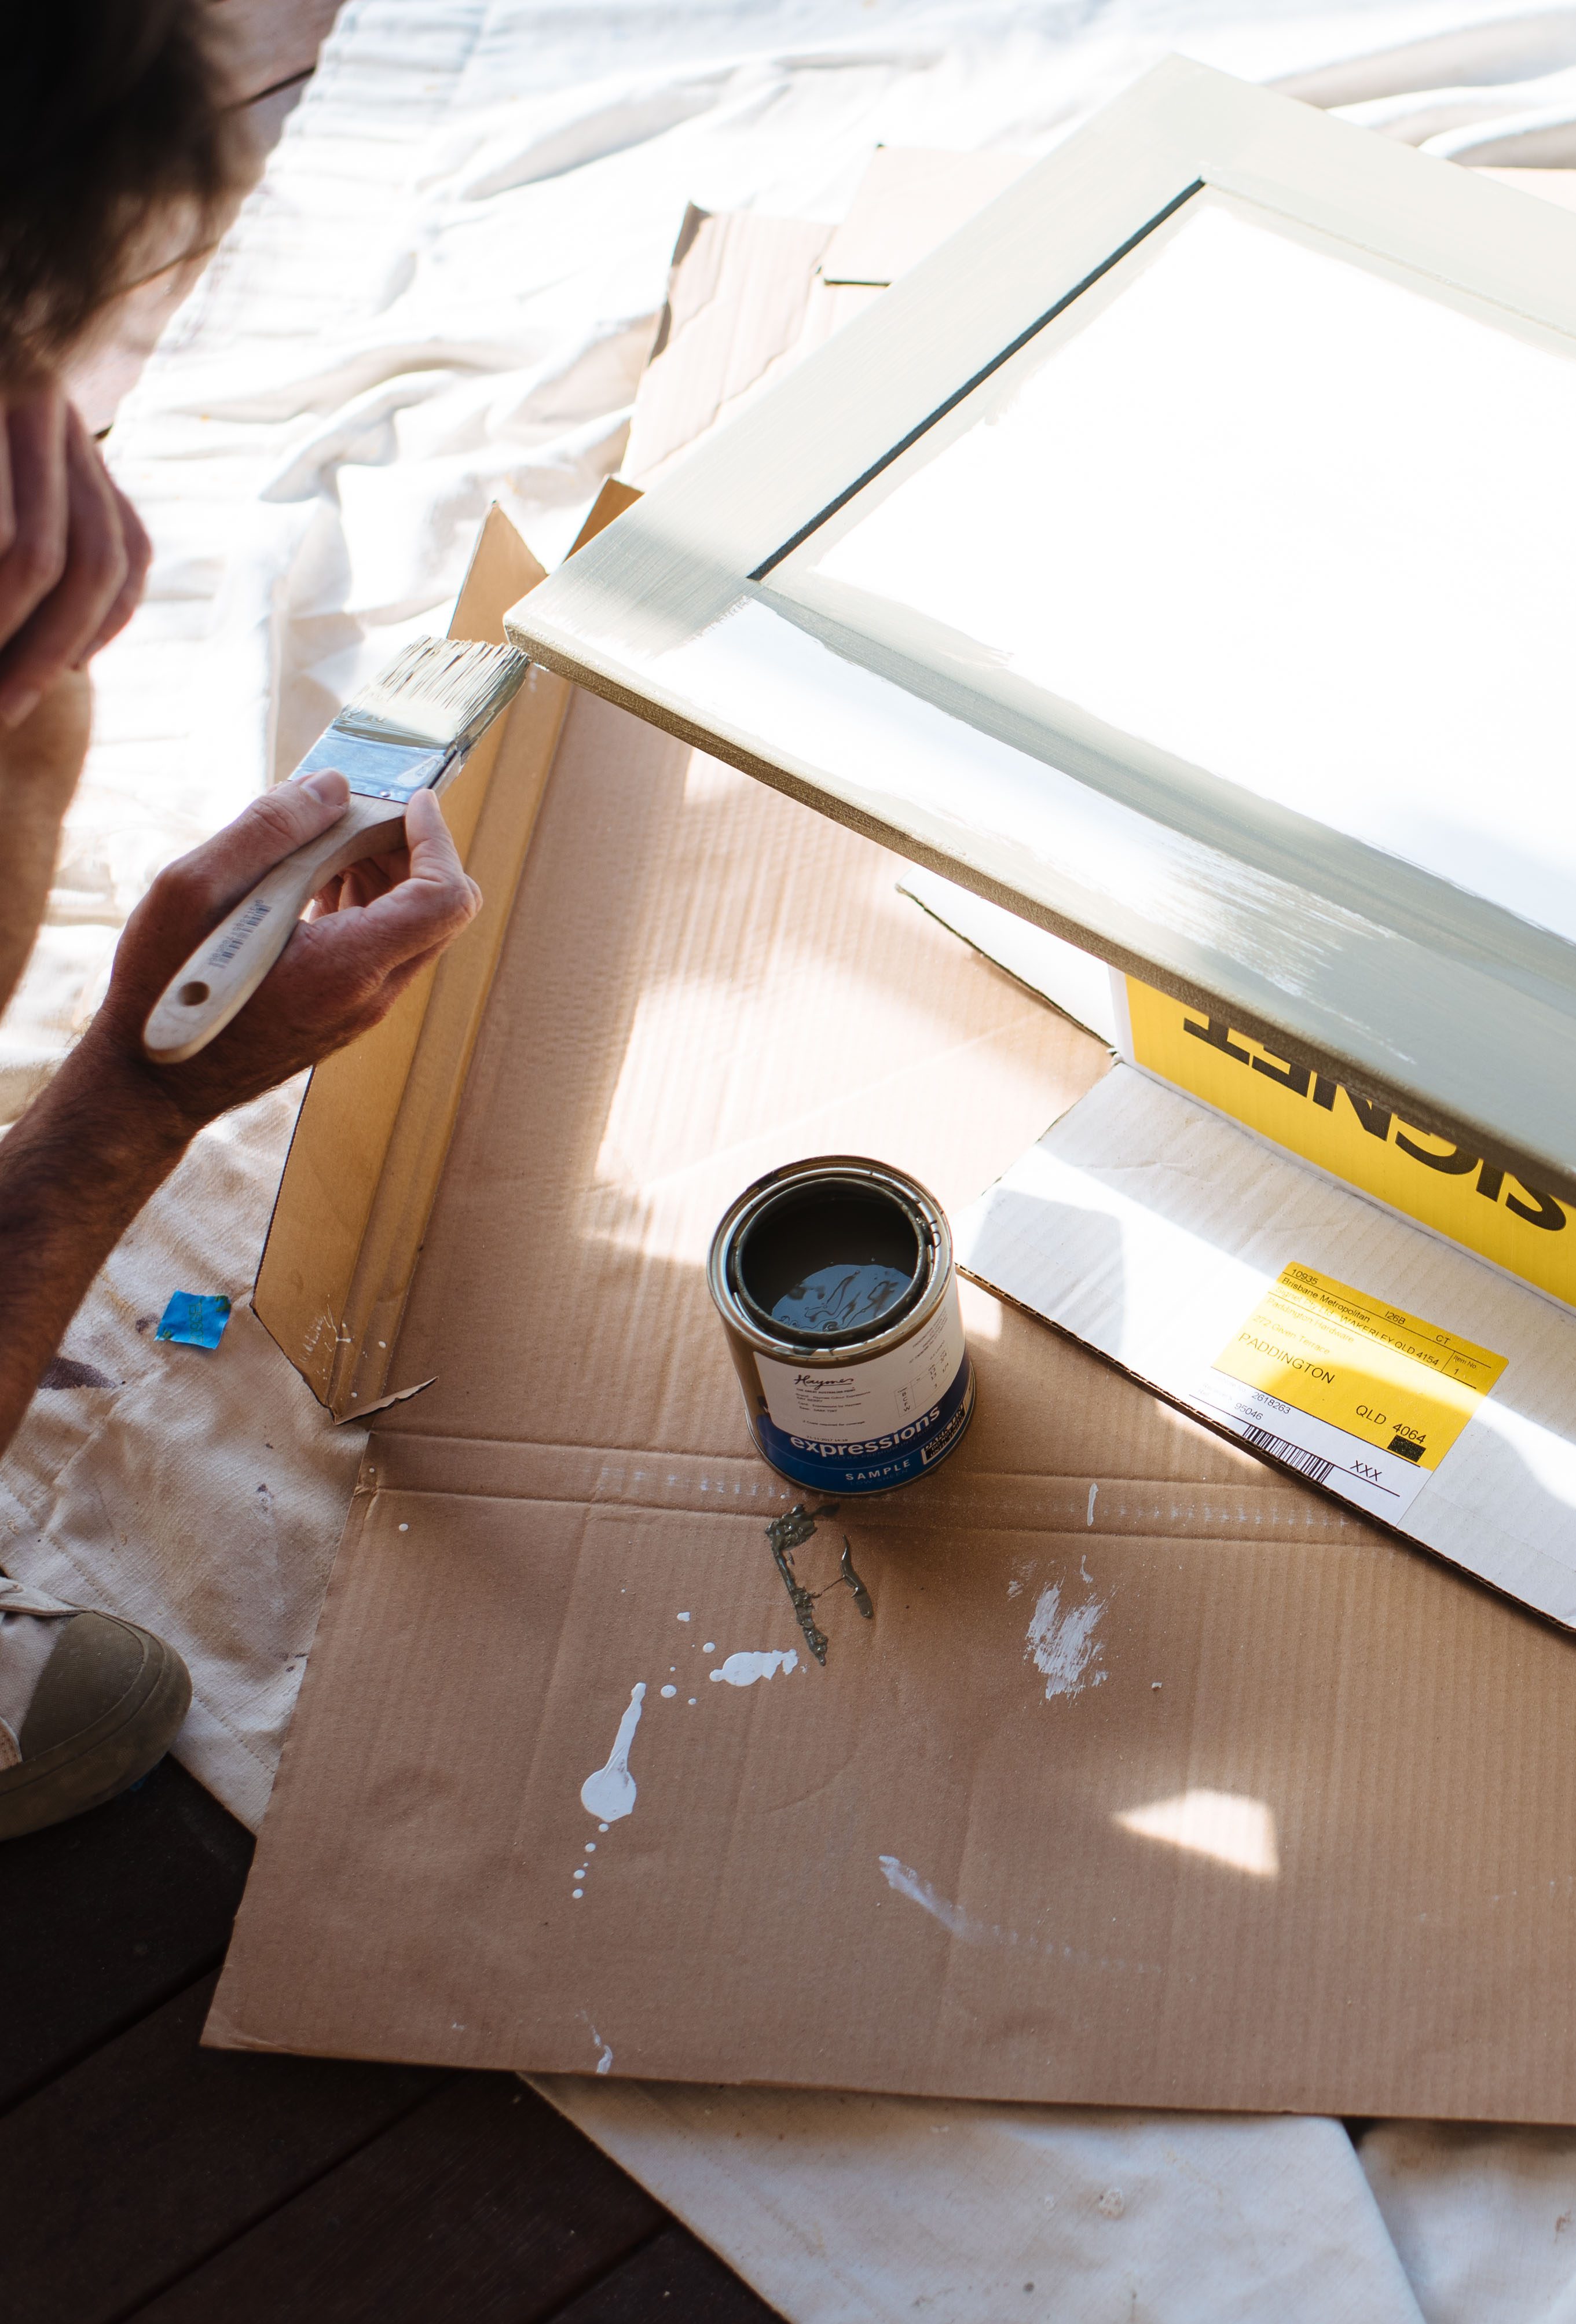
Lay out your cabinet doors, using drop cloths to protect the surfaces. The doors we used actually came in boxes so we used them to protect the surfaces!
Step 2
Prepping is an important part of the process in order to ensure a nice finish that lasts. Putting the required effort into the preparation such as cleaning and sanding is as essential as painting. Begin by wiping down any dust.
Step 3
You shouldn’t need to sand the doors that much if they are new, but it never hurts to give them a once over.
Step 4
Following the direction of the grain, apply a primer. This is even more important if the colour you are painting the piece of furniture is lighter than your base. Allow the primer to dry ideally overnight for a better end result.
Step 5
Once the primer has dried, give the doors a once over with sandpaper. Then, apply the first coat of paint and allow it to dry fully between each coating. Two or three coats may be necessary for an even finish. Once the doors are dry, attach them to the cupboards!
OK so admittedly this process takes some time when hand painting the doors, so it does depend on how many doors you need to paint and also how many family members you can rope in to help you (shout out to Ben’s Dad!). For a few other less timing consuming options, Ben suggested that you could hire a spray gun and spray all the cupboards, and then use a paintbrush to go over the wet paint, which would give it that hand-painted feel. Orrrr you can have a painter or a panel beater do it for you. Even though this method adds to the cost, chances are it’s still less expensive than a custom style.
- Paint your cabinets custom colours
Choose The Perfect Doorknobs
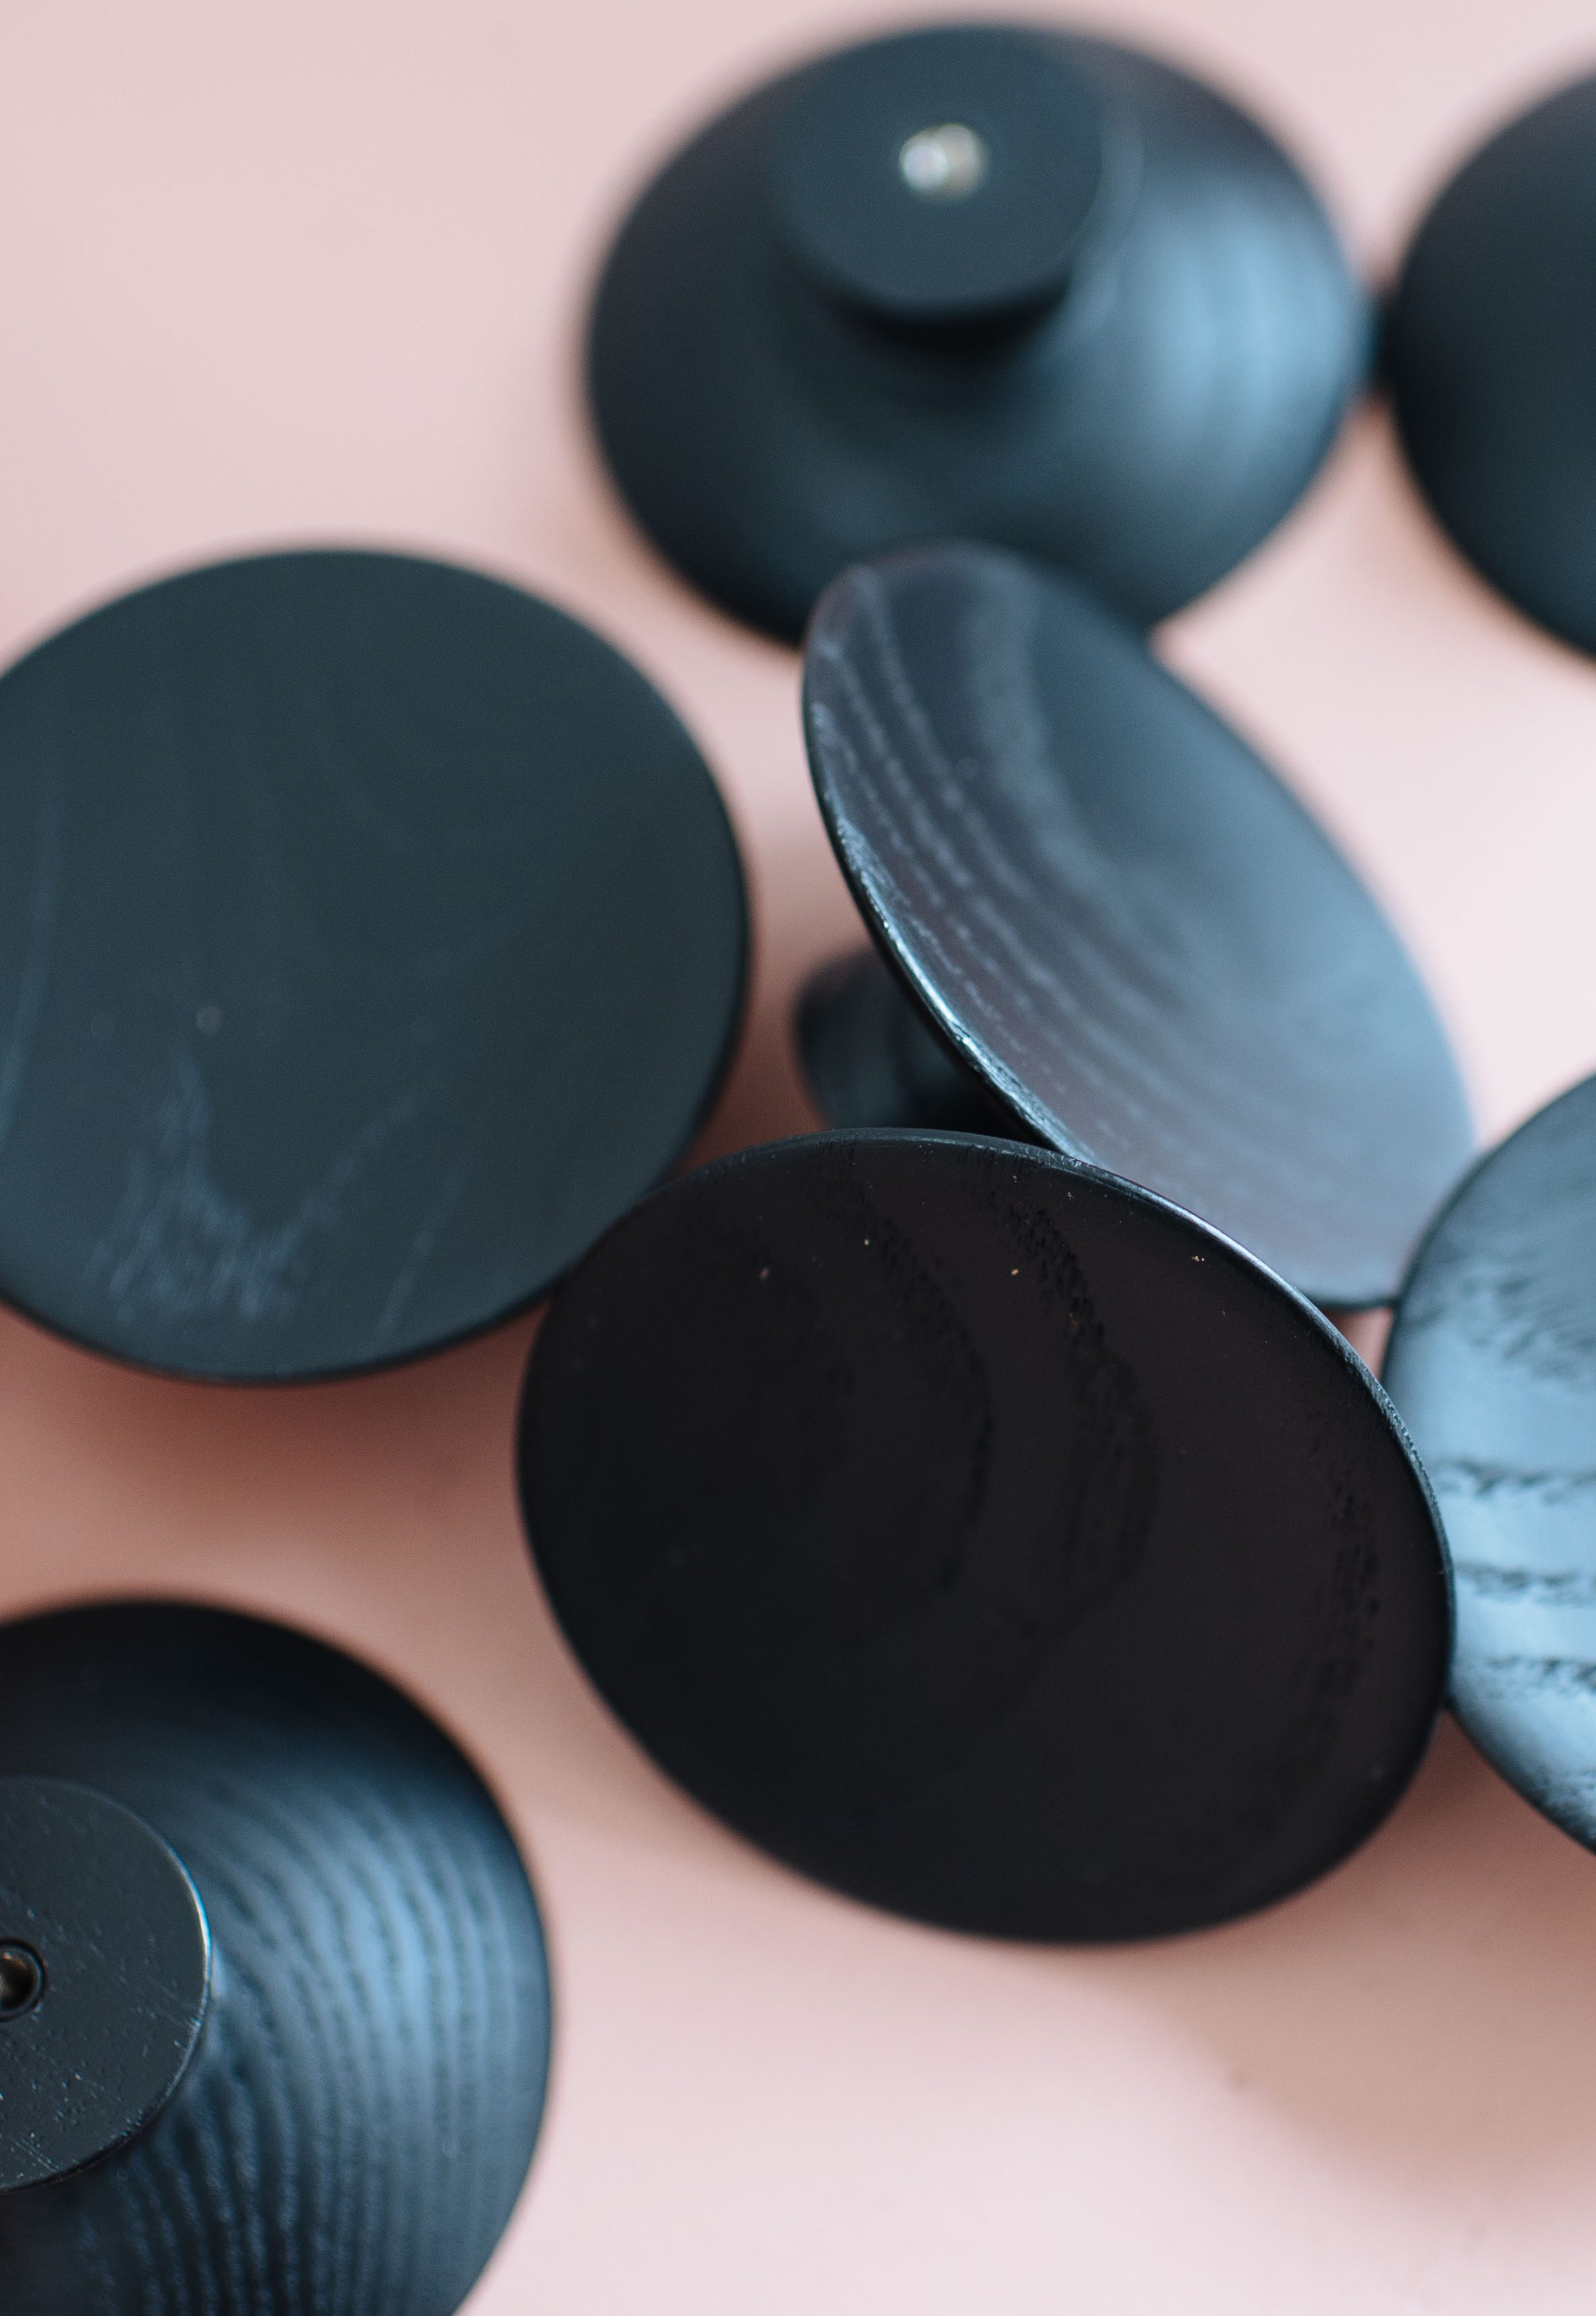
Another way to add personality to your kitchen is through unique doorknobs or drawer pulls. I really wanted to do leather drawer pulls but Ben suggested we do a mid century inspired doorknobs and I’m so glad we did. These wooden bowl knobs from Kethy are the best!.
- Swapped out basic handles
Add DIY Shelving
We decided to go with semi-floating shelves for the open wall, mainly because cabinets would make the space feel crowded and ruin the open feeling of the living space. To tie them in with the cabinets, we bought two pre cut wooden planks from Bunnings, and then painted them in the same shade as the cabinets. We picked up some simple matte black shelf brackets and attached them to the wall. Voila!
- After
Products Used in this Post
Kaboodle ‘Alpine’ Kitchen Cabinets, Haymes Paint in ‘Bay Berry’, Kethy Doorknobs ‘Bowl Knob’ and ‘Cylinder’.
This post is in collaboration with Kaboodle.
