Cheers!
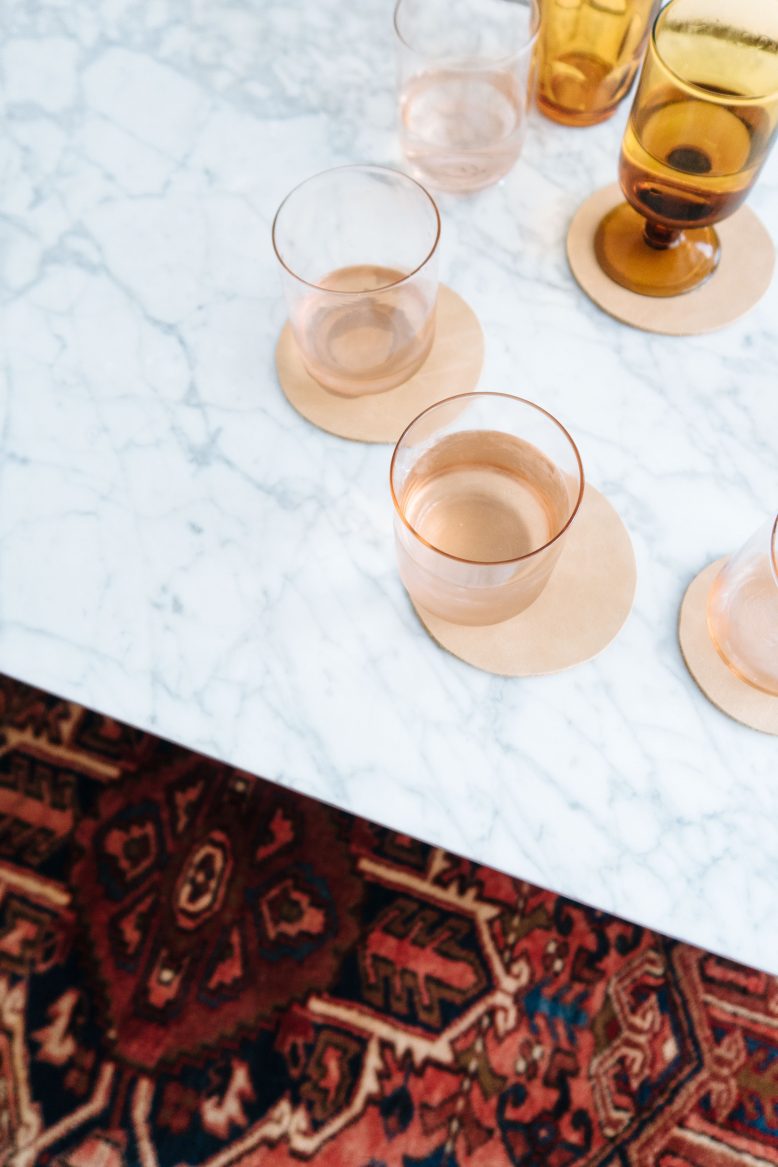
Having a baby has been such a huge change, my heart is exploding with love but at the same time my brain is exploding from tiredness… And I have to say when I put her to bed at night after a day of feeding and juggling emails, I can’t wait for a sneaky glass of wine. Don’t hate me! Speaking of the clink of cocktail hour, why not try out a very easy craft project? These leather coasters are a great little update to your cocktail cart, whether you’re looking after a baby or not!
DIY Leather Coasters
What You'll Need
Before you cut up your leather, it’s a good idea to apply some leather conditioner to the top side so that they don’t stain. This is particularly useful if you are using natural coloured leather like this. We used a shoe leather conditioner that worked well!
1
Since the leather we used is soft and not very thick, we're going to add a corkboard base for added stiffness - this will also help to maintain the shape. Trace around the rim of a glass or small plate.
4
Then attach the glued side of the corkboard bases to the wrong side of the leather. Pack them as close together as possible, so that you won't waste too much leather.
5
Allow the glue to dry, before cutting the coasters out. We suggest leaving a heavy book over the glued pieces as you allow the glue to dry.


