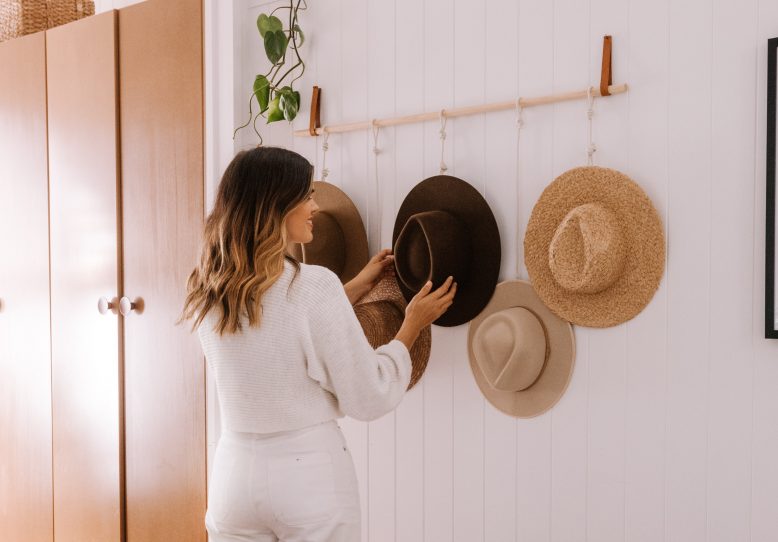
Hats are the best, but honestly they can be a bit tricky to store – often piling up and losing their shape. If you’ve been here a while you know I’m all about creative storage that works well and also looks great. Here’s another idea to add to your list.
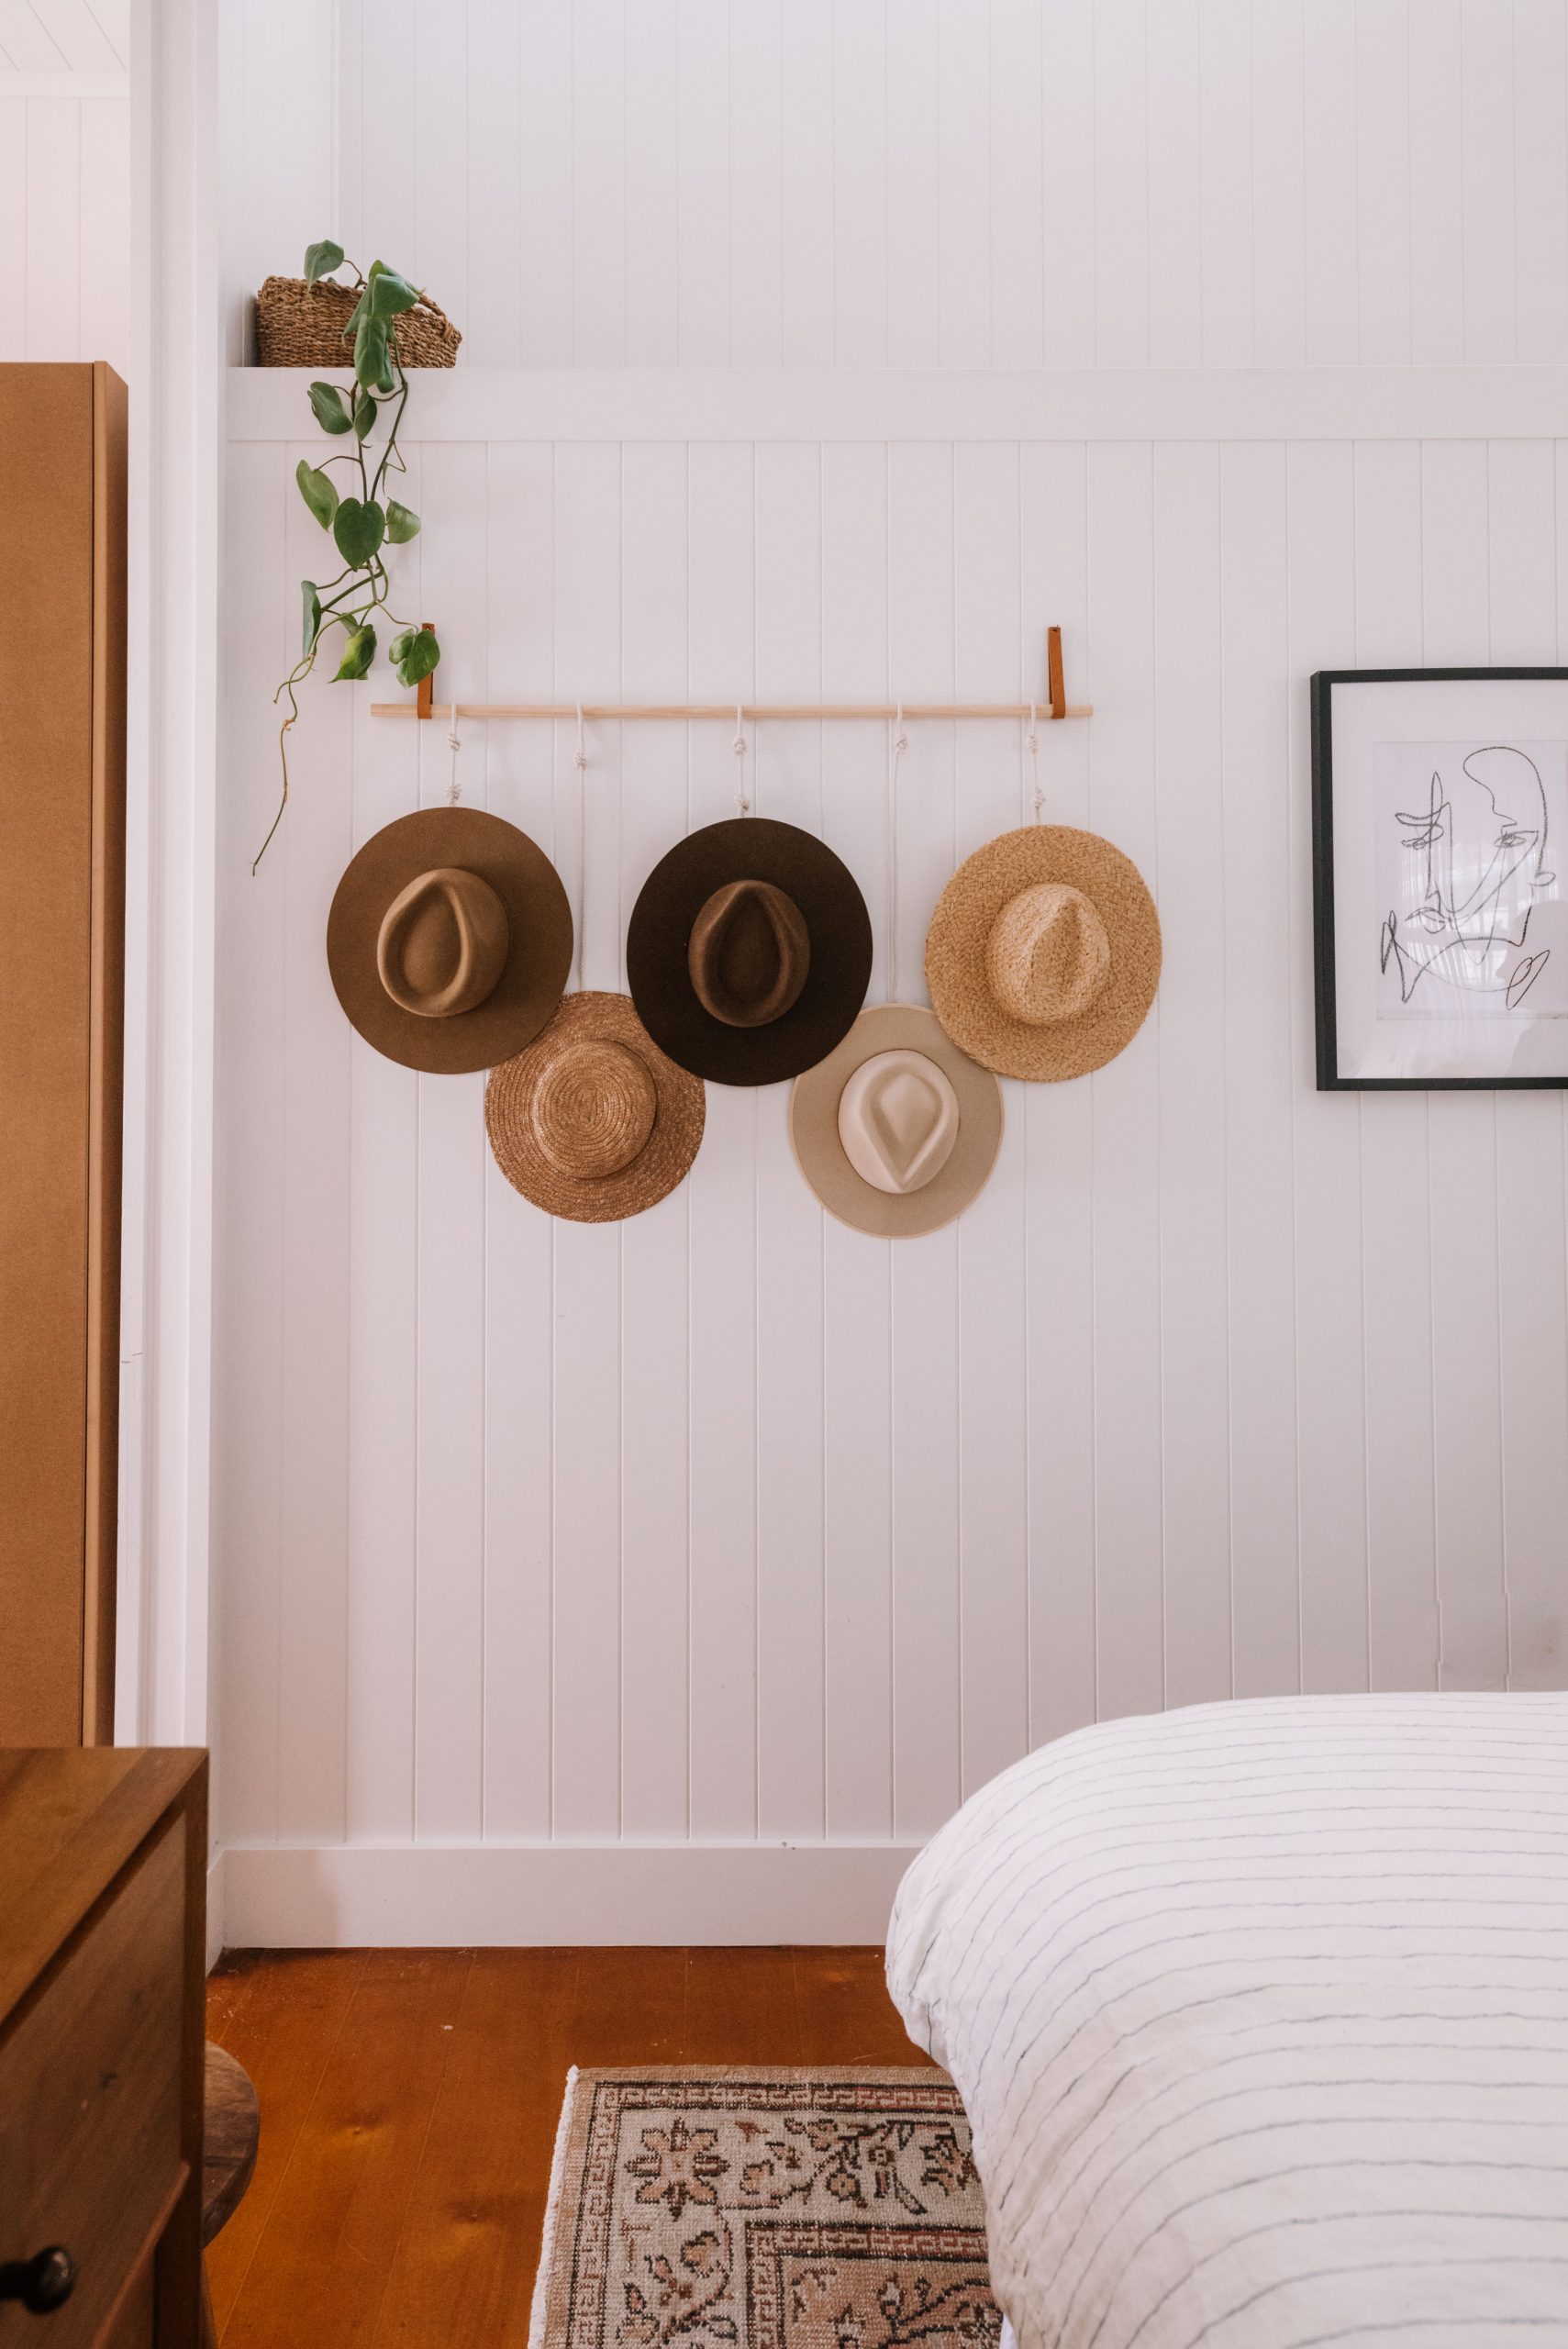
Recently I added a few more hats to my collection from my favourite label Will & Bear. I think I’ve mentioned before how much I like their philosophy, their core values are all about sustainable and ethical production, and they use 100% Australian wool and upcycled woollen clothing to make their hats. Annnndd, for every hat sold they plant 10 trees across West Africa through the NGO trees.org! Obviously I needed a cute and practical way to store these new hats, so I put together this hanging hat rack. It’s actually very similar to one I made 4 years ago, with some new details added in to match the house and also reduce the impacts on the brim (I’ve swapped out the pegs on the brim for S hooks that hook to the inside band of the hat). I’m also sharing this project as an IGTV now (along with one other simple idea for hat storage) if you want to see me talk you guys through it. Enjoy!
Hats shown here: Will & Bear’s Calloway Cream, Andy Auburn, Oak Auburn, Harvey Amber and the River Sand.
How to Make a hanging hat rack
1
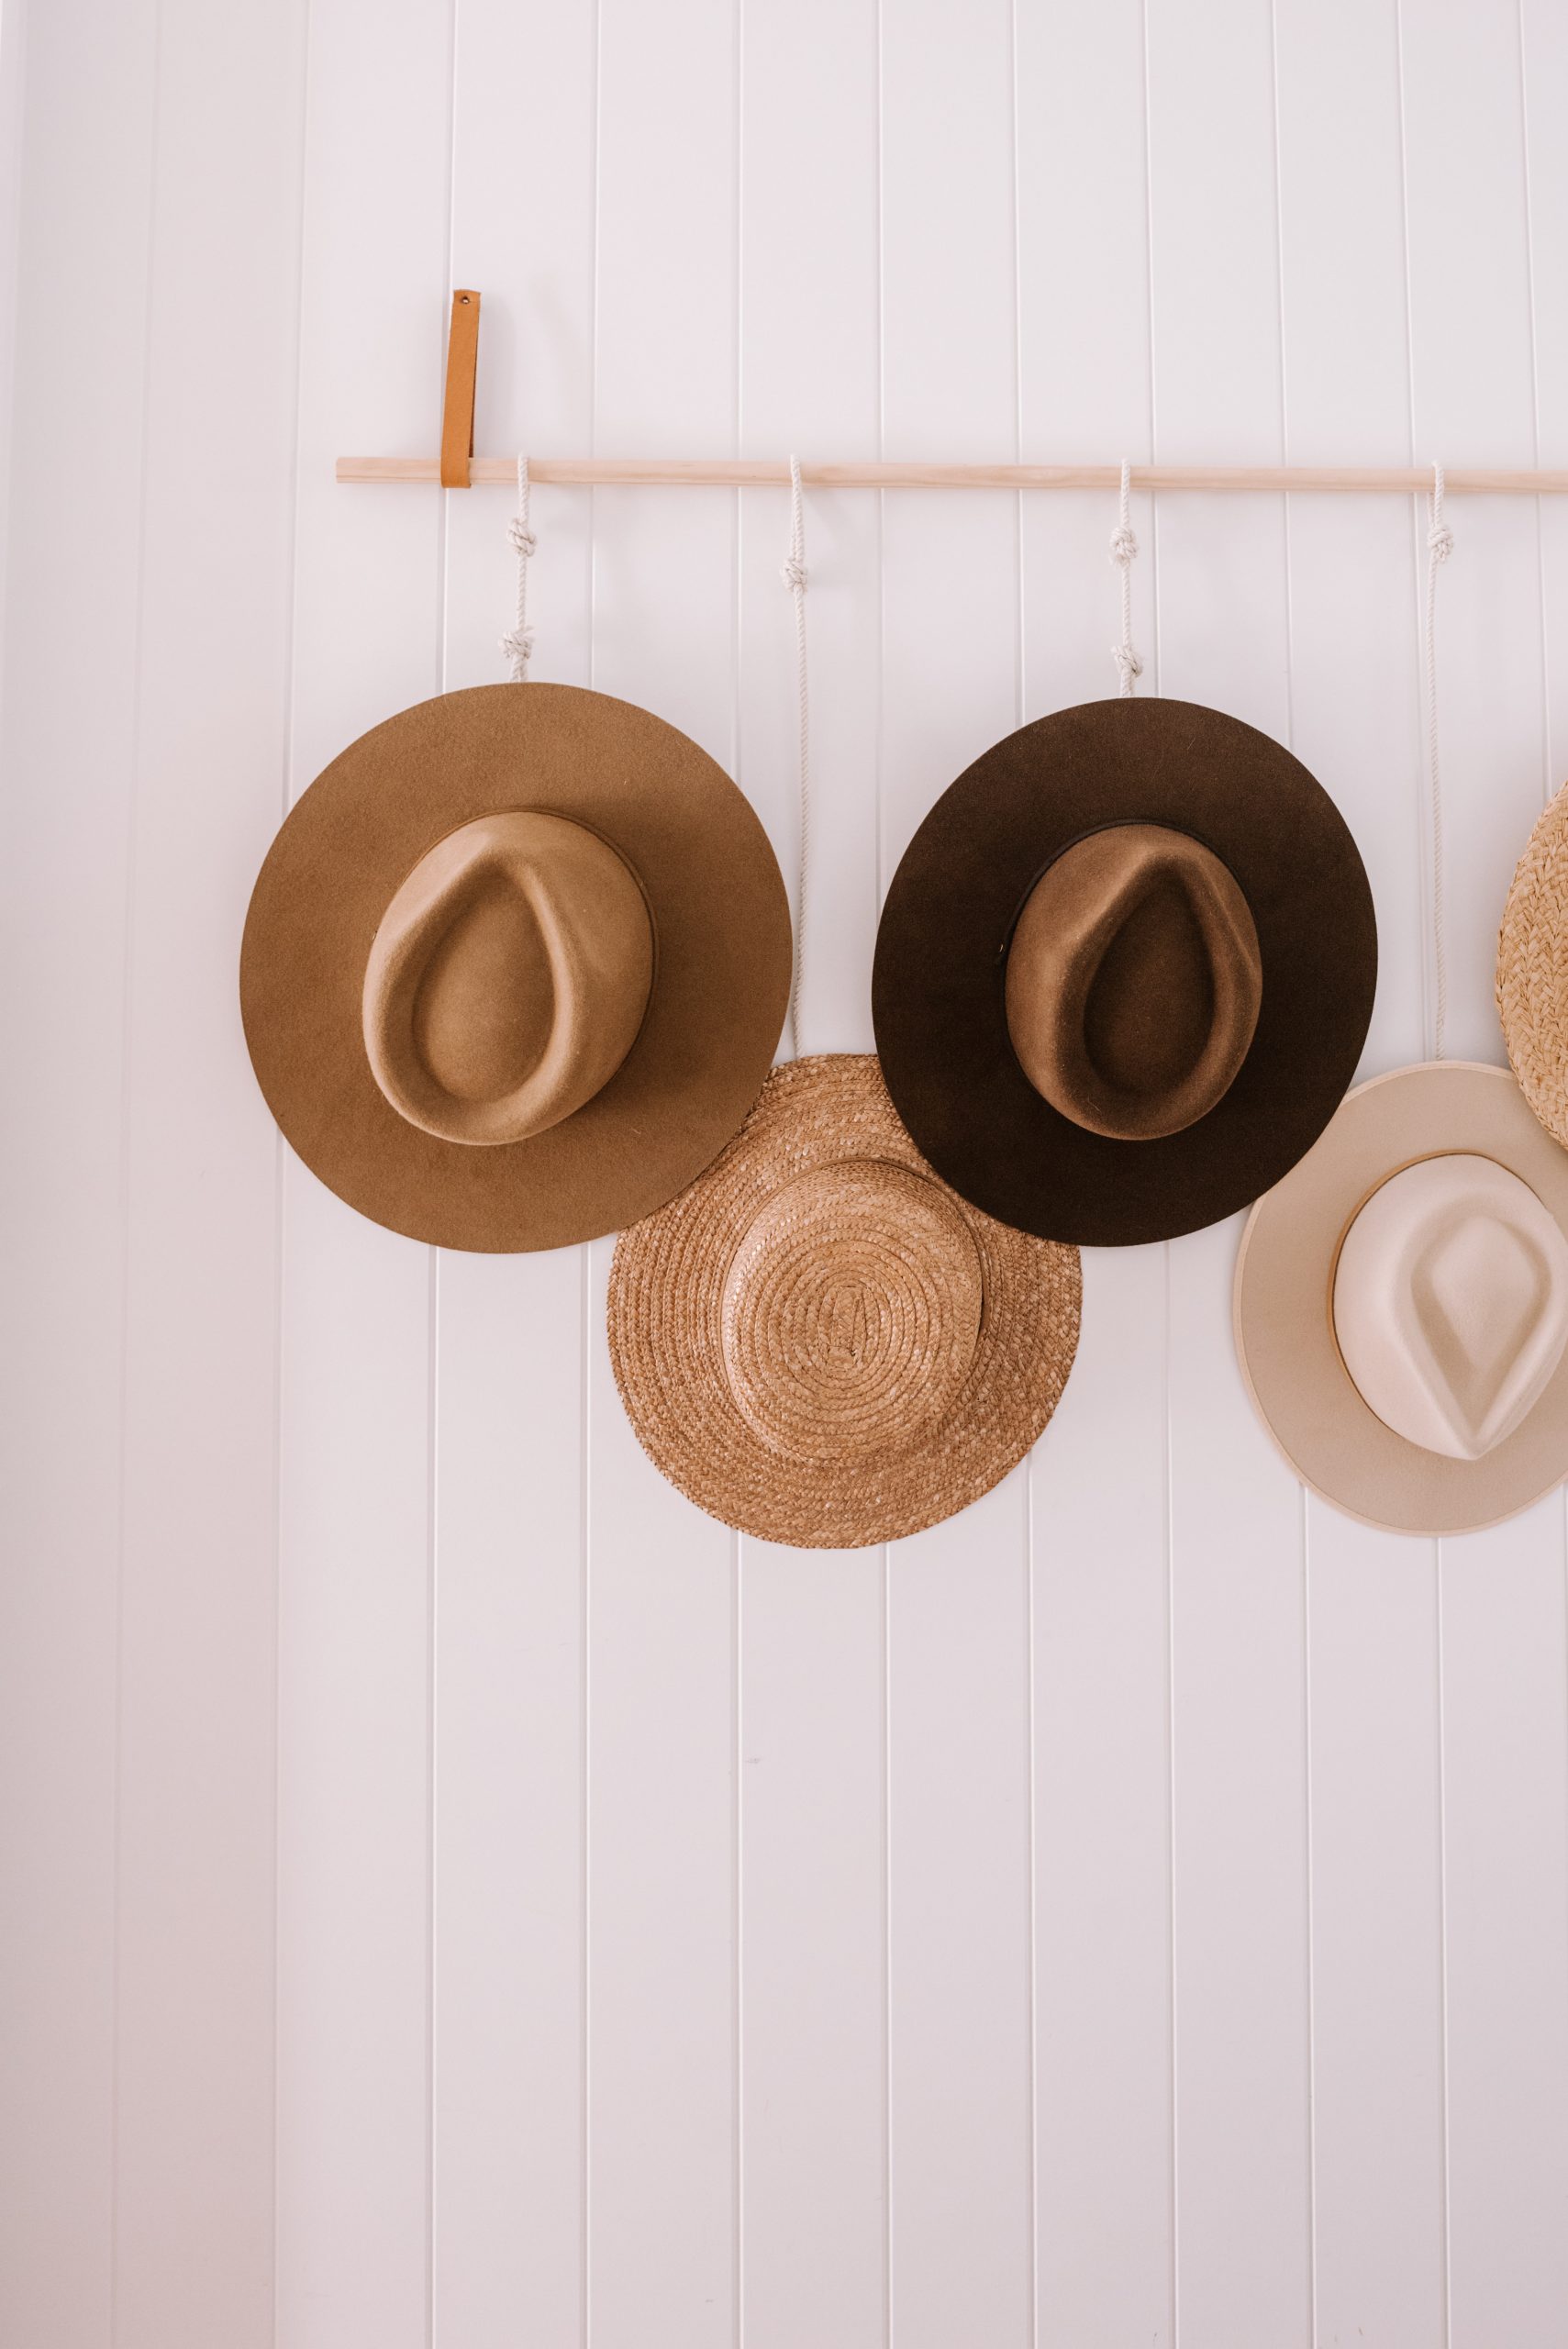
To start, you'll need to roughly lay your hats out to work out how long you need your rope hangers to be. Then, tie a loop in each end of the rope, one to go onto the dowel and the other to connect with the hooks.
2
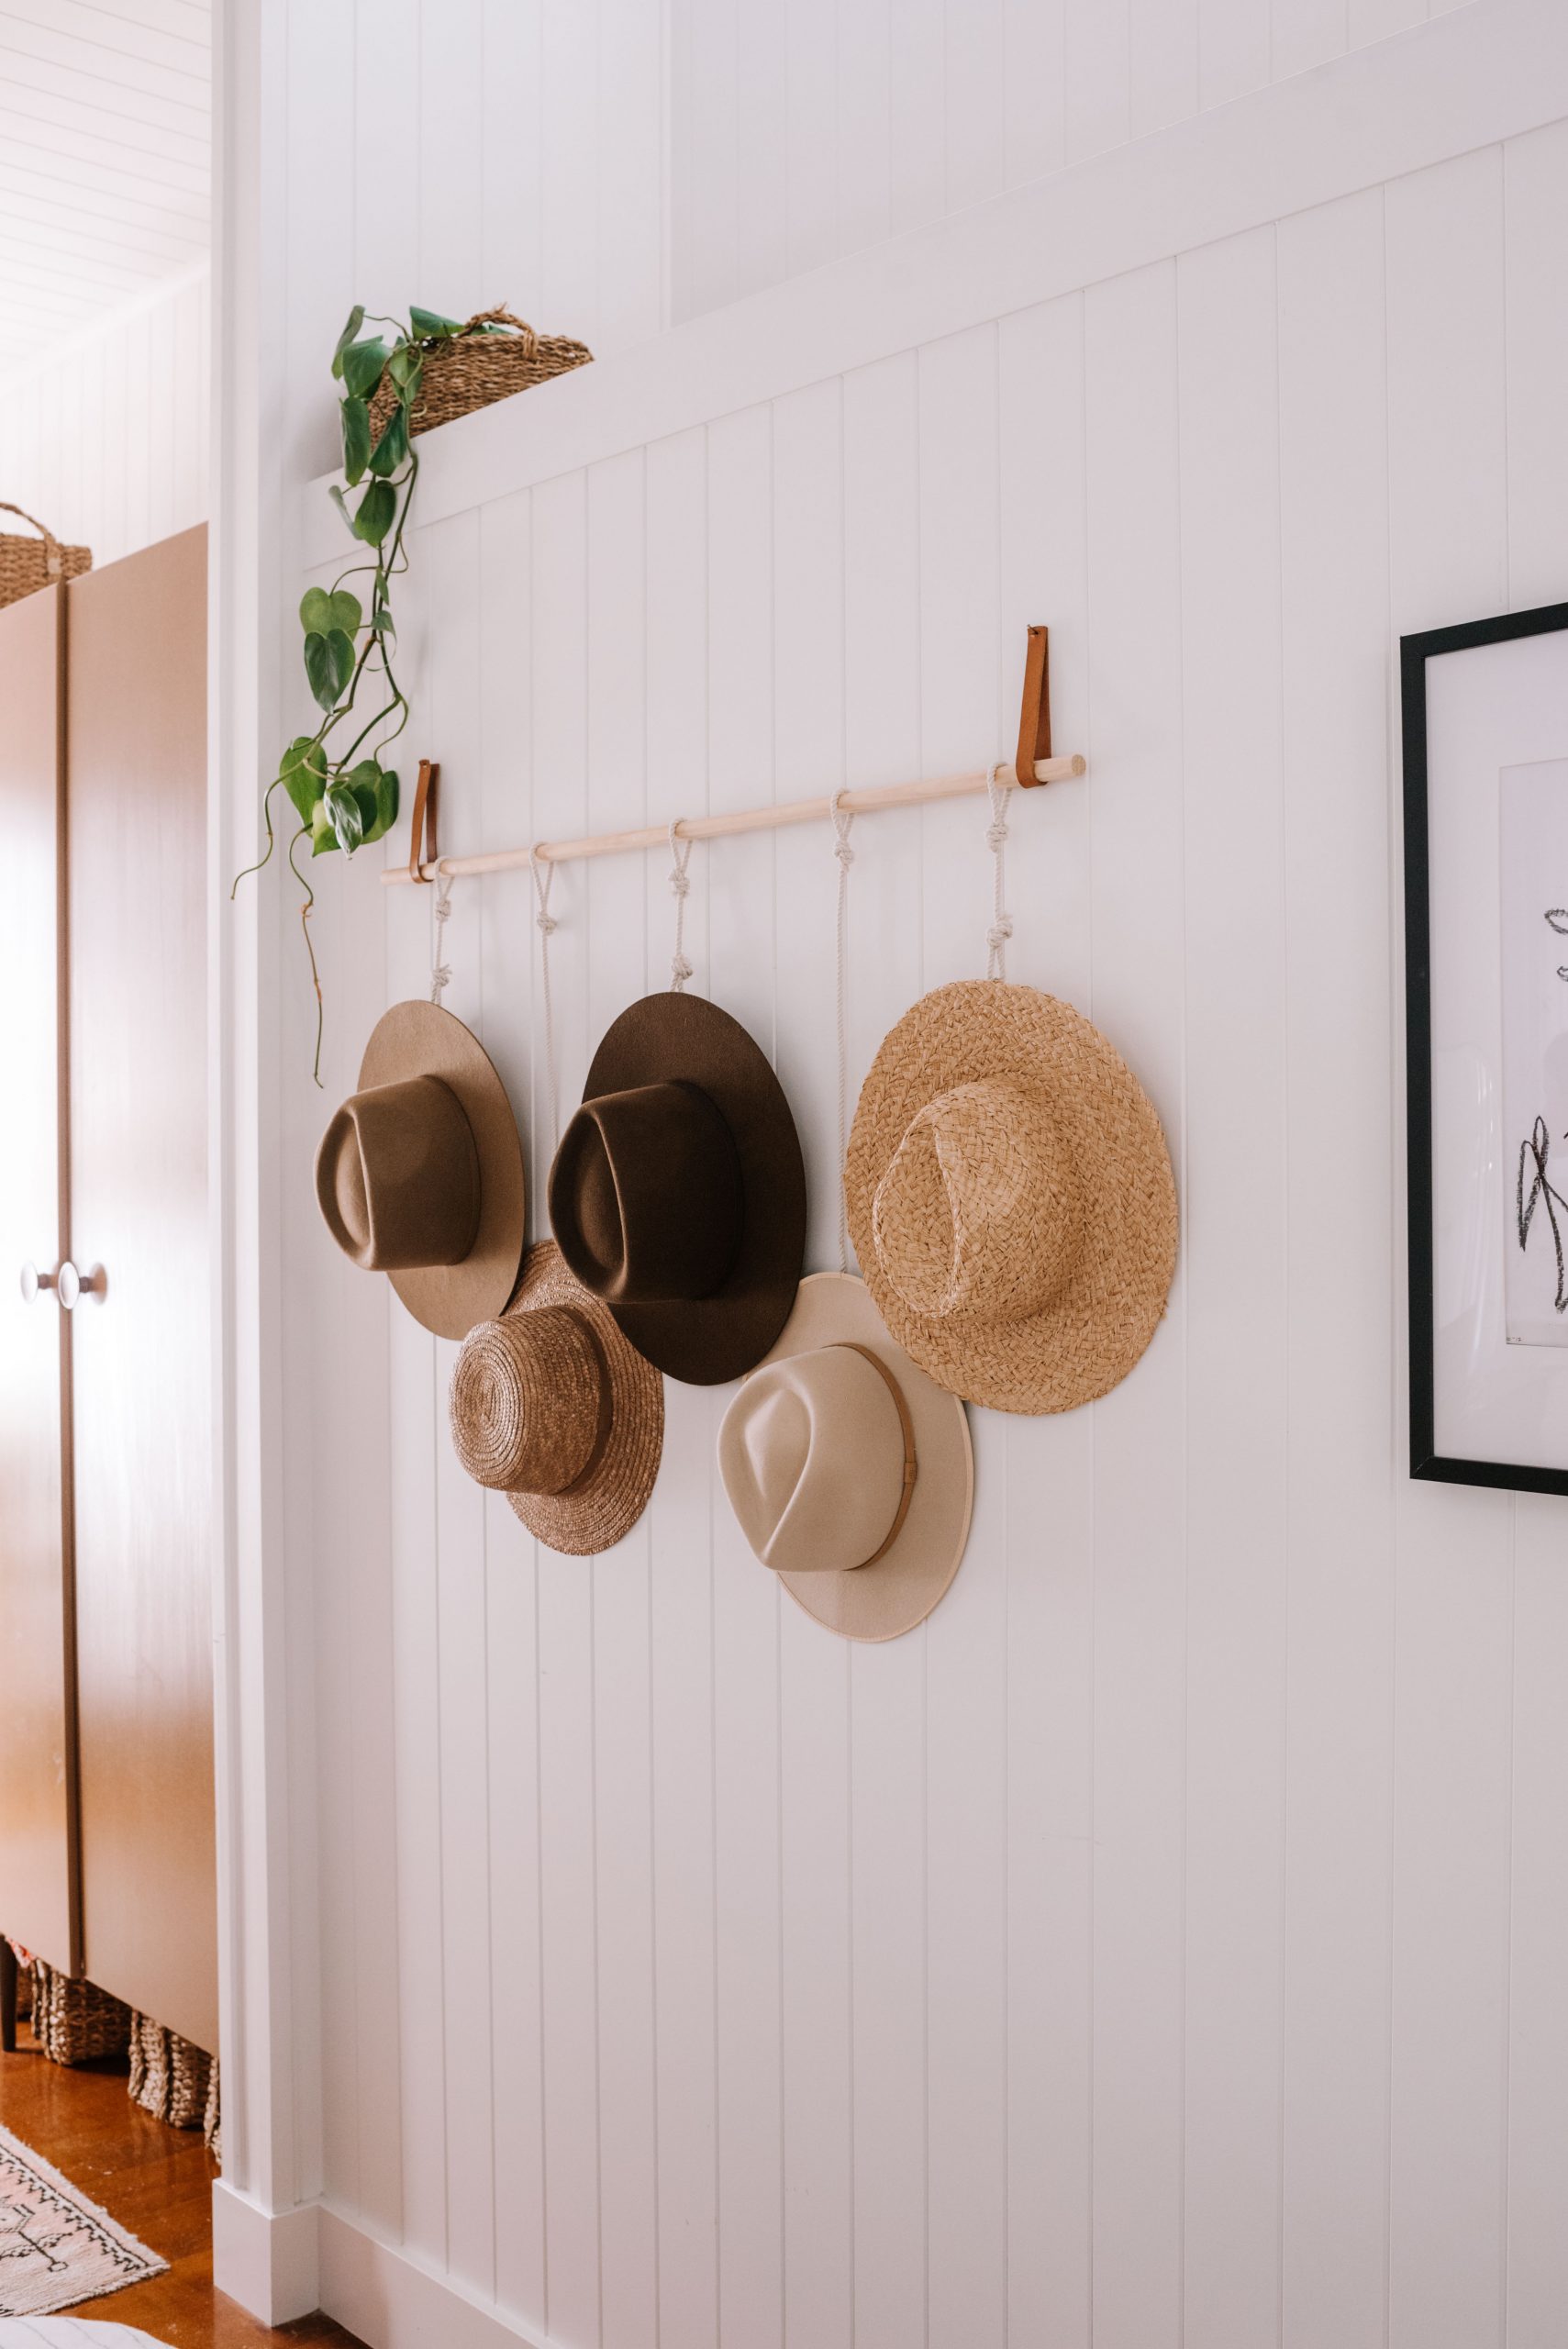
We did five rope hangers for five hats, but you can do as many as you need to, making the ropes longer so they all sit flat again the walls.
3
To install the hat rail on the wall, first slide the rope hangers onto the dowel. Then attach some wall hooks or hammer in some nails into the wall and use your leather strapping to create loops on the wall. Slide your dowel into the leather loops. Then add your S Hooks to hang the hats by their inside band. Done.
Voila!
This post is in collaboration with Will & Bear.


