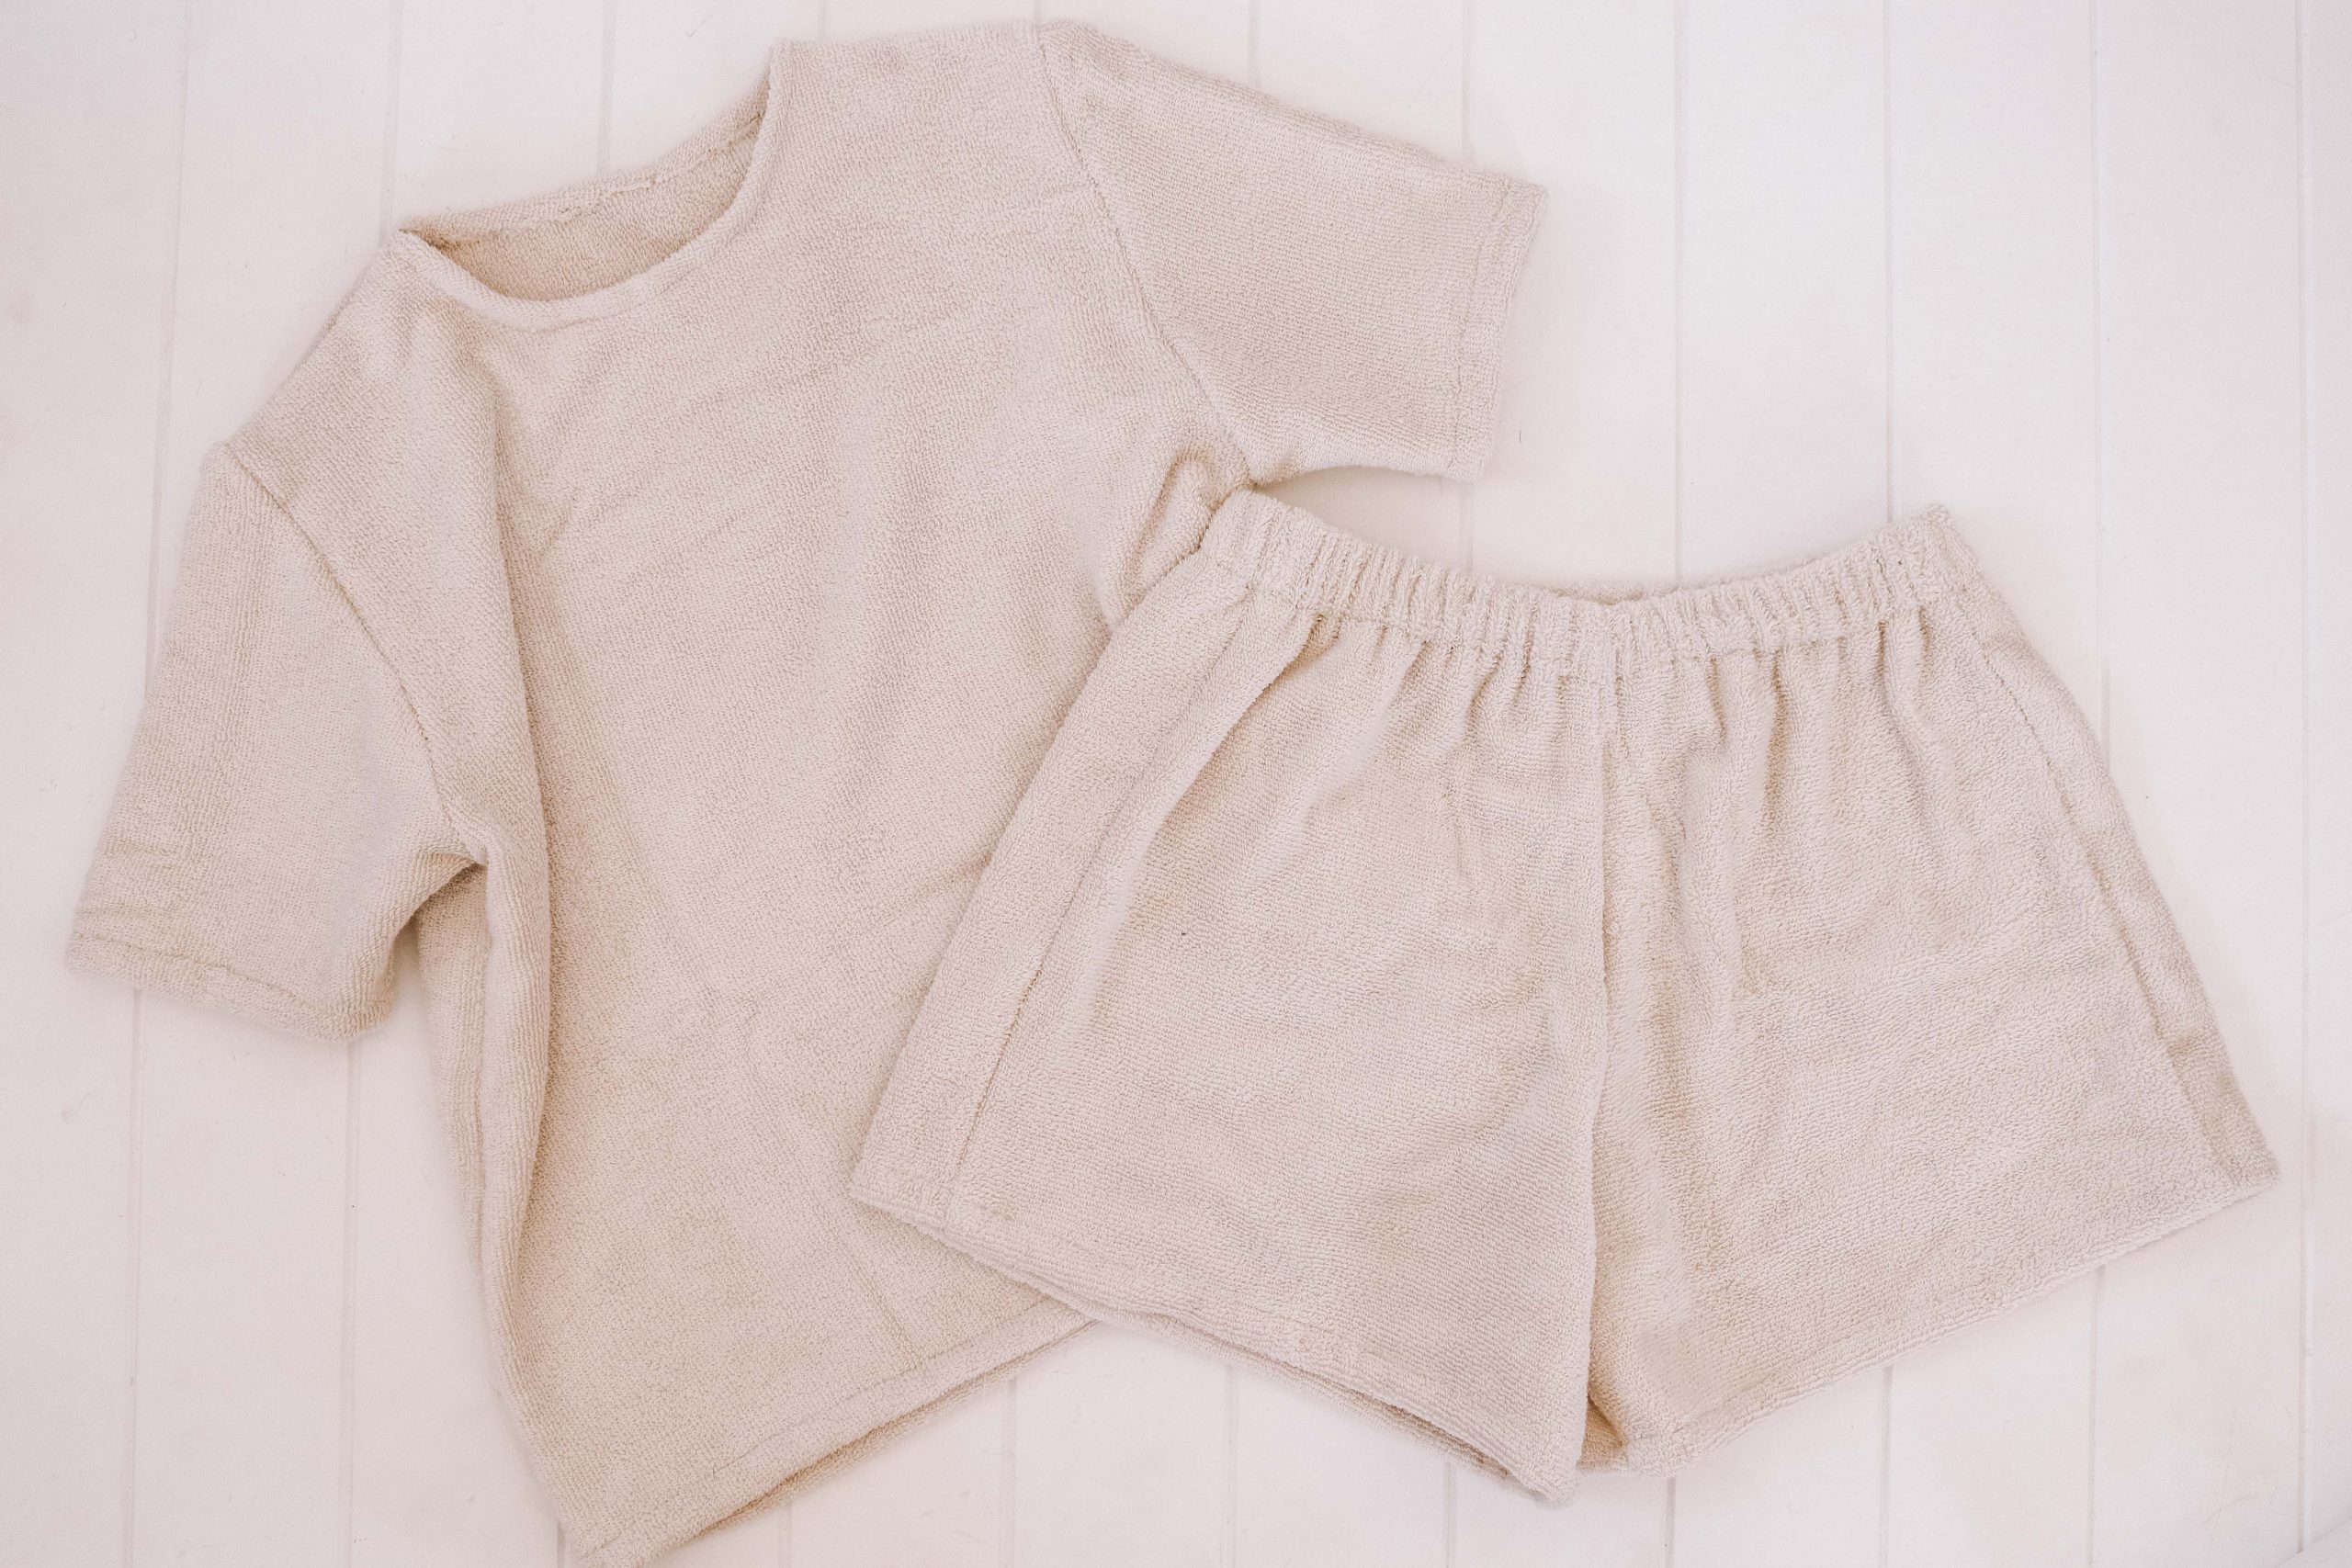
We have been loving the trend for terry towelling and with springtime and sunnier days just around the corner (for us in the Southern Hemisphere) we couldn’t stop thinking of creating a two piece set from this cute fabric.
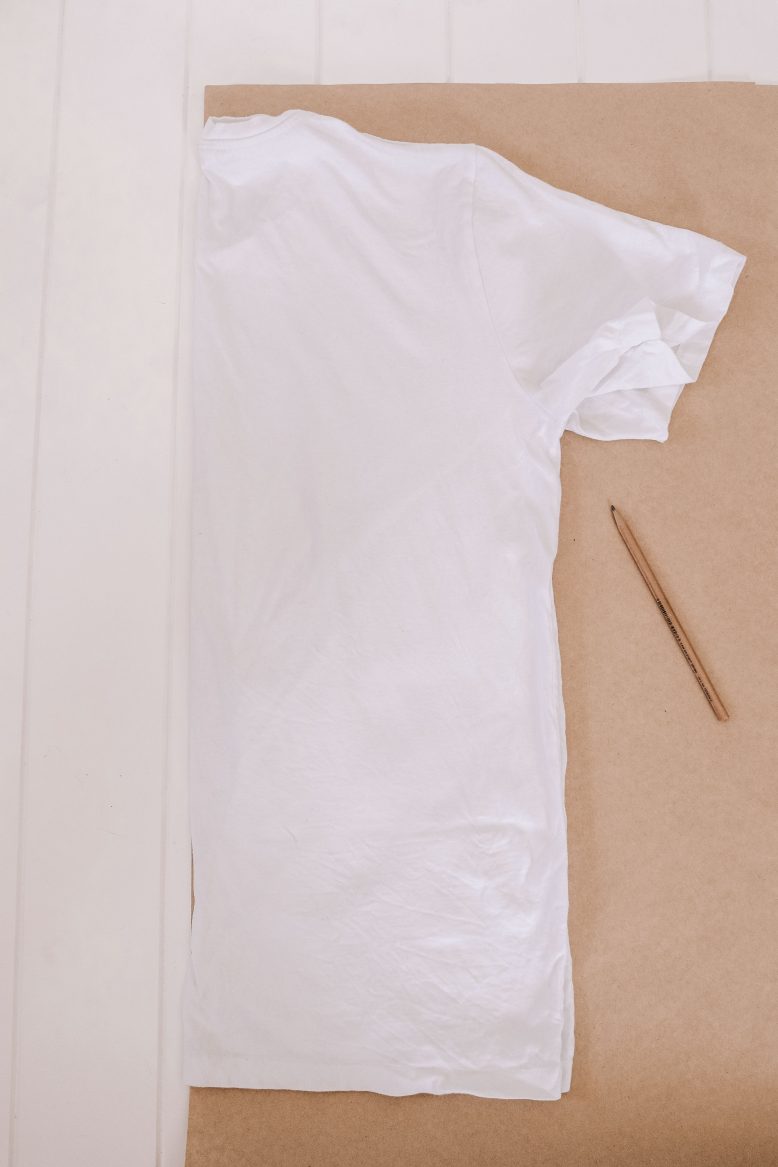
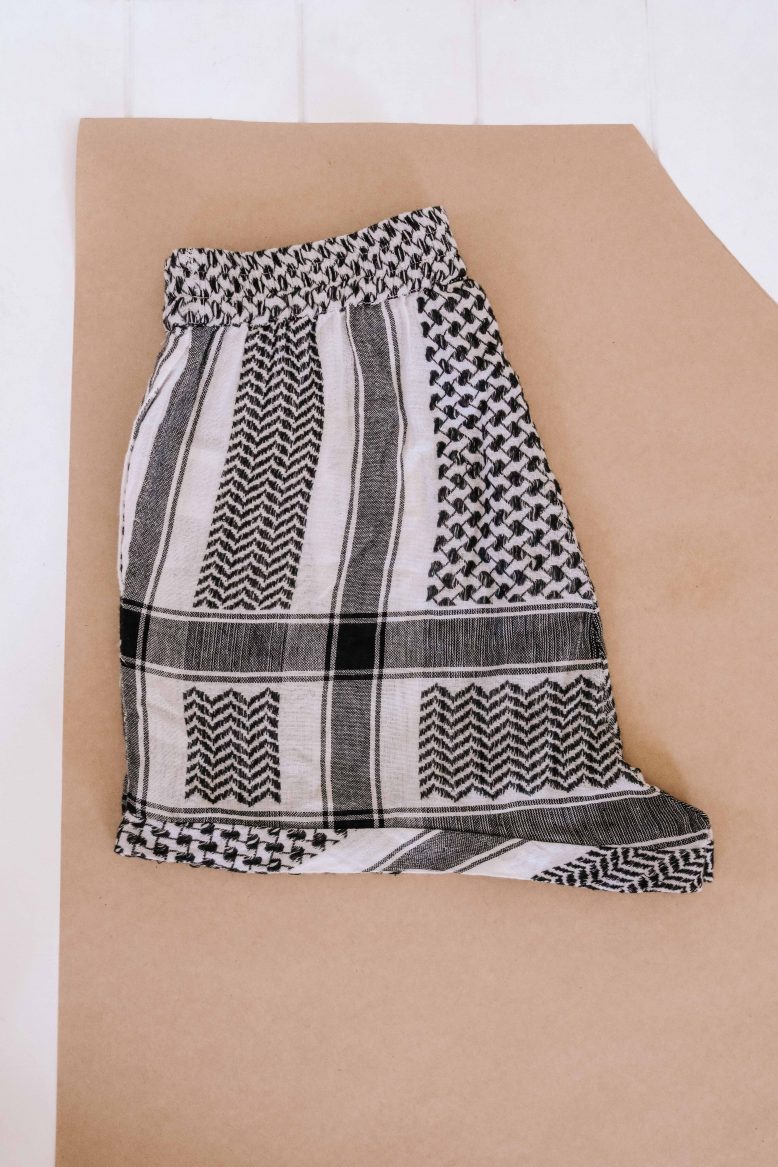
But the search for the perfect terry material was a little bit tricky – nice Terry cloth seemed to be expensive, and too thick and we knew the material wouldn’t translate very well into clothing. So for this project we actually found lightweight towels at Spotlight that were the perfect thinness to fashion into a very wearable two piece set. For this set we create a simple pattern using clothing from your wardrobe. All you will need is a simple elastic waist pair of shorts and a loose fitting t-shirt, you might even like to borrow one from your boyfriend/brother/husband like we did for the right oversized fit.
Materials
- A pair of shorts and loose t-shirt you already own
- Around 3 x Lightweight towels (Bath sheet size or equivalent preferable)
- Elastic
- Matching Thread and bobbin
- Dressmakers pins
- Scissors
- Pattern making paper or a roll of butchers or kraft paper
- Pencil
How To
1
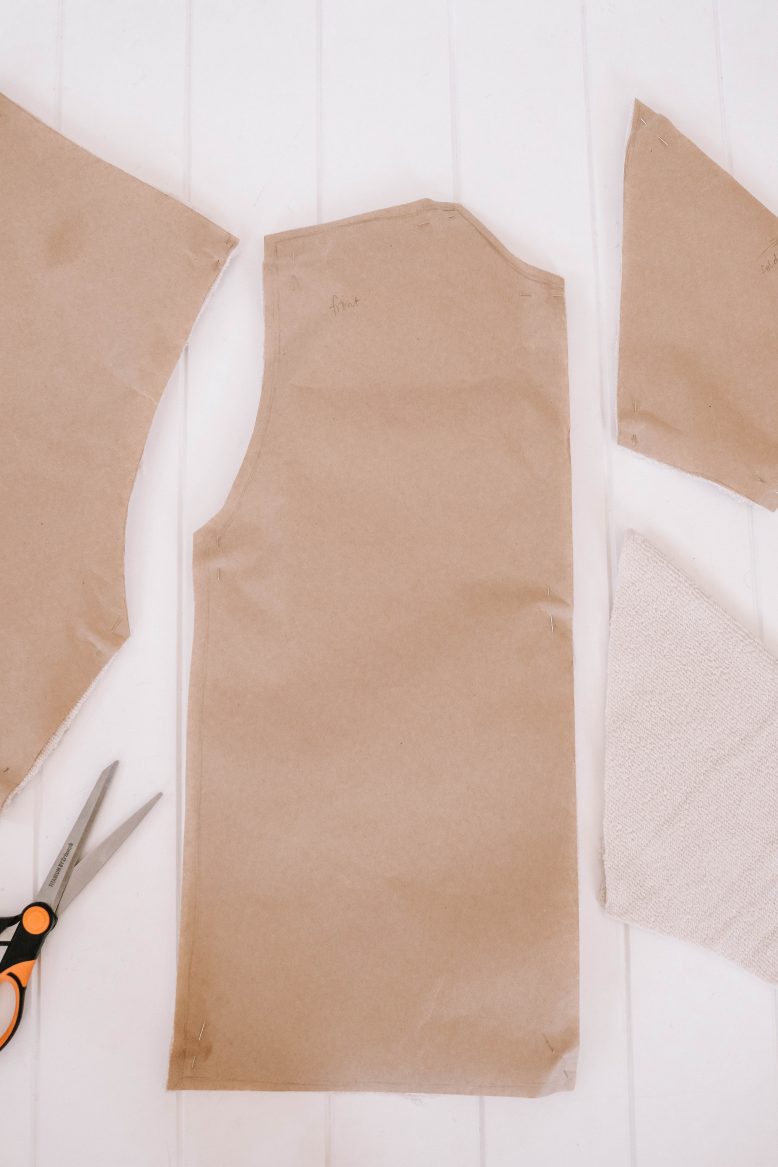
First we will create a paper pattern of your existing shorts and tshirt. When tracing these pieces don’t forget to add 1cm (½ in) for seam allowance. To ensure your pattern is symmetrical, fold your t-shirt in half with the back side facing out then trace the body panel (excluding the sleeves). Fold it the other way so that the front side is facing out, then trace the body panel again. Next trace the sleeves.
2
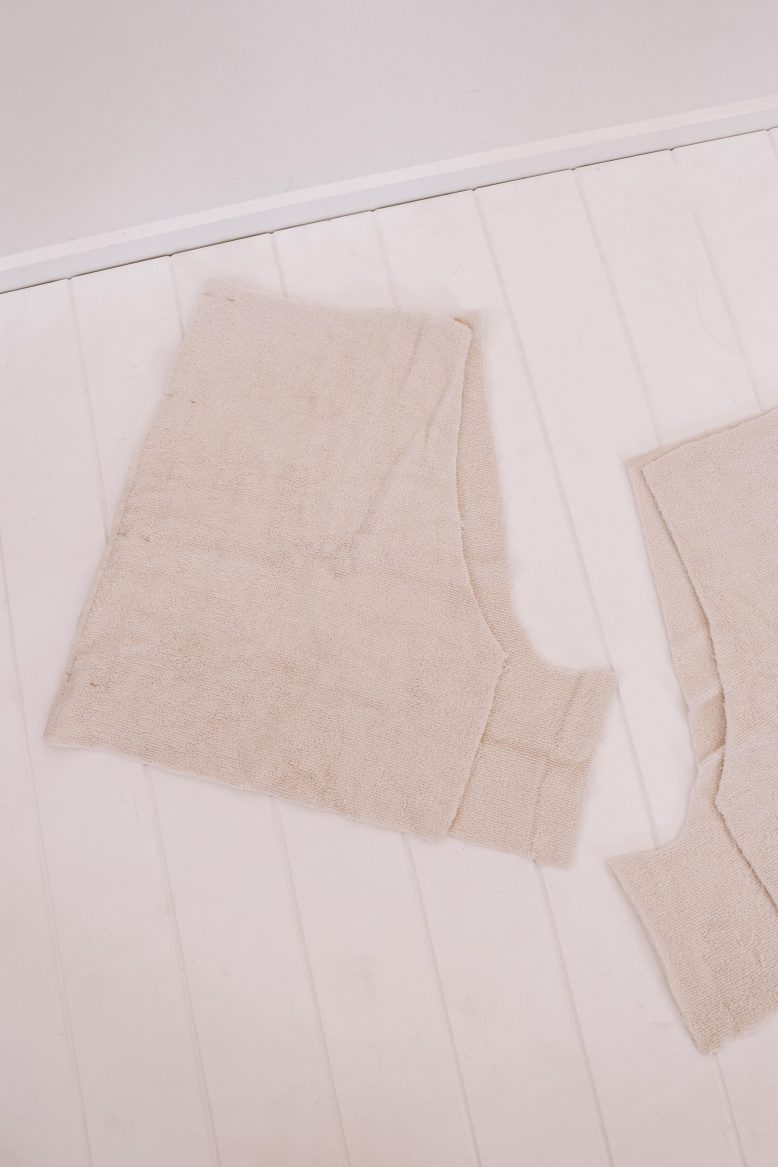
Create the shorts pattern using a similar method - back side, and front side, remembering to add the 1cm (½ in) seam allowance. Ensure that when you get to tracing the waist you allow extra width for the elastic to gather, and rather than a 1cm seam allowance along the waist line extend this up by minimum 5cm (2 in) to house the elastic later on.
3
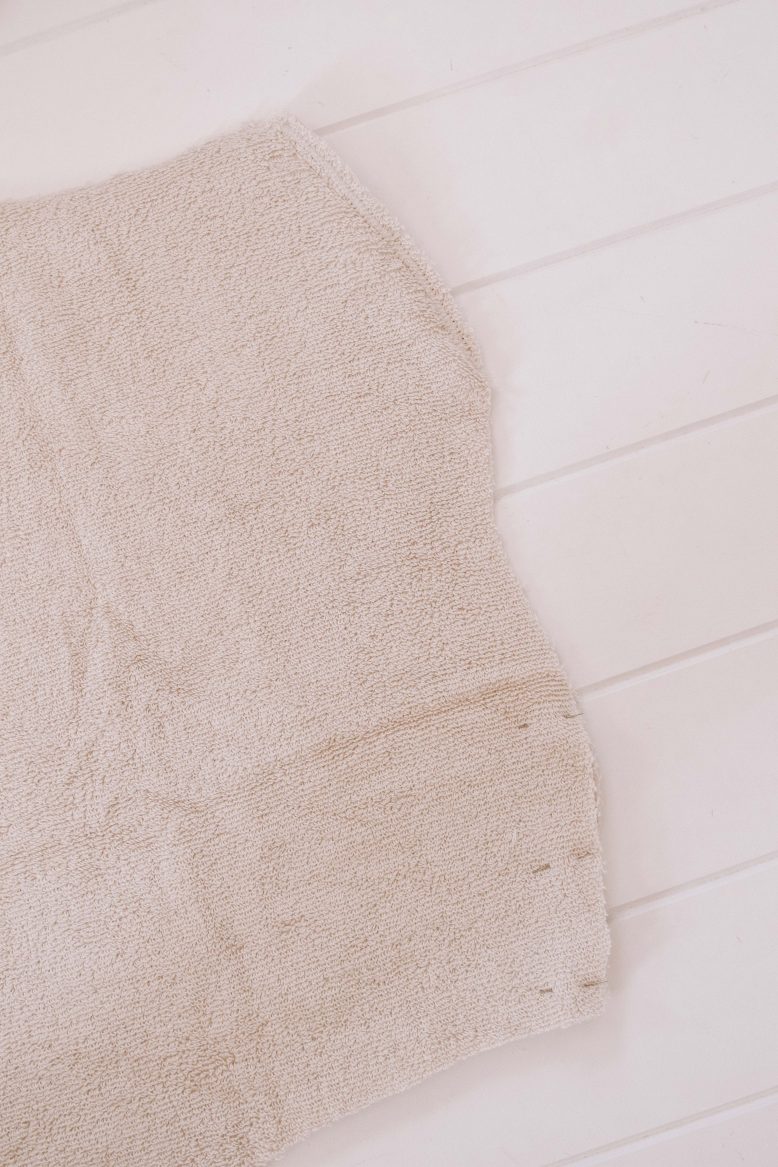
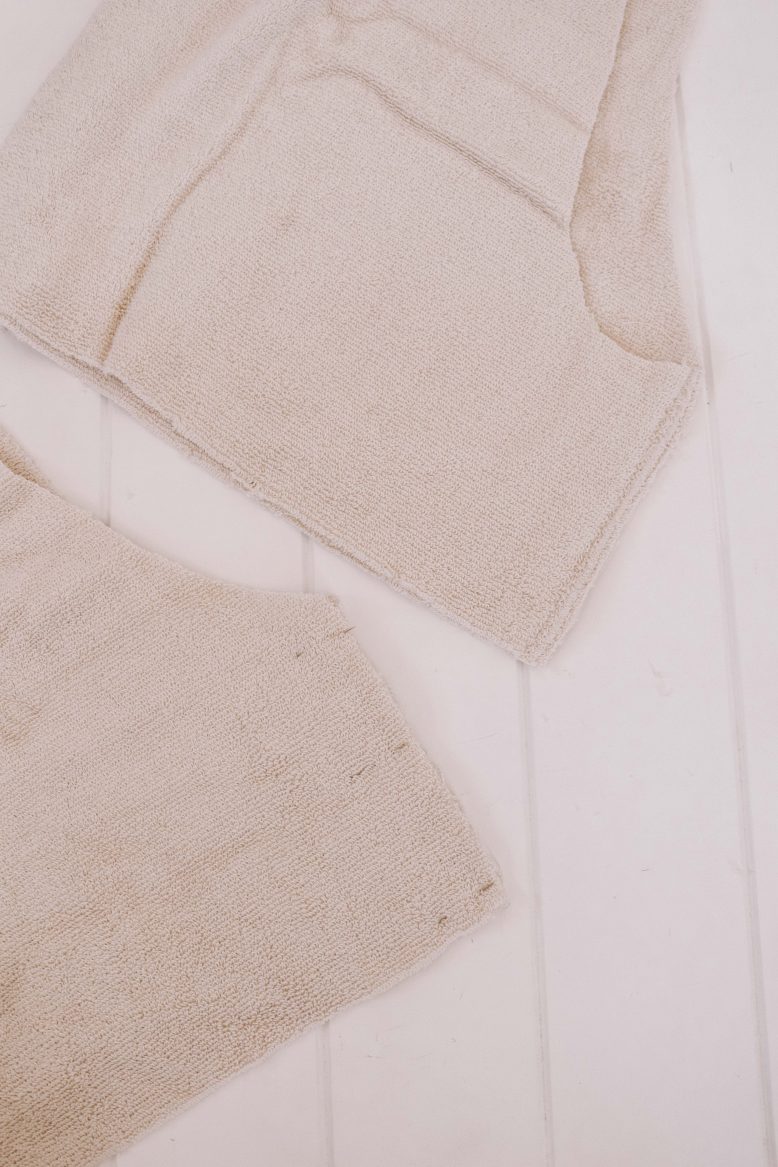
Cut out your patterns, then fold your terry fabric in half, pin your patterns and cut out each panel. Remember to orient the fold lines of the t-shirt along the folded edges of the terry.
4
Take the two body panels of your t-shirt and face the right sides together. Pin along the shoulder seam then sew using a straight stitch 1cm (½ in) from the edge. To prevent the edge fraying either overlock or zig zag stitch close to the raw edges.
5
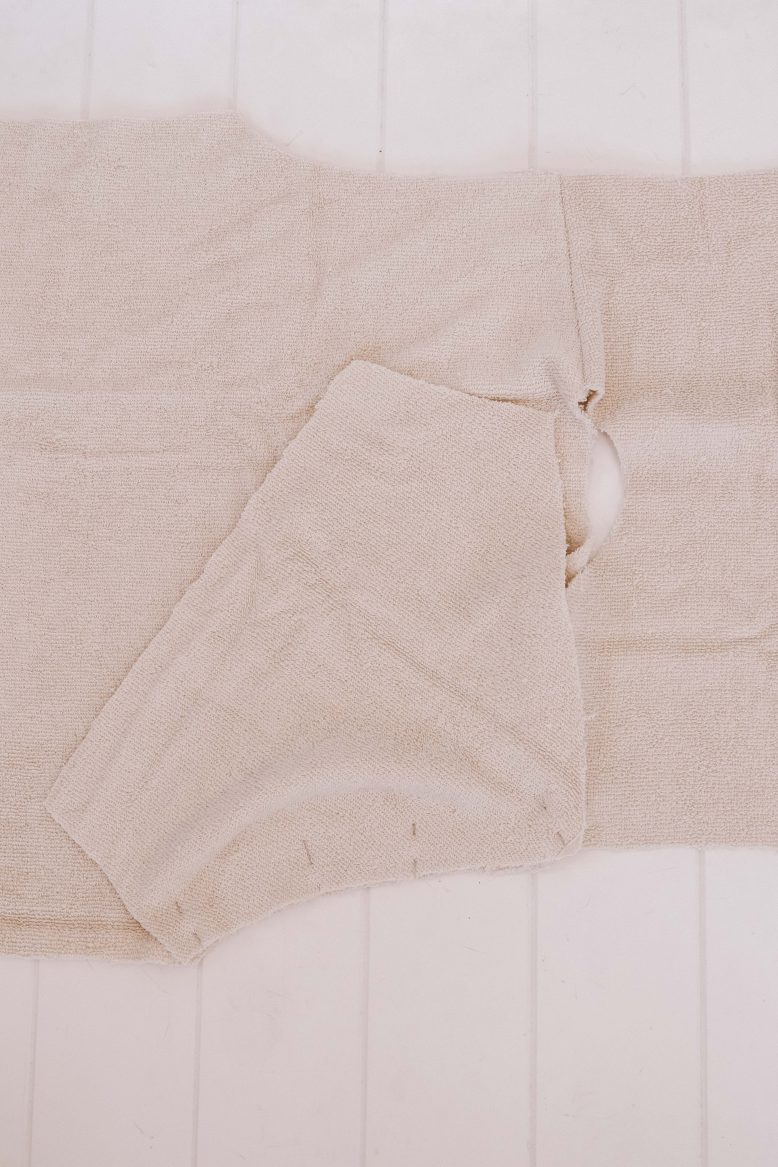
Open the two body panels out and place down with the right side facing up. One at a time pin your sleeve pieces in place, starting by aligning the point of the shoulder to the seam you created in the last step, then work out to the edges. Ensure that as you pin these panels the right side of the sleeve piece is facing down. Sew to attach, using the same method of a 1cm (½ in) seam allowance followed by overlocking or zig zag stitching the edges.
6
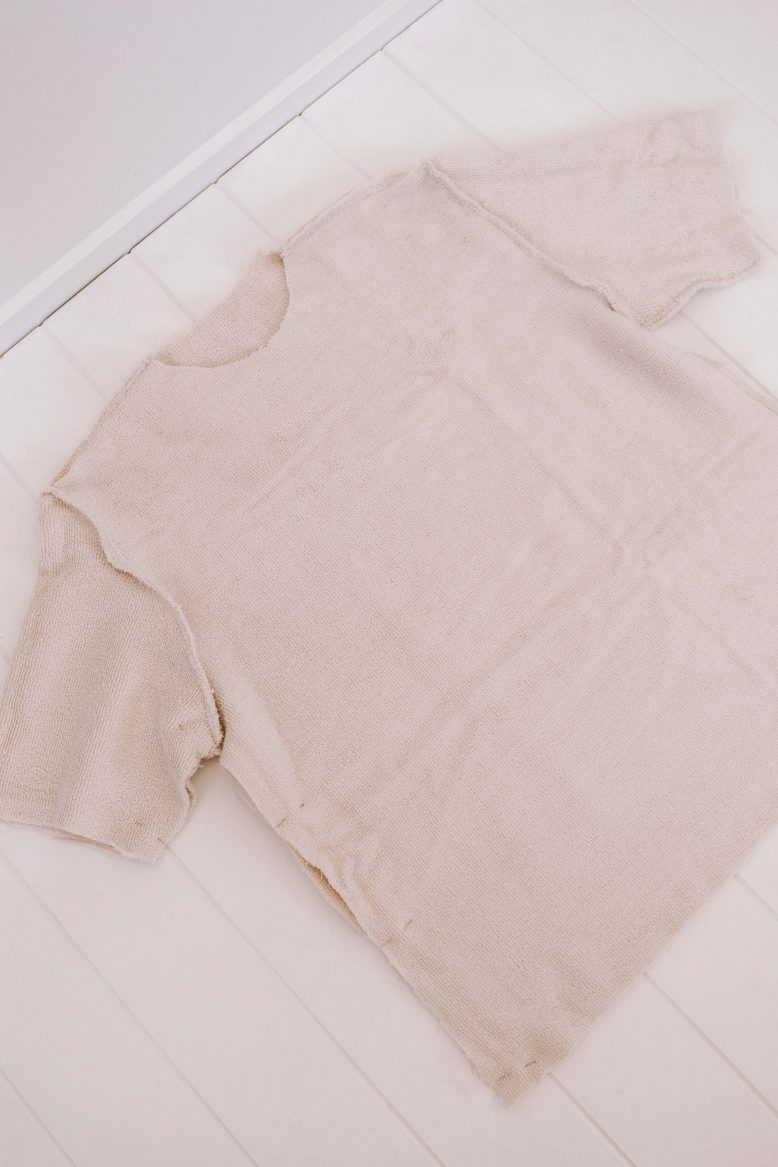
With the t-shirt still facing inside out, pin along the side edges from the sleeves down either side of the body. Again, sew with a straight stitch then overlock or zig zag stitch the edges.
7
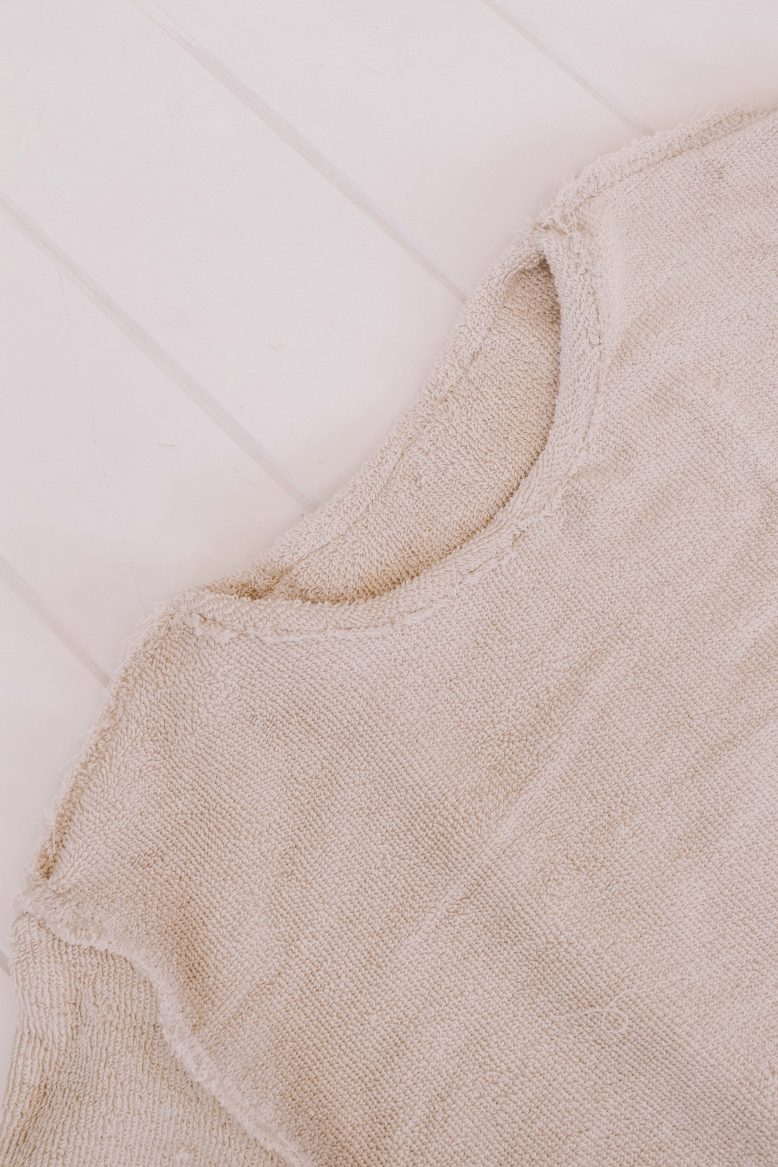
To finish the collar fold back 1.5 cm (¾ in), pin in place and sew around with a straight stitch. You might even like to make small 0.5cm (¼ in) snips around the raw edge of the fabric so that the fabric sits flatter on the curve.
8
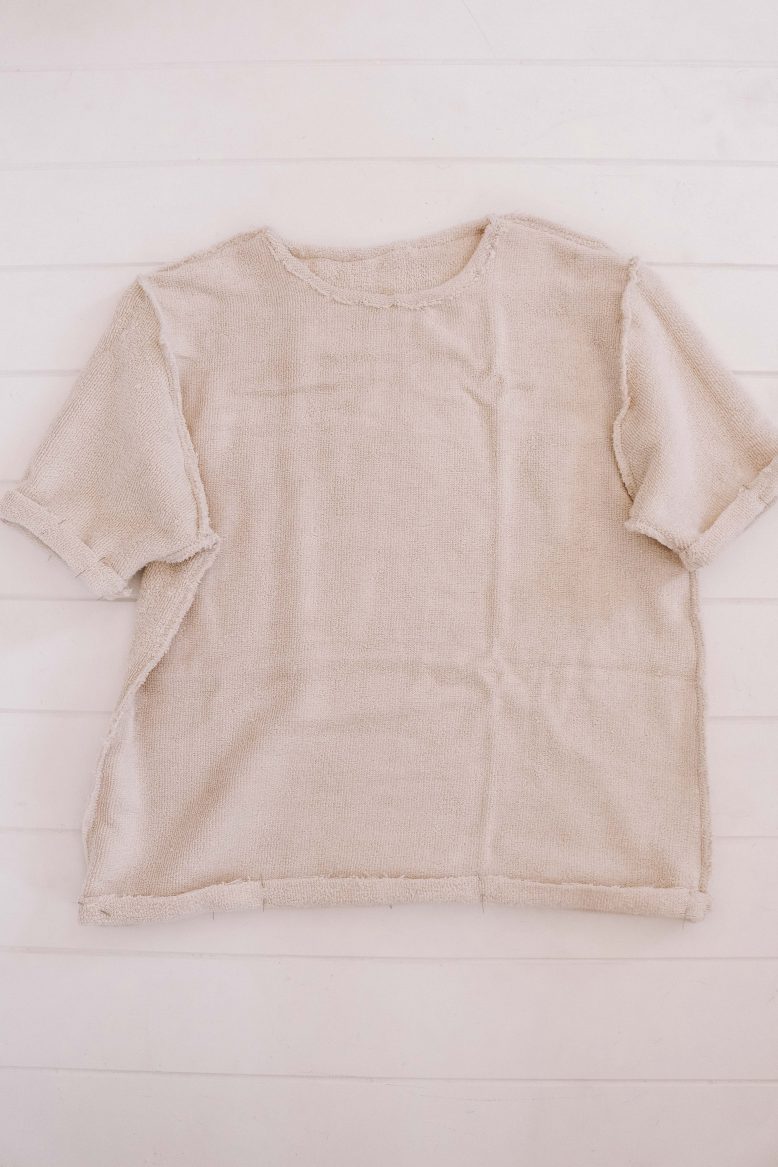
Finish the top by hemming the sleeves and bottom edge by folding back 2cm, pin in place then sew with a straight stitch.
9
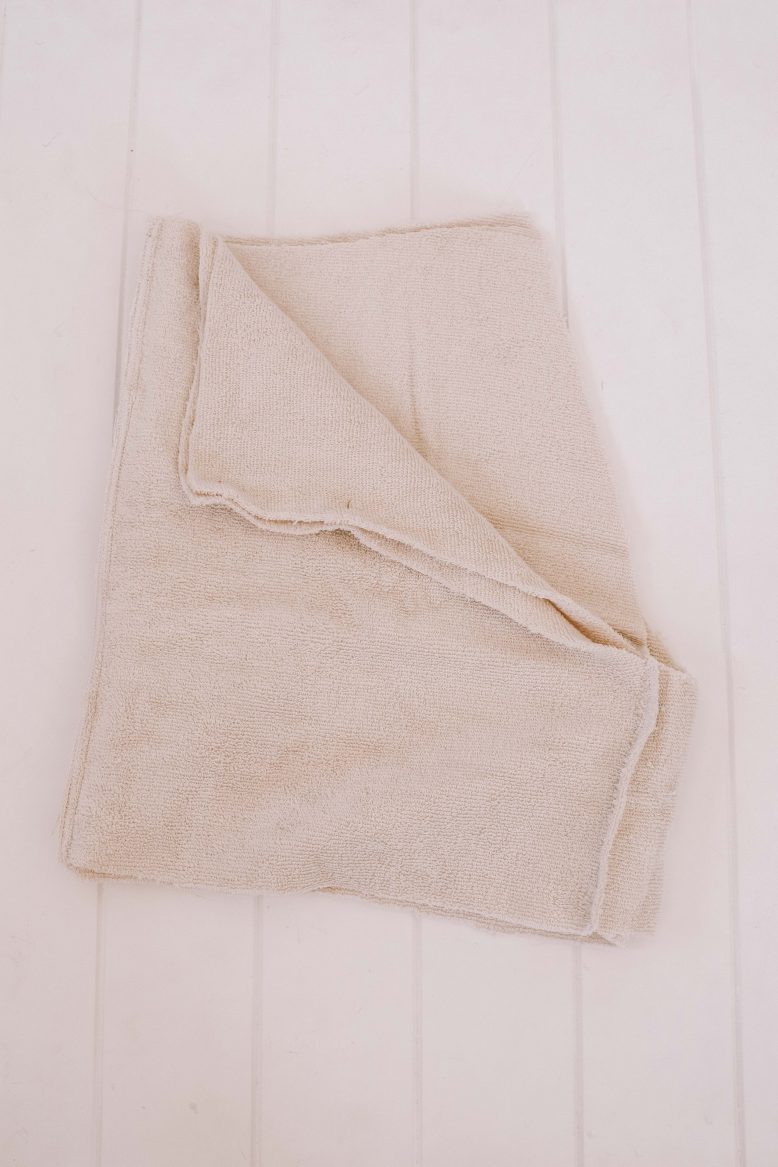
To create the shorts take your two back panels and lay them flat, right sides facing up. On top of these place your two front panels, right sides facing down. Align the outside edges, pin these together then sew with a 1cm (½ in) seam allowance followed by overlocking or zig zag stitching the edges.
10
Line up the inside edges on each leg panel, then sew these also with a straight stitch then overlock or zig zag.
11
Next we’ll join these two leg panels by sewing the crotch seam together. The easiest way to do this is to turn one of the leg panels the right way out, then insert into the other. Pin the curved edges together then sew (straight stitch followed by overlock or zig zag).
12
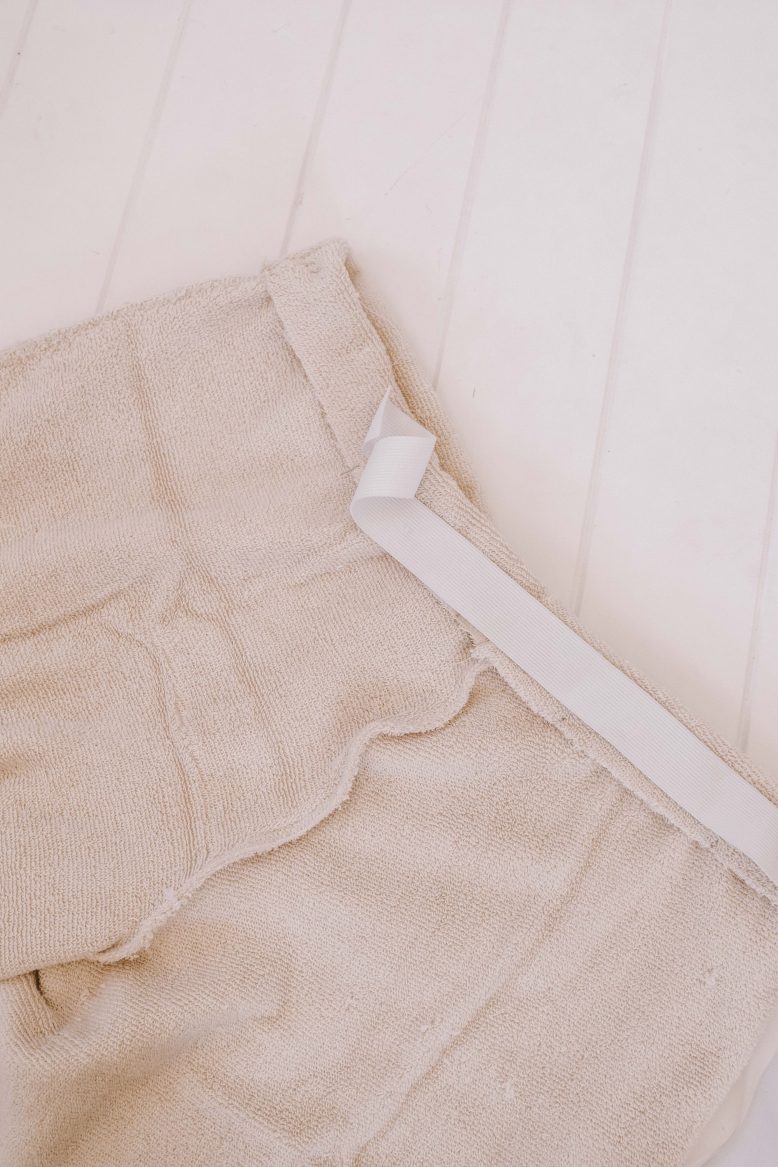
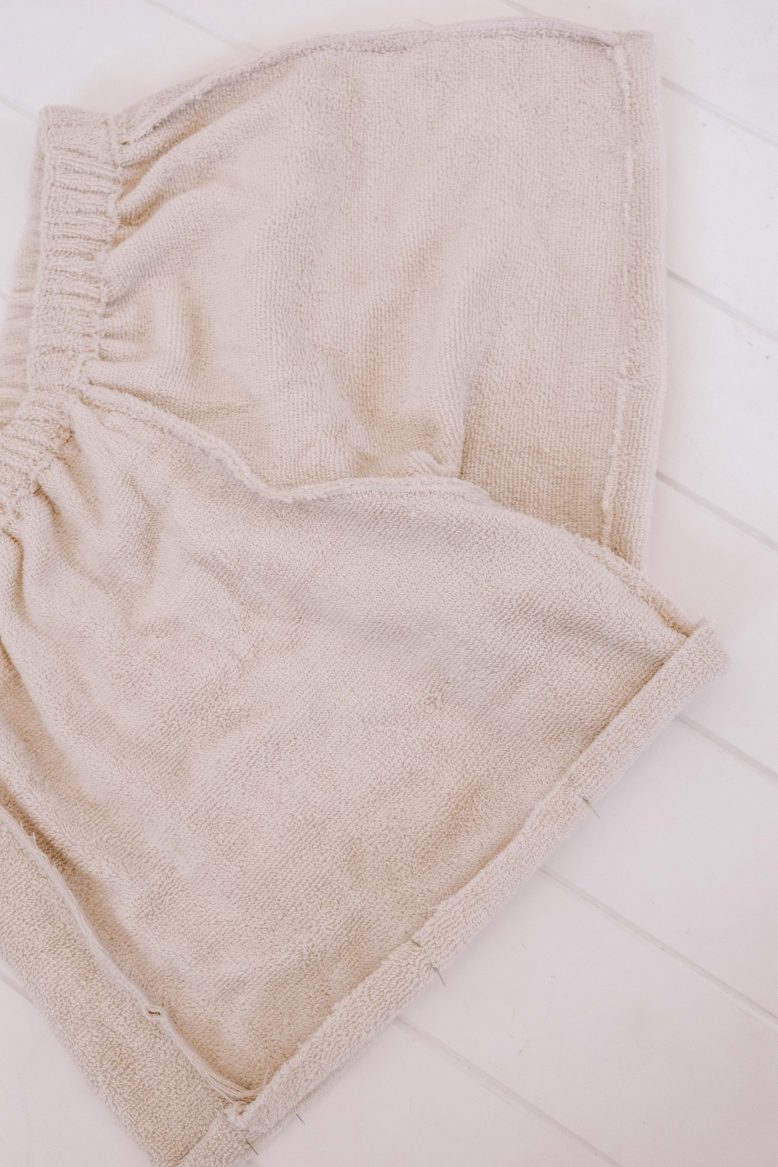
With the shorts facing inside out create the waistband by folding over the top raw edge by the width of your elastic plus 1.5cm (¾ in). Pin in place then sew 1cm (½ in) in from the raw edge remembering to leave a 5cm opening somewhere in this seam to feed the elastic through in the next step.
13
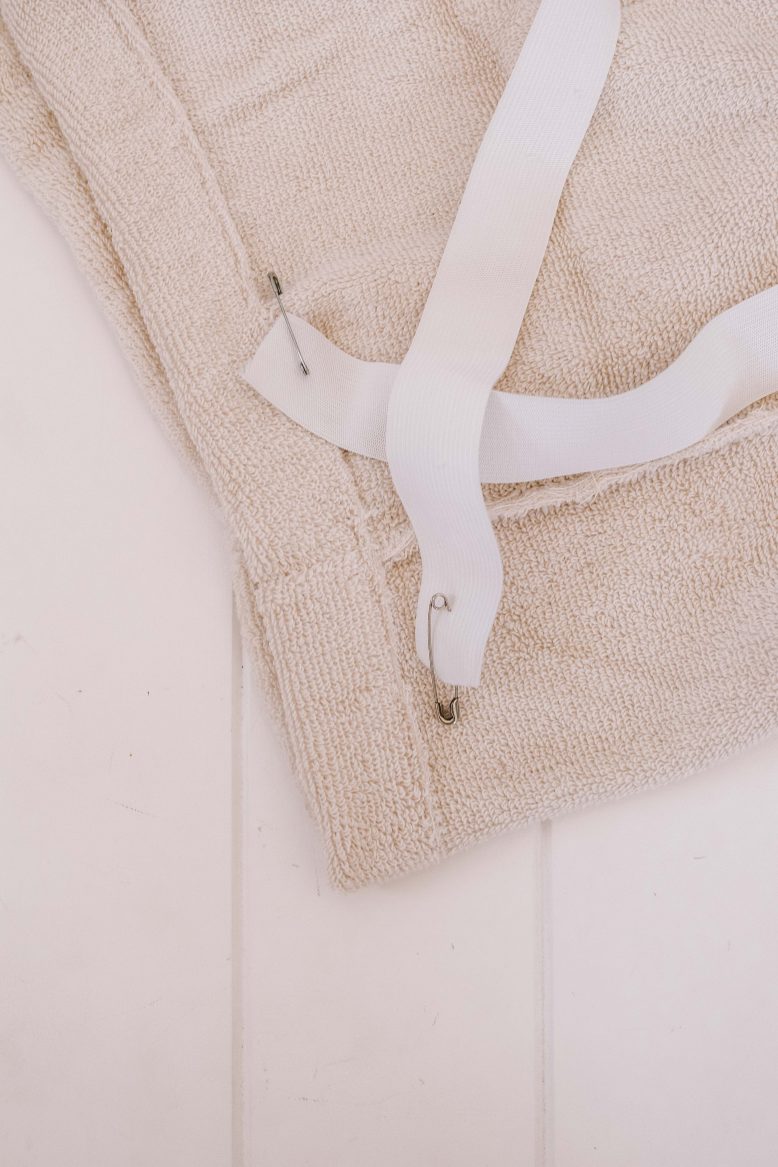
Thread your elastic through the waist band, an easy hack to this is using two safety pins - one to secure the end so that it doesn’t get pulled inside the channel, the other pin attached to the end you are feeding through the channel so that you can feel where it is. Adjust the elastic to the right fit for your waist, then sew the ends together and sew shut the 5cm opening.
14
Finally hem the bottom of the shorts by folding back 2cm (1 in) on each leg, pin in place then sew with a straight stitch


