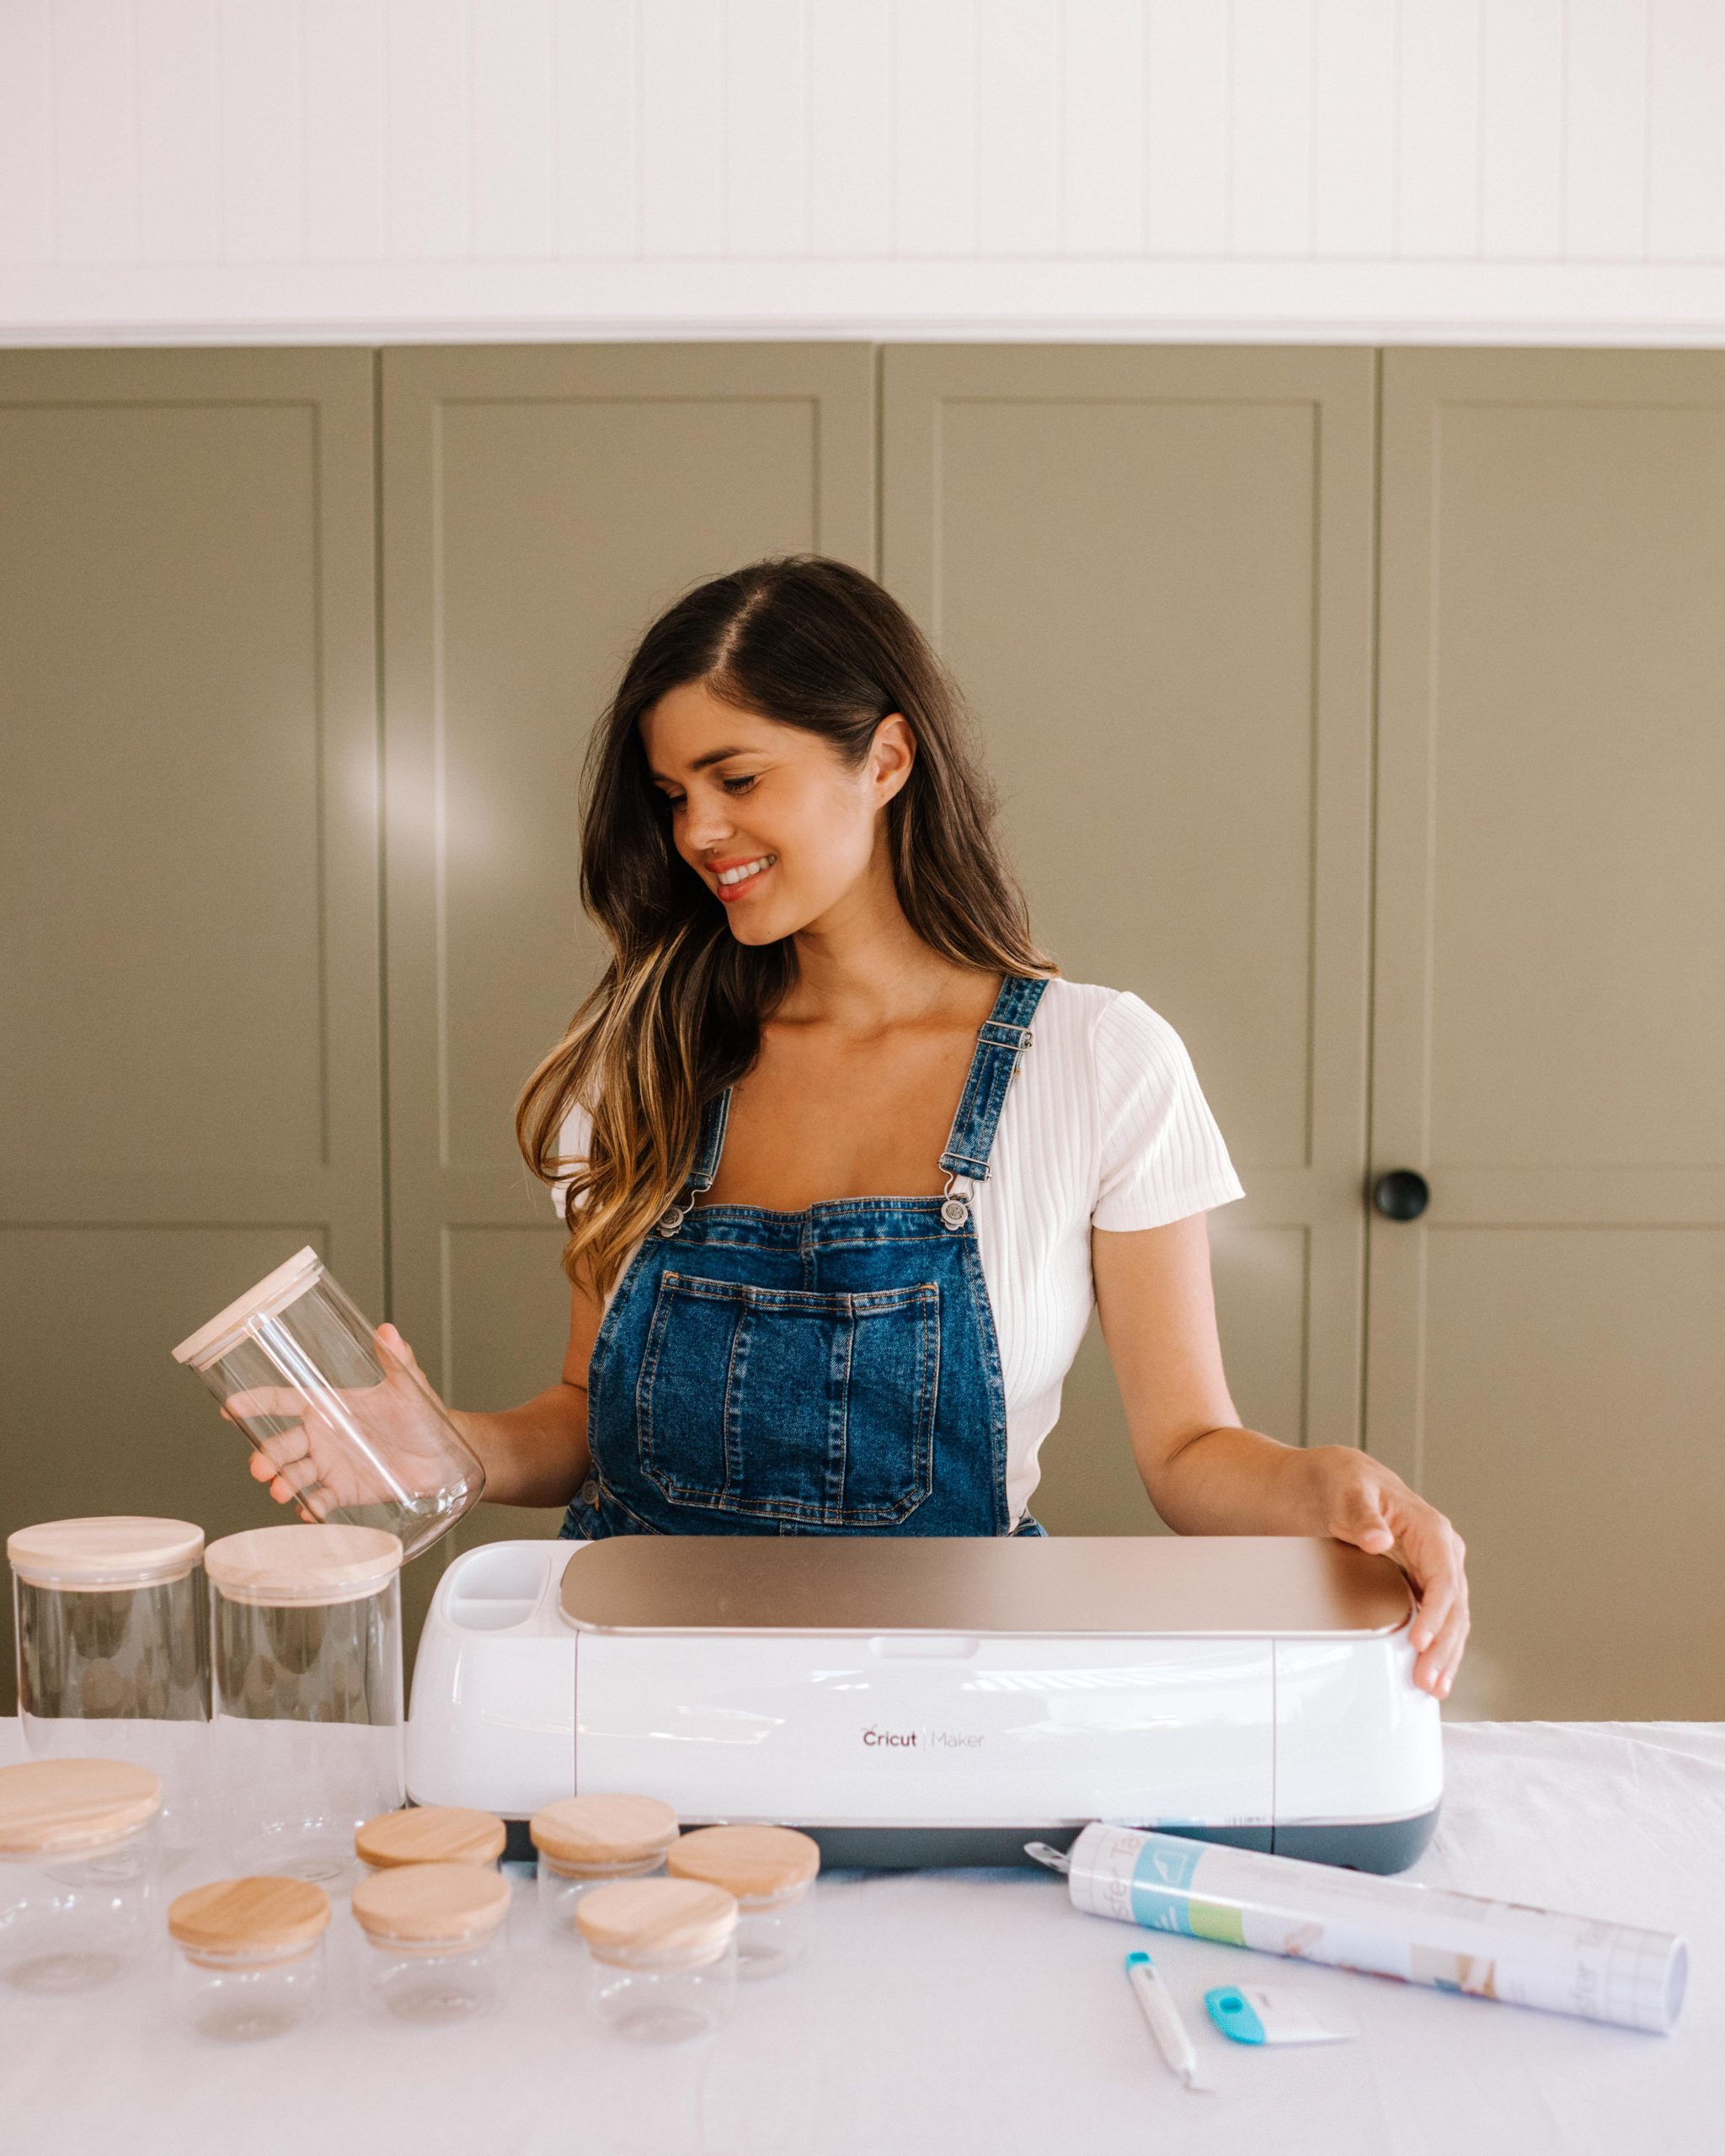
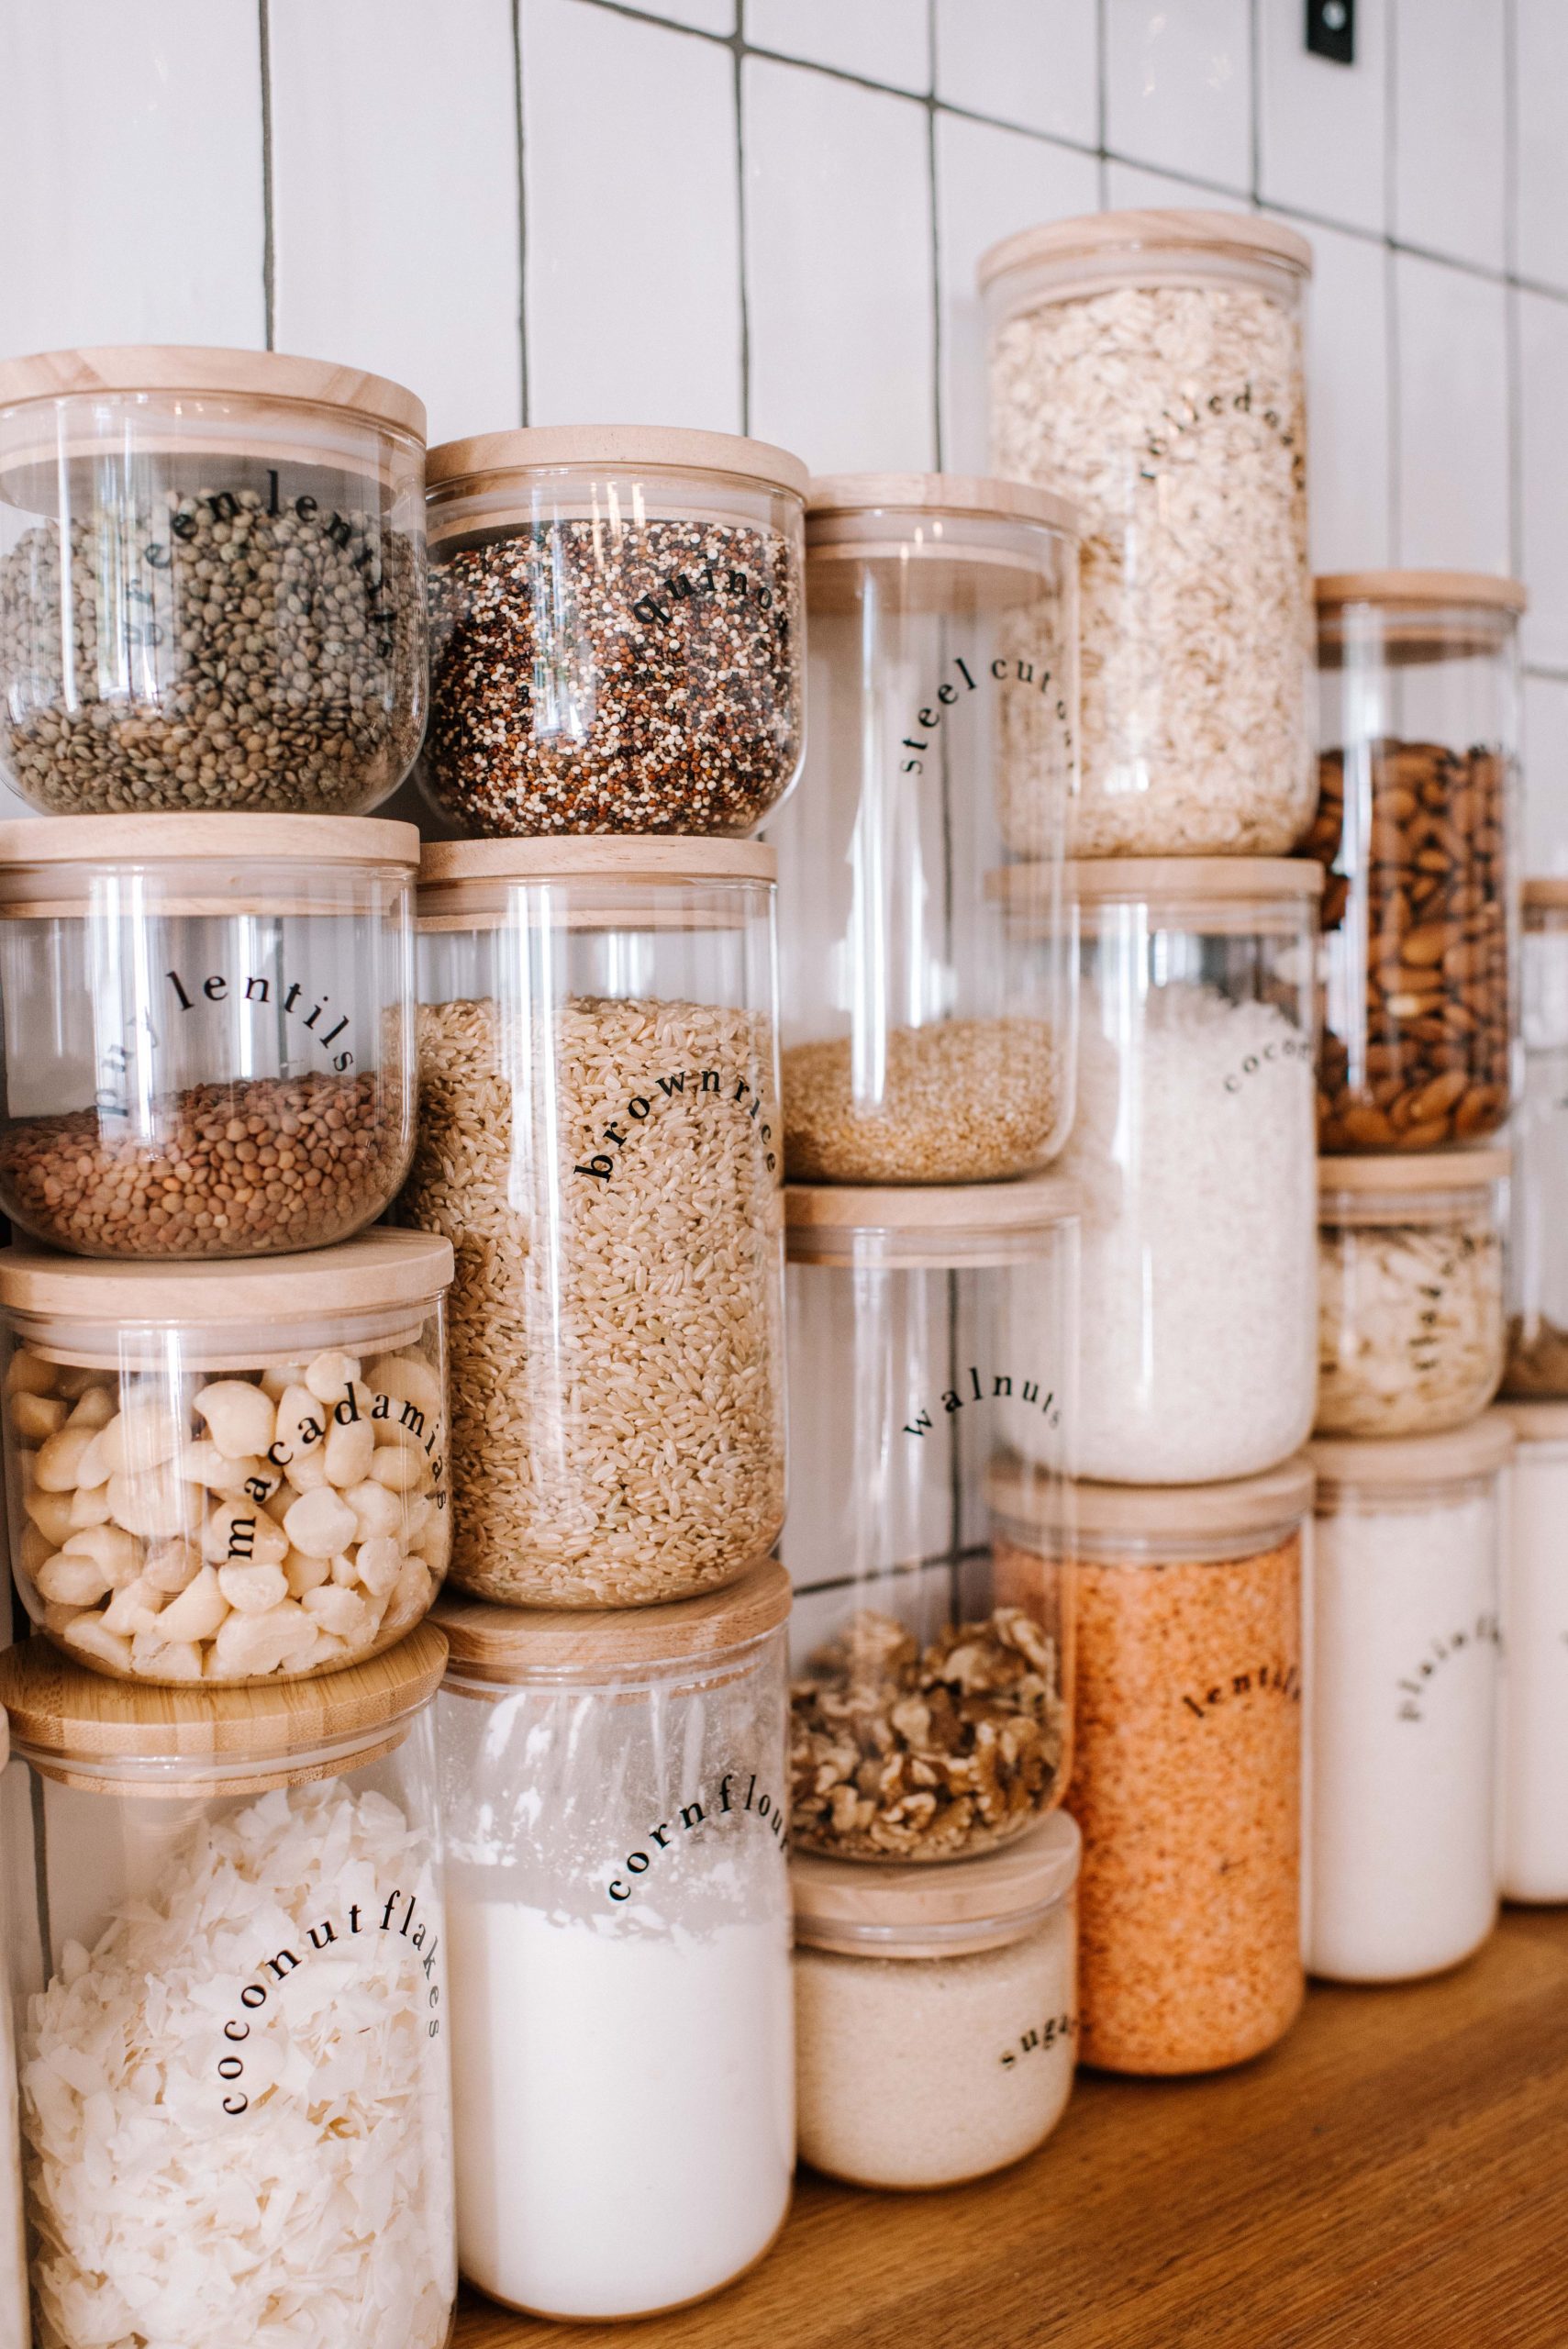
Come organise with me! Can you BELIEVE I’ve been using my Cricut for almost a year now and am yet to organise the kitchen with it? Well it’s about time I did.
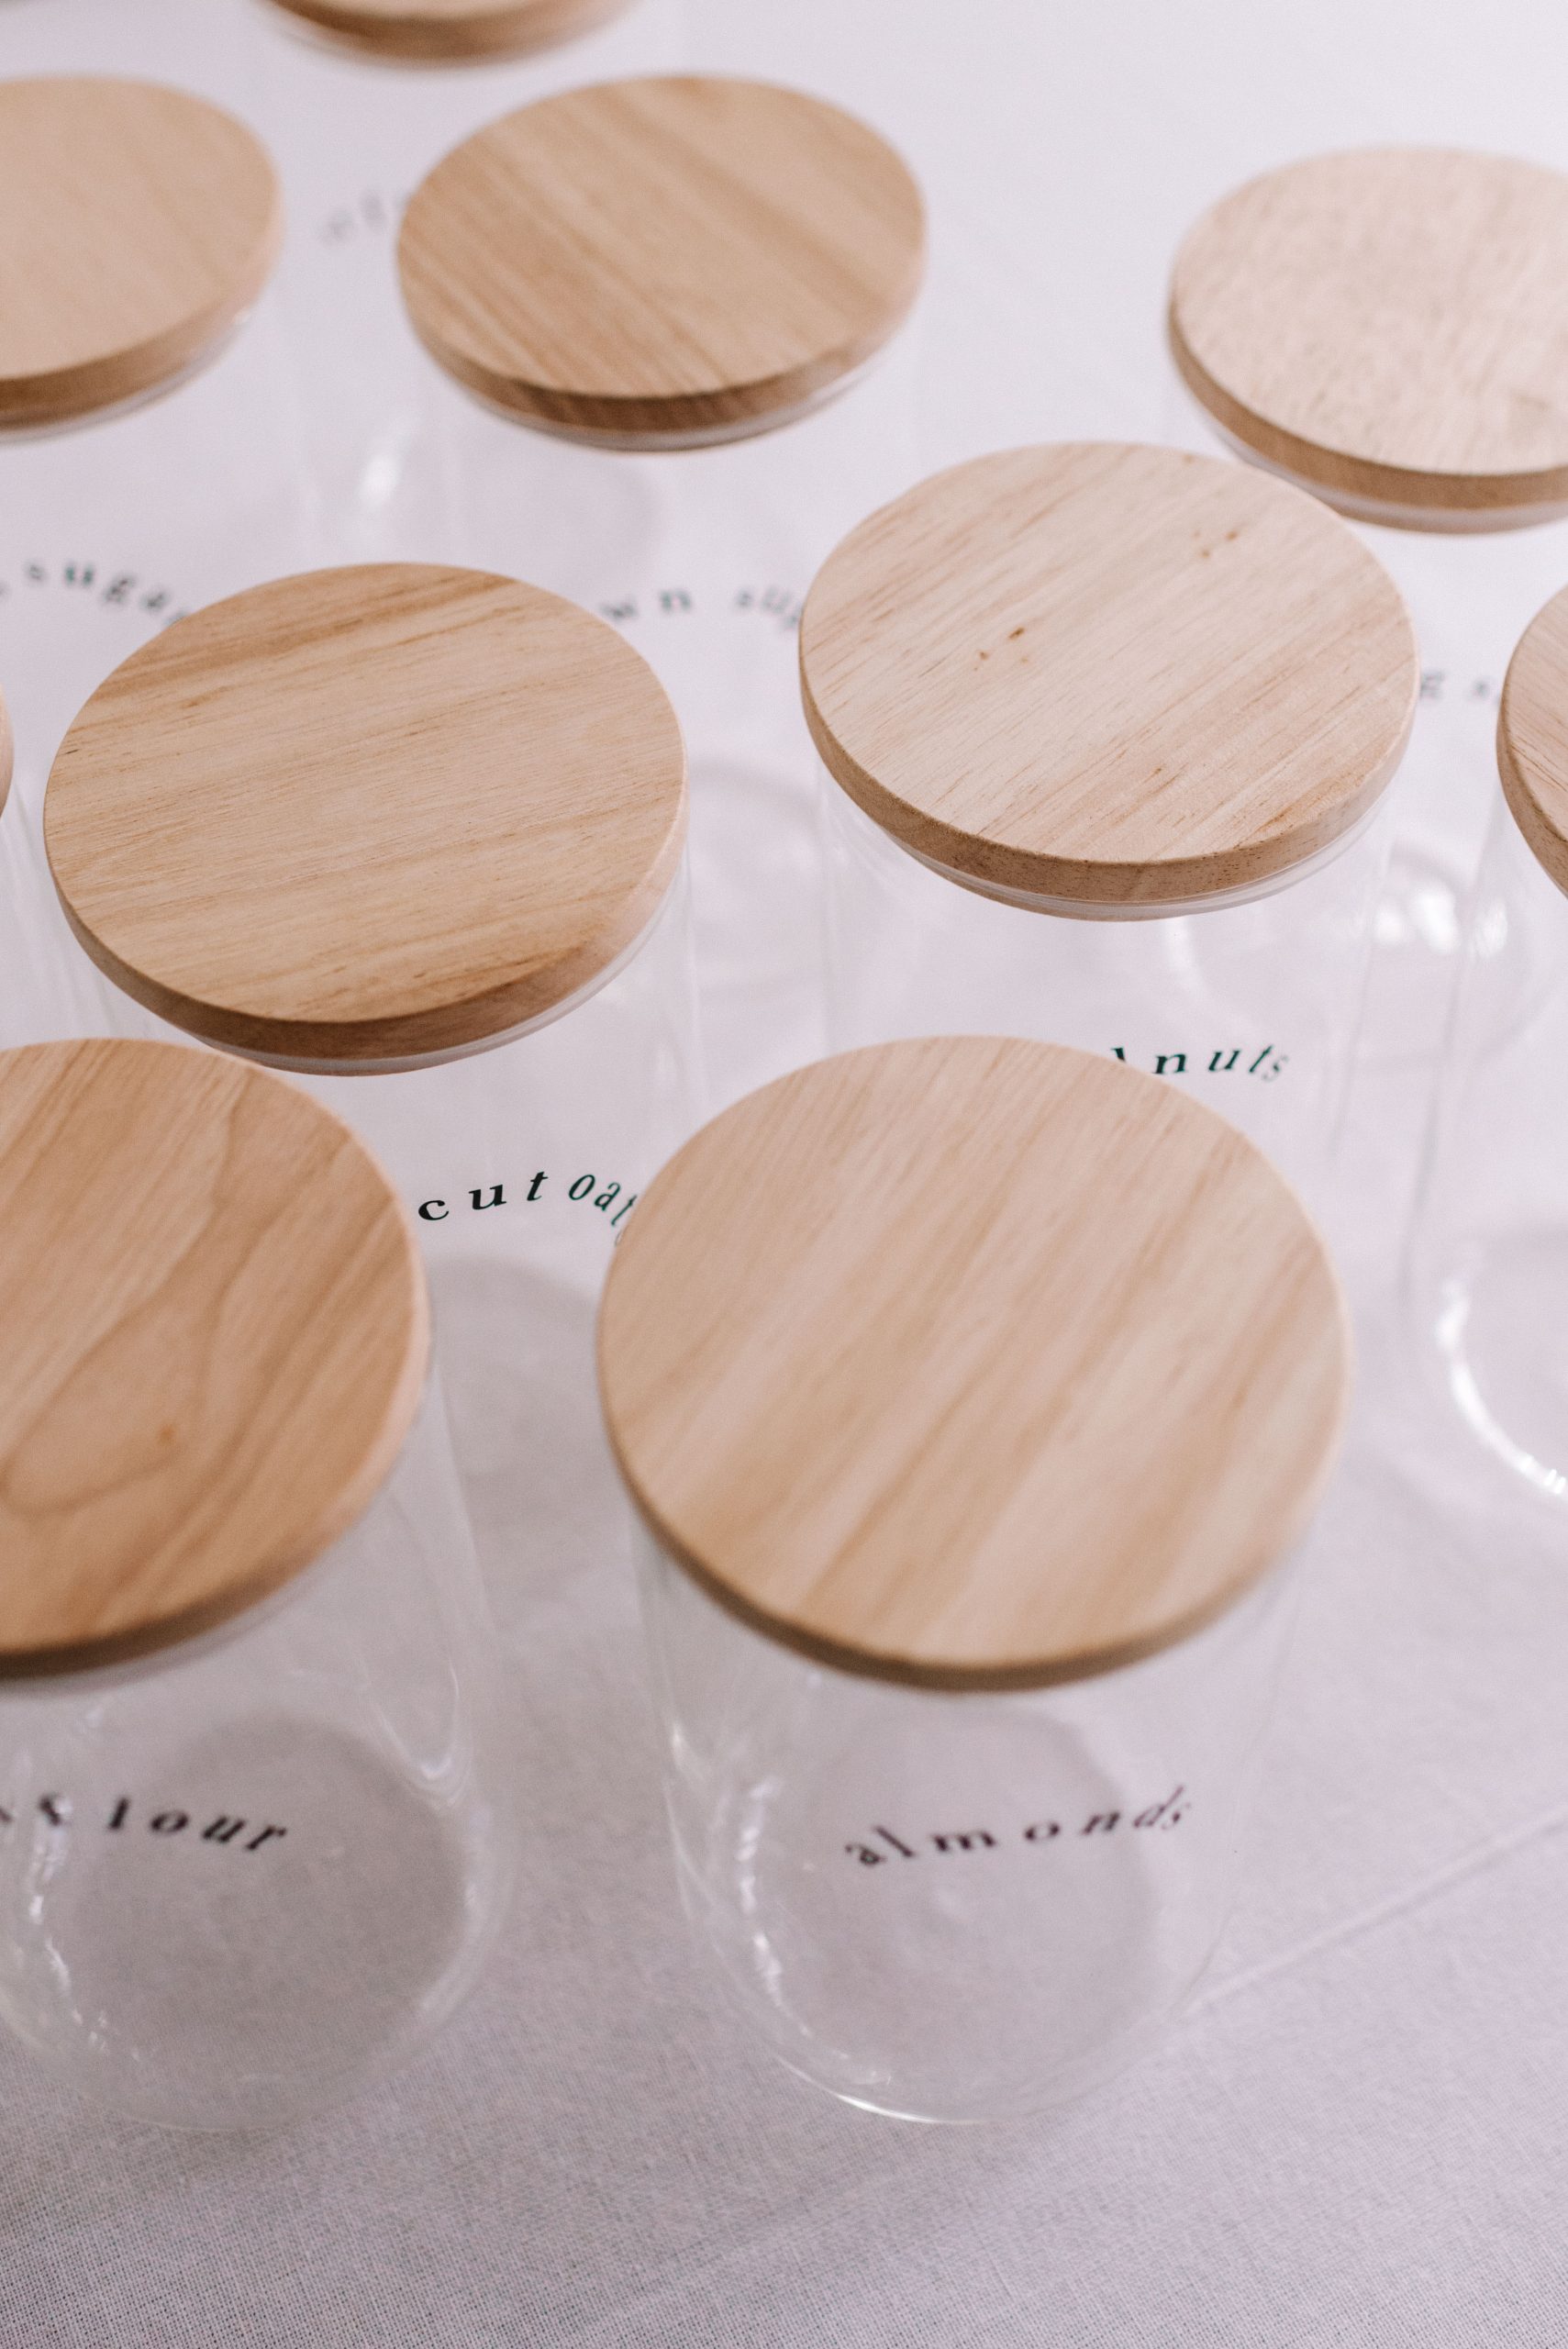
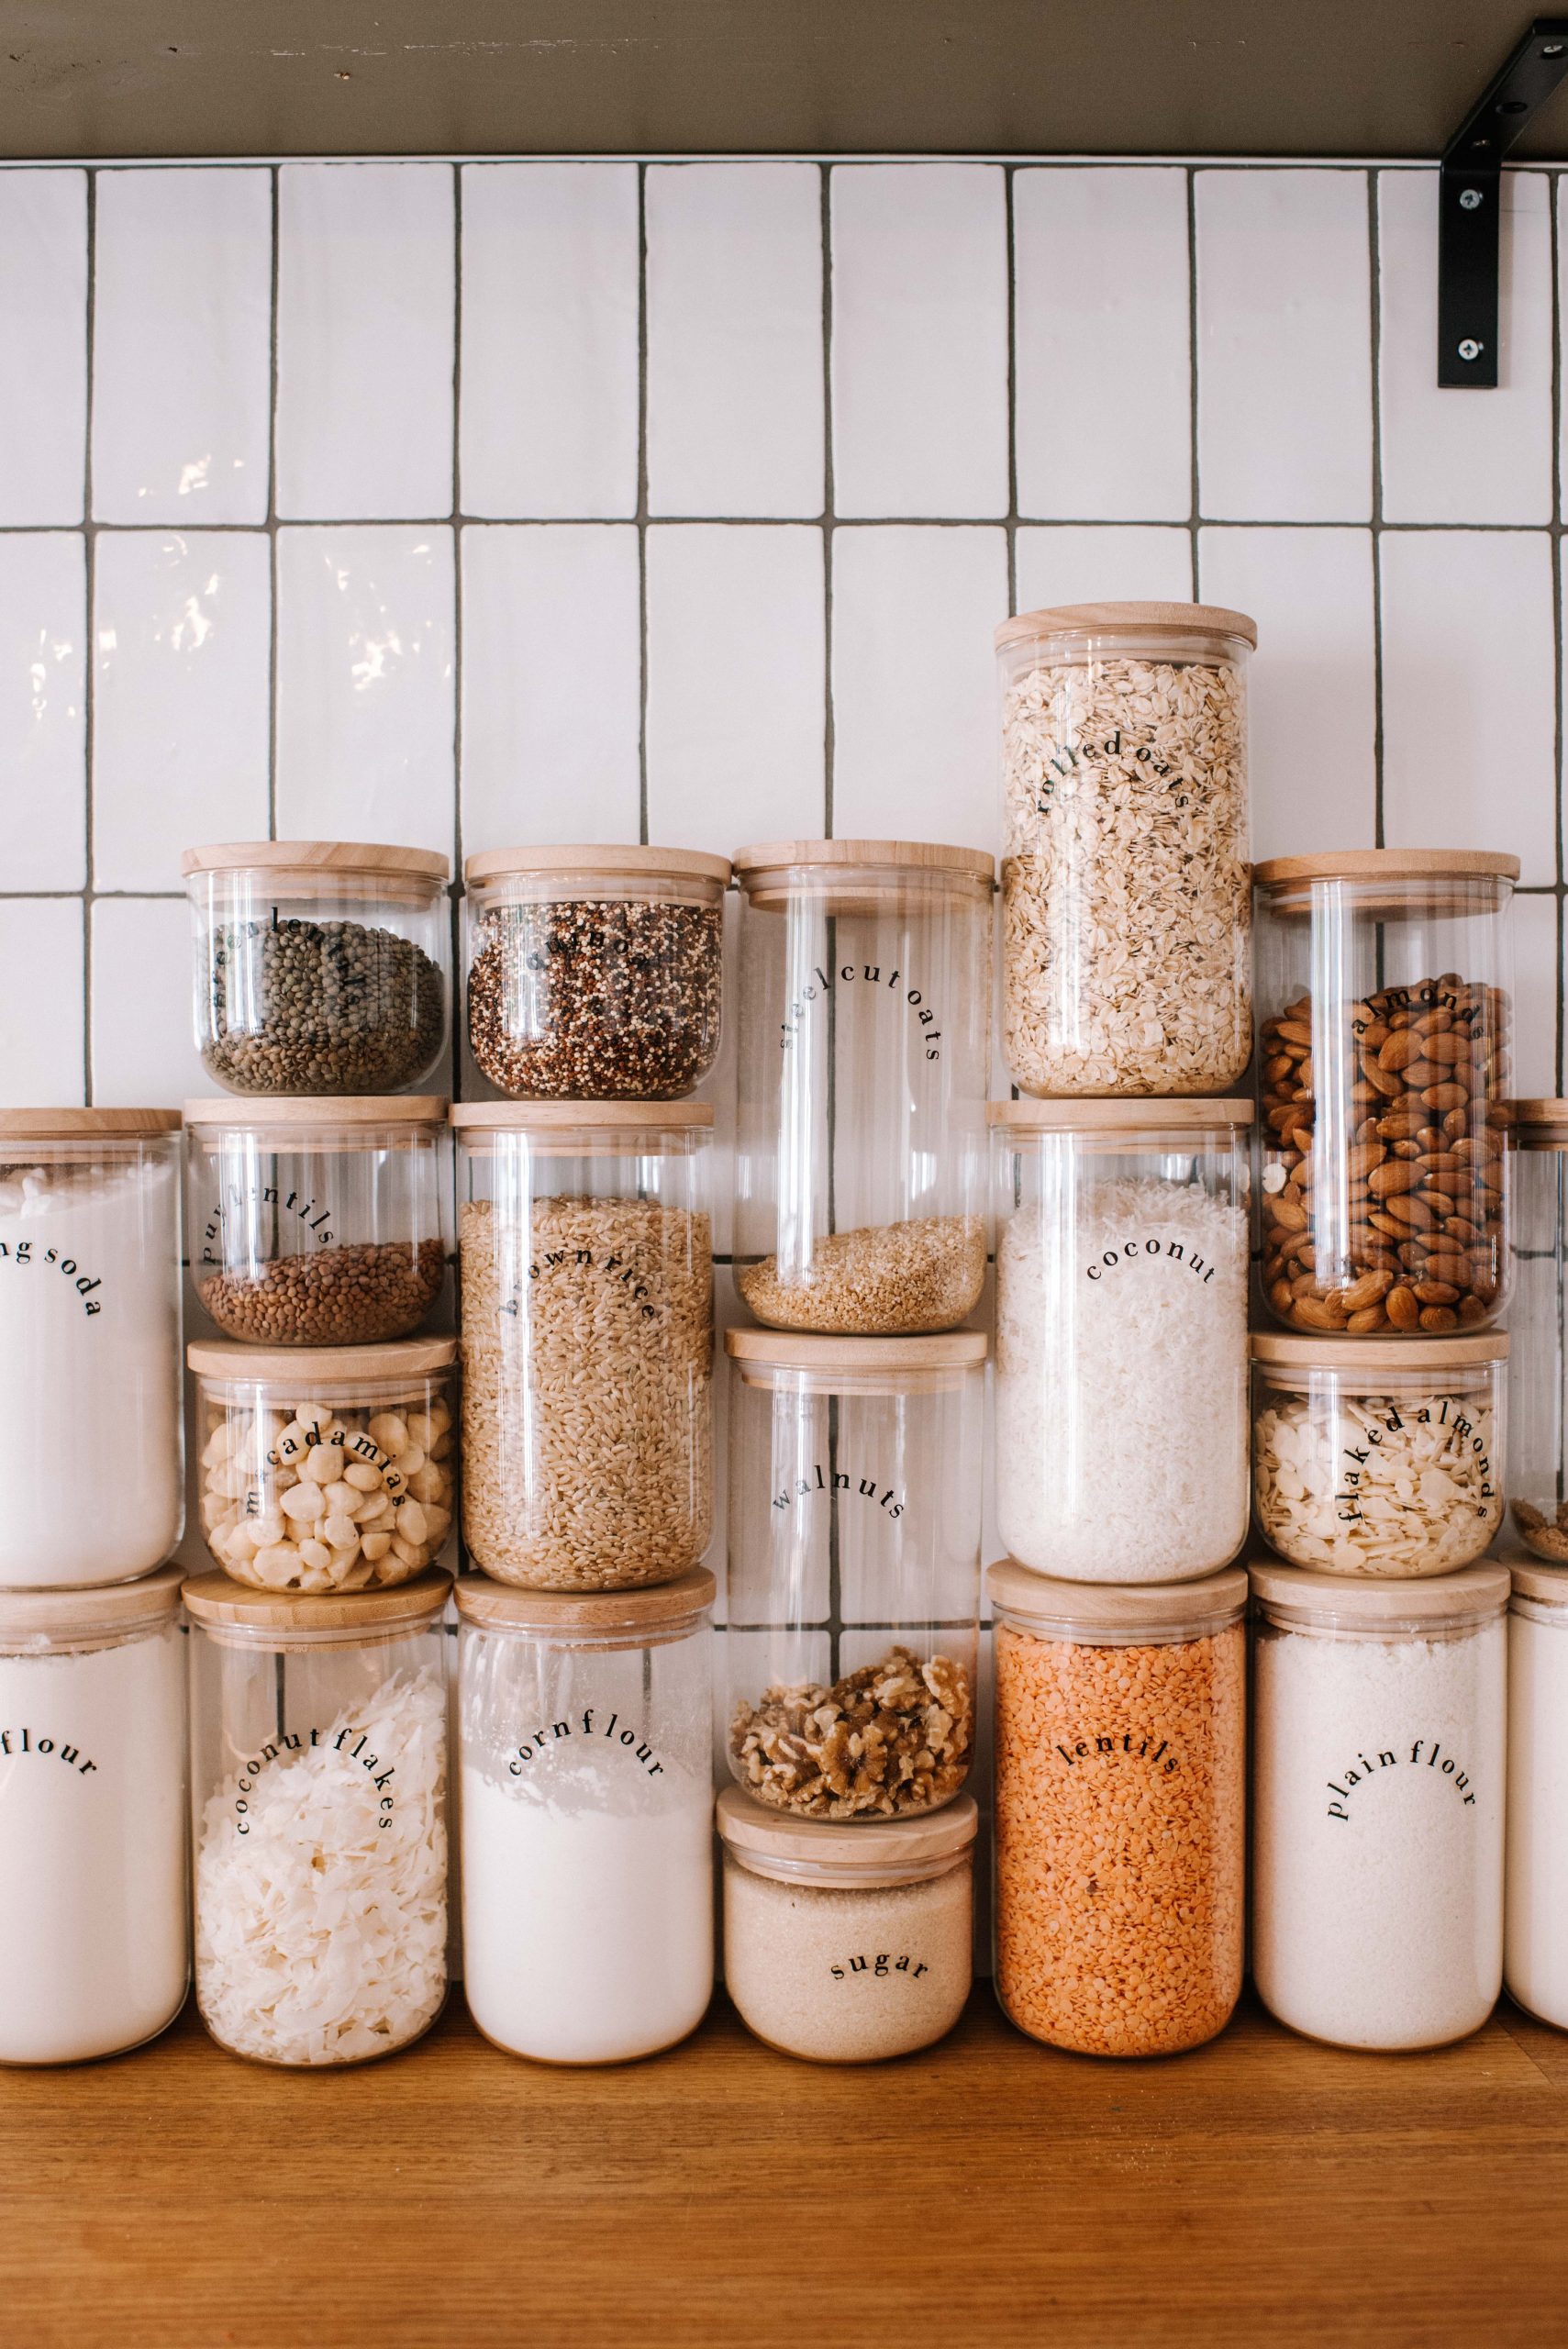
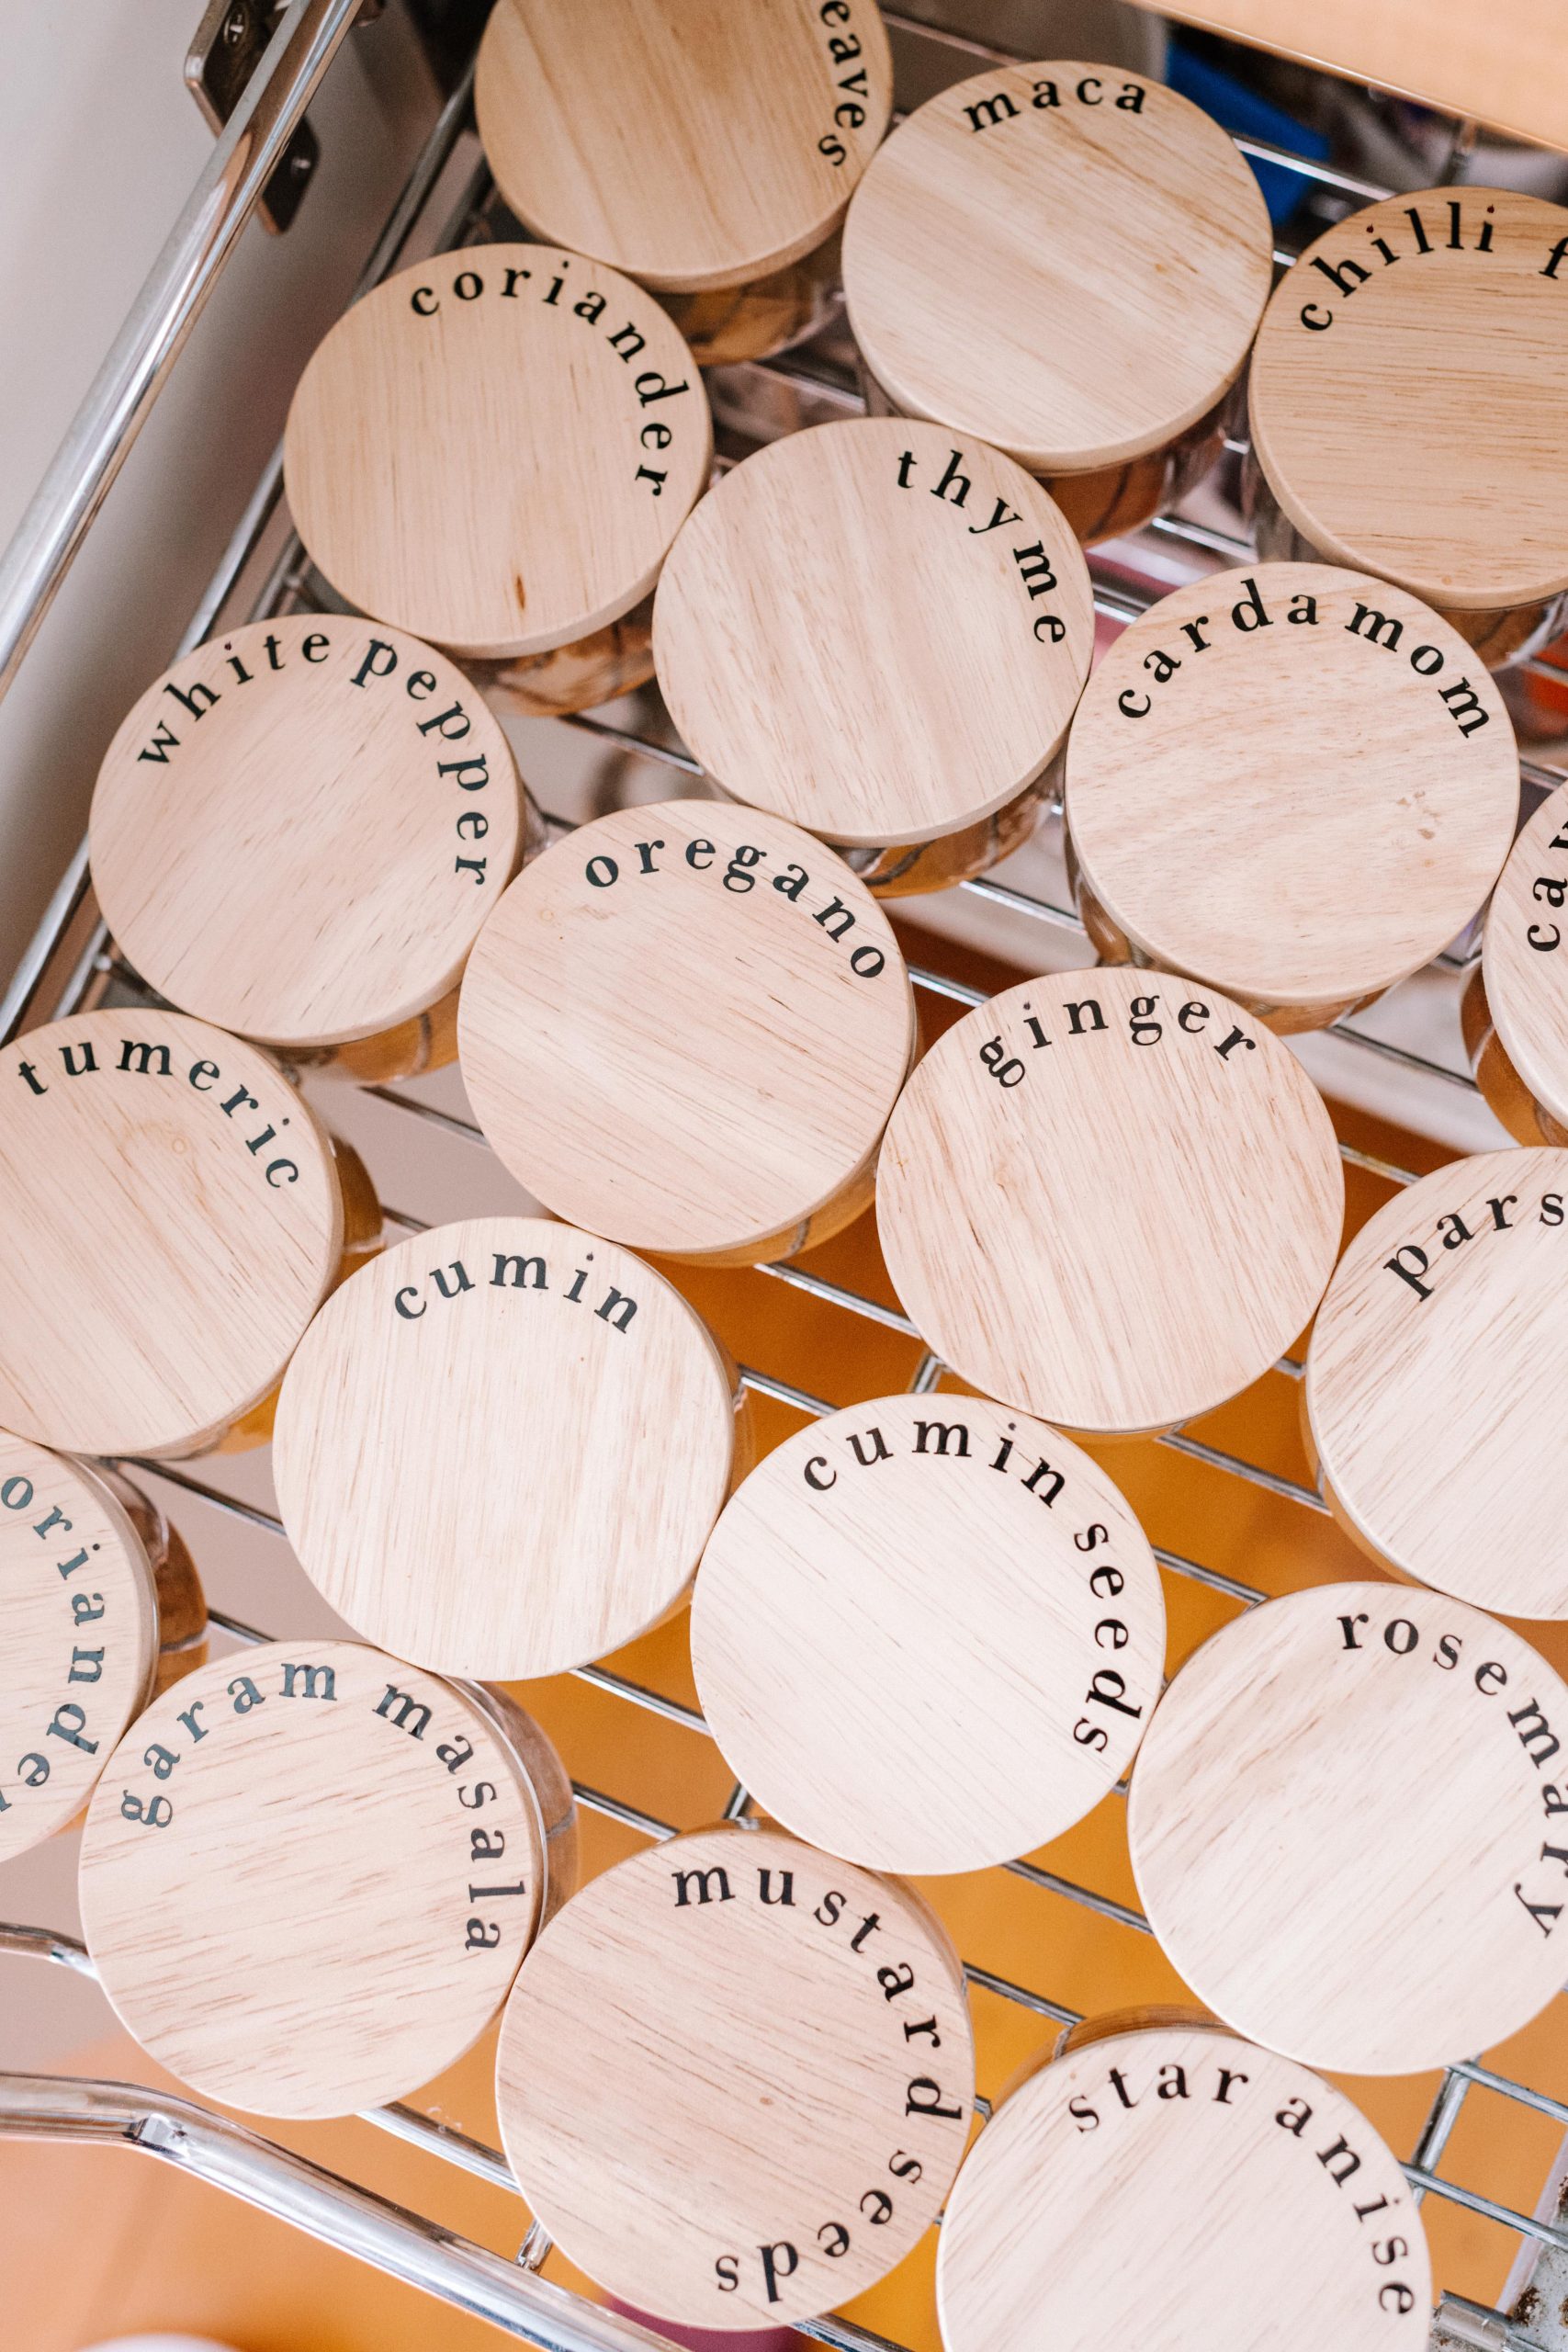
My first brush with Cricut in the kitchen was the Olive Oil bottles I customised for Christmas, and I’d be lying if I said I gave them all away… We kept one for us and I love refilling it every week. The little details just add so much! This time around I thought I would tackle our nightmarish spice drawer and all our dry goods that are haphazardly thrown into the pantry. I got my hands on some pretty jars and knew this would make an amazing Cricut Project. Come organise with me!
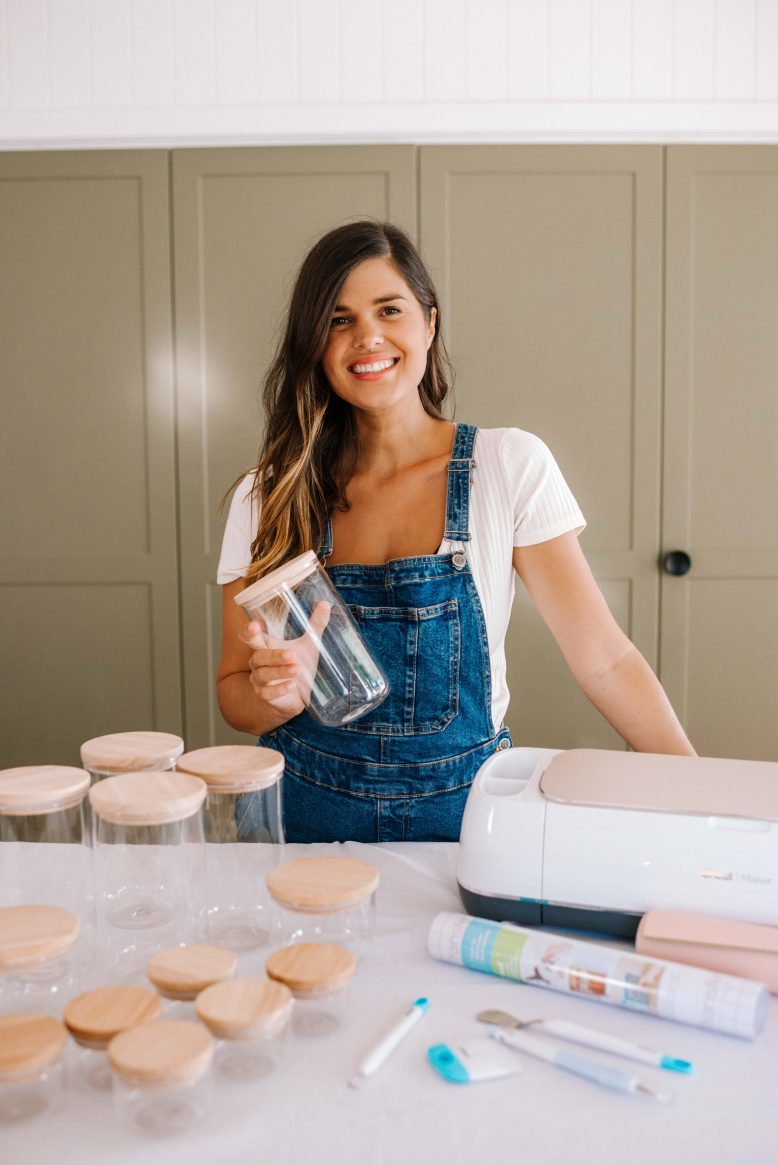
You Need
- Small, medium and large jars (these are from Kmart)
- Cricut’s Permanent Vinyl in Black
- A standard grip cutting mat
- Cricut tools such as the weeding tool and the scraping tool.
- Your Cricut Machine (we’re using the maker)
- Scissors
Setting Up Your Design in Design Space
Design Space is the Cricut software or app that you need to use to create and cut your designs. The app works on your smartphone, tablet, laptop or desktop. You can either import your own design or choose from the literal thousands of projects or images that are on there to use. For this project we’re doing – labelling some jars – we’re going to use the canvas to create our own custom design. Here’s how to do it.
- The first thing to do is to measure jar you want to transfer onto, for us that’s some jars and jar lids. I took the measurements of these and then opened up the canvas in Design Space.
- Select the text function and choose your font.
- Type your words in, and then use the arrows on the text itself to resize, or change the orientation of the words. Once you are happy with the sizing and words, select Make It.
- After the machine has cut out the design, select unload on the Design Space app.
Transferring Your Design
1
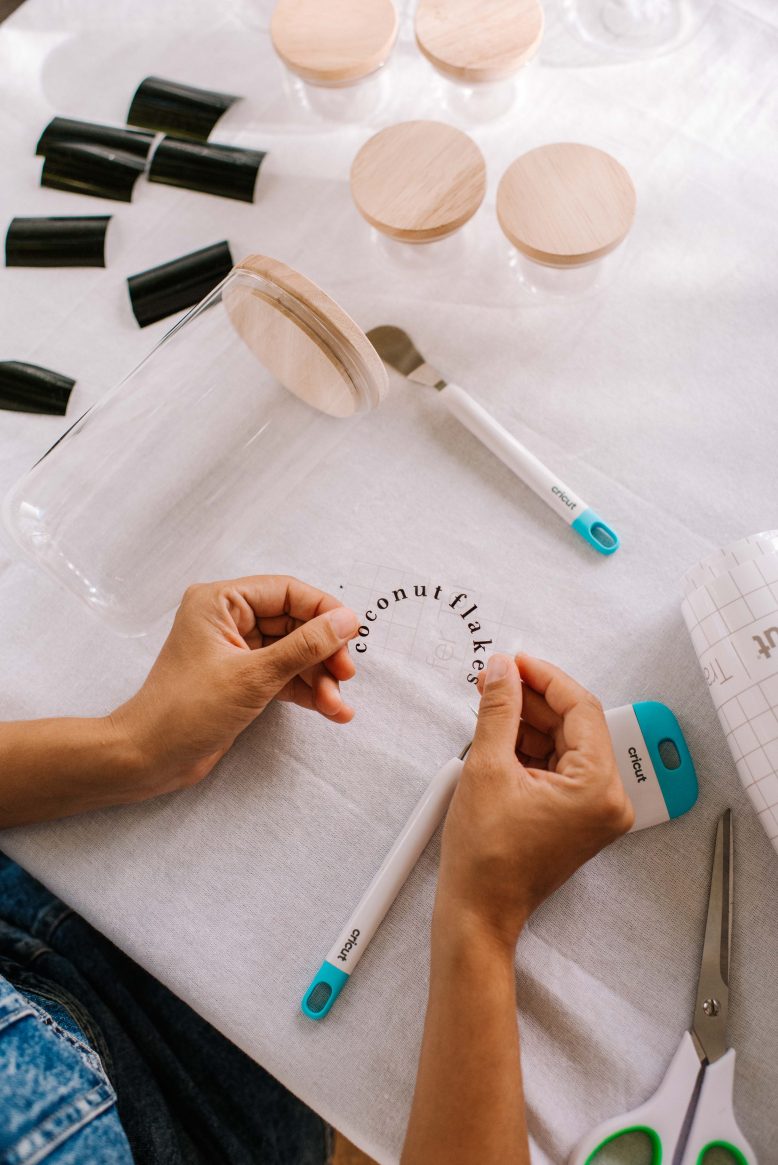
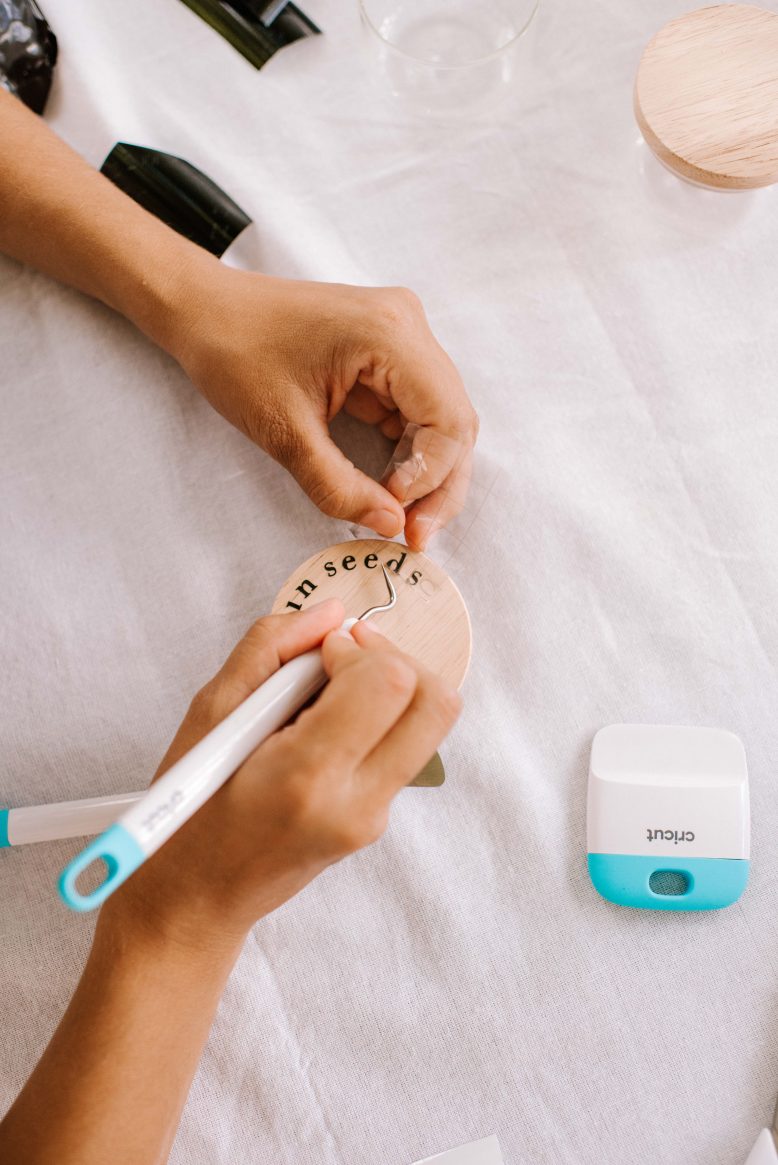
The first step in transferring your design is to weed it. This means removing the ‘negative space’ of the design that you don’t want to transfer onto the item you are making. Use your fingers or weeding tool to first lift from the edge to remove larger sections of negative space. Once you have done that, use the weeding tool to remove the smaller pieces of negative space such as inside designs and letters.
2
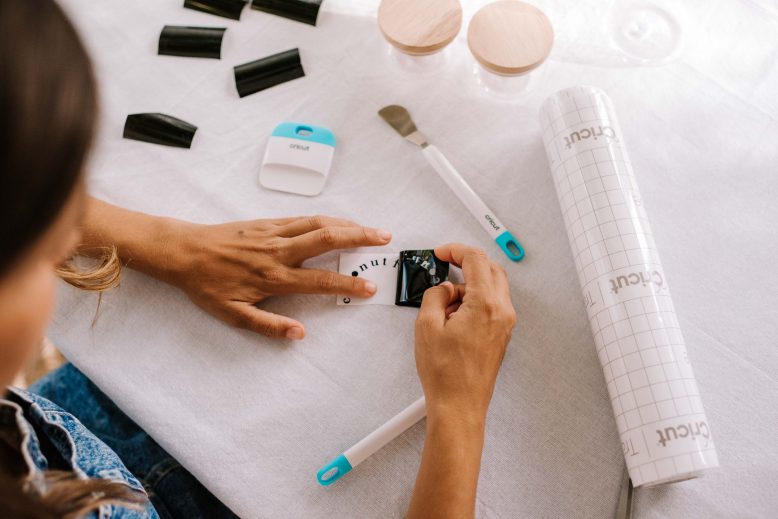
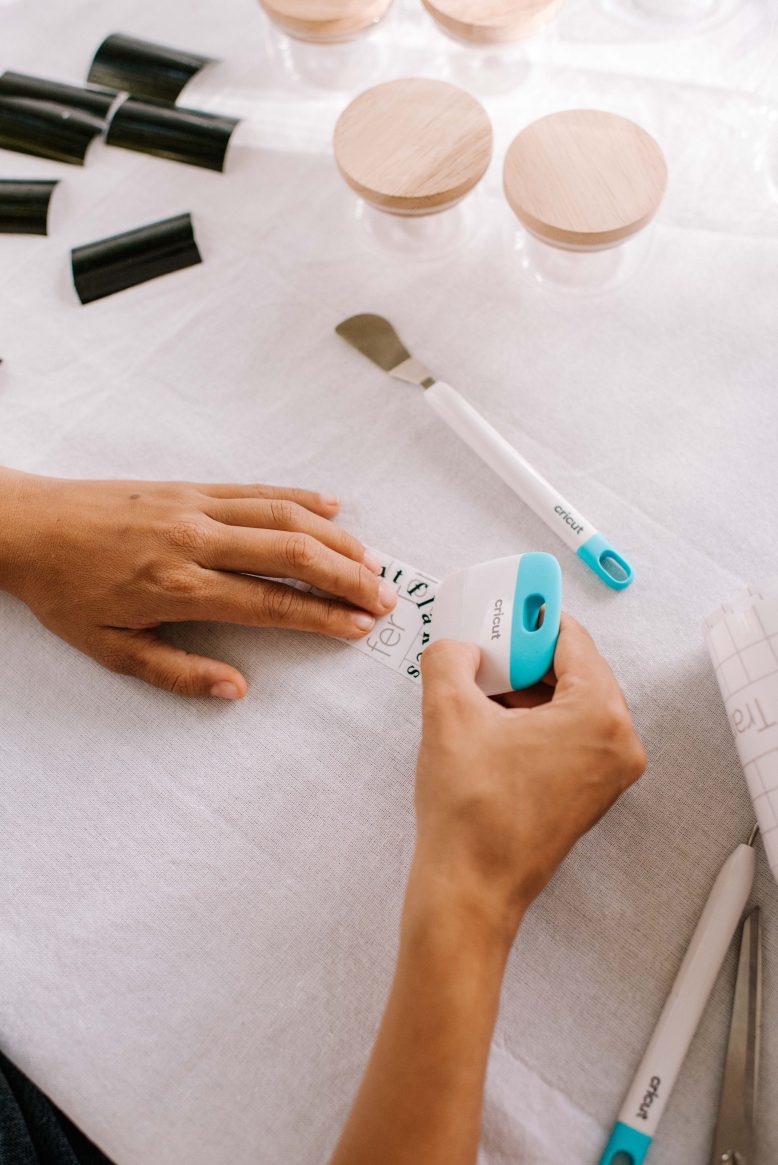
Take your transfer tape, and cut a section to fit your design. Remove it from the backing. Place it on top of your design and use the scraping tool on both sides of the transfer tape to help to stick the design onto the transfer tape.
3
Flip the design over so the vinyl backing is facing up, then carefully peel back the backing, leaving the design on the tape.
4
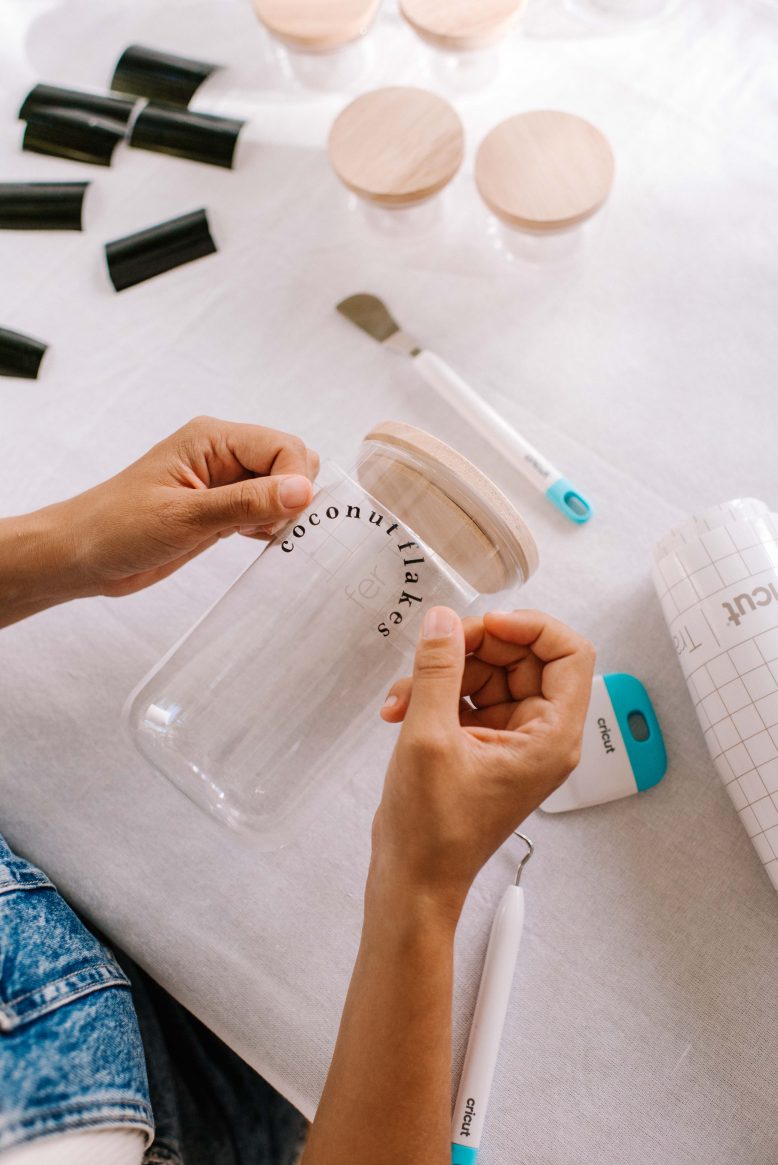
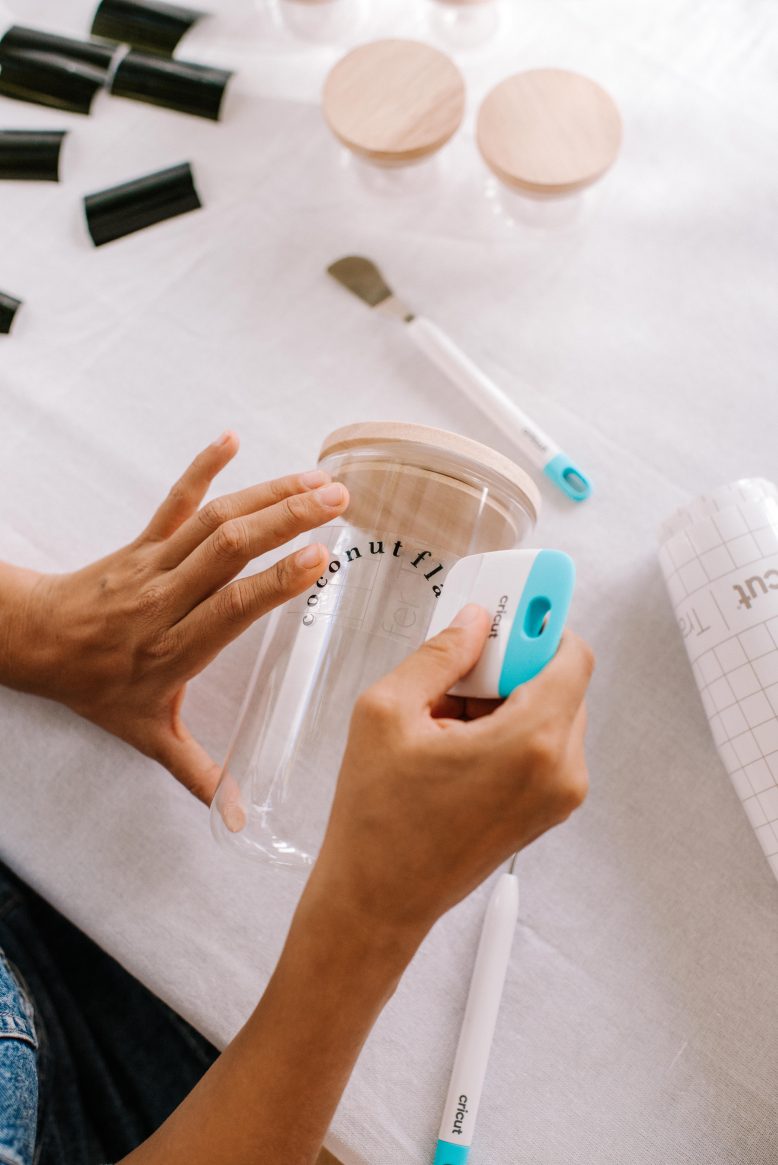
Place your tape down onto the jars, allowing the centre of the design to drop onto the jar and then smoothing from the inside out.
6
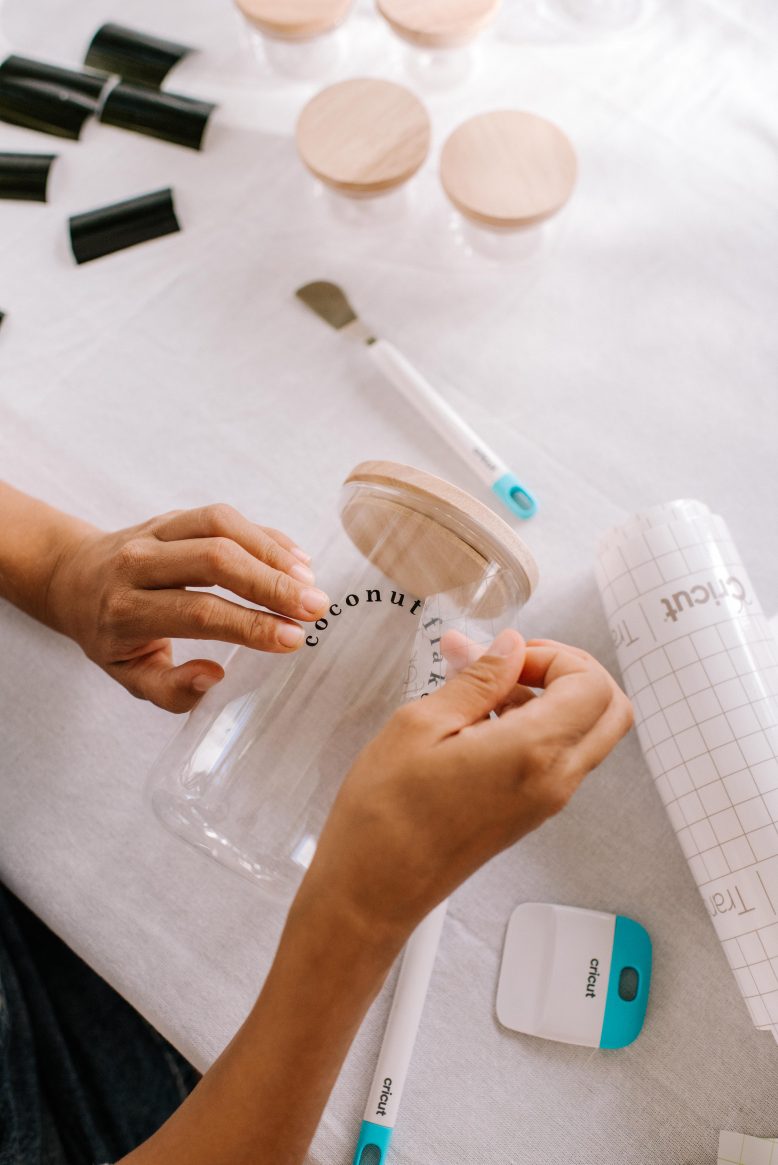
Carefully remove the transfer tape to leave the lettering behind. When you're transferring onto glass or other glossy surfaces I find that the letter adhere more easily than if you are transferring onto a more porous surface. Keep your used transfer tape to one side to use again, I found for these jars I only needed to use a few pieces of transfer tape.
7
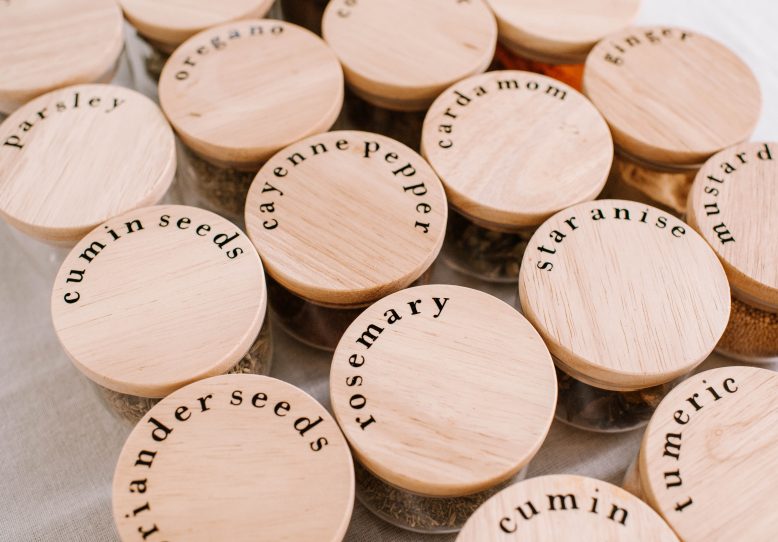
As I mentioned I also did this using small glass jars for our spices, and I think they turned out well. Note that the process was a little more fiddly when using a wooden surface to transfer onto, I used the weeding tool to make sure the letters were pressed down into place when removing the transfer tape, then placed a piece of paper over the top and used the scraping took to really adhere to letters down. Totally worth it!
The best thing about having an organised kitchen like this is that you can go to a dry good bulk store and pick up refills when you need them. You can take your jars with you or simple use a born paper bag. I usually completely finish a jar before I refill, so that the produce is fresh.
You can find the Cricut Joy and its accessories at Spotlight, Harvey Norman, Big W and JB HiFi. This project is in collaboration with Cricut.


