I’ve been working with Cricut for almost a year, and have had so much fun experimenting with the Joy and Maker machines. I’ve made so many cool things and have been blown away by how much these machines can do.
So when Cricut revealed to me that they were going to be launching an all new Maker 3 machine, I couldn’t wait to try it out! The new machine is amazing, cutting 300+ materials ranging from the most delicate fabric and paper to thick and tough matboard, leather, basswood and more. It’s super-fast, and it’s compatible with Cricut Smart Materials for easy extra long cuts up to 12 ft (3.6 metres!) without a cutting mat.
You Need
- Cricut Maker 3
- Cricut Smart Vinyl Black (Permanent)
- Cricut Transfer Tape
- Cricut tools such as the weeding tool and the scraping tool.
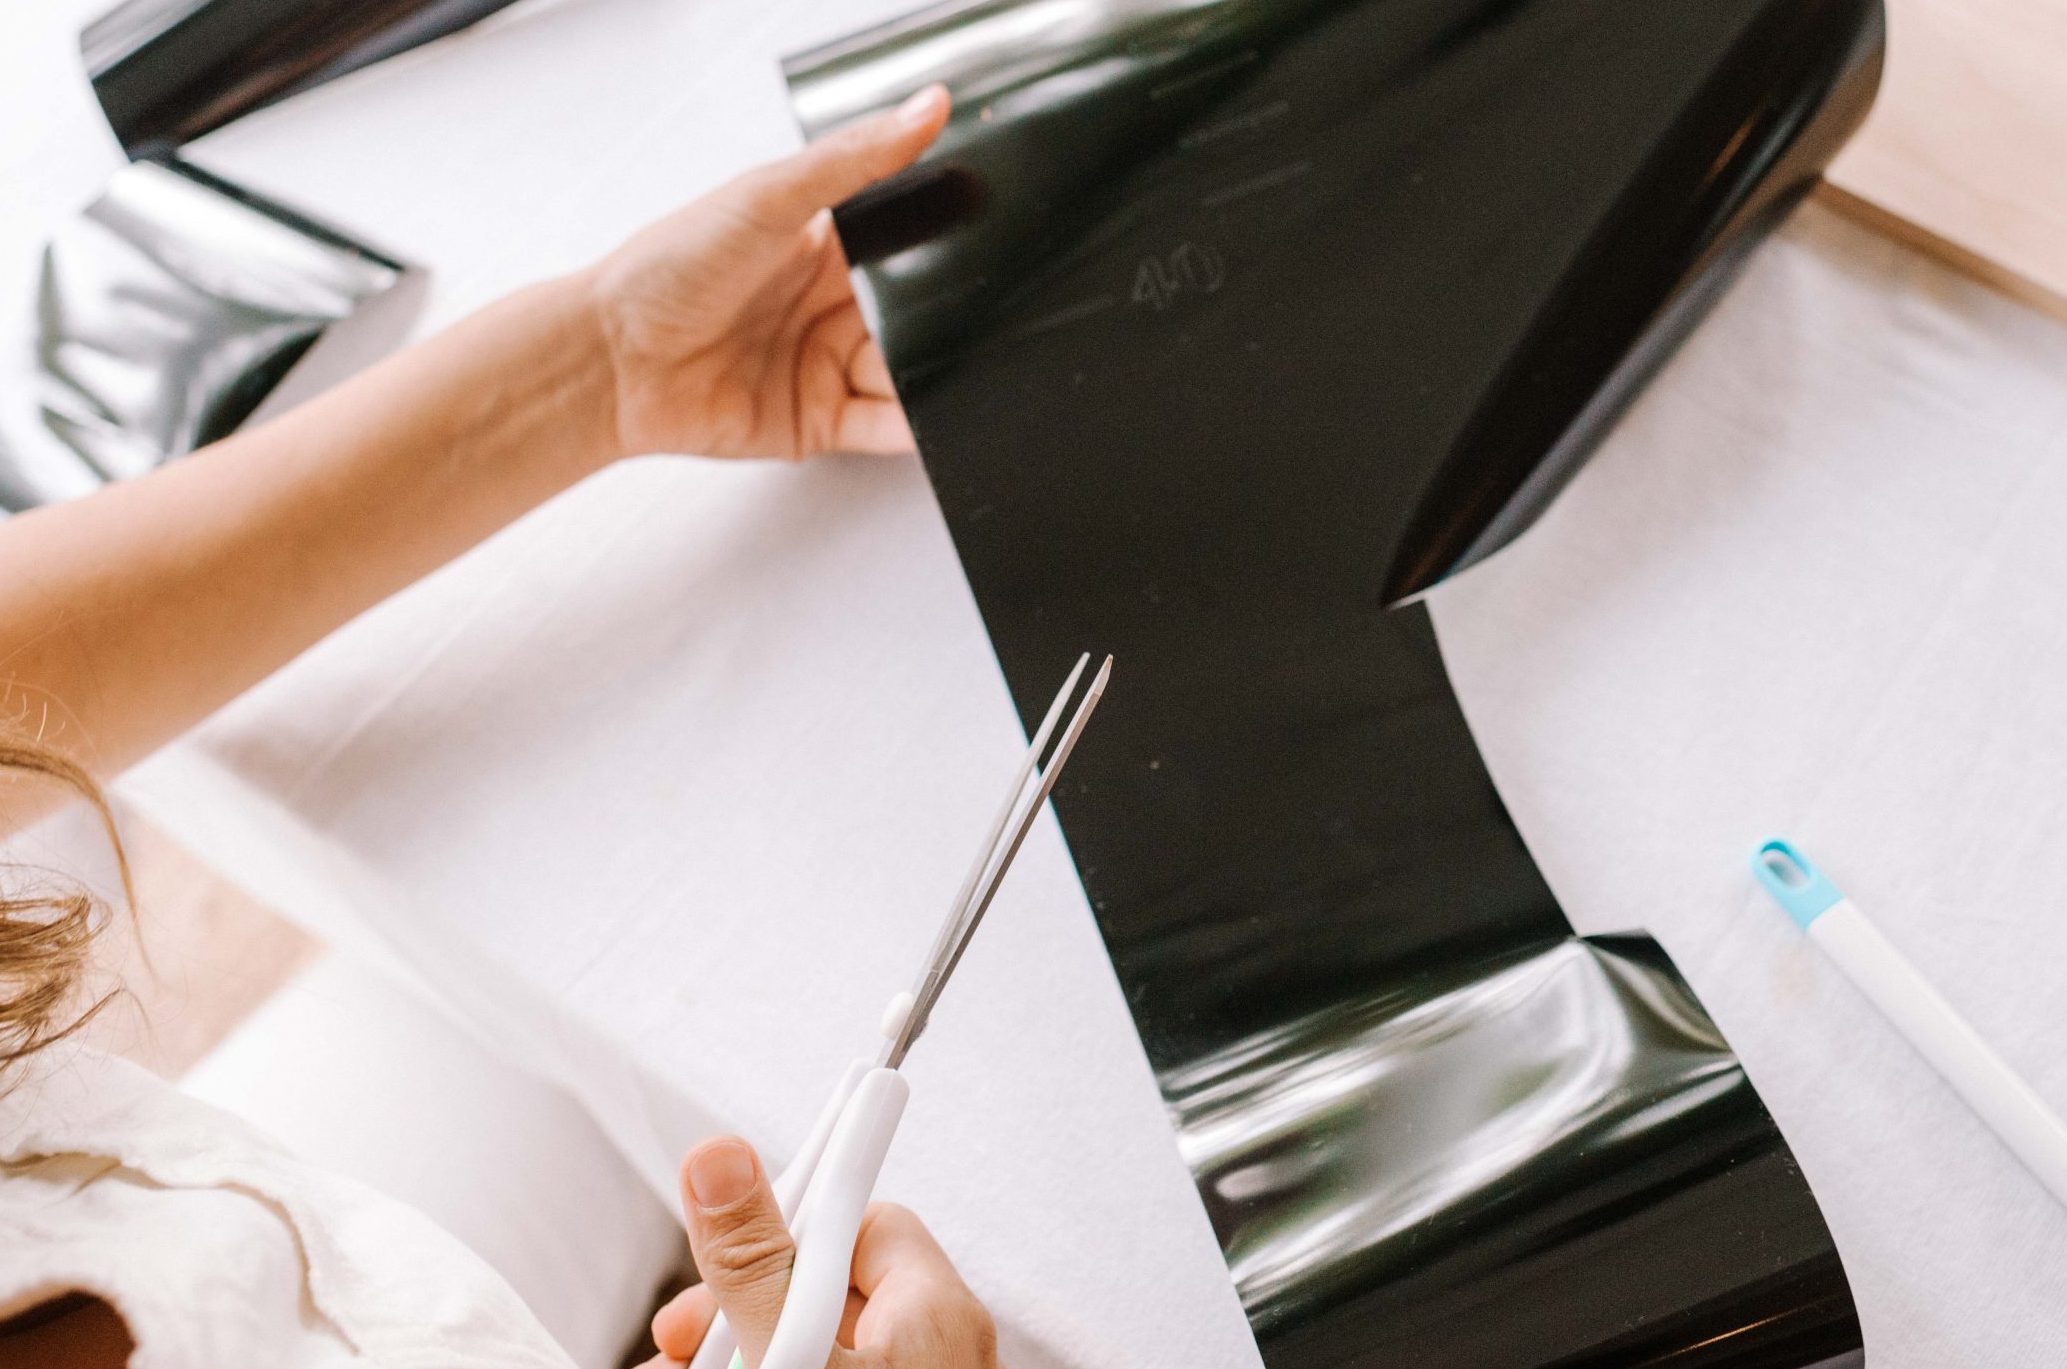
- Scissors
- A pine plank
Making The Height Chart
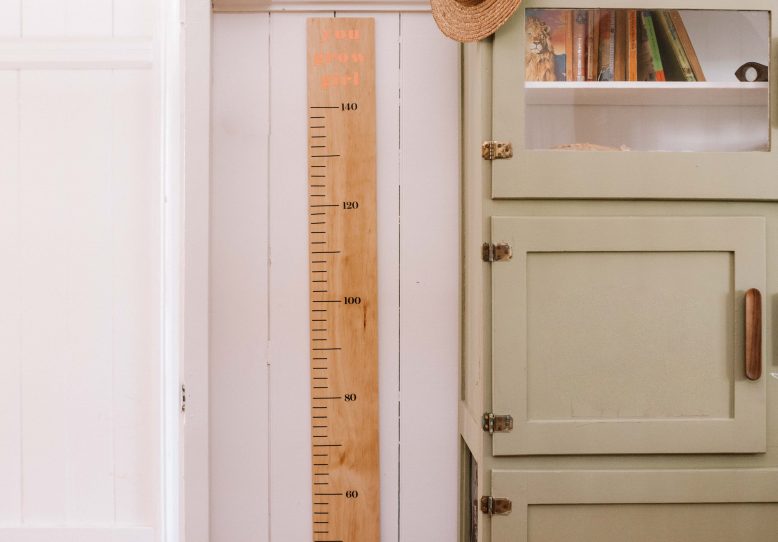
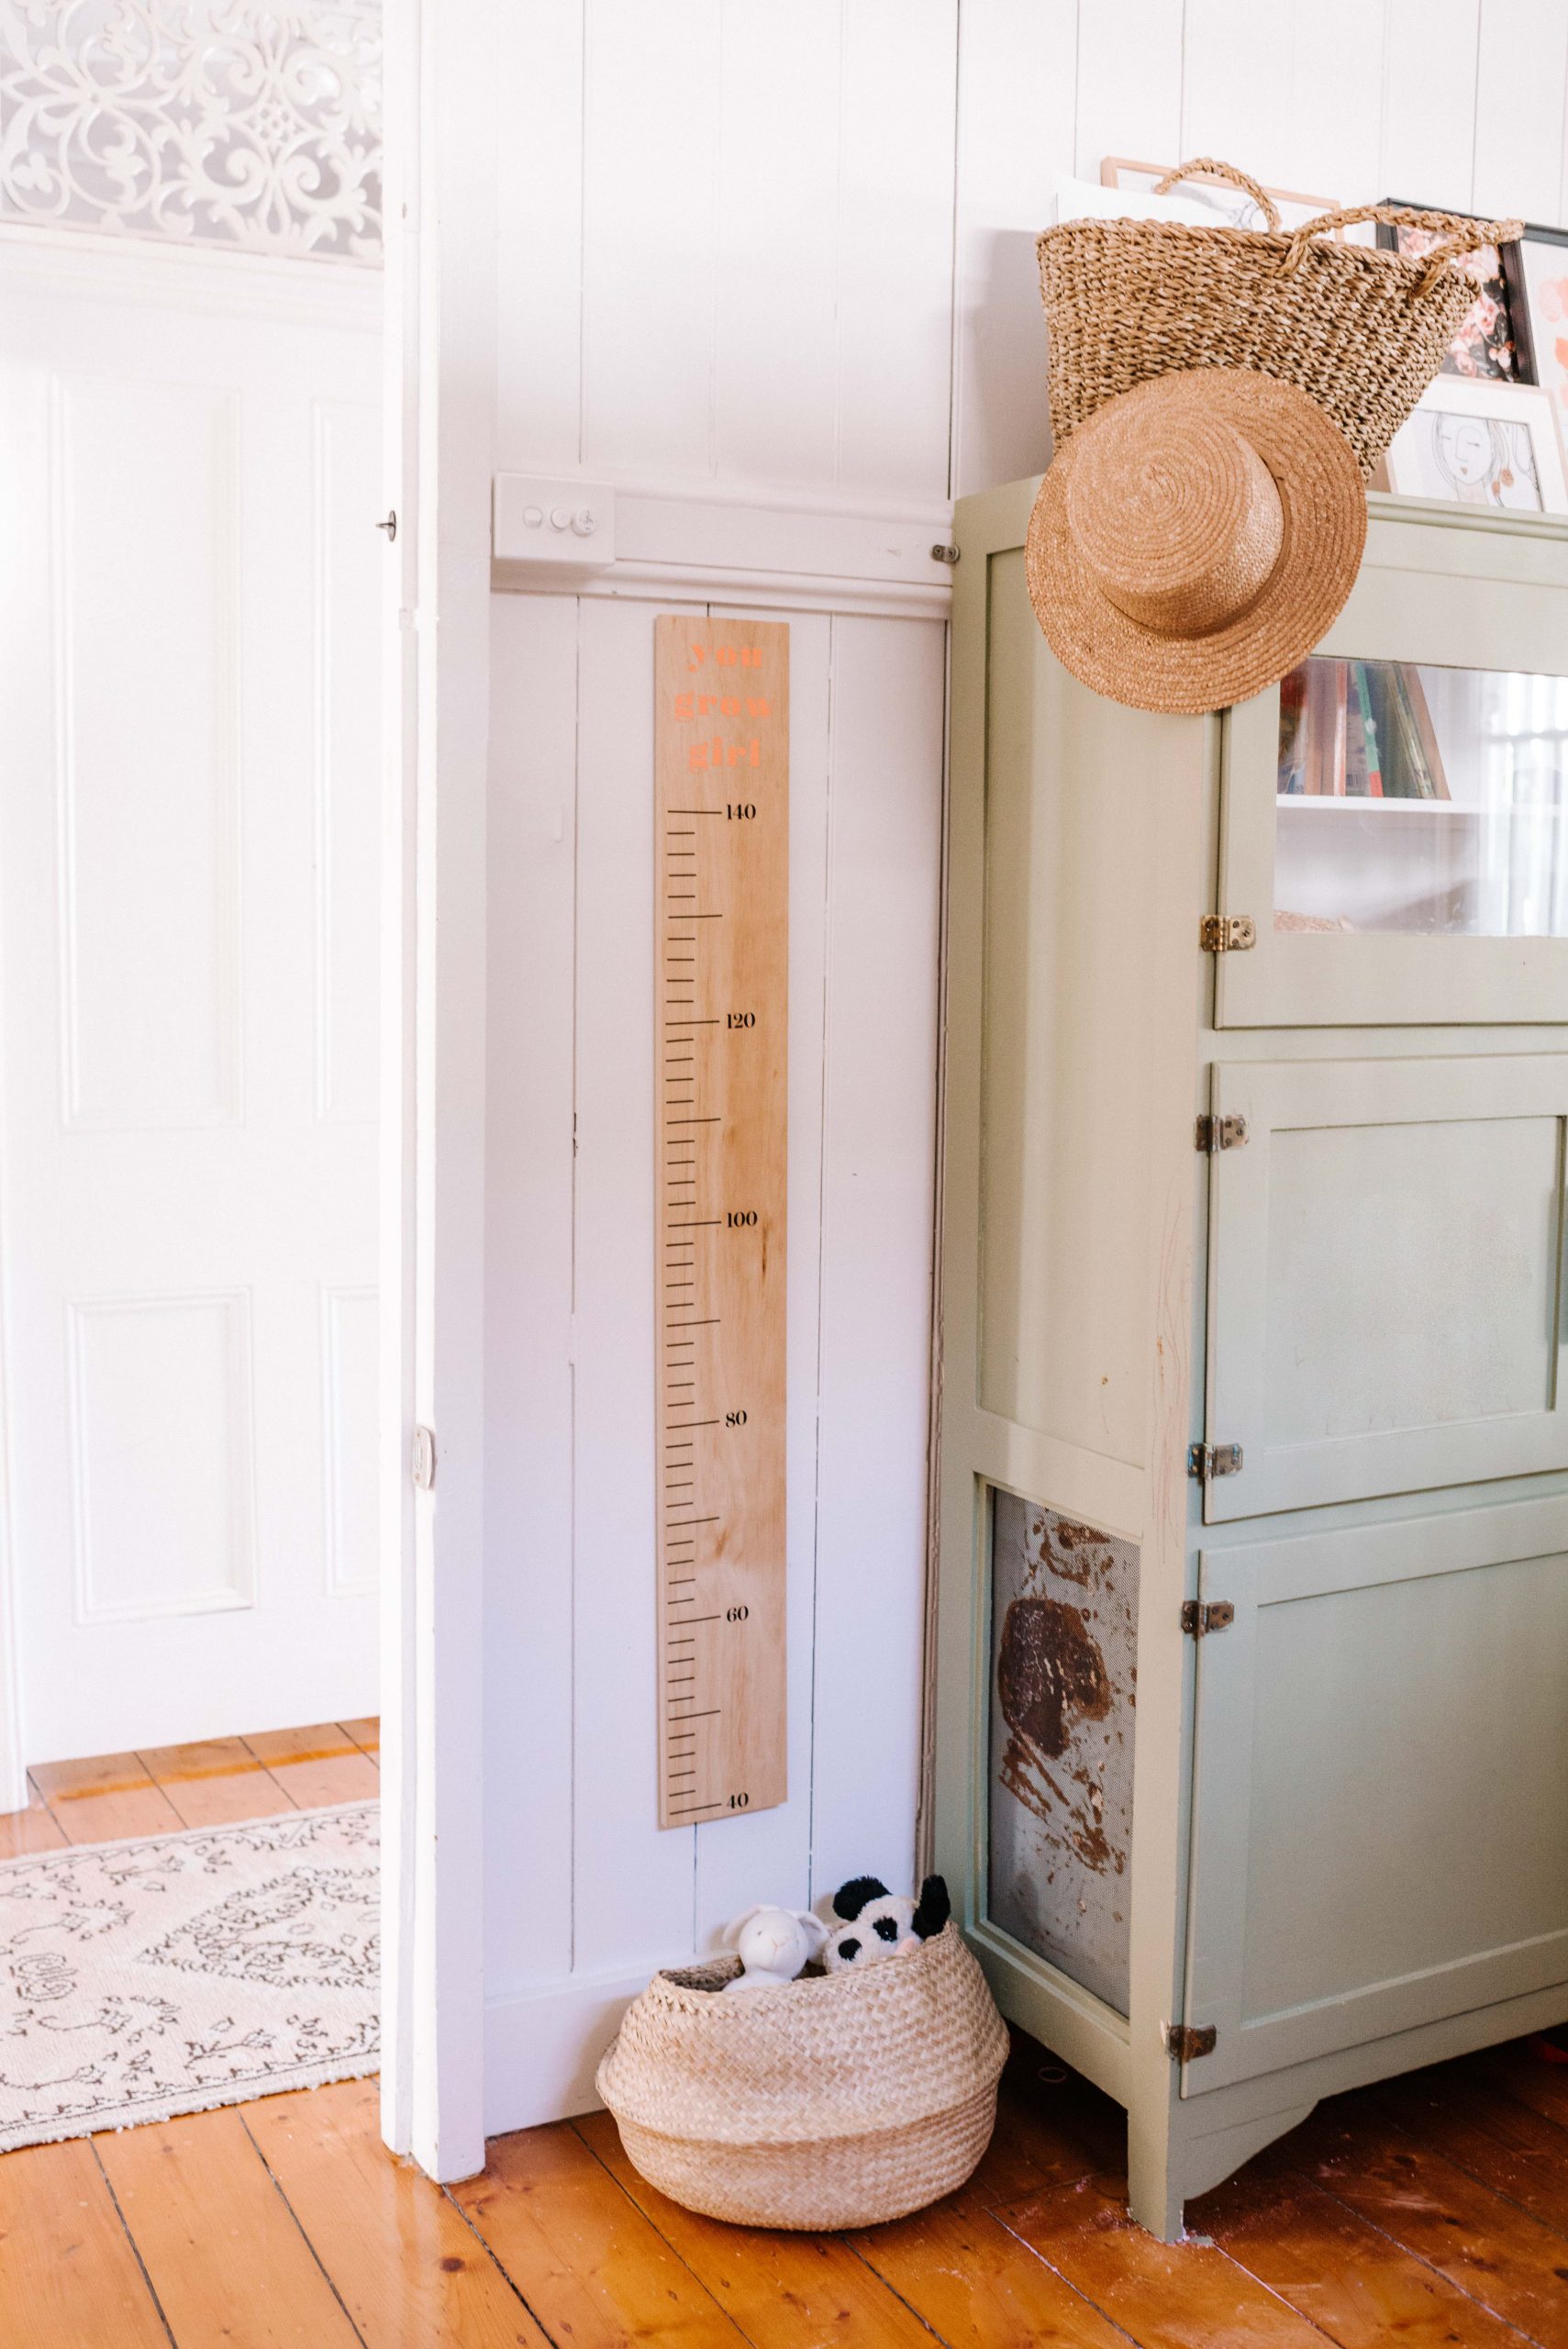
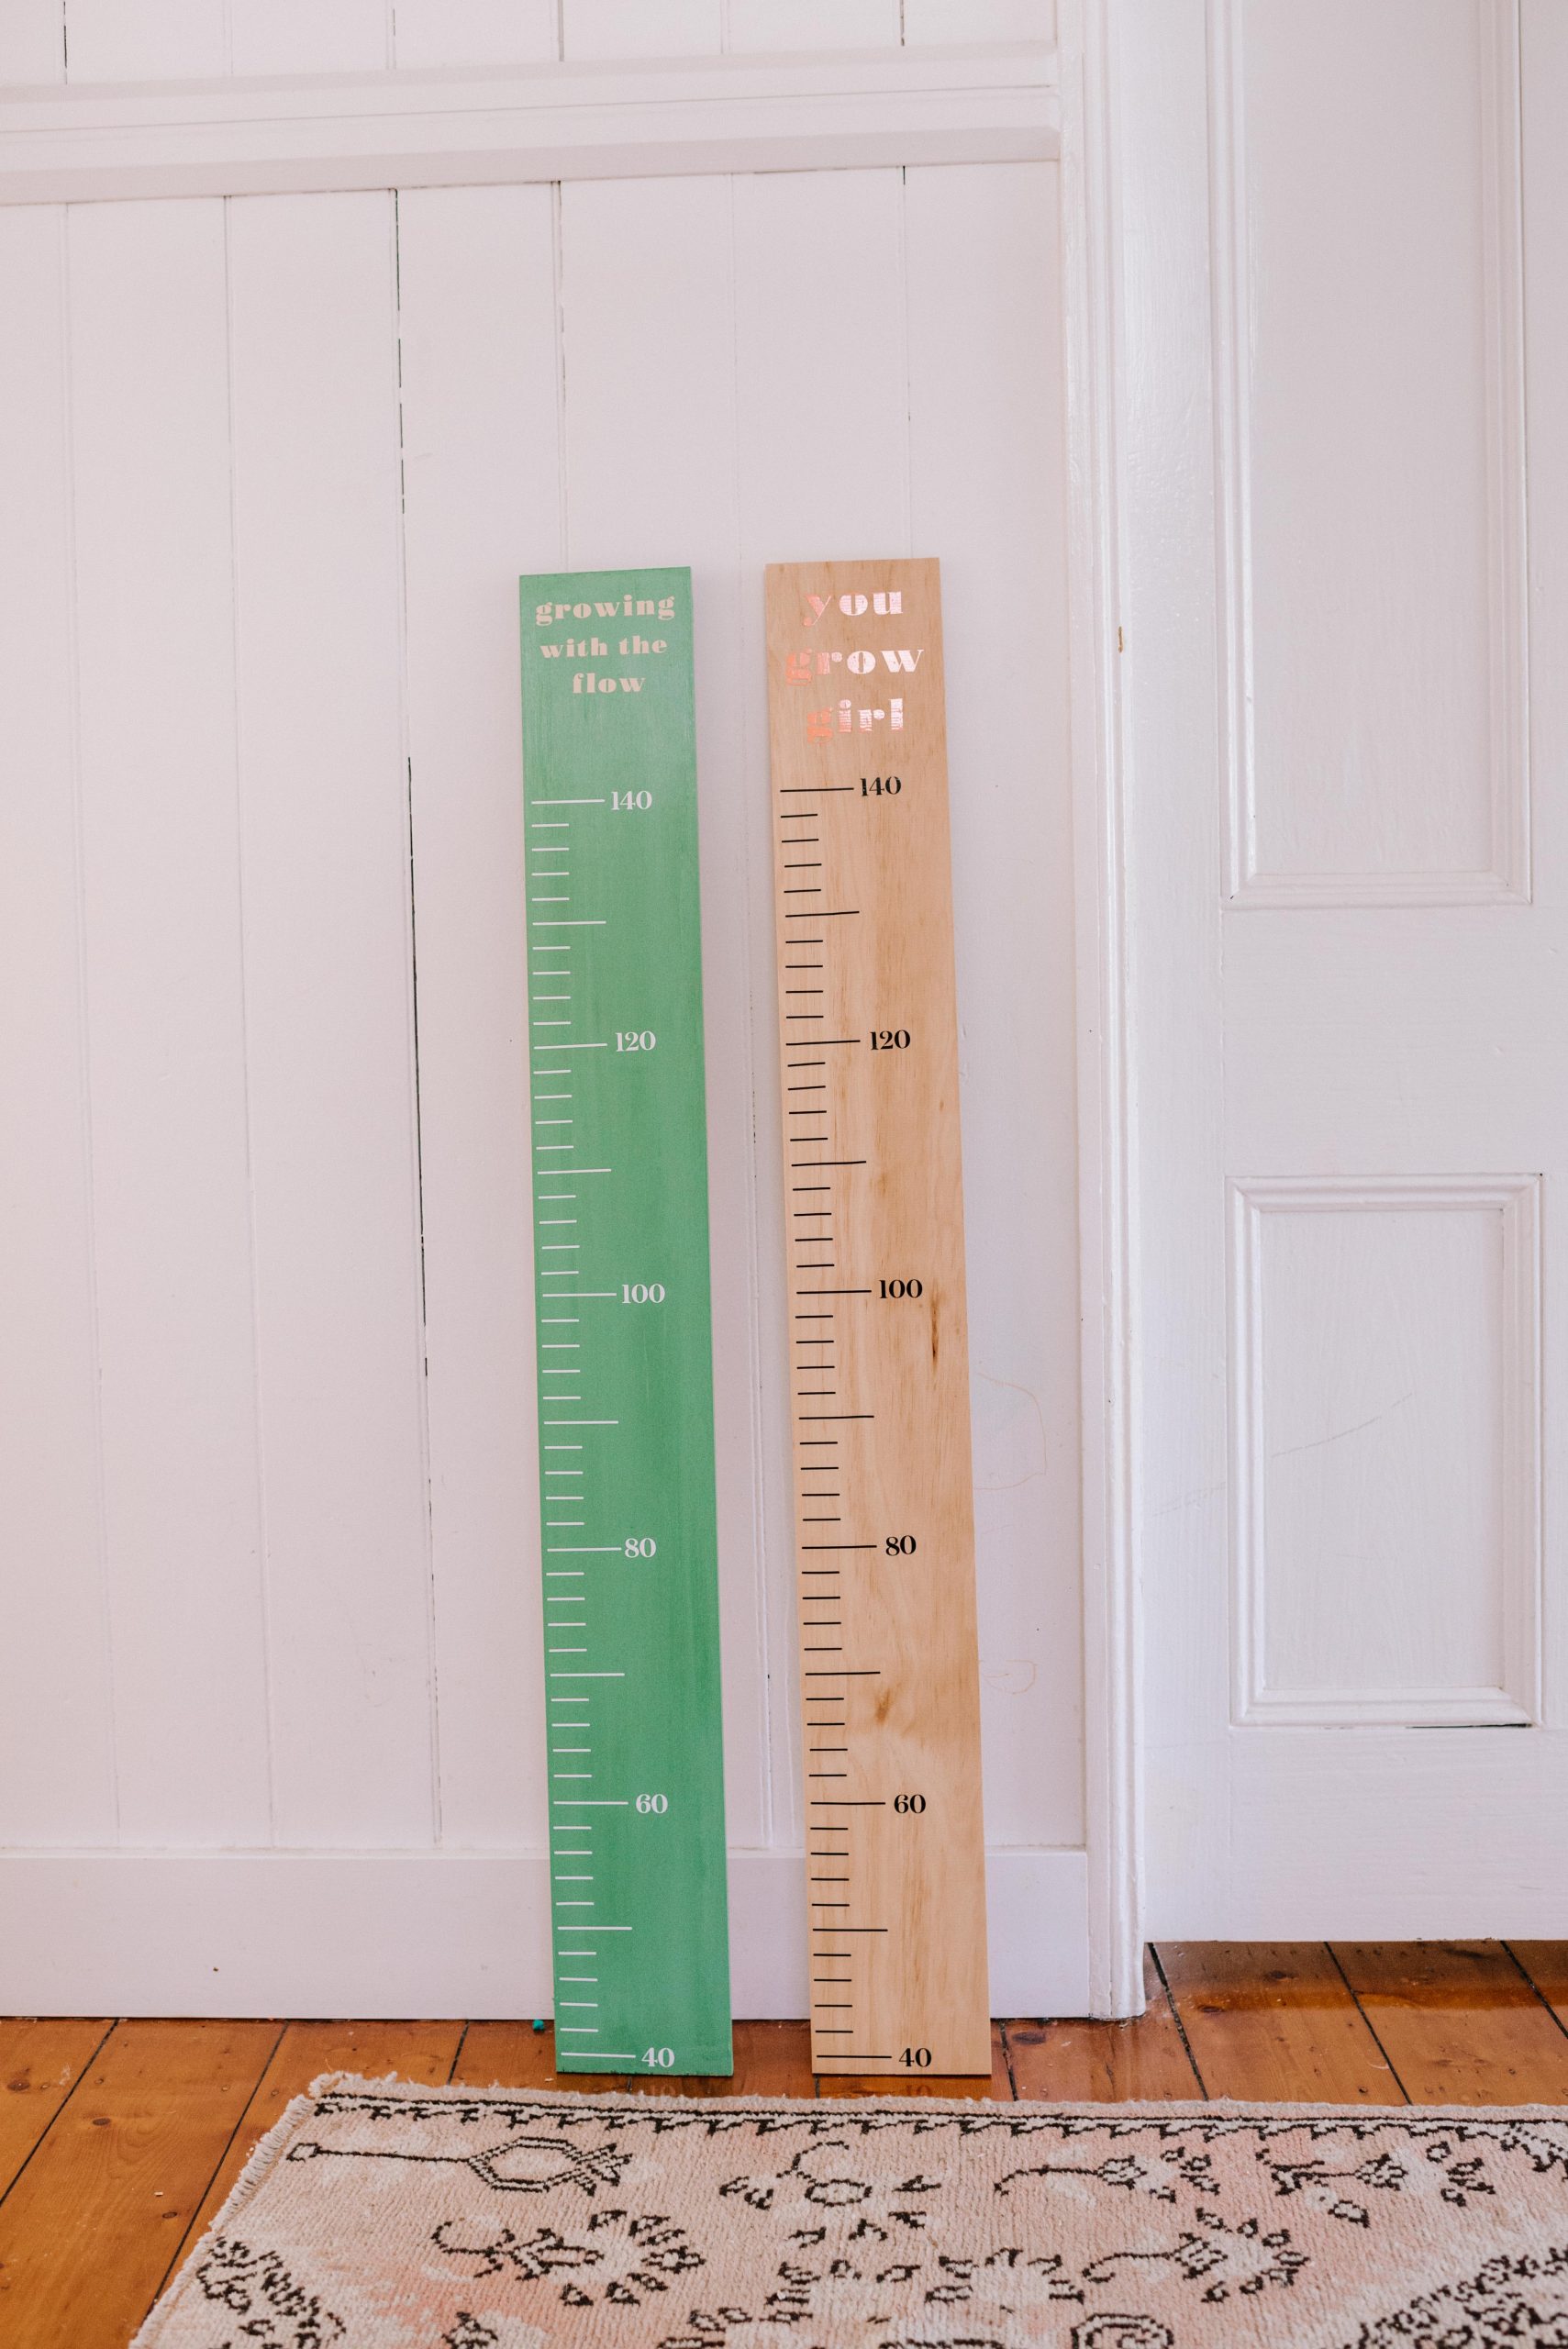
One thing I love about the Design Space app is the canvas that measures all your elements, meaning it was super easy to create this height chart. I used the ruler and lines to mark out the heights, and added numbers in font at regular intervals. This part was so easy and only took me about 15 minutes to design. An the best thing about the Maker 3 is that because of the long cut function, I could cut this design as one long continuous piece! Pro tip: I combined this project with another which I cut on the same vinyl to reduce any waste!
- As I mentioned, the first thing I did was design the lines, numbers and words in the Design Space App. Once you are happy with the sizing and words, select Make It.
- After the machine has cut out the design, I selected unload on the Design Space app.
- Next up is to weed the design. This means removing the ‘negative space’ of the design that you don’t want to transfer onto the item you are making.
- Use your fingers or weeding tool to first lift from the edge to remove larger sections of negative space.
- Once you have done that, use the weeding tool to remove the smaller pieces of negative space such as inside designs and letters.
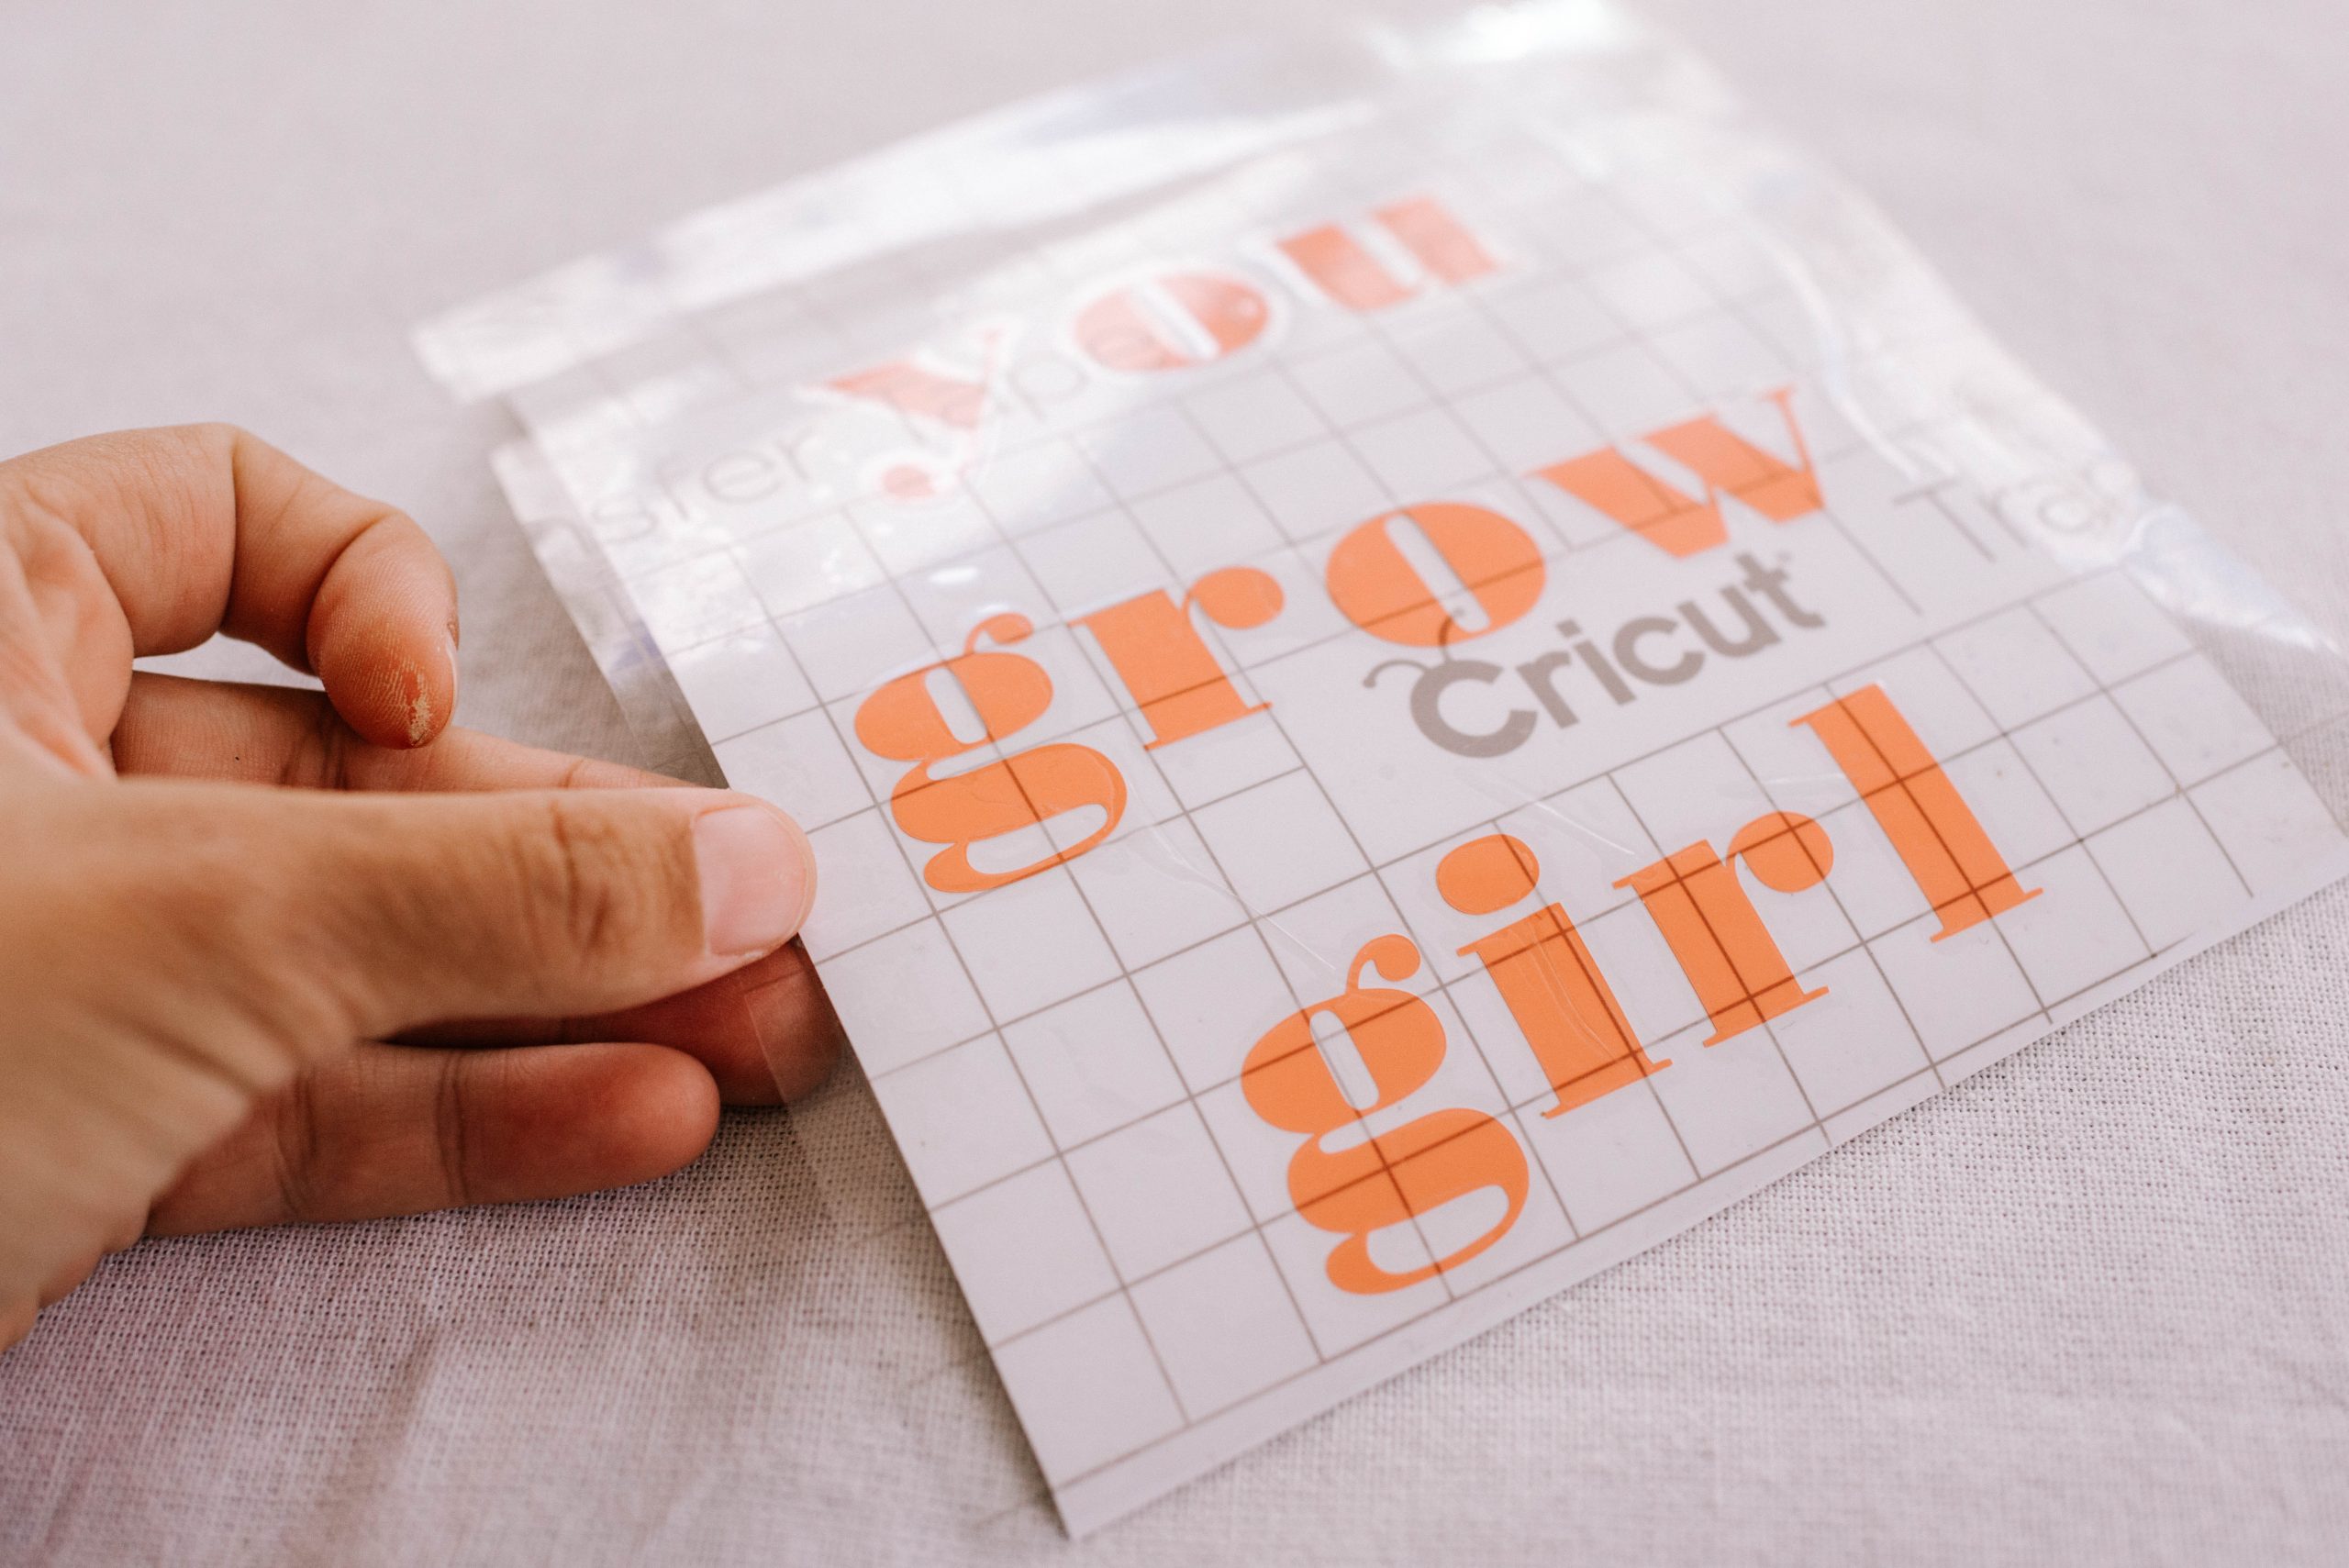
- Take your transfer tape, and cut a section to fit your design. Remove it from the backing.
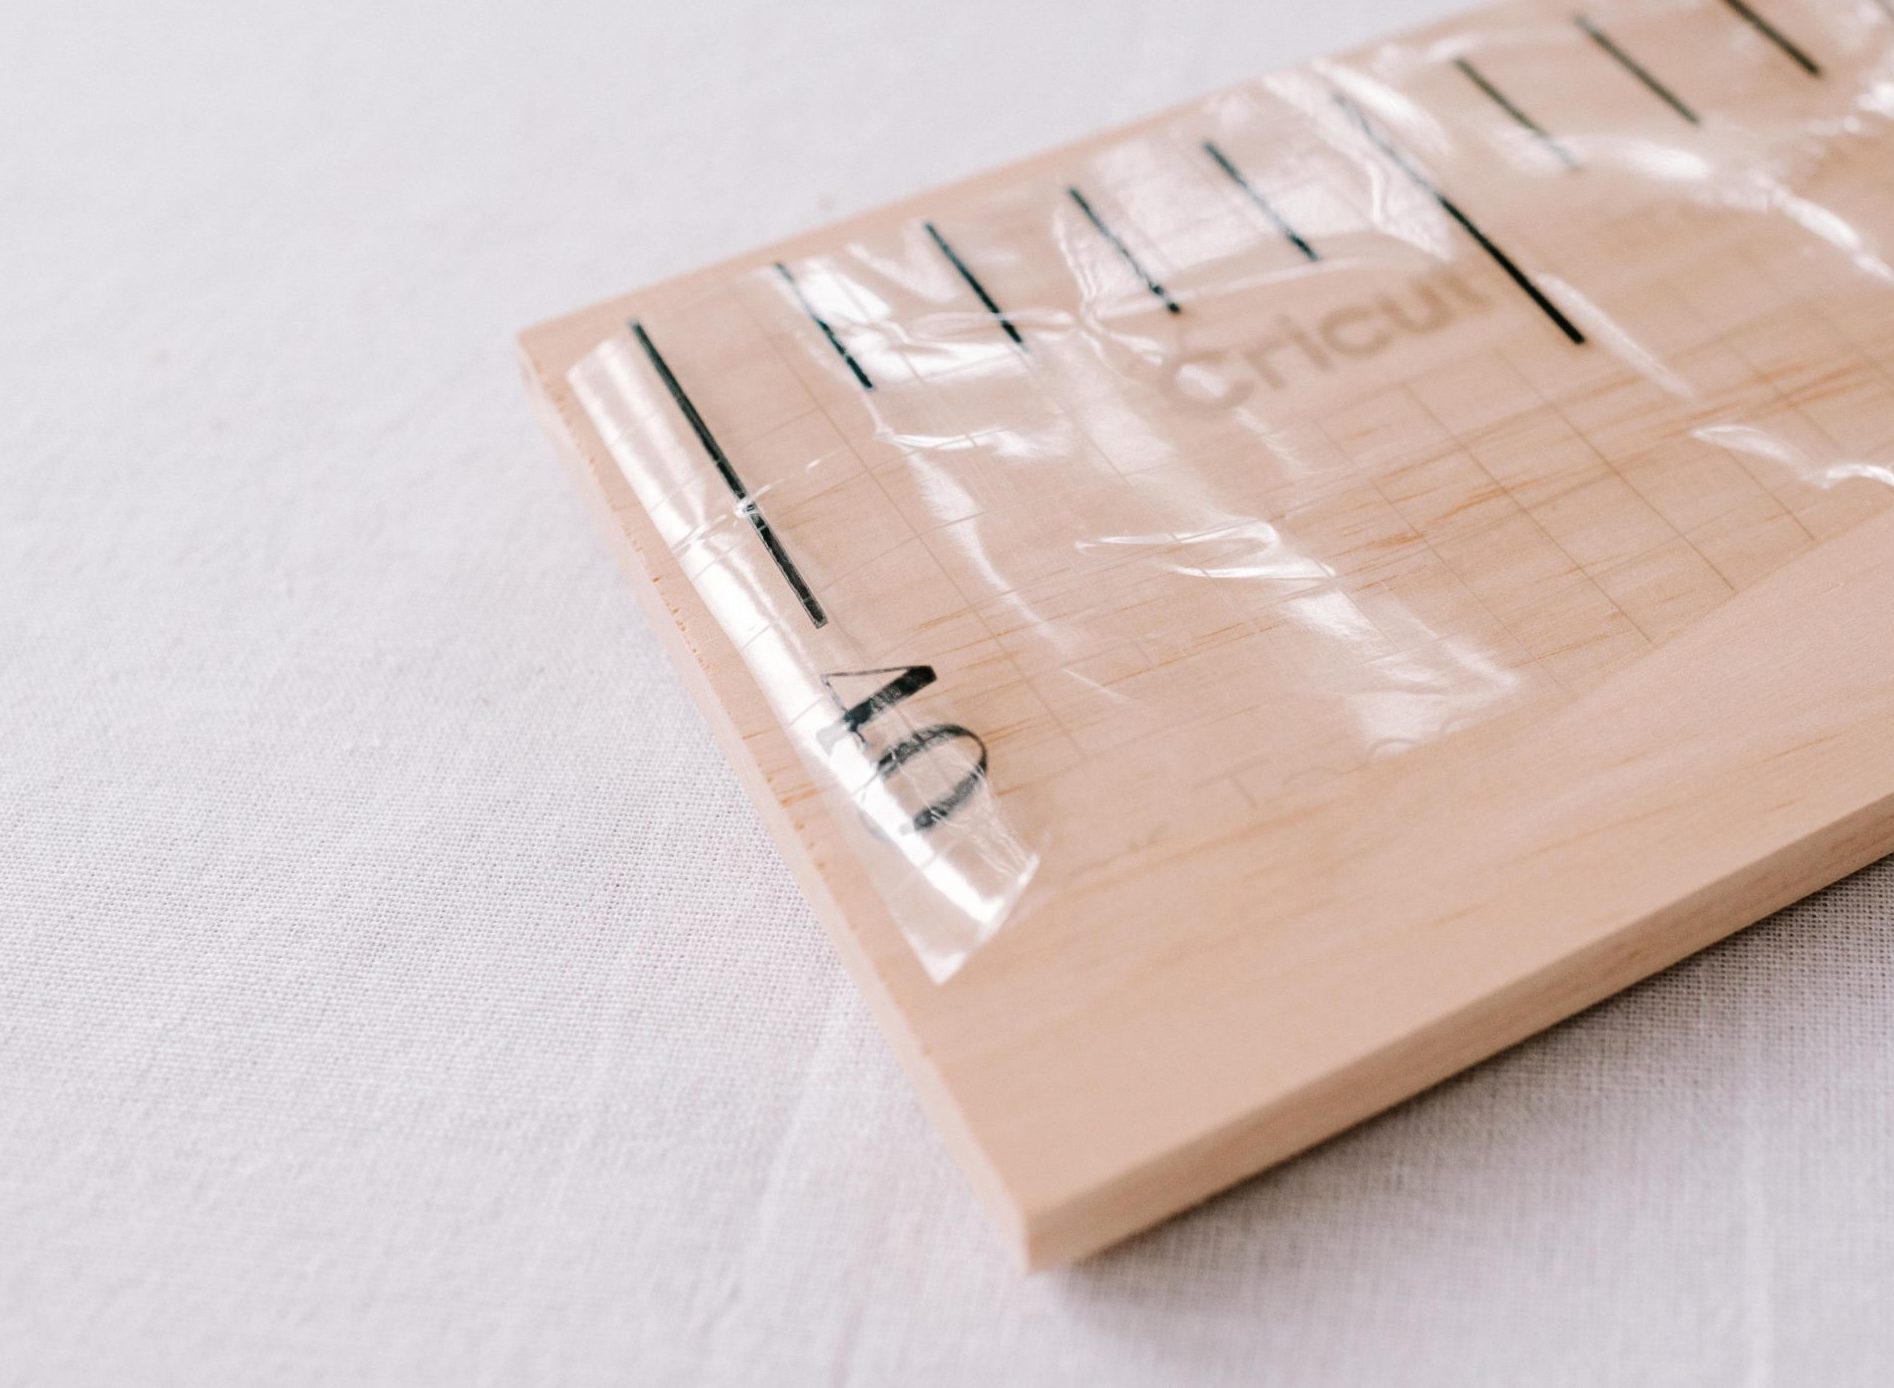
- Place it on top of your design and use the scraping tool on both sides of the transfer tape to help to stick the design onto the transfer tape.
- Flip the design over so the vinyl backing is facing up, then carefully peel back the backing, leaving the design on the tape.
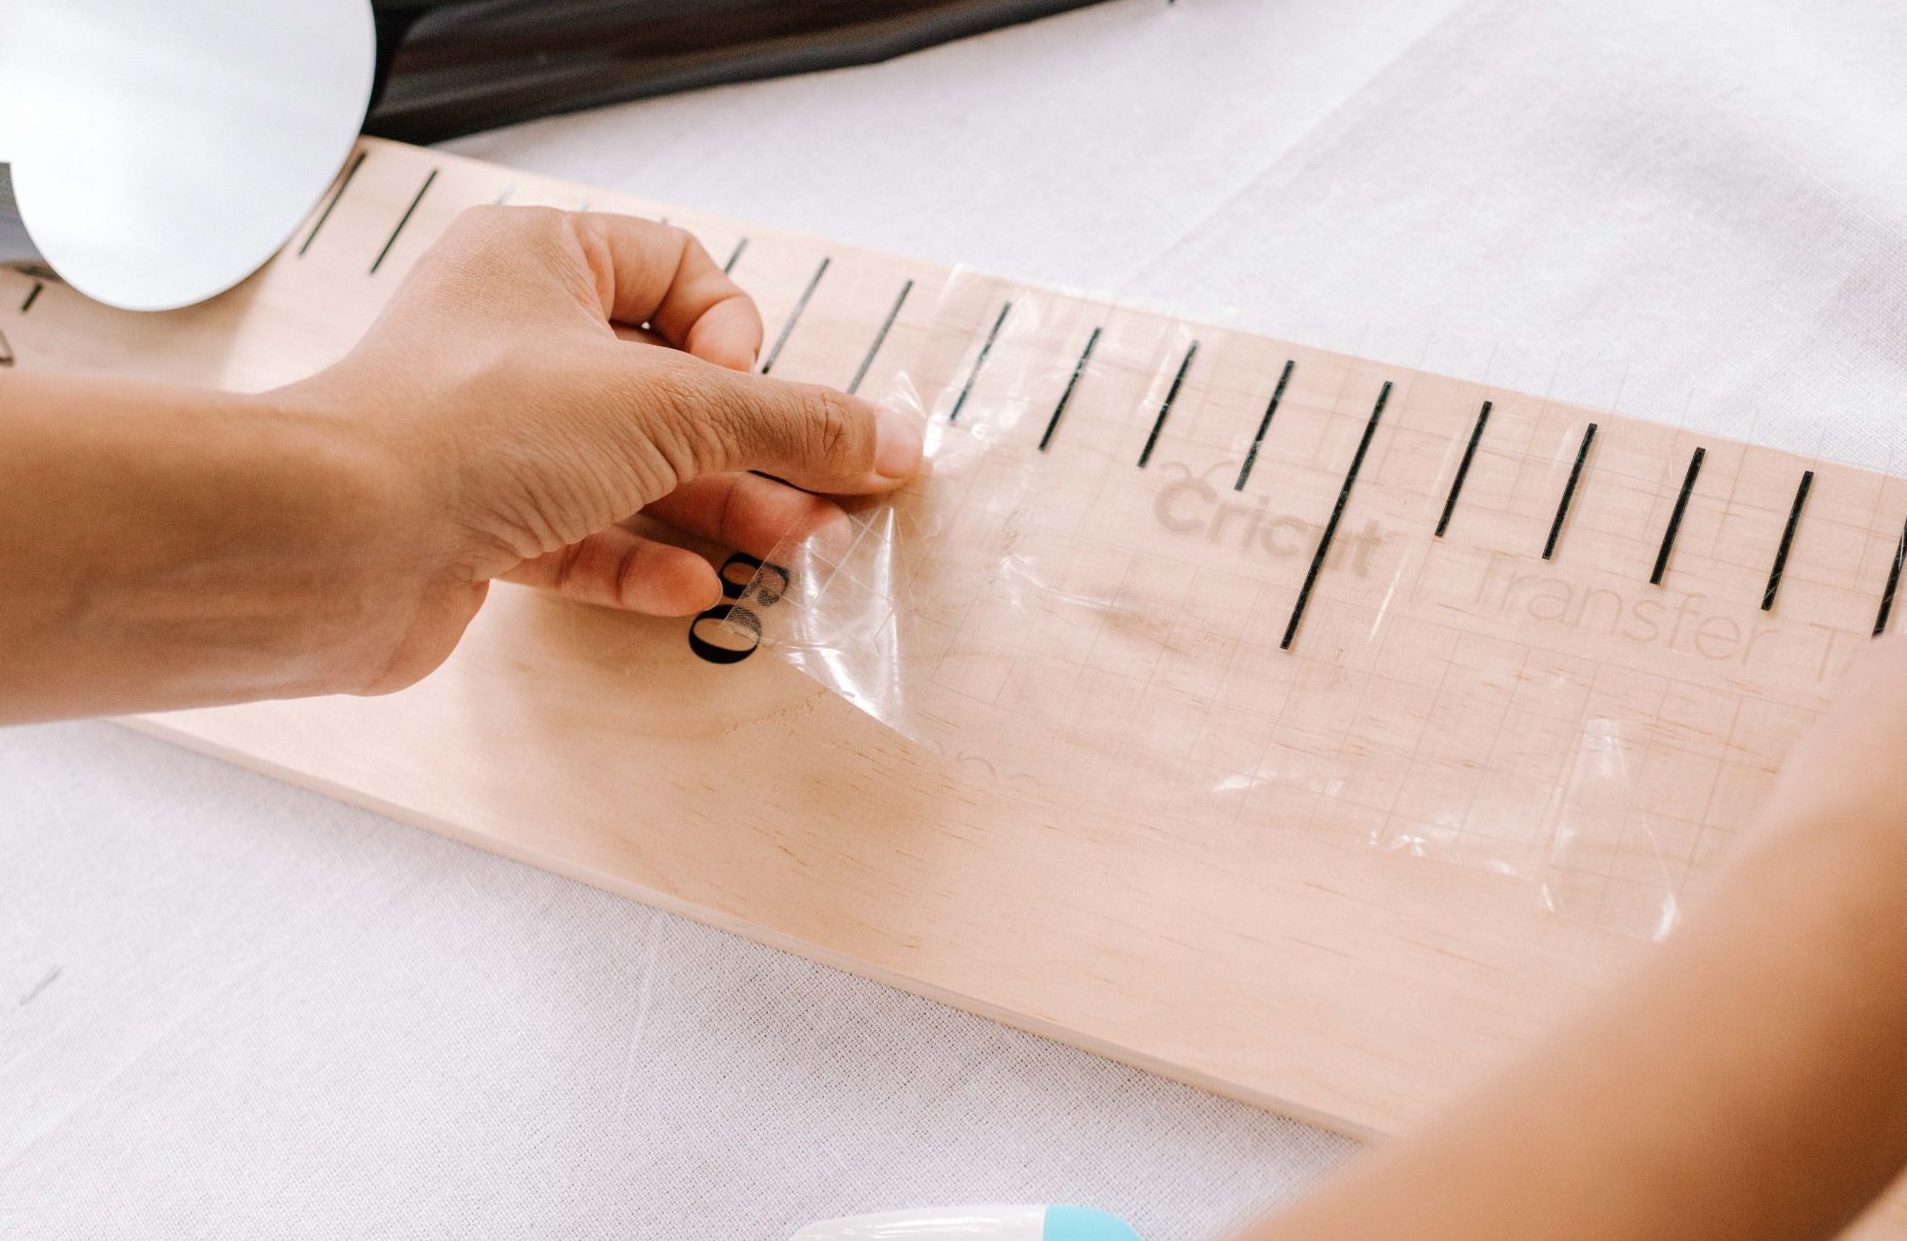
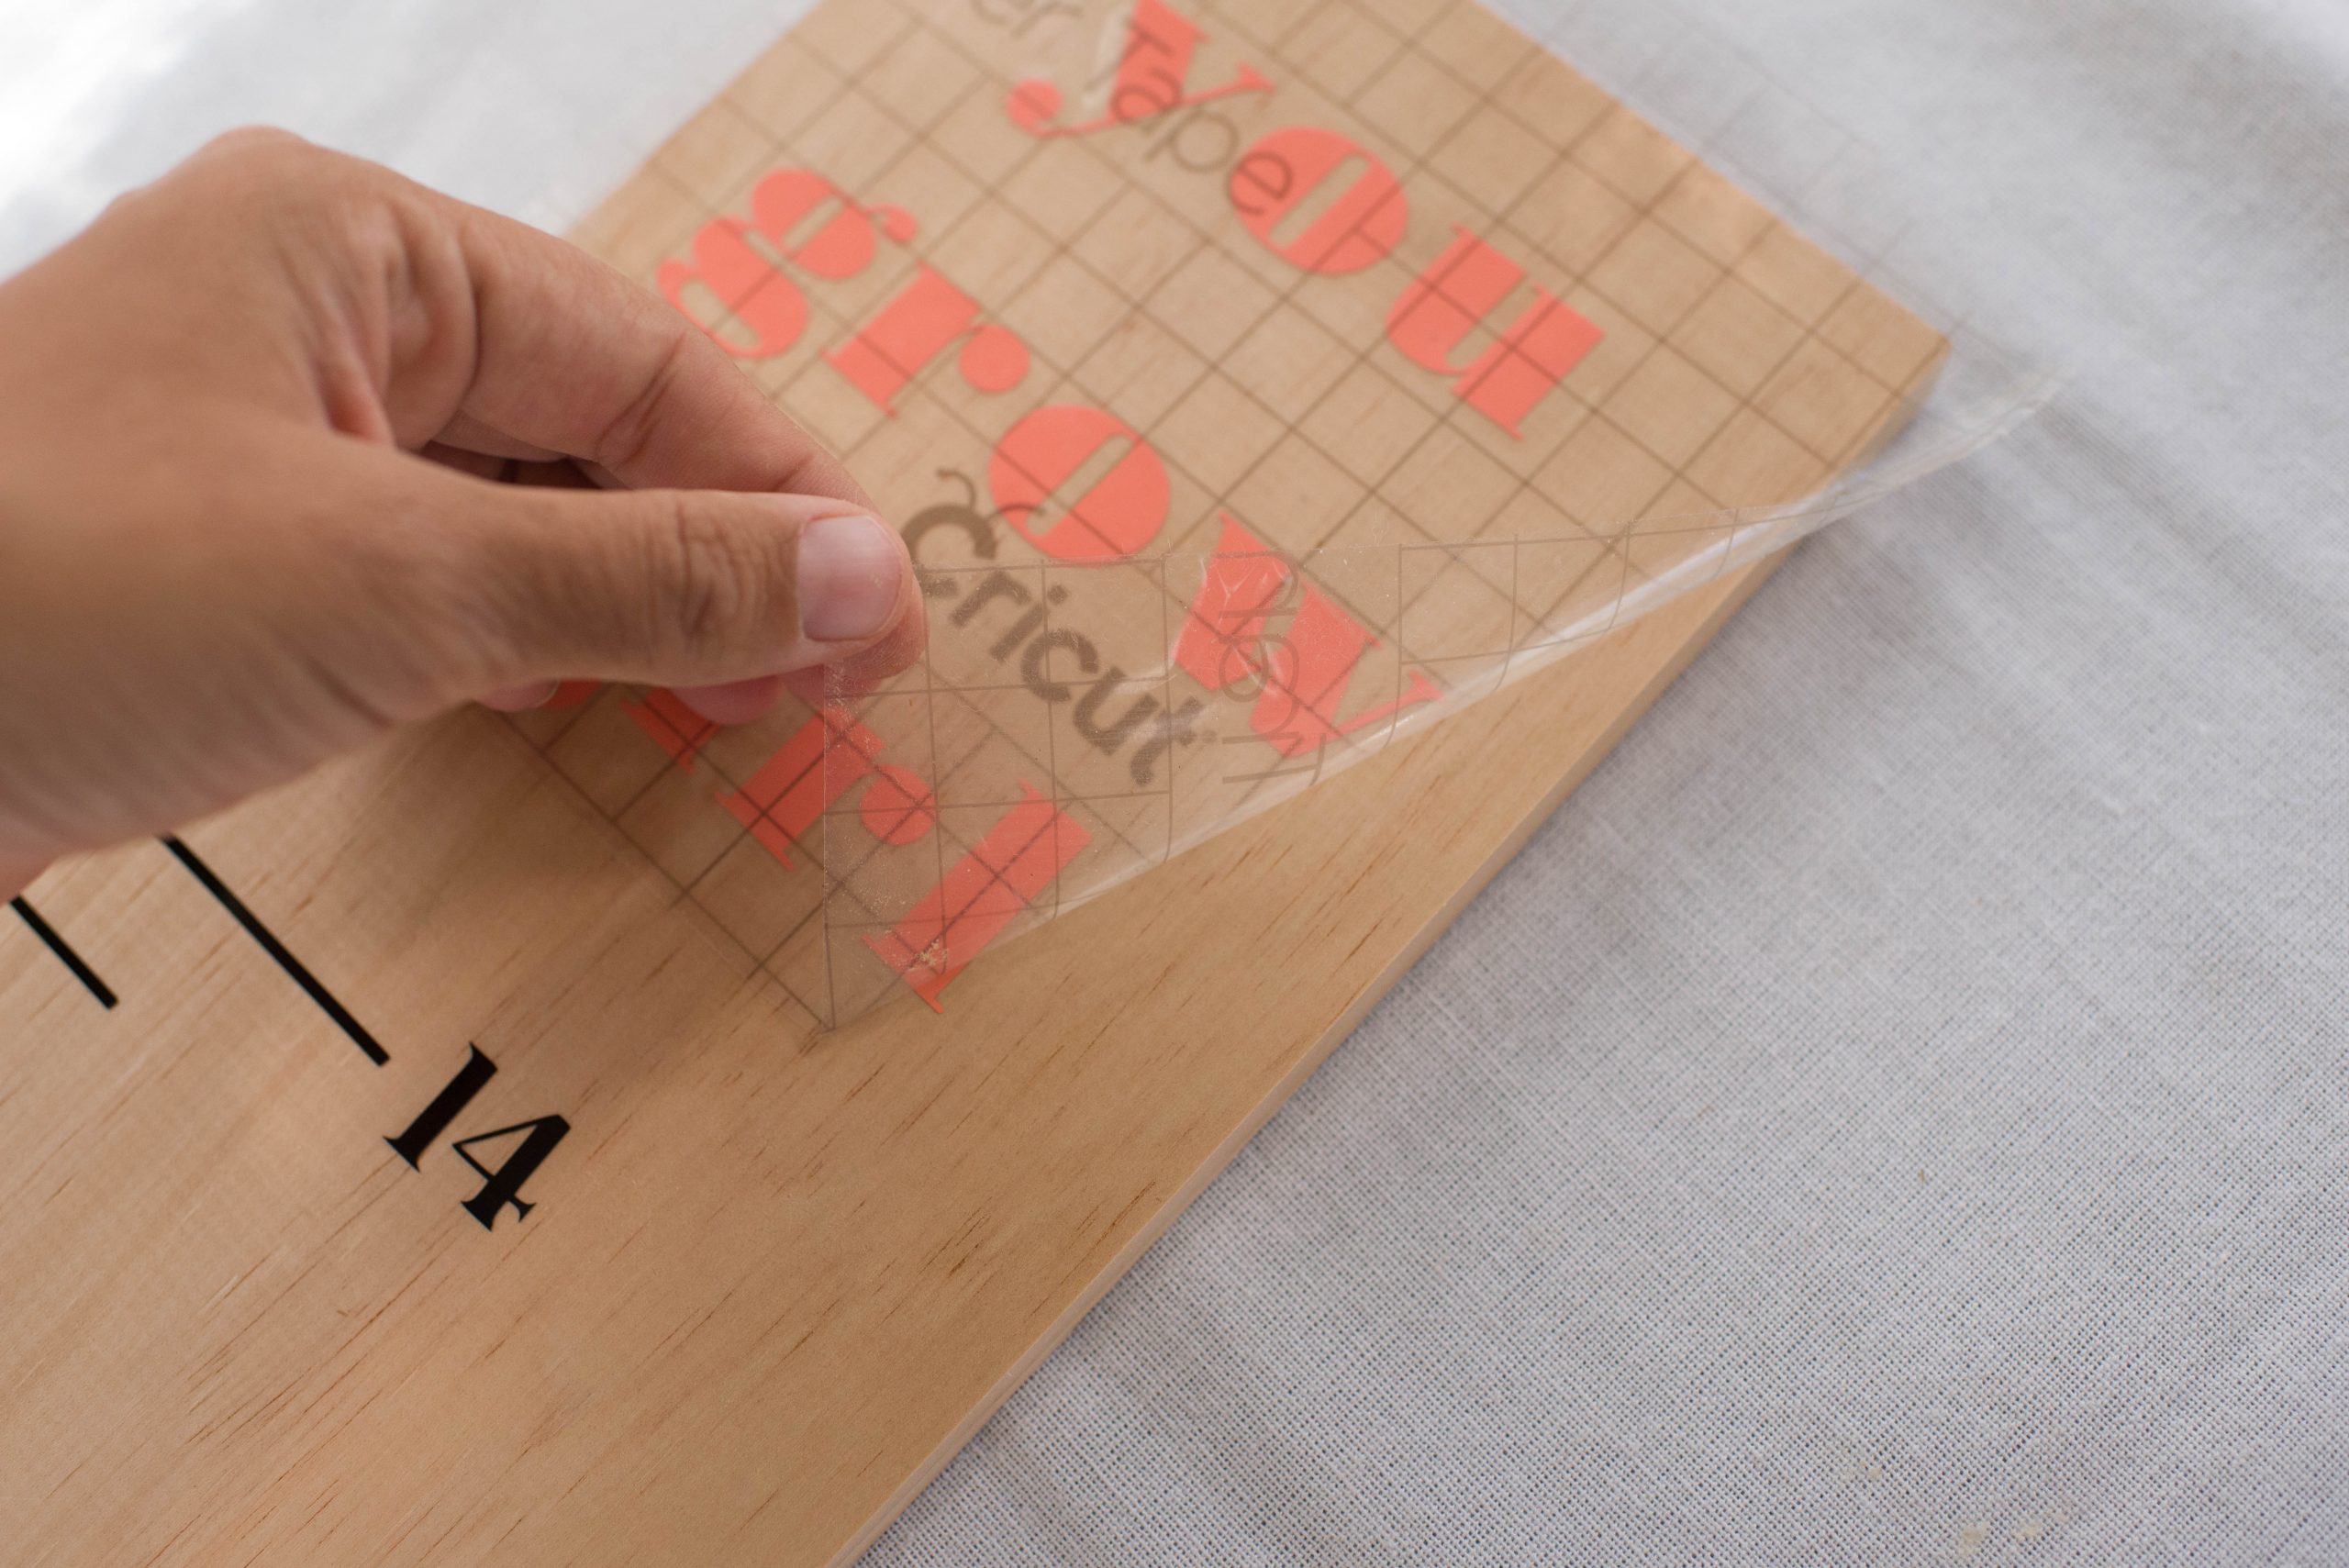
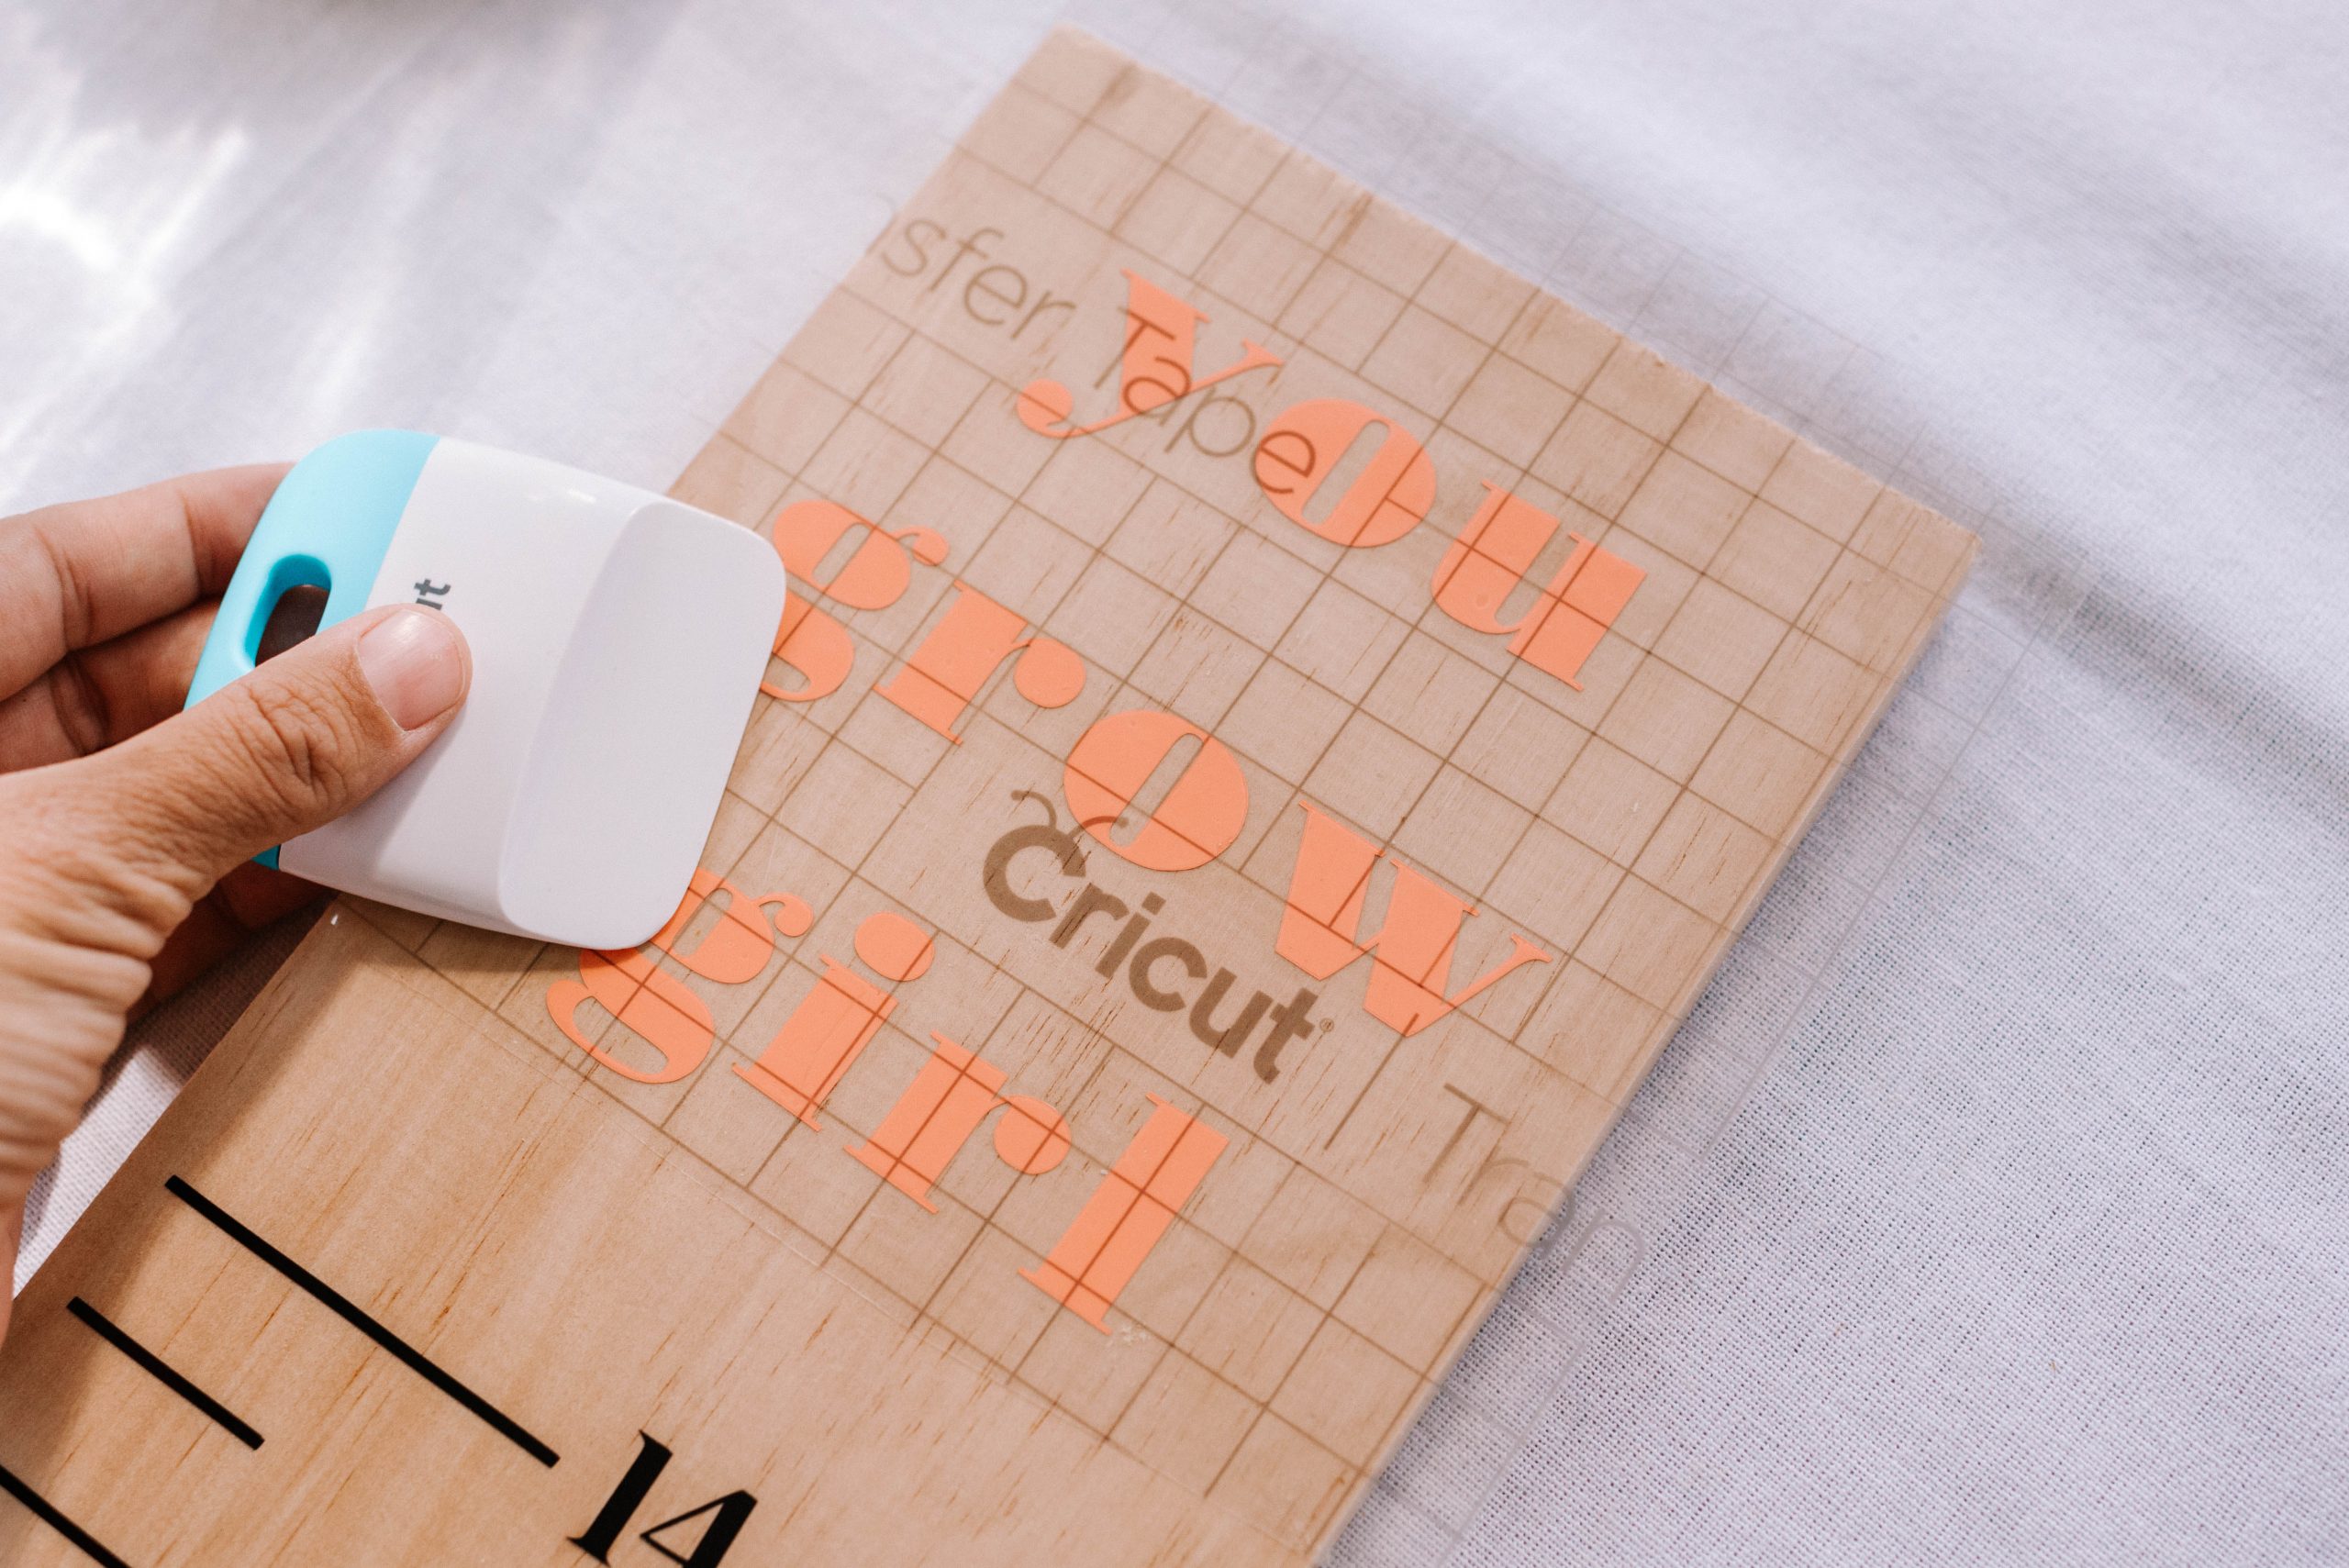
- Place your tape down onto the height chat, and then use the scraping tool to press the vinyl design onto the wood. Carefully peel back the transfer tape and you’re done!
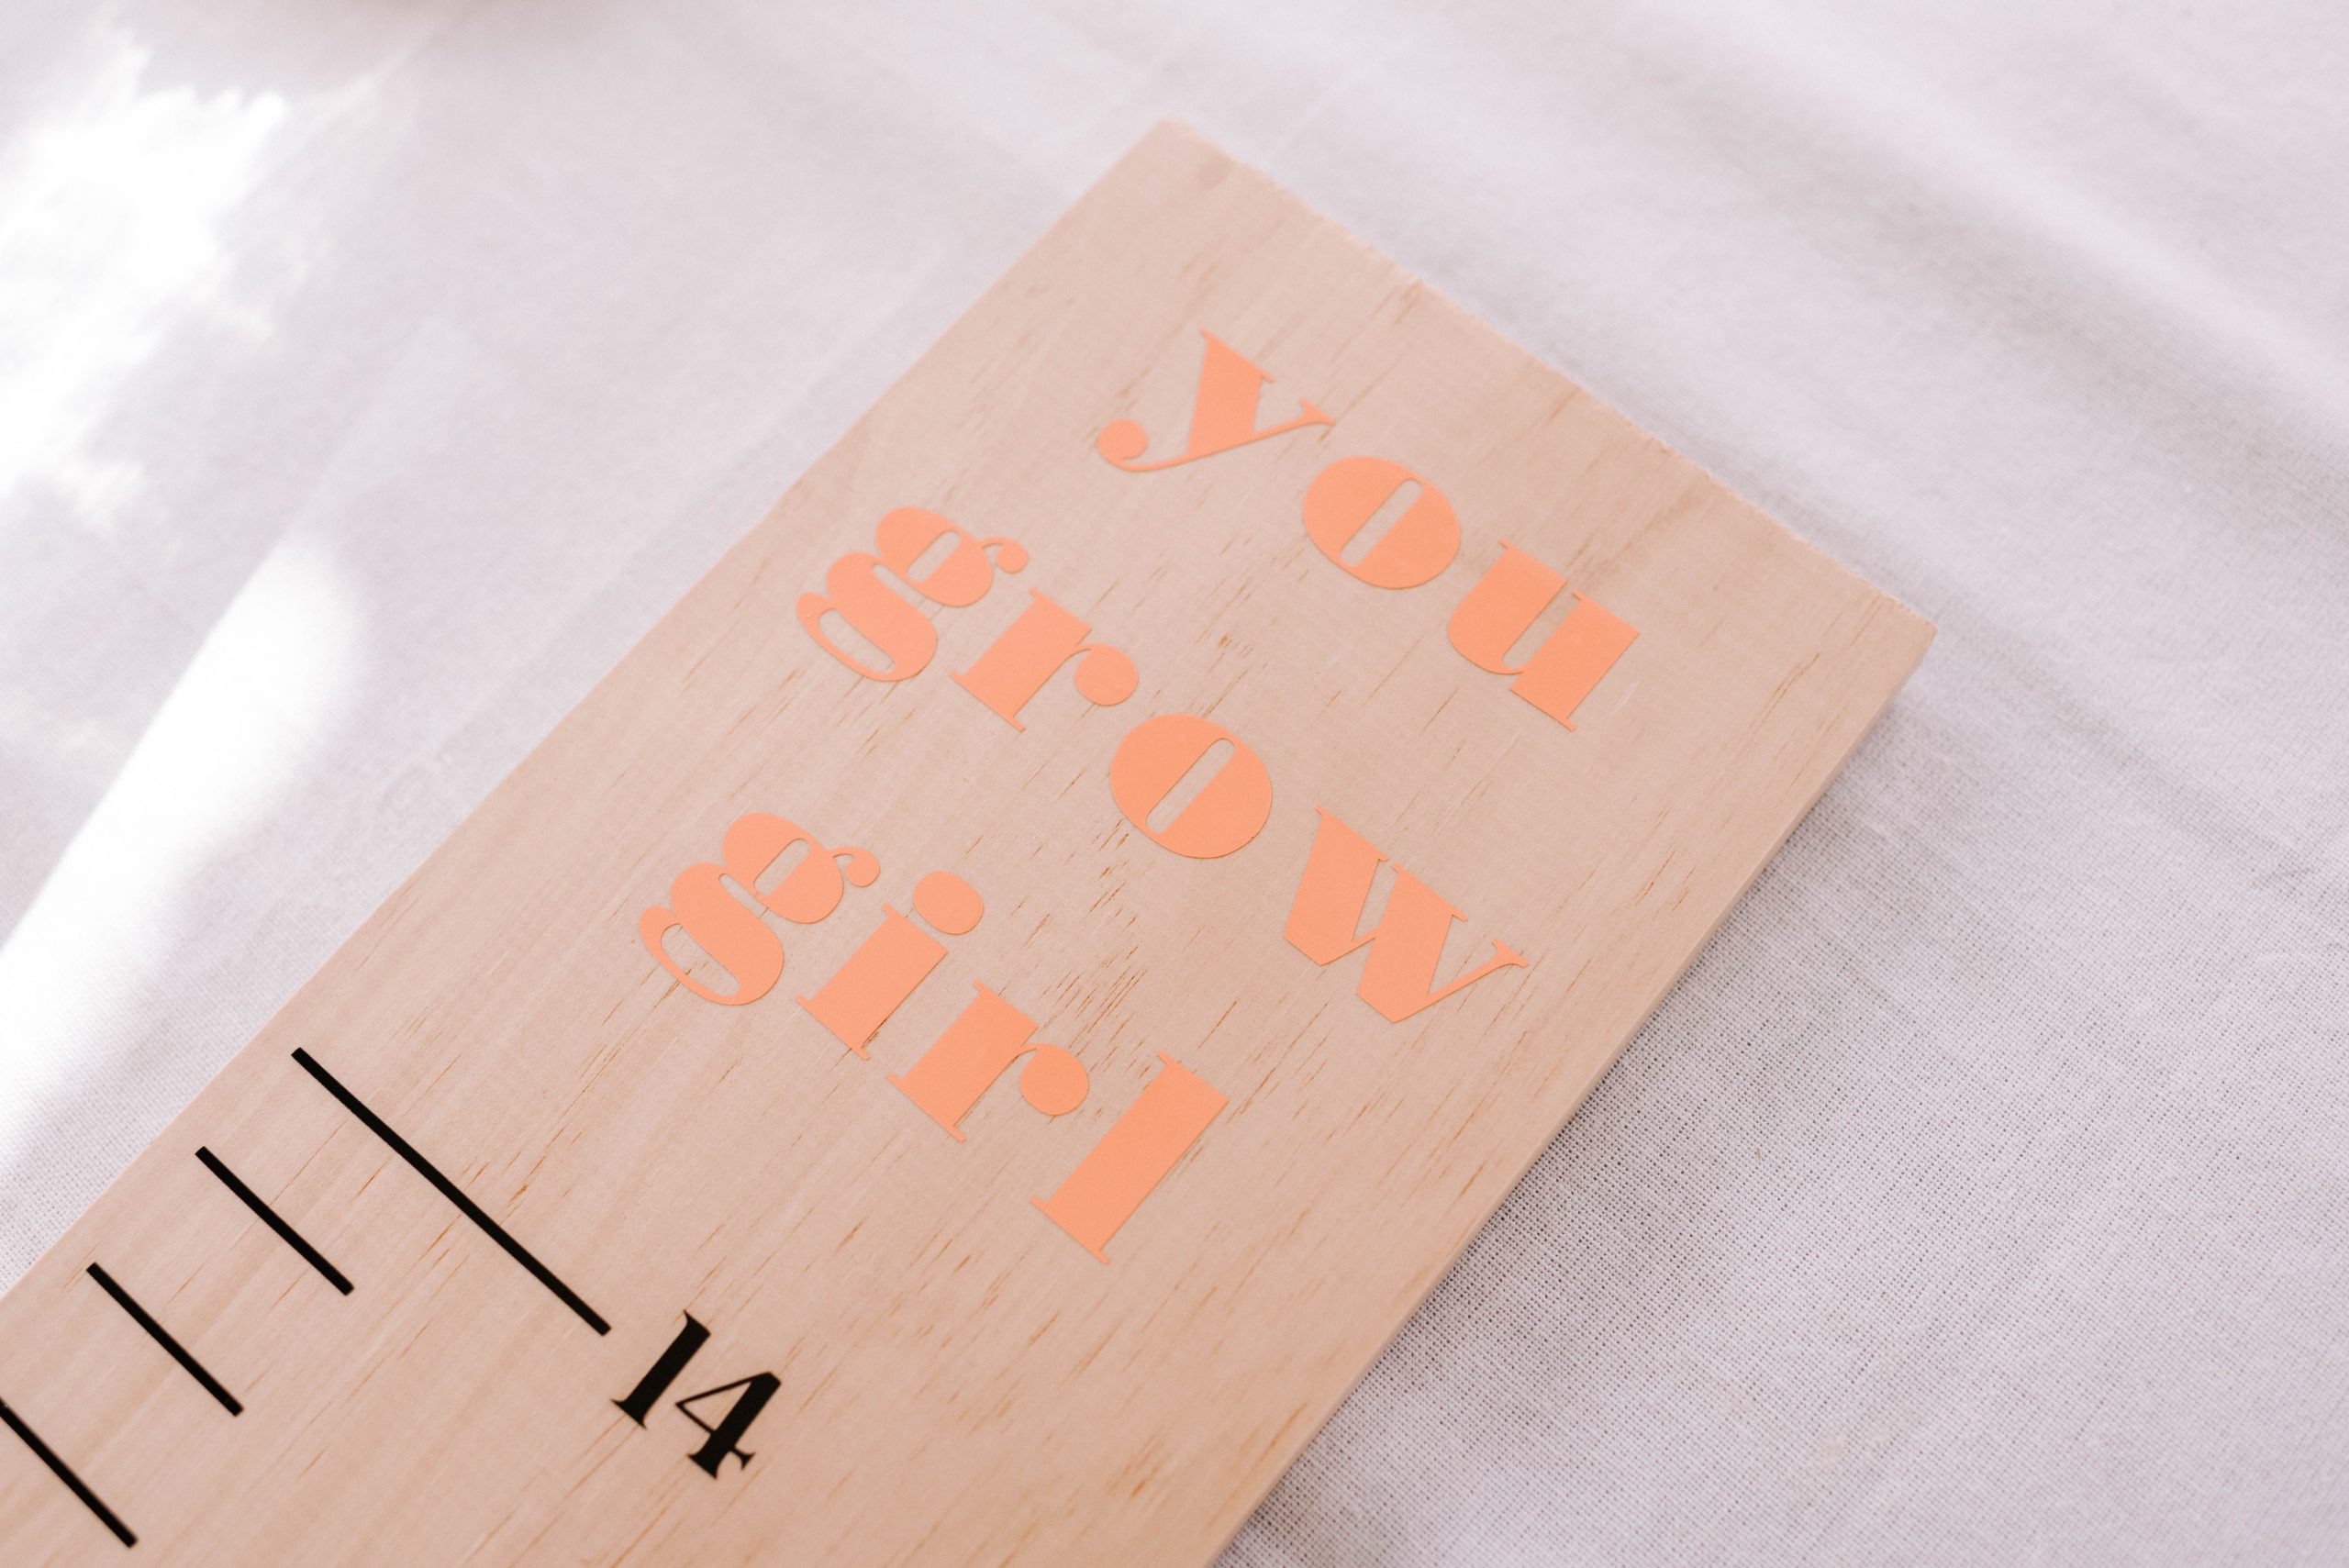
I made two of these, and added little grow puns on top. I love how they turned out!
The Cricut Maker 3 is available in Australia & New Zealand at Spotlight, Harvey Norman (AU only) and Warehouse Stationery (NZ Only).


