Well, well, well, it turns out that travertine tiles are the gift that just keep on giving. Just when you thought I couldn’t do anything else with travertine, I find another project.
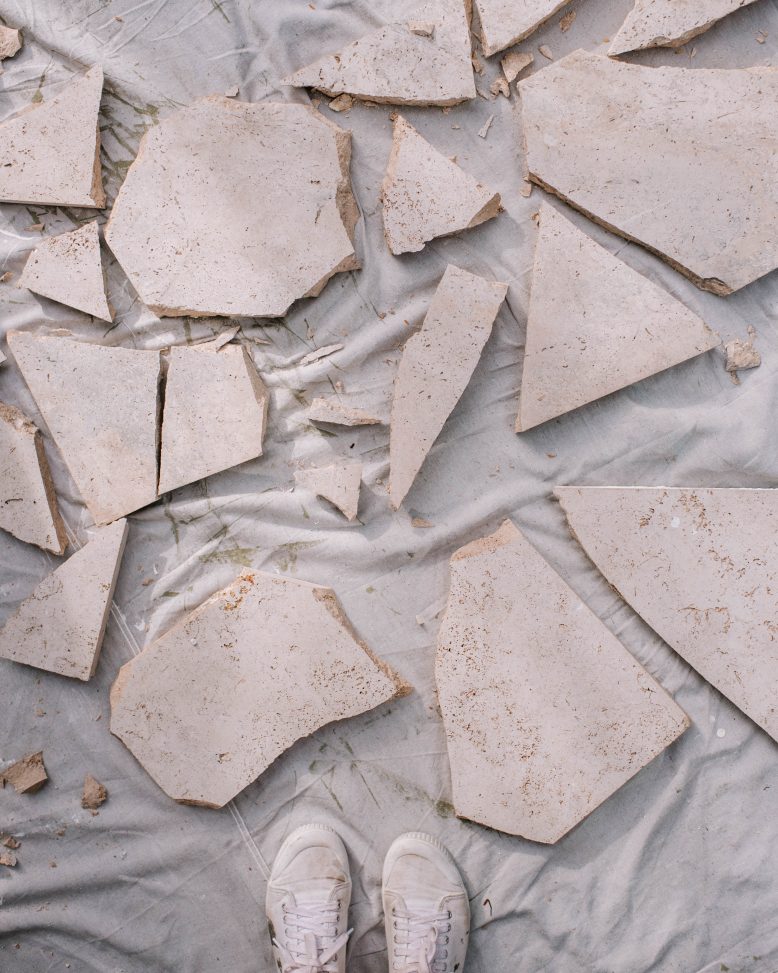
After trying to make some straight cuts in the travertine to create square tiles (which, let’s be honest ,didn’t exactly go to plan) I had so many leftover scraps of broken tile. I was actually so sad when I broke them, and was determined to not let them go to waste. Therefore, I knew that I had to finish this whole adventure with a few little extra DIYs!
The process of having them shatter was sad, but I soon realised that even when broken this stone is so SO beautiful. In this post I’ll be sharing two quick and easy projects for you to get rid of those scraps and create some new décor for your home – all in one. For anyone who hasn’t seen my travertine table project using the travertine paver from Bunnings you can check it out here.
DIY Travertine Book Ends
First up is a super simple book-end project that anyone can do. I rummaged through my scrap pile and found a few pieces of travertine that I liked that shape of. One piece needs to be a triangle shape and the other could be a little more of an organic shape. Where they join you need to make sure they are flat and are right angles. I got out my Selly’s glue and glued the two pieces together. I made two sets of these to create the most perfect, organic looking book ends! It’s important that you still wait the whole drying time to ensure these little guys stay together but other than that it’s seriously one of my fastest projects of all time.
DIY Travertine shelves
Next up, I wanted to find a way to make some stone shelves in the corner of my studio. Again, I searched my scrap pile for some triangle pieces with right angles that would sit well in the corner of the wall. I glued the tile to some wall brackets right on the edge of the straight sides. Once completely dry, I used s stud finder to find the studs in my wall, and then screwed the brackets into the wall. I also decided to grout and then paint the brackets the same colour as my walls so the blended in a little more and the stone looked more like it was floating.
I love how these turned out! They’re subtle and they add such a nice touch to a corner of my studio that would be otherwise empty.
I hope these projects inspire you to think differently about any broken pieces of tile you may have. Enjoy!


