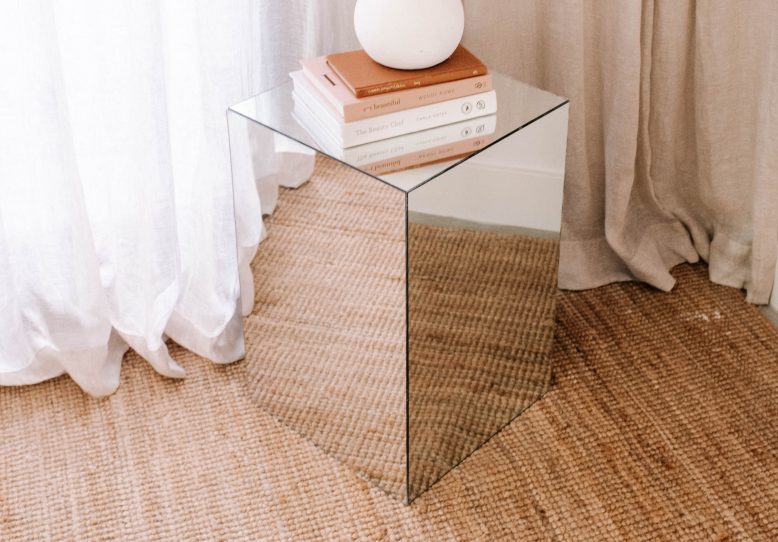
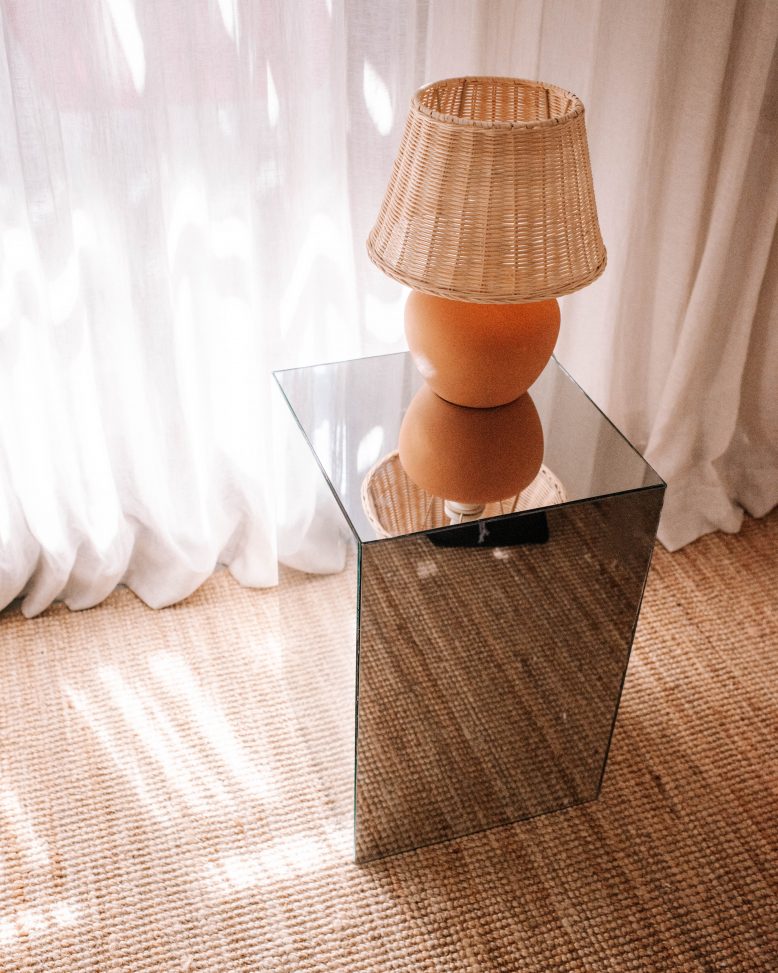
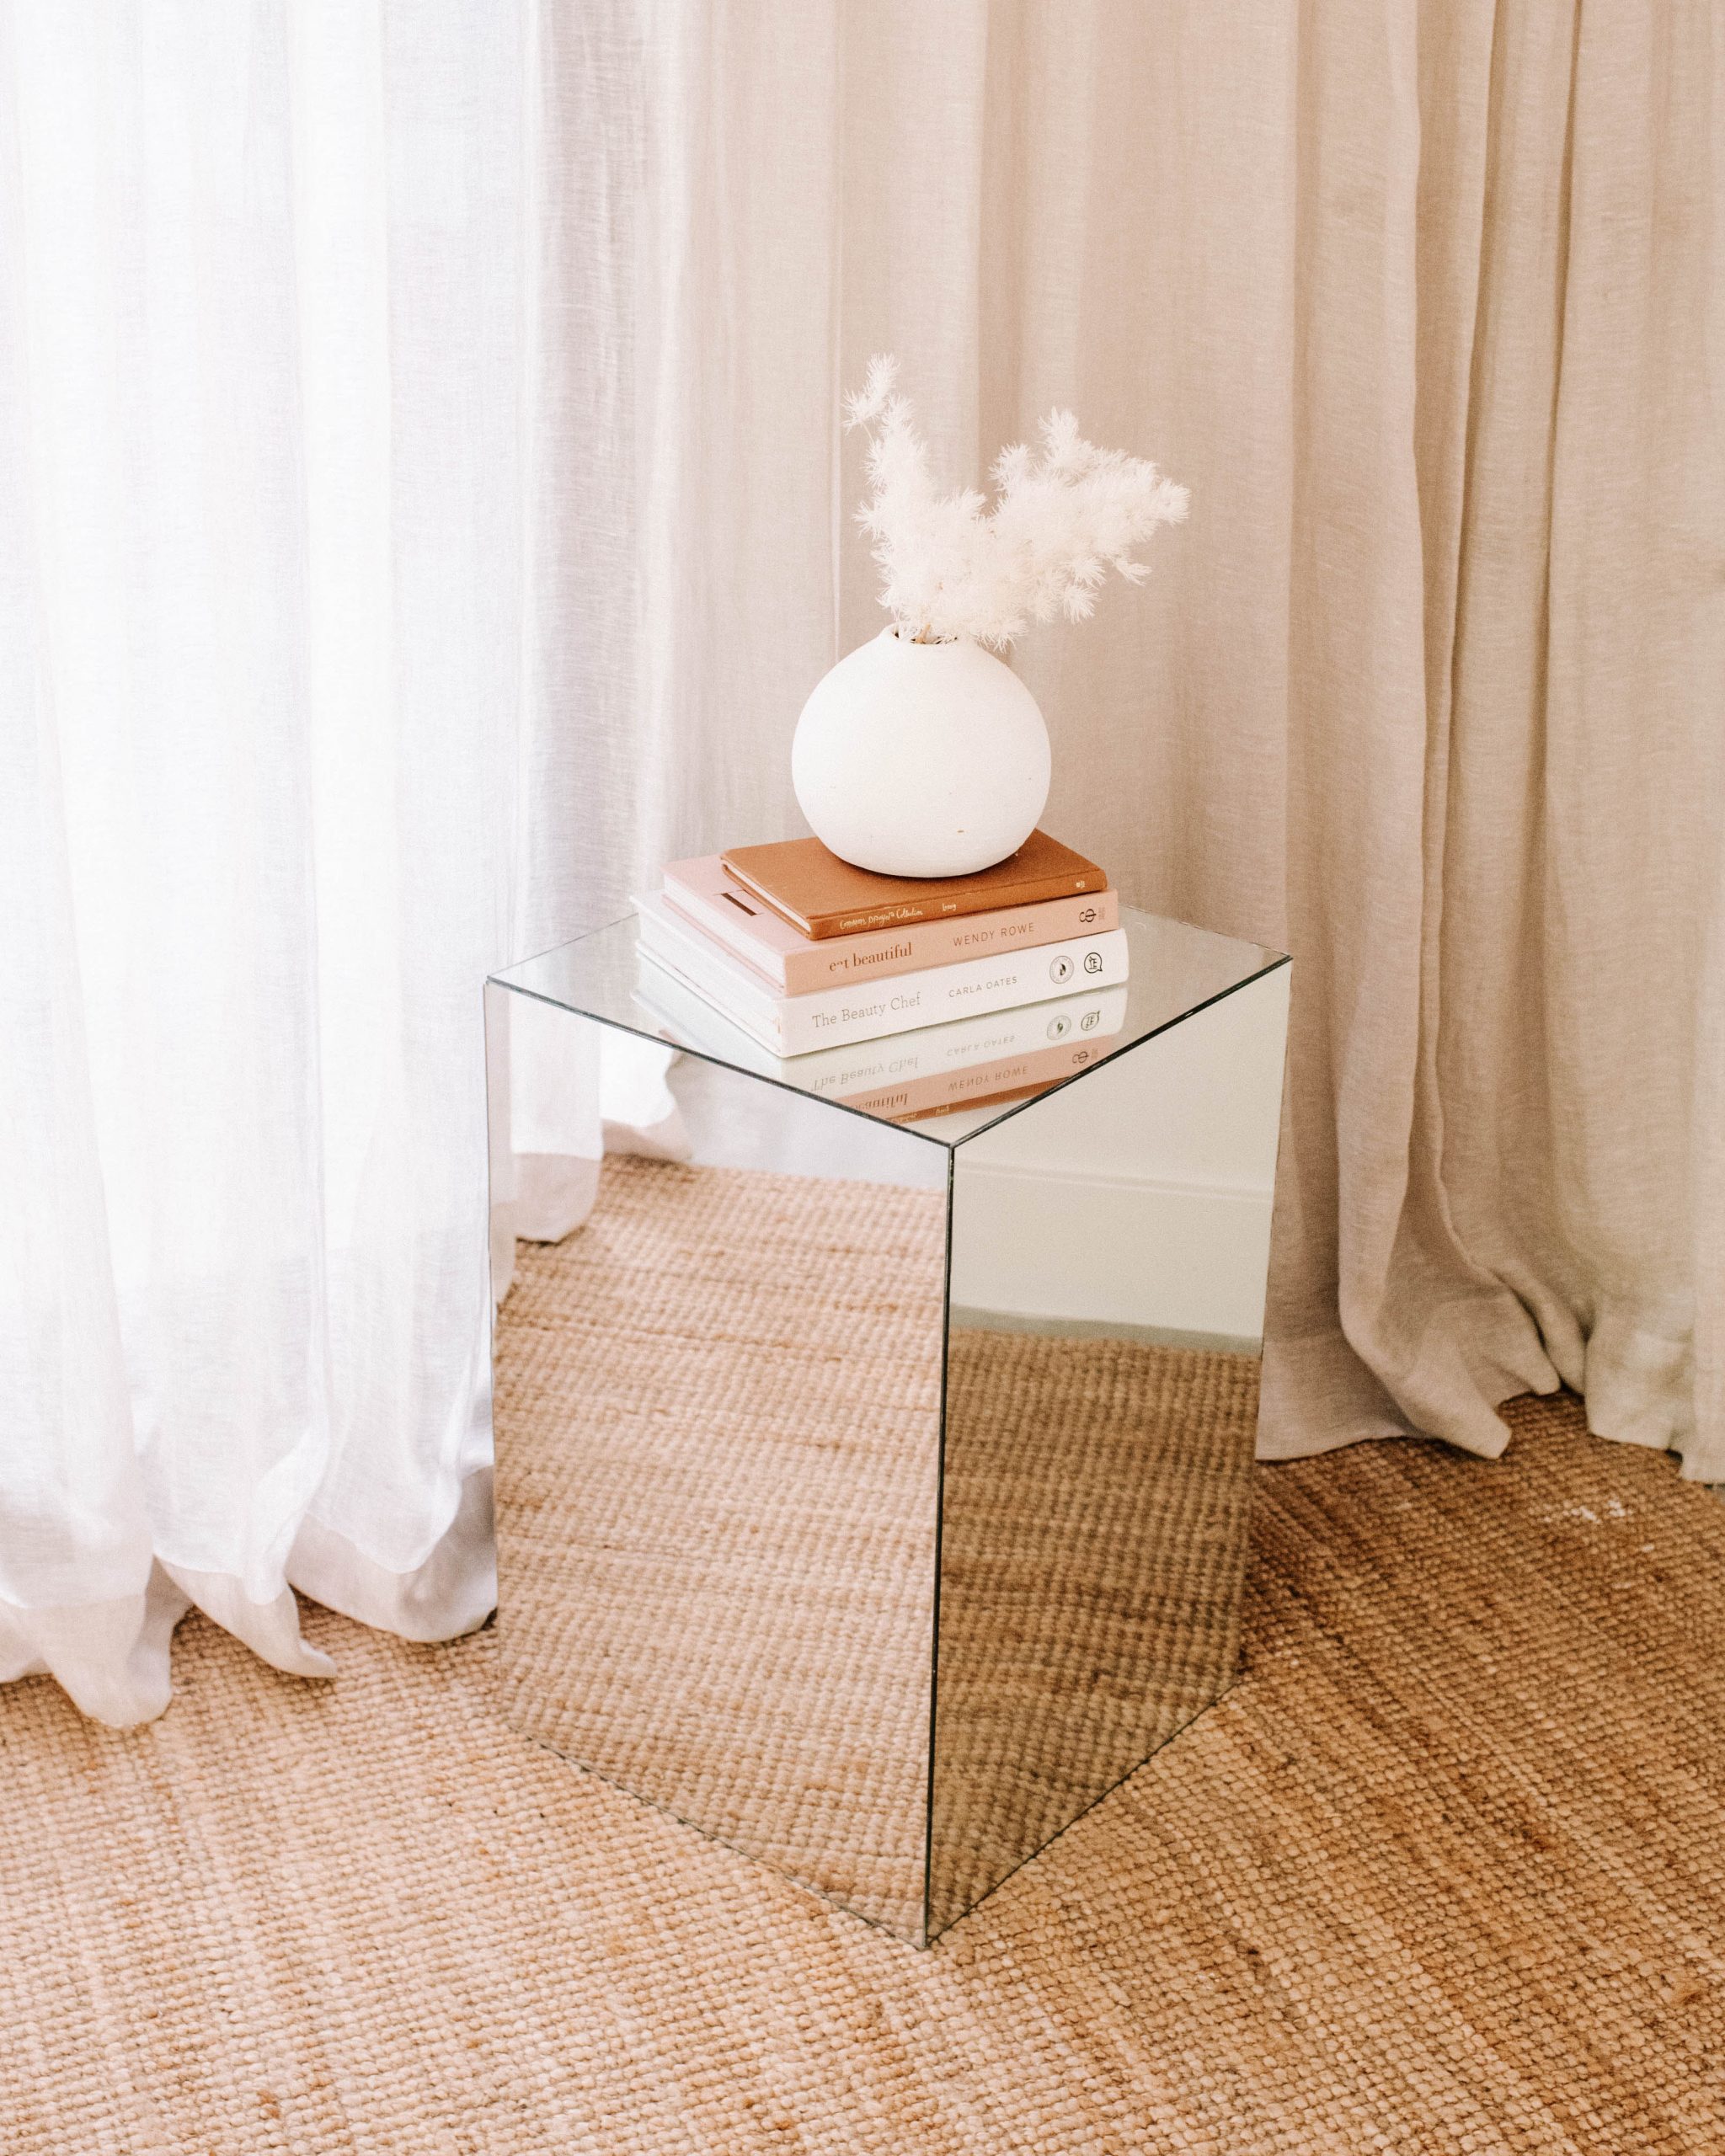
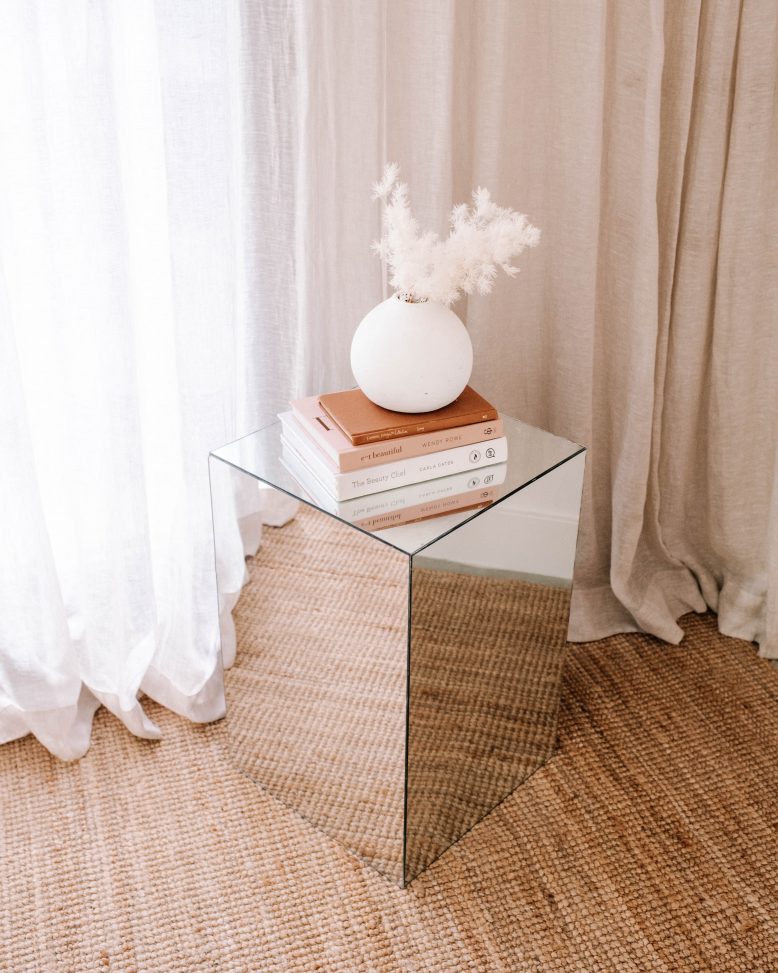
I’ve had a mirrored plinth on my mind for a while so I’ve been on the look out for a piece that needs a new life.
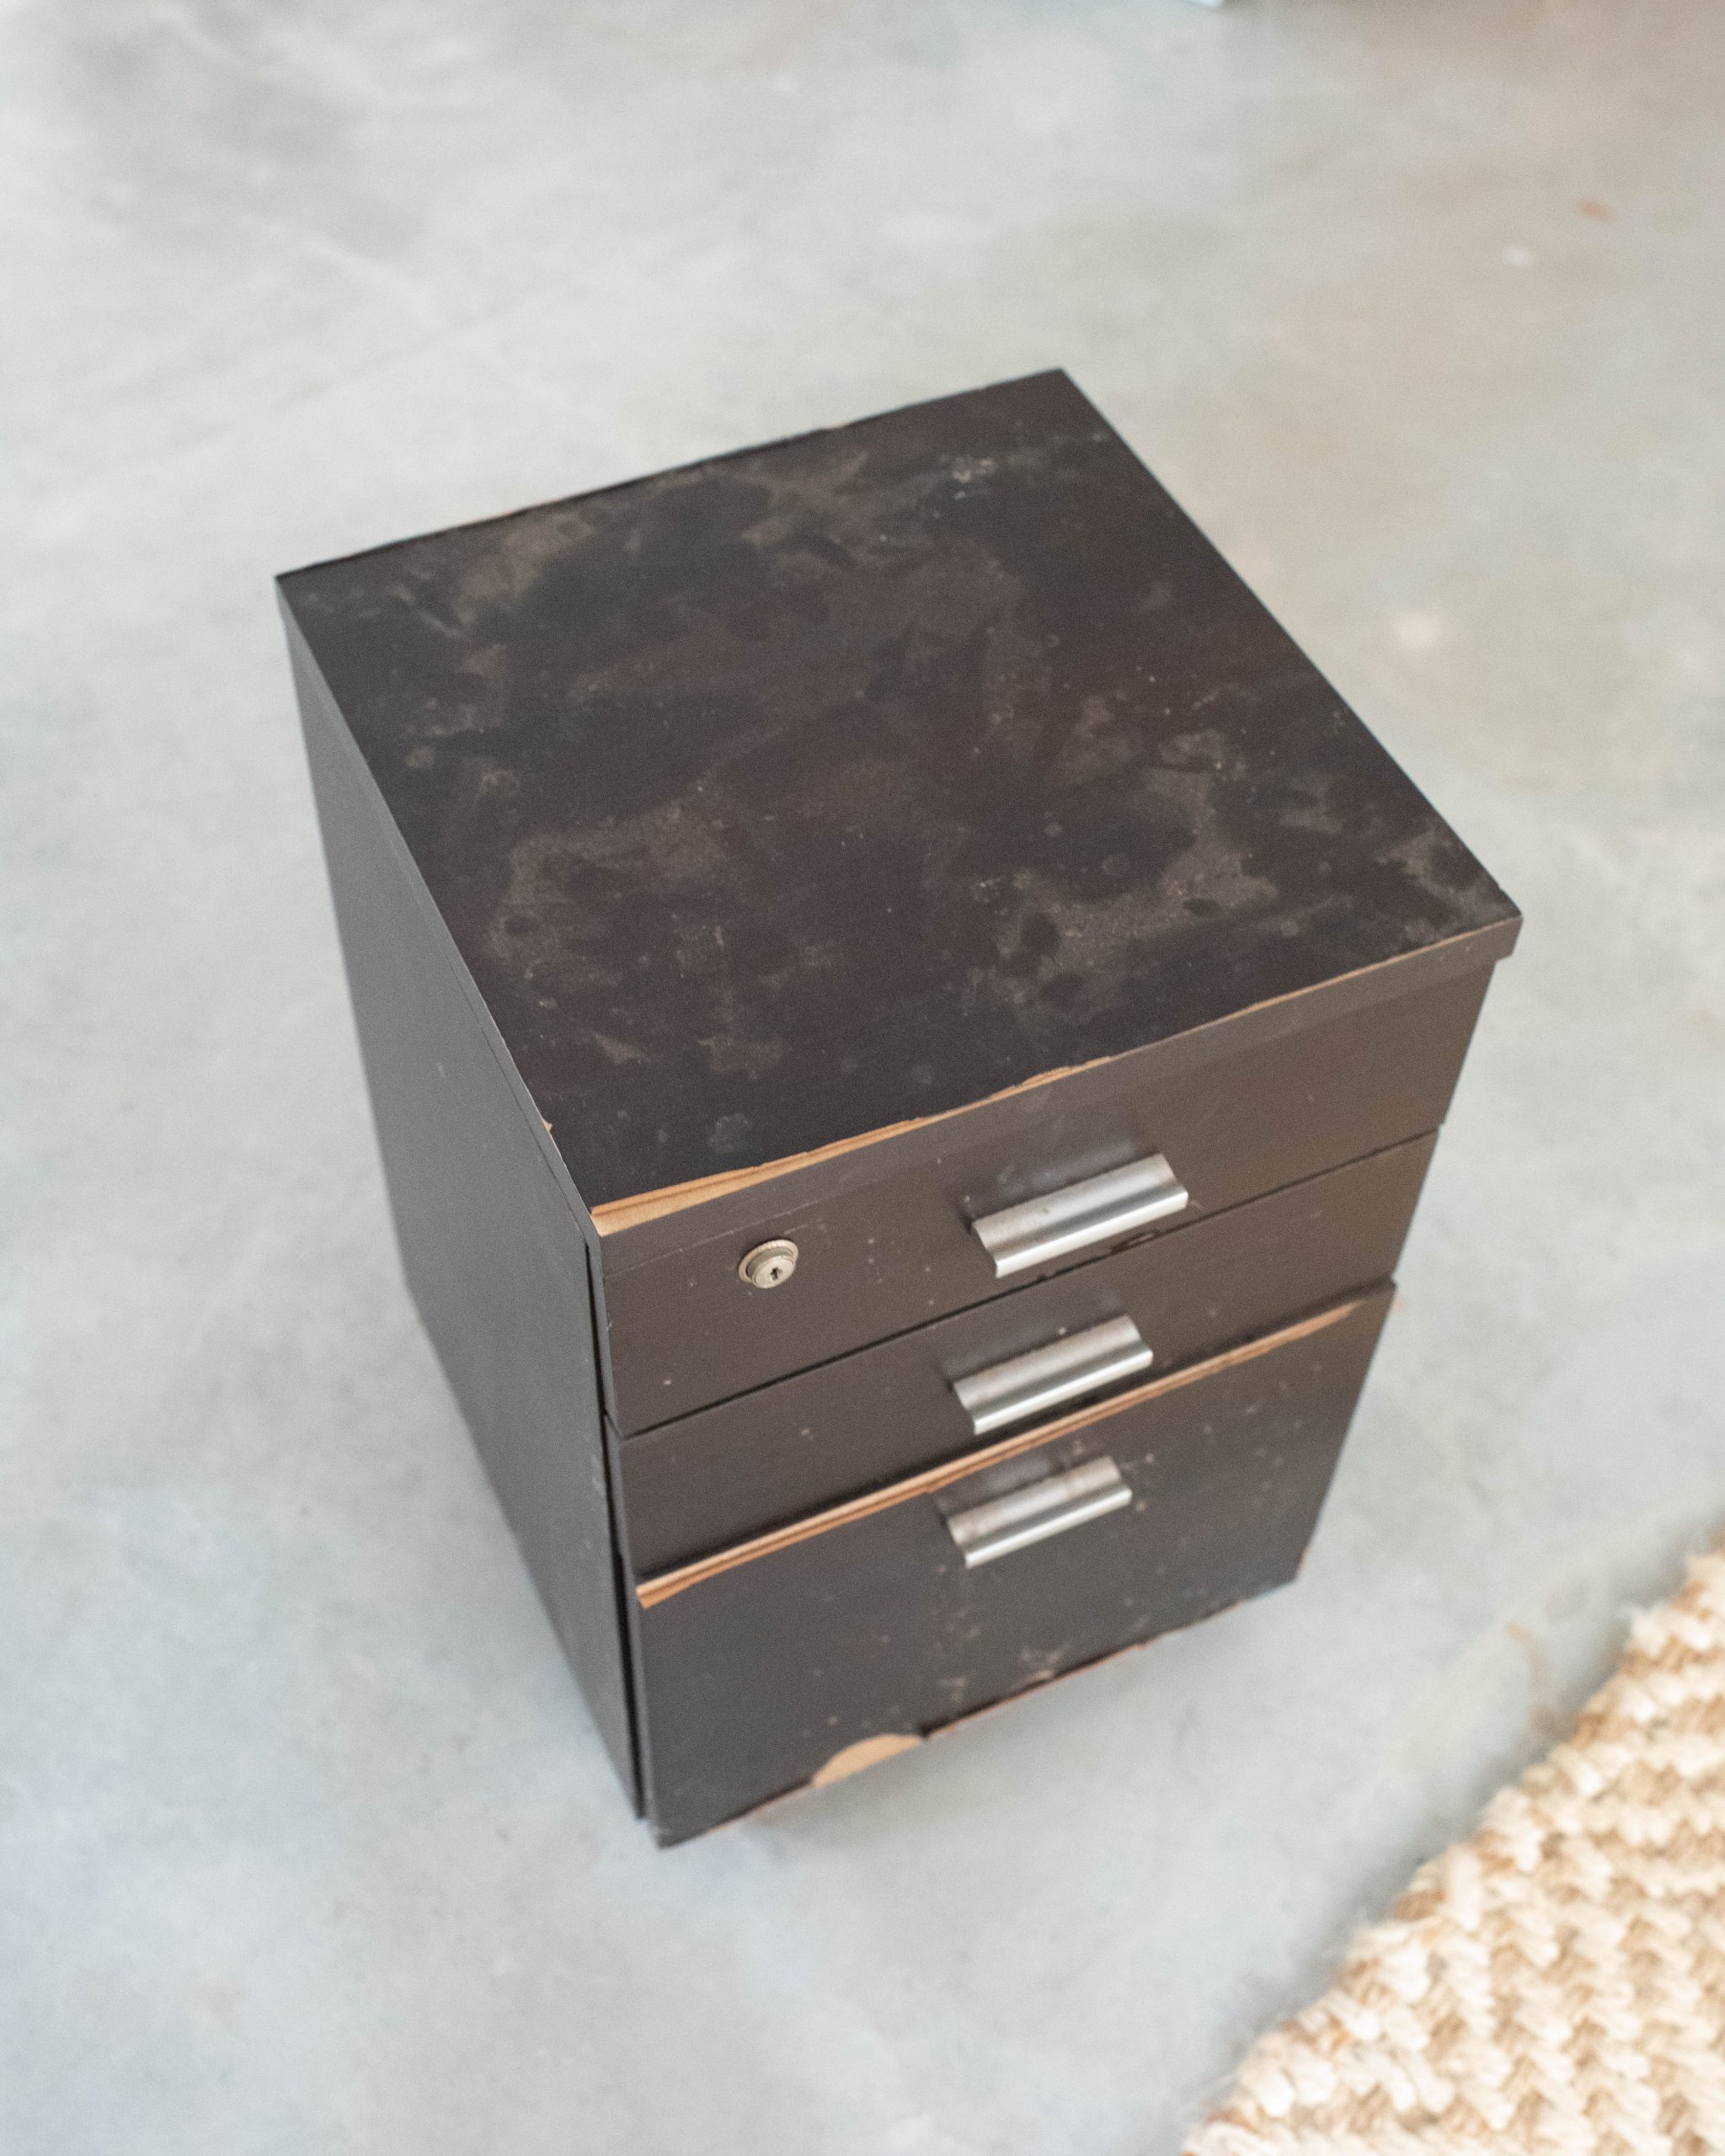
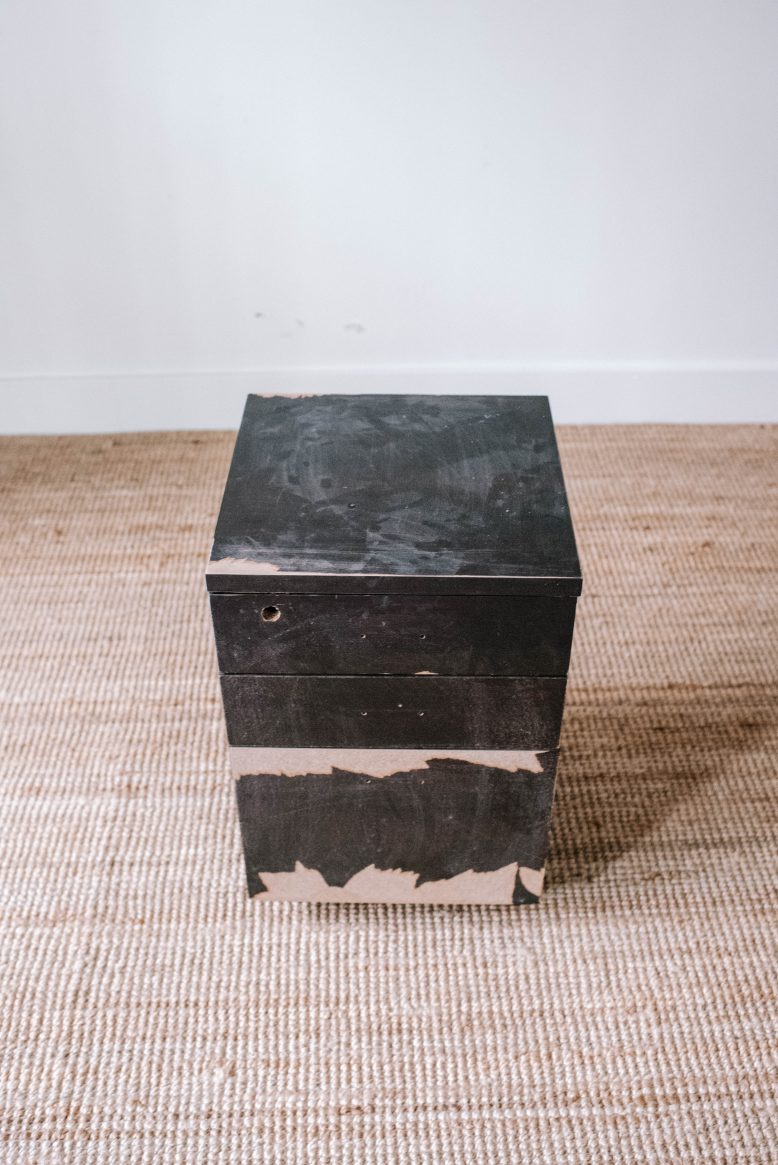
When I came across this little set of drawers on the side of the road, looking a bit worse for wear, I knew it would be the right shape for a plinth. I love being able to use something that would otherwise go into landfill and give it a whole new life. This project was a bit of a challenge, as cutting mirrors isn’t the easiest thing, but I love how it turned out.
- Before
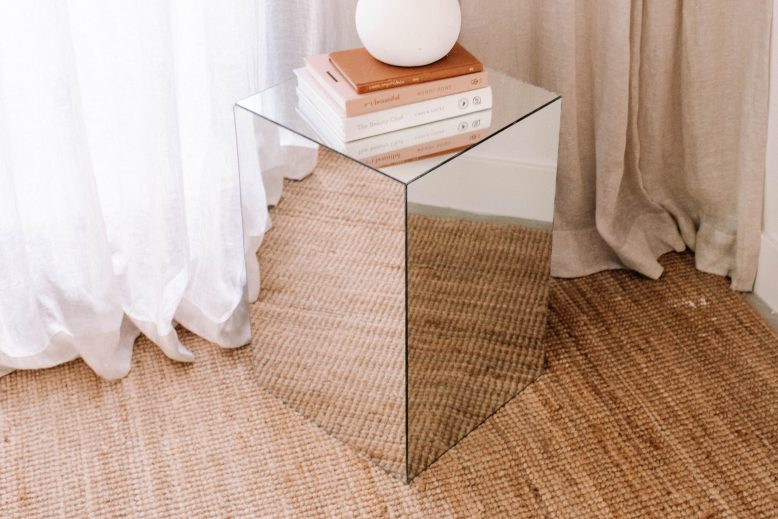
- After
If you can get your head around a little bit of glass cutting (I promise its not as hard as you think!) then this little upcycle is so simple and quite quick.
What you need
- Old piece of square furniture, like a set of drawers
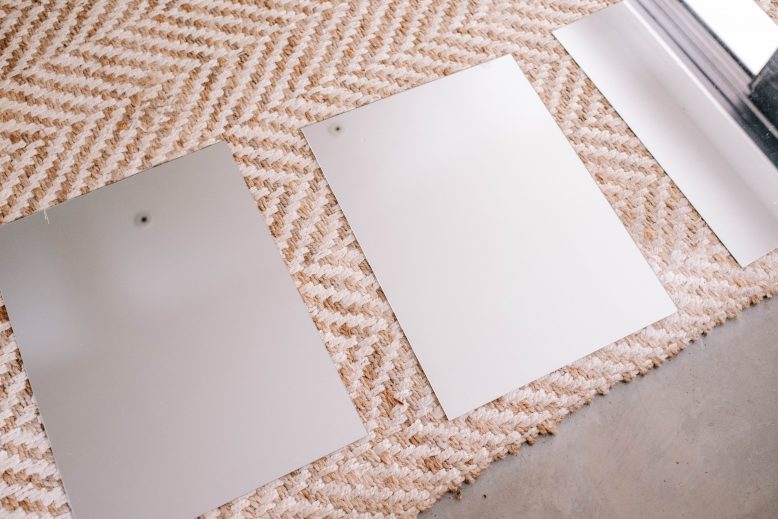
- 5 Mirrors, I used the $24 mirrors from Bunnings (or you could use bigger mirrors and do more cuts)
- Painters tape
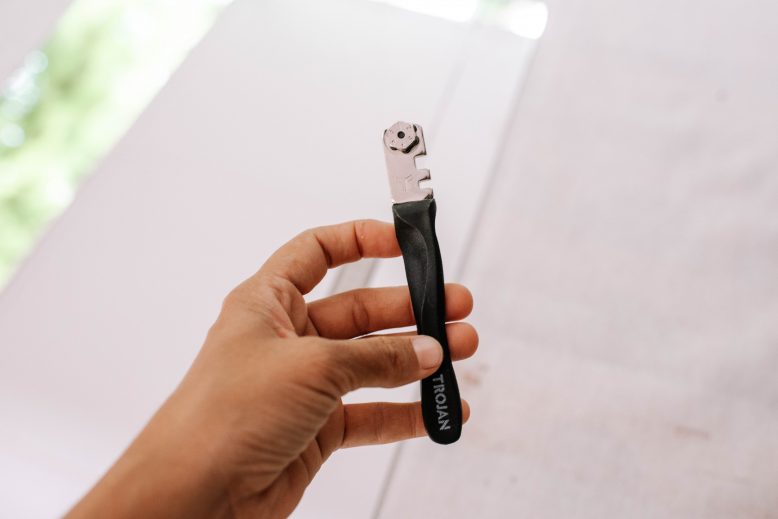
- Glass cutter, mine is this one
- Glue, This is the best one for mirrors.
How to make a mirror plinth
1
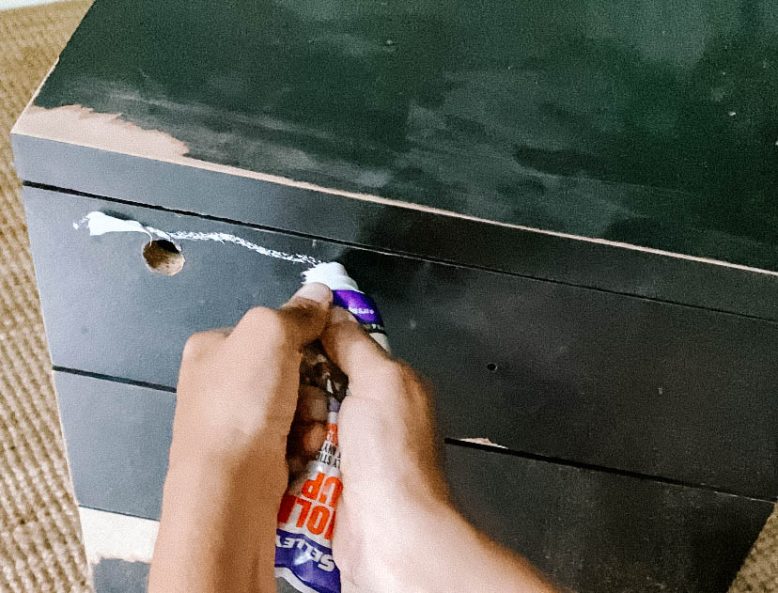
Begin by preparing your set of drawers. I removed any hardware including the little key hole. I then also glued the drawers shut, as I knew I wanted a clean, uniform shape and didn't need the drawers to open. When gluing them shut, I and also propped them out a little with glue so the front surface of the cabinet was completely flush with the top edge. This gave me a shape that was completely flat on all sides. I then sanded the drawers carefully.
2
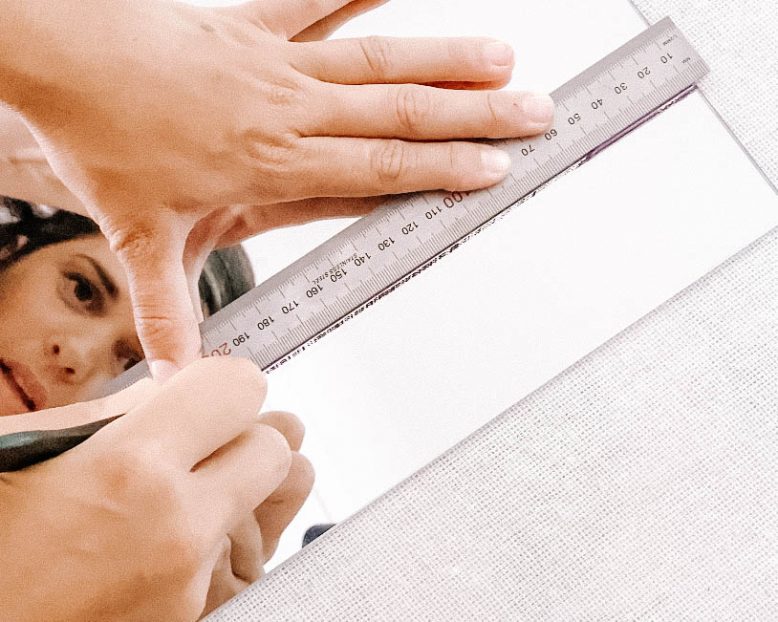
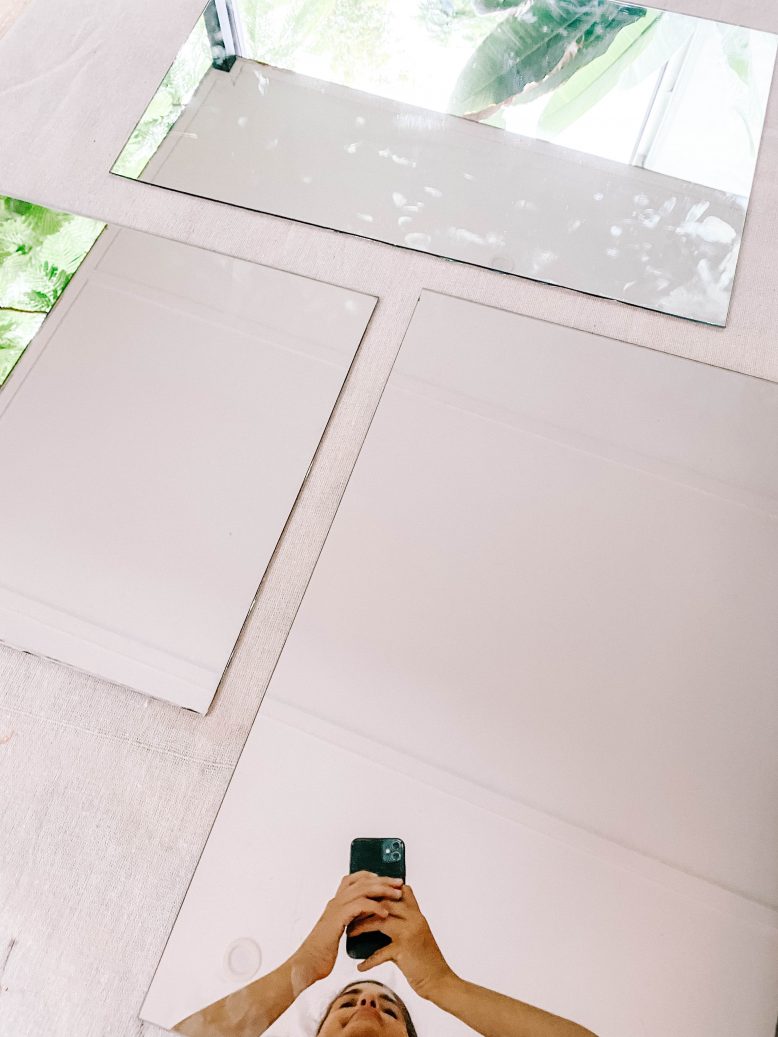
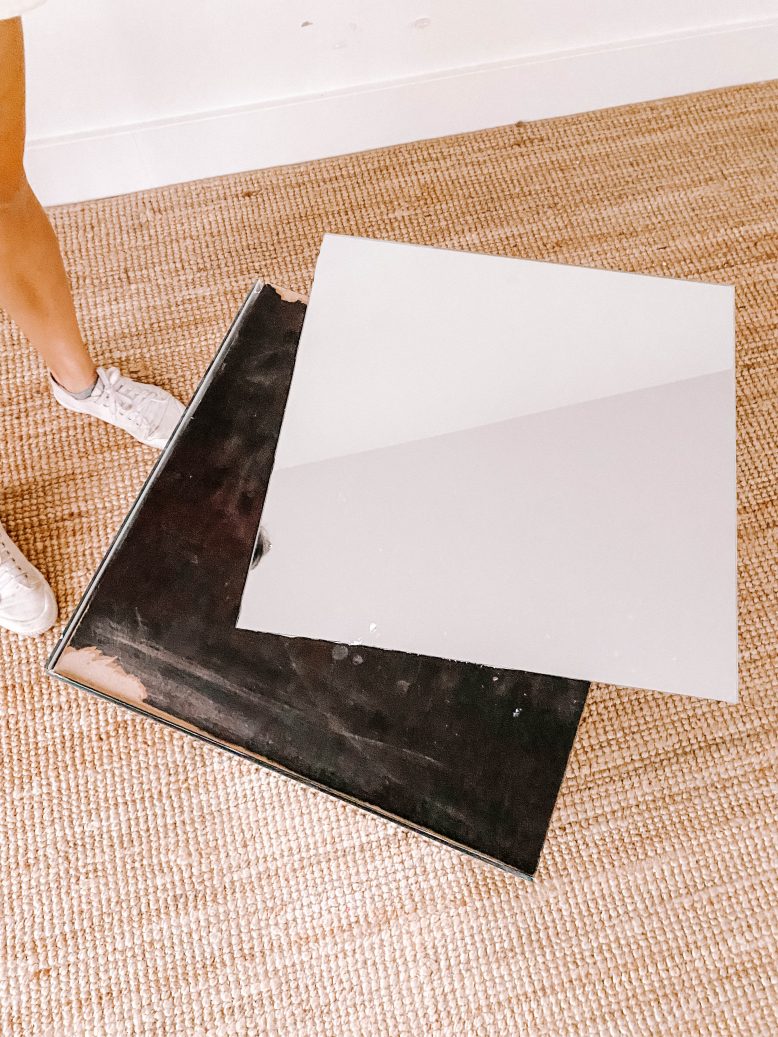
Next ups it's time to cut that mirror! I then measured and marked where I needed to cut my mirror, with 4 pieces being exactly the same size, and the top was a square shape.
3
Cutting mirror can be tricky so definitely take it slow, and considering using the extra end of the mirror, the one you'll cut into a square, as a tester first. Mark your line with a pen, and then place your ruler down as a guide. Press the cutter down where you see the wheels, and press until you hear it cut in a little. Firmly pull your hand down, making sure not to lose contact. You should hear a screeching noise which means you're doing it right. Try to avoid lifting the cutter until you get to the end, and only do one long cut, making sure not to go over and over the mirror.
4
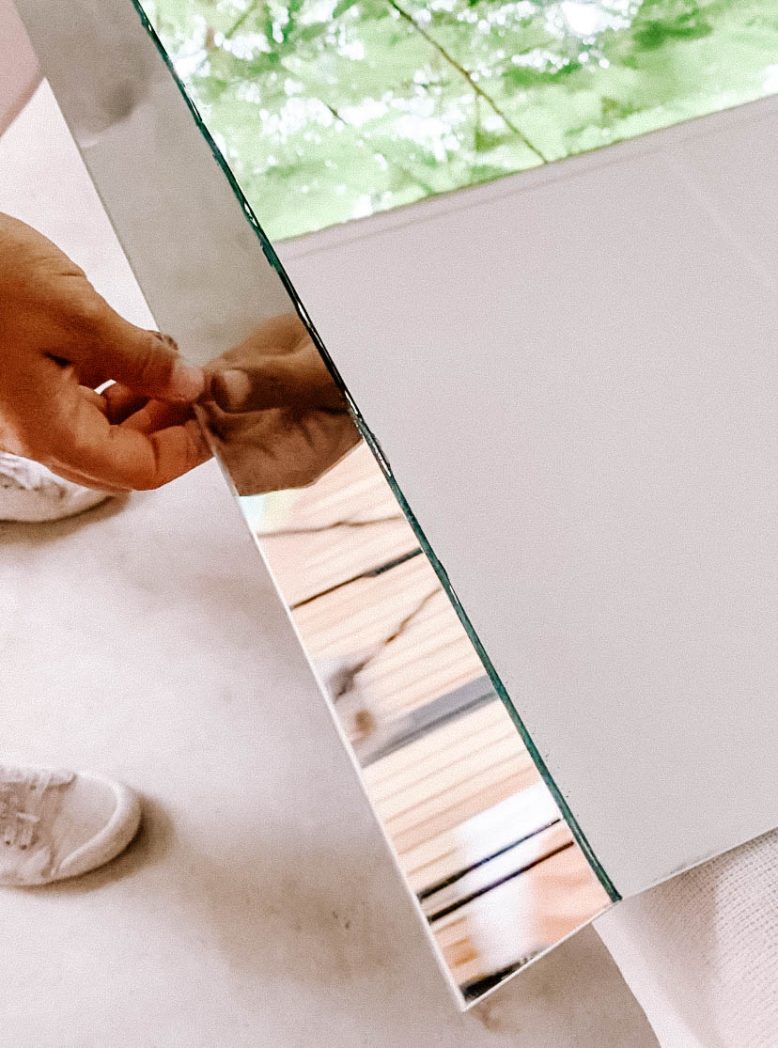
Once the mirror is scored, I used the heavy end of a screwdriver to lightly tap the score from underneath, this helps to turn the score into a larger crack. You will be able to see the crack deepen as you do it. Finally, I placed a little downwards pressure on the outside edge to snap the glass.
5
The glass should usually snap cleanly, bit if it doesn't you can either sand it down or score it again and use pliers to break off any smaller parts.
6
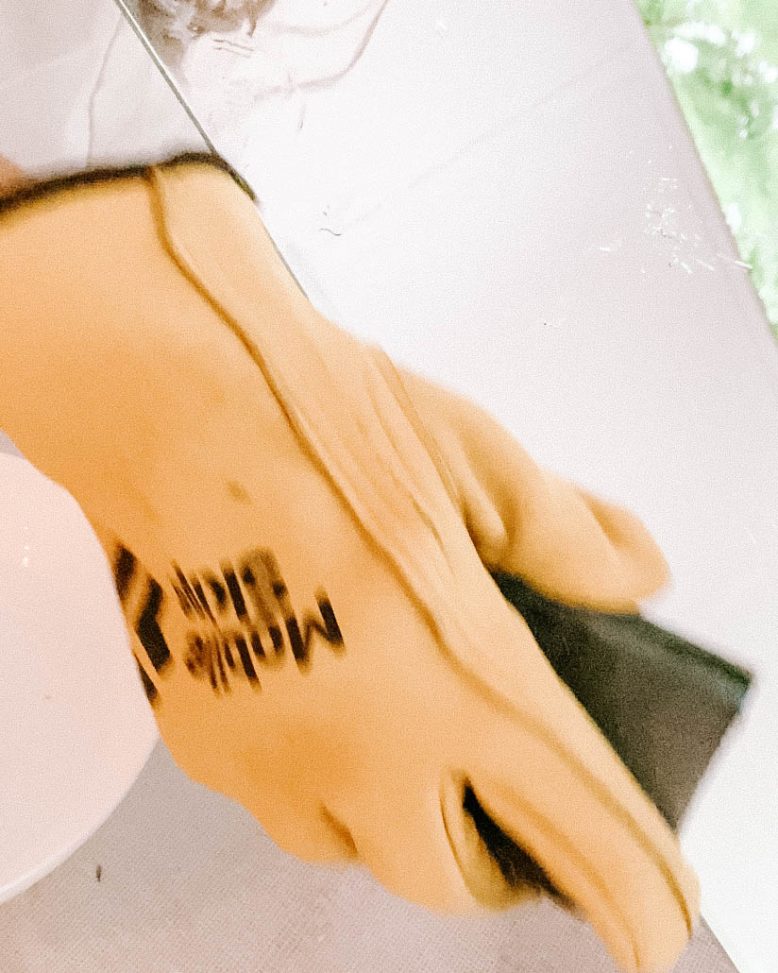
Once the mirror have all been cut, it's time to sand the edges so they aren't sharp. Start by putting on some gloves and eye protection, as the small glass shards are a safety hazard. Then, take some 180 grit sandpaper and a sanding block, and dip it in water so it's very wet. Sand the edges with that until any major sharp bits have been removed, and then swap to a fine 400 grit sandpaper and use that until the glass is completely blunt.
7
Time to glue the mirrors on! Lay out your mirrors on the floor and apply glue to the cabinet, going panel by panel around the cabinet, then adding the final piece on top.
8
If you have any less than perfect edges of the mirror, position them all on the same side, with the original edges facing out.
9
Finally, I allowed the glue to dry overnight with some tape to keep the mirrors in place.
Voila!
This project is in collaboration with Bunnings.


