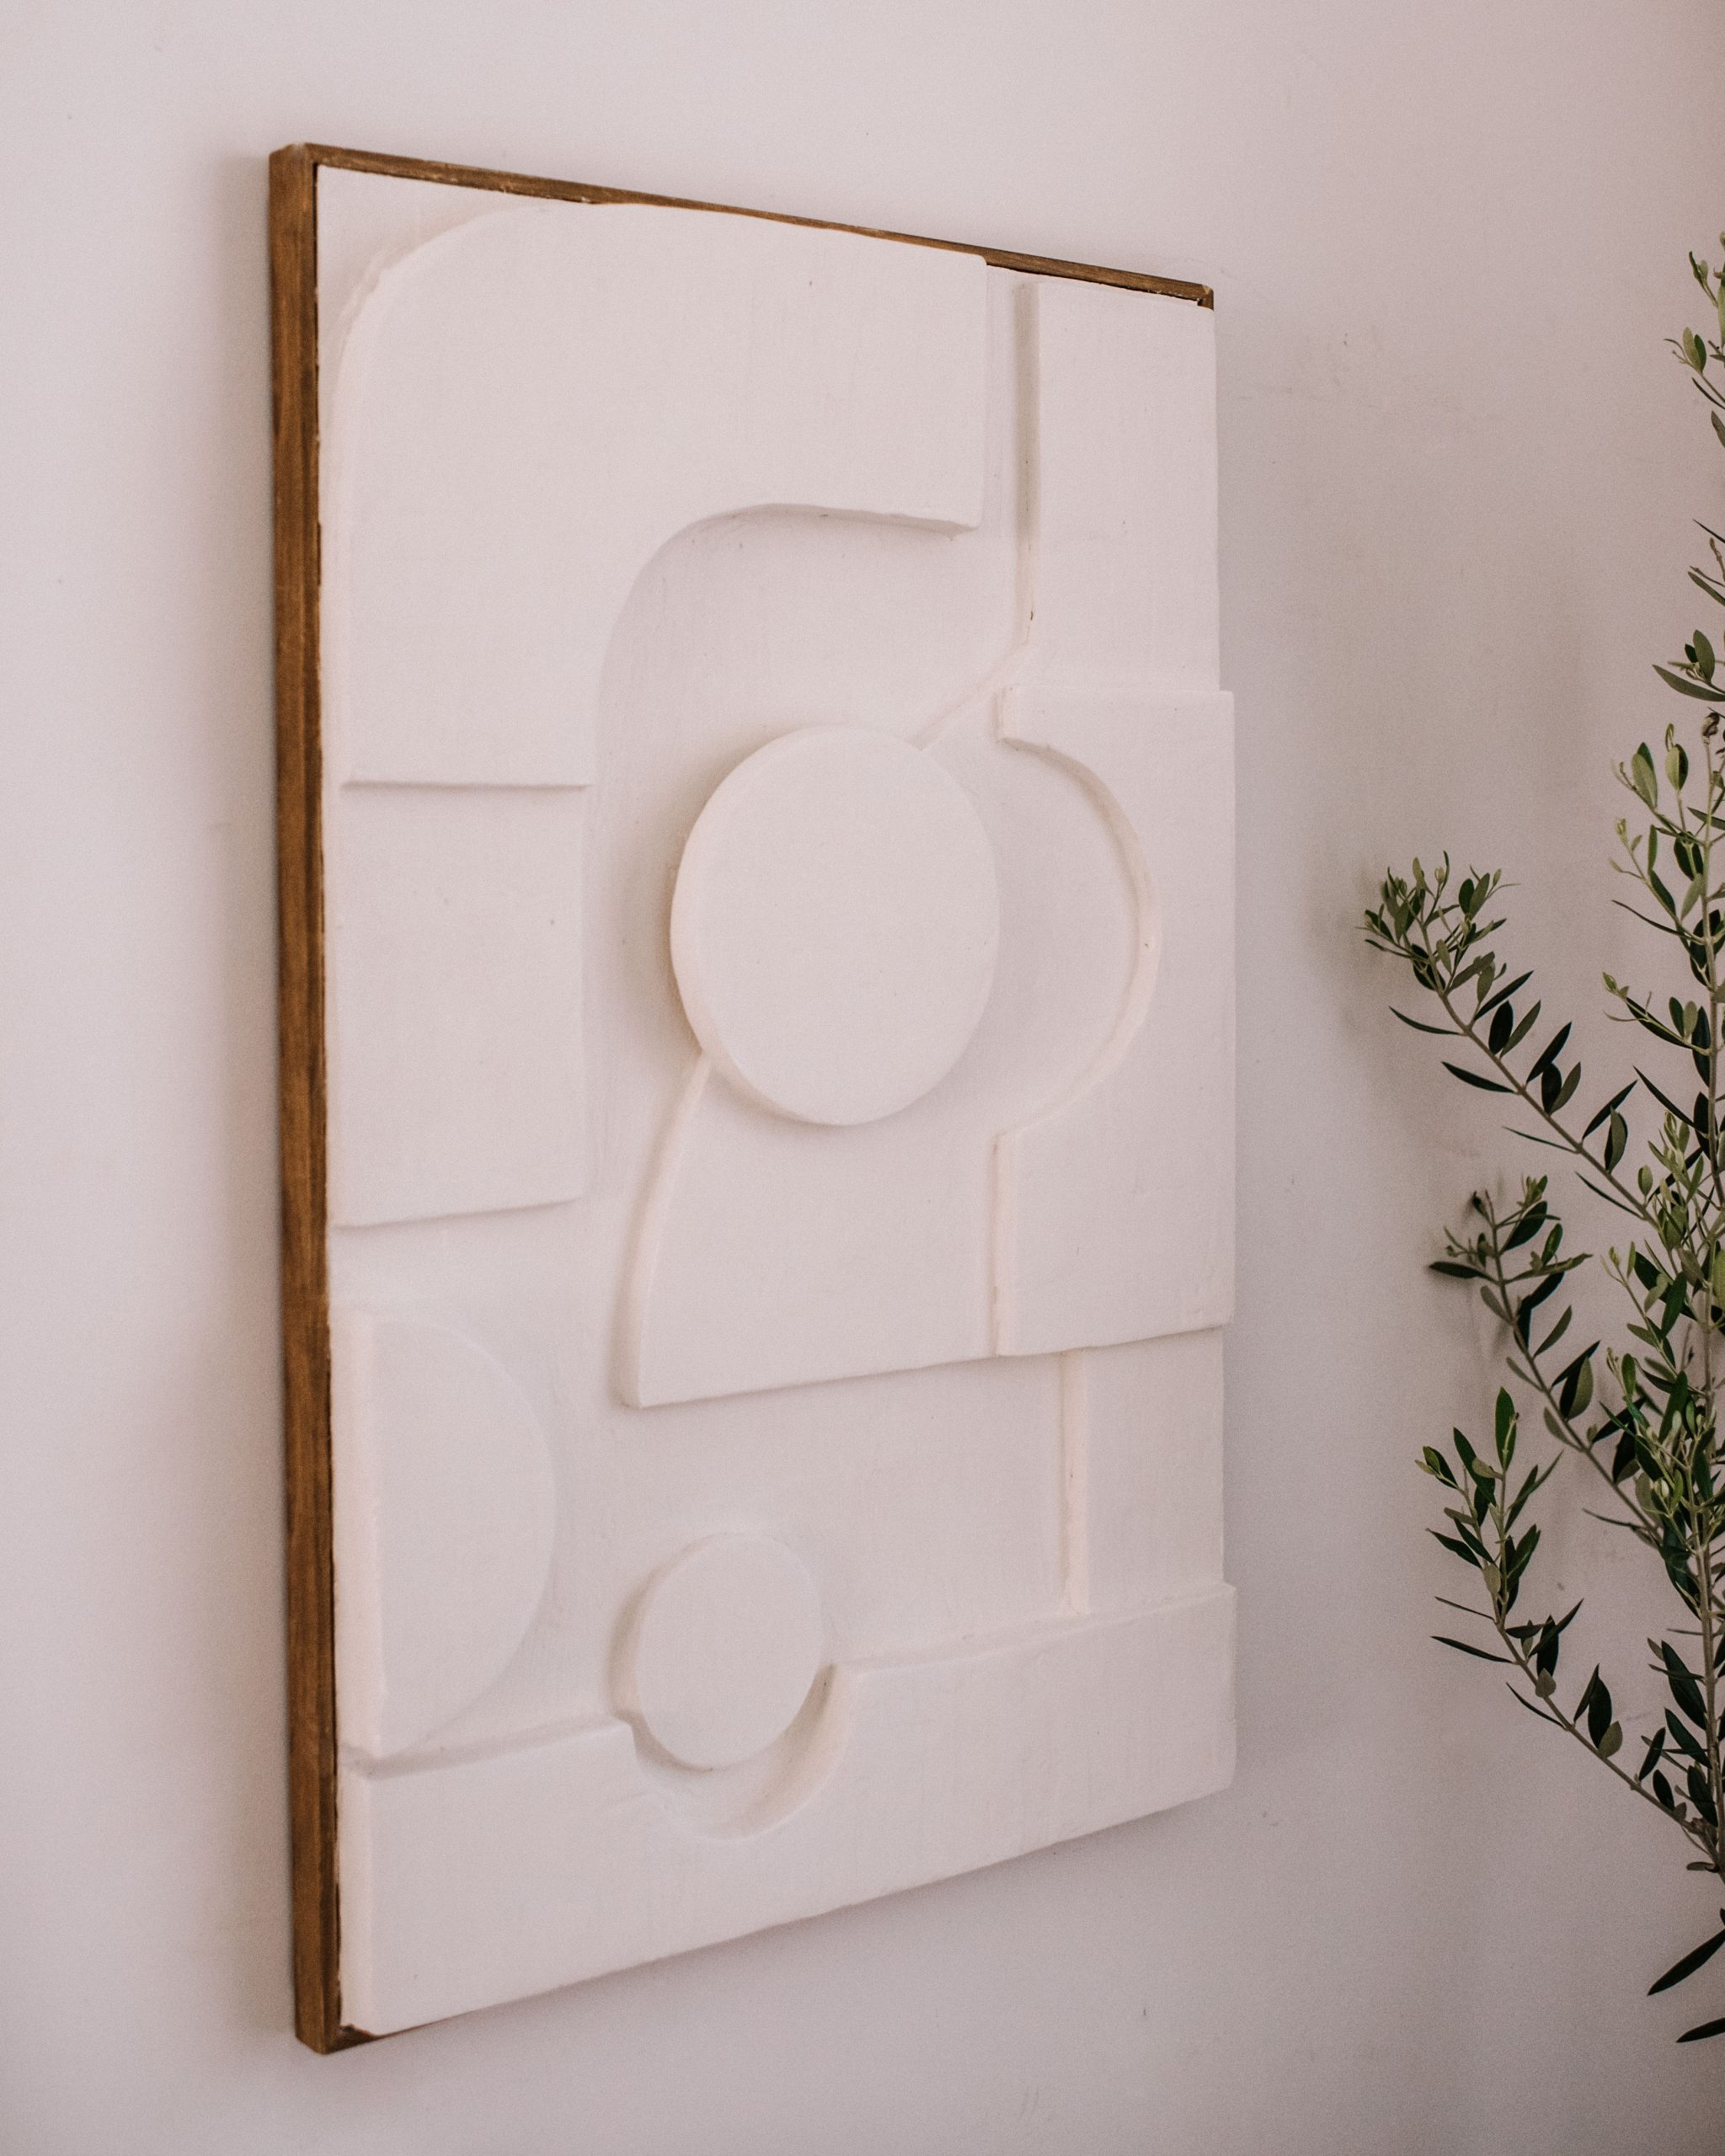
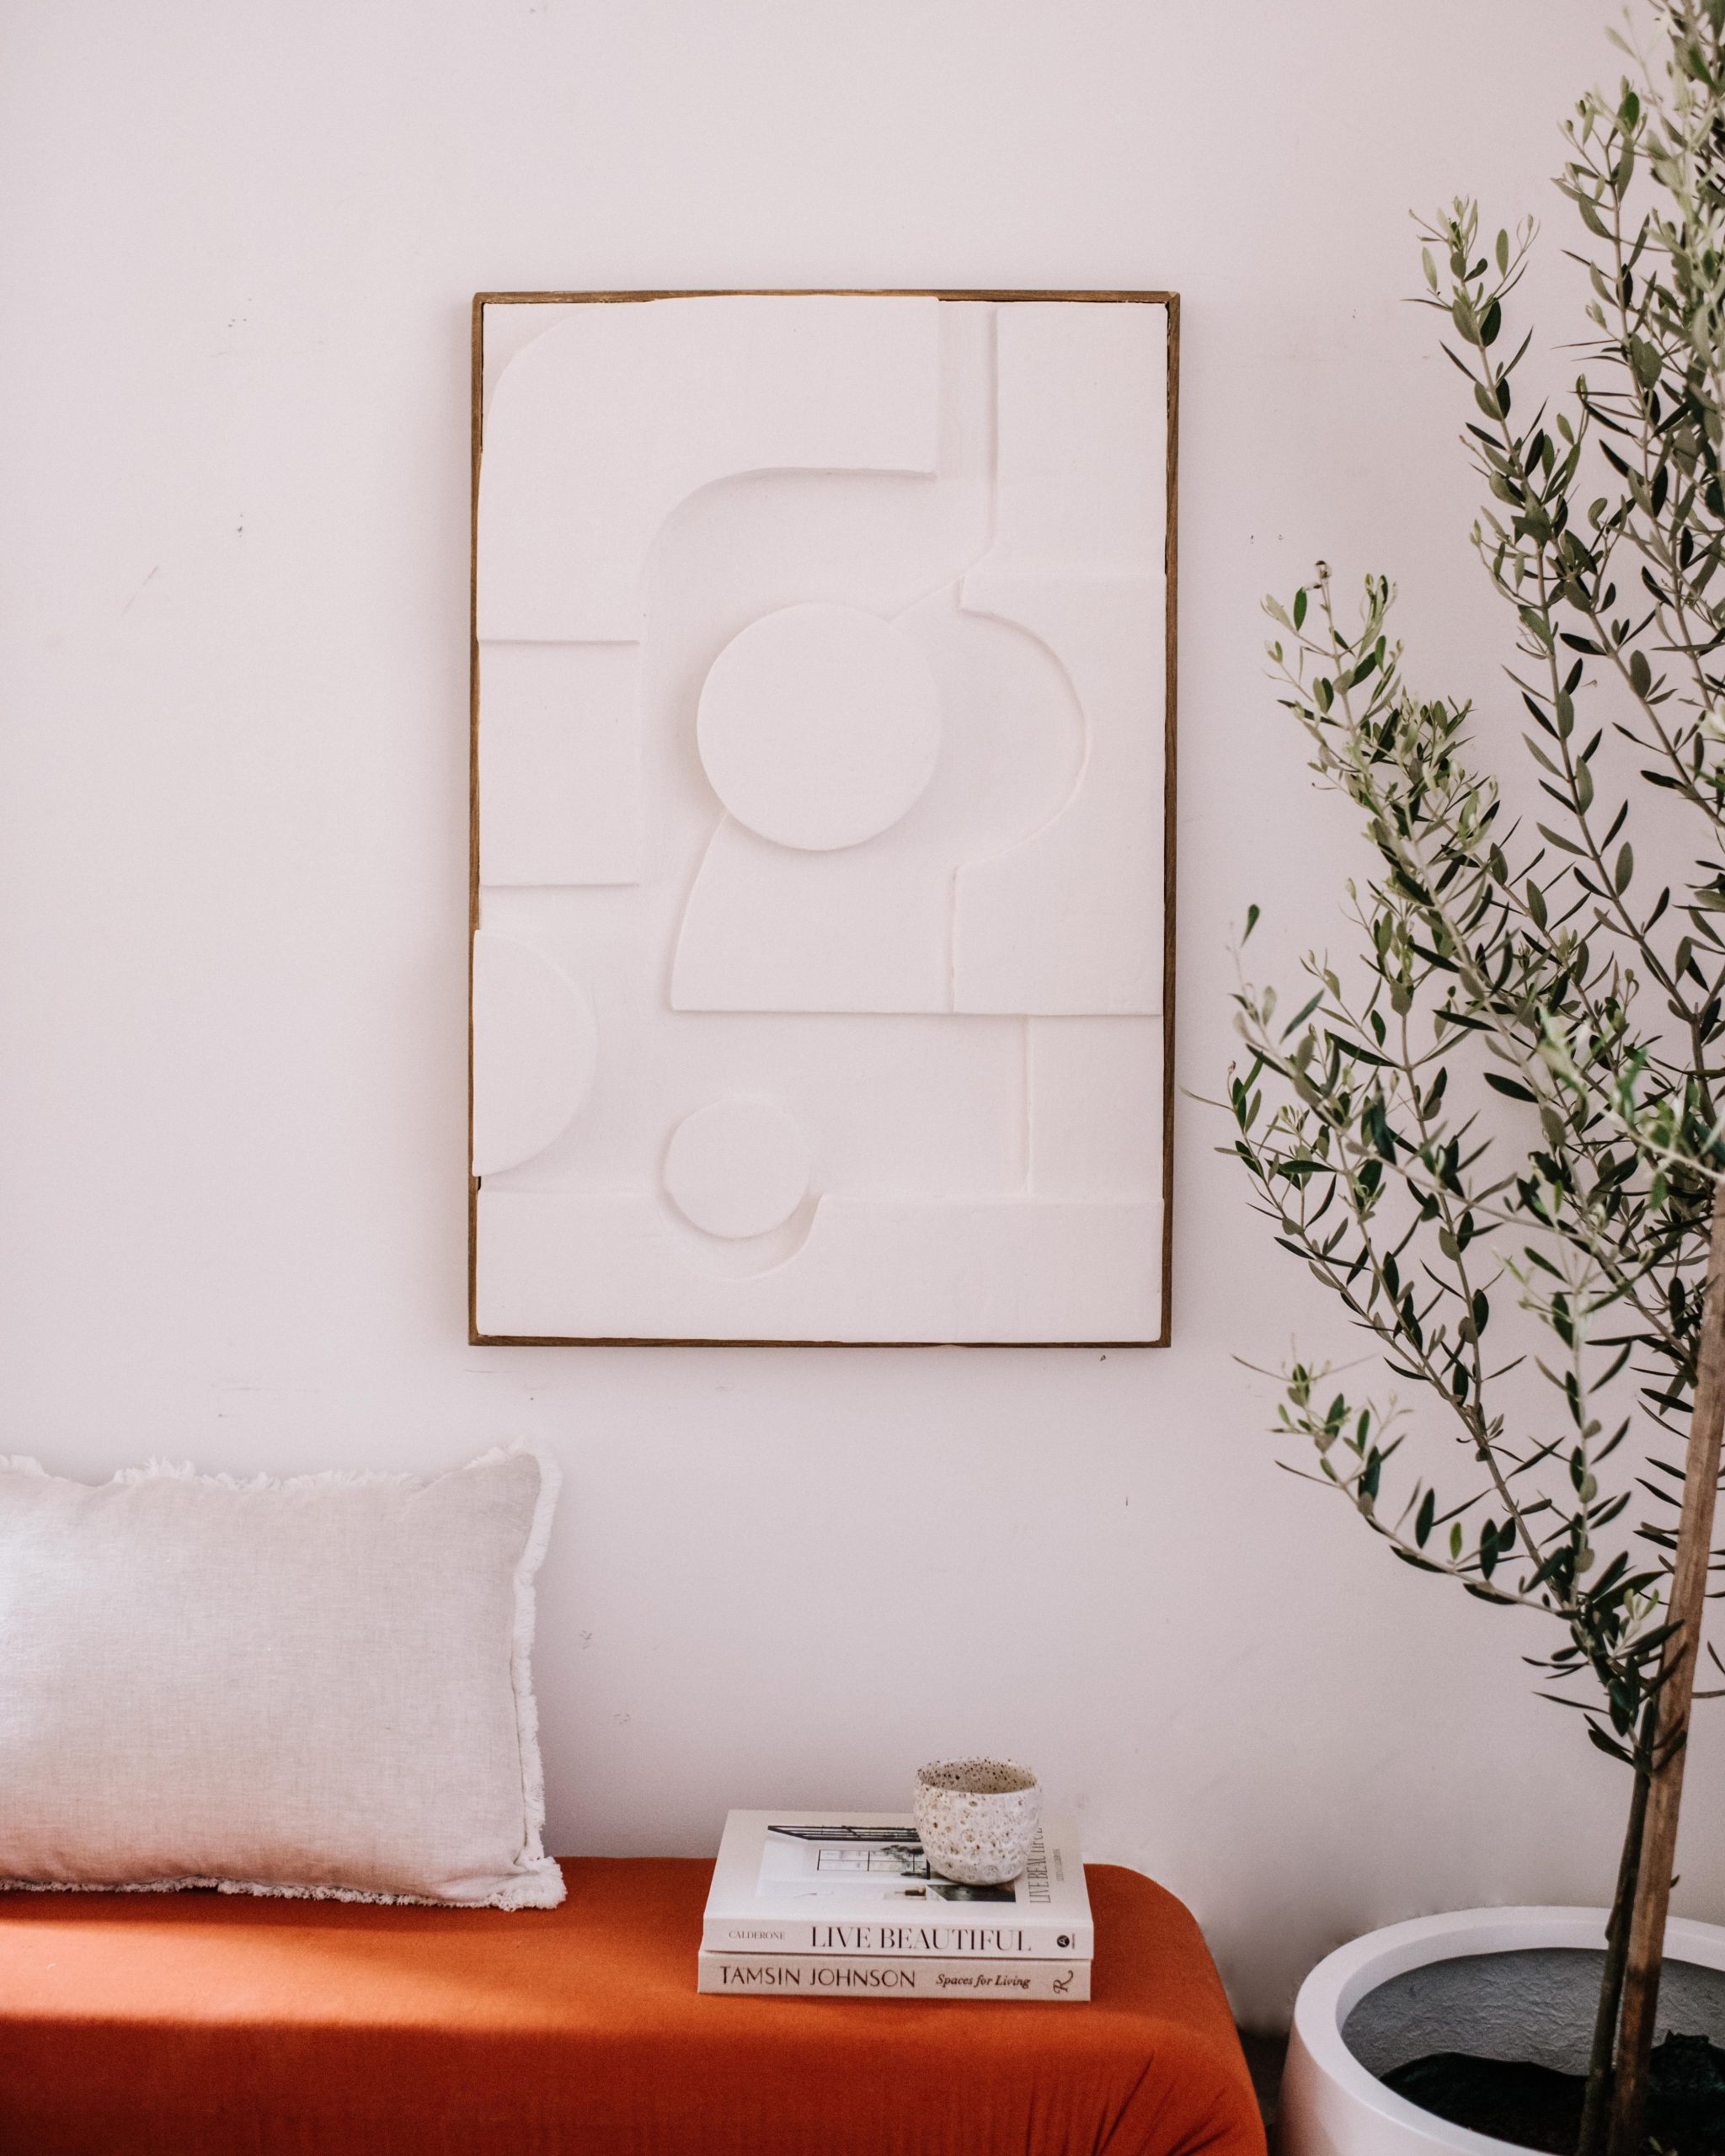
I’ve been loving geometric shapes lately and have been having fun playing around with texture and shape. As much as I love terracotta (and want to put it on everything lol), it’s been fun to use some more neutral tones. I’m enjoying playing into lines and movement, without relying on colour to create big impact.
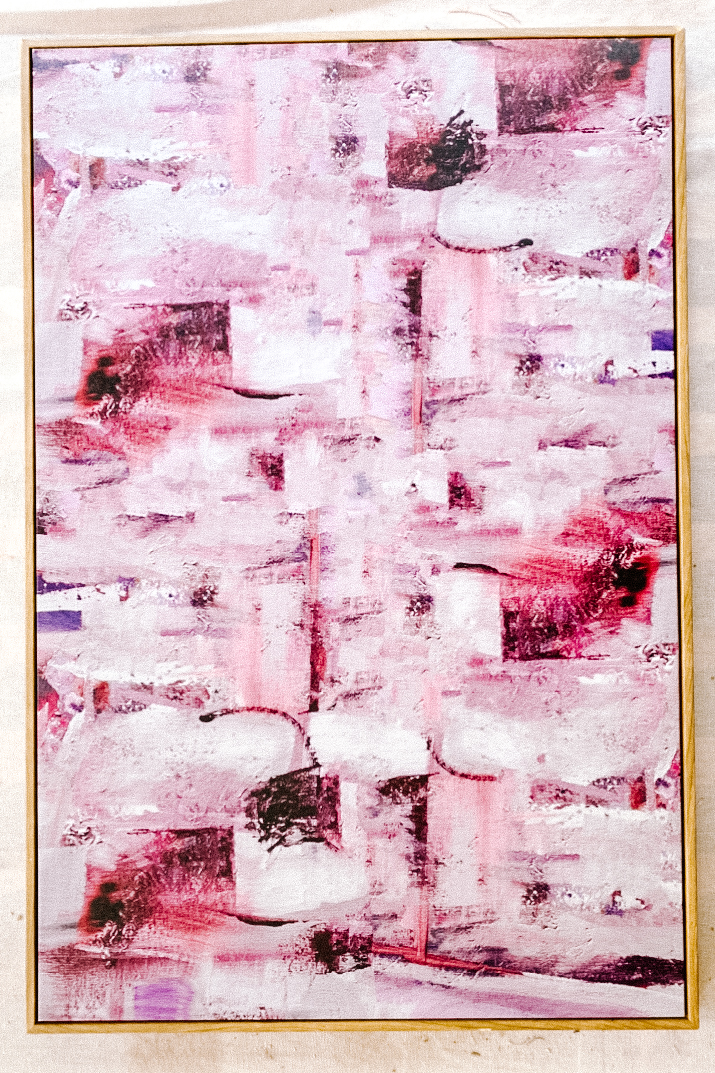
I recently made a cute jewellery box with a geometric pattern on it which really inspired me to go a little bigger with a piece of sculptural art. I found the perfect size framed canvas at Vinnies (it was a cheap Kmart print) and so I got to work with some different materials to create something fun.
Materials you need
- Canvas
- Thin sheets of foam (these are from some packaging!)
- Scissors
- Cardboard
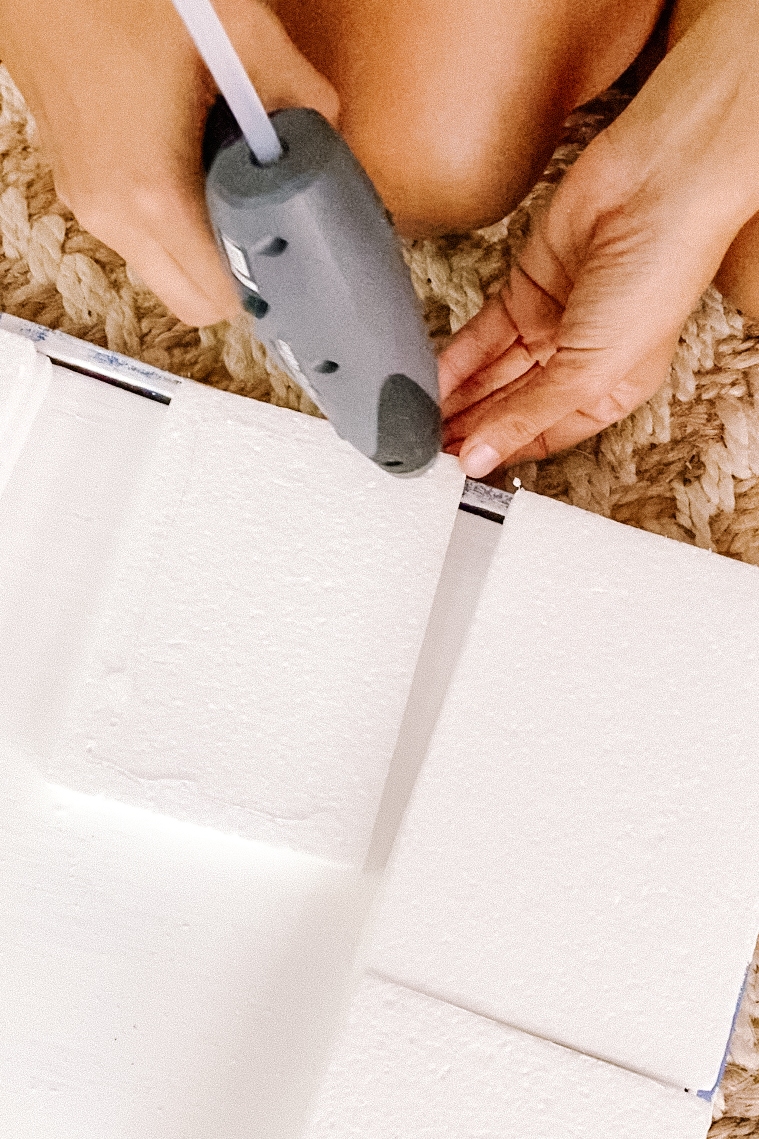
- Hot glue gun
- Painters tape
- Sandpaper
- Easy Flow Compound
- Paint Brush
How to make 3D Sculptural Art
- Begin by taping off the frame of your art and then painting the canvas (this is optional, you can always do this at the end).
- Use scrap cardboard to cut out shapes and lay them on the canvas. Keep moving them around and playing with different shapes and sizes until you have something you’re happy with. Take a photo of where all the cardboard is so you can place everything on exactly where it was.
- Trace your cardboard shapes onto the foam pieces and then cut them out.
- Use a piece of sandpaper to smooth out the cut edges of the foam – it will make all the difference!
- Once you have all the foam in place and you’re happy with it, glue each on down using your hot glue gun.
- When its all dry, mix the easy flow compound and white paint and brush the mixture onto the foam, ensuring you fill any cap and holes.
- Once dry, give it a light sand and remove the painters tape.
Voila!
To check out some other DIY art that I’ve been working on lately, have a look at my Geometric Upcycled Art!


