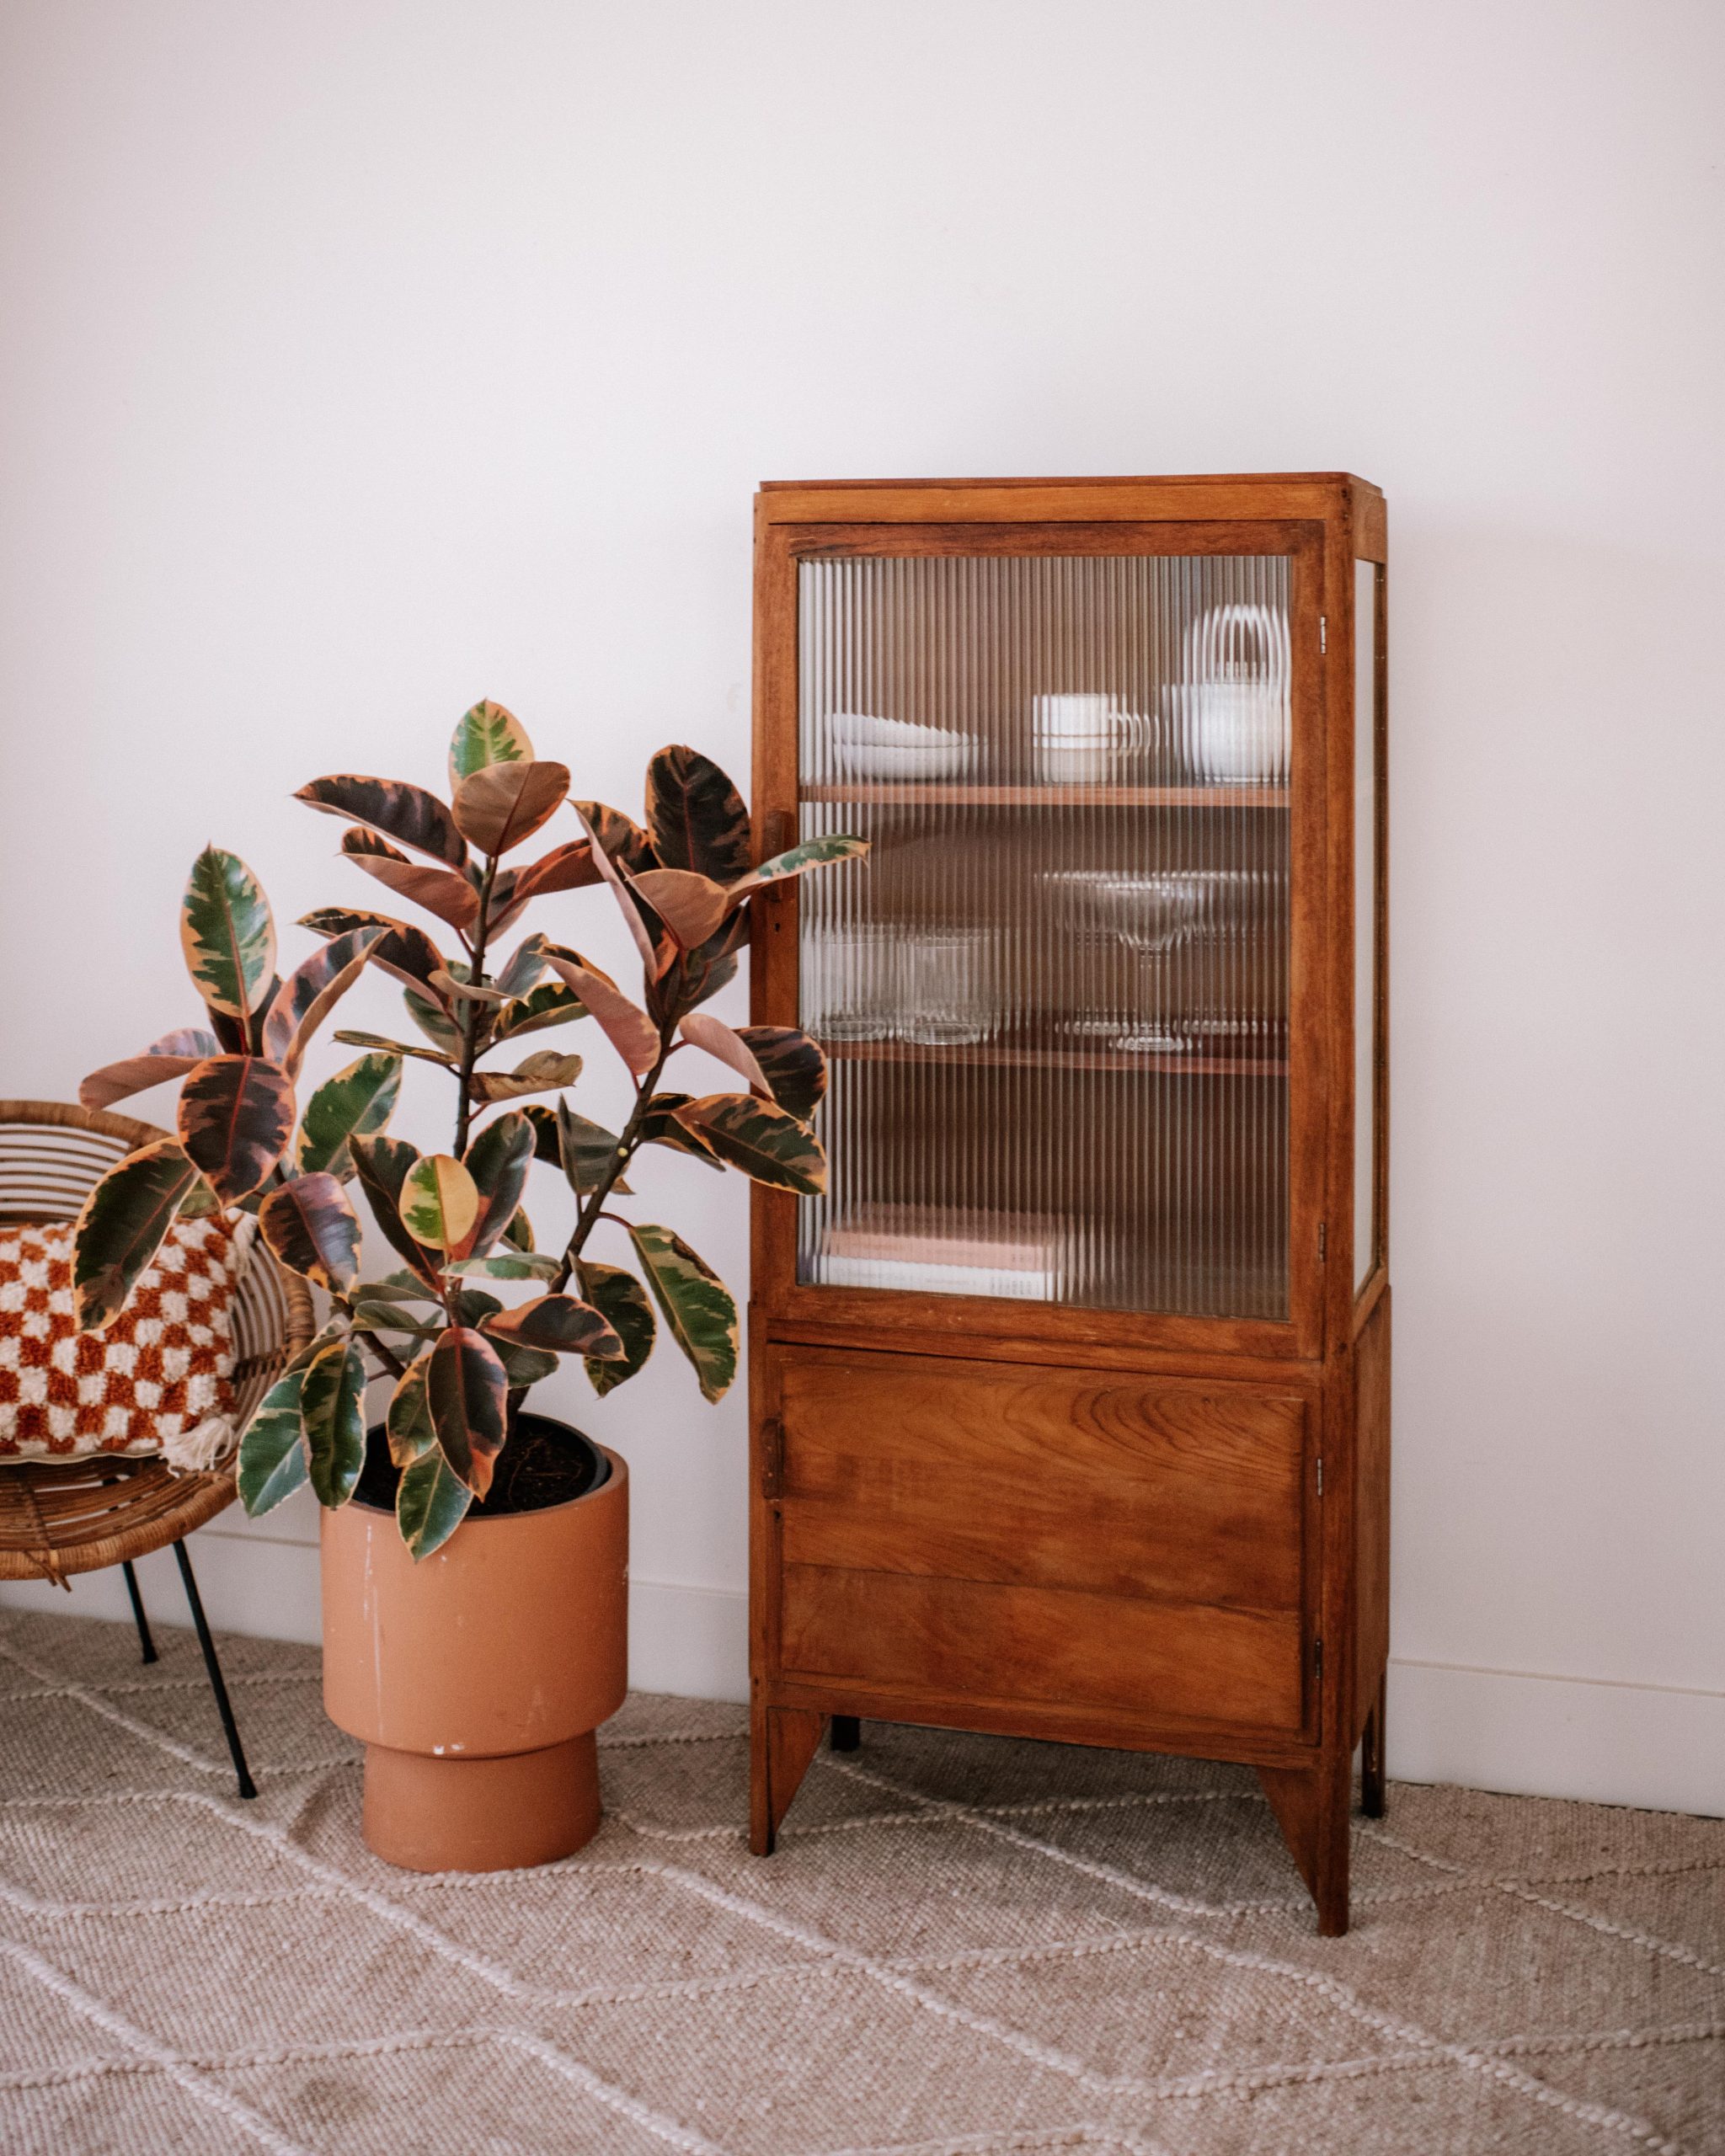
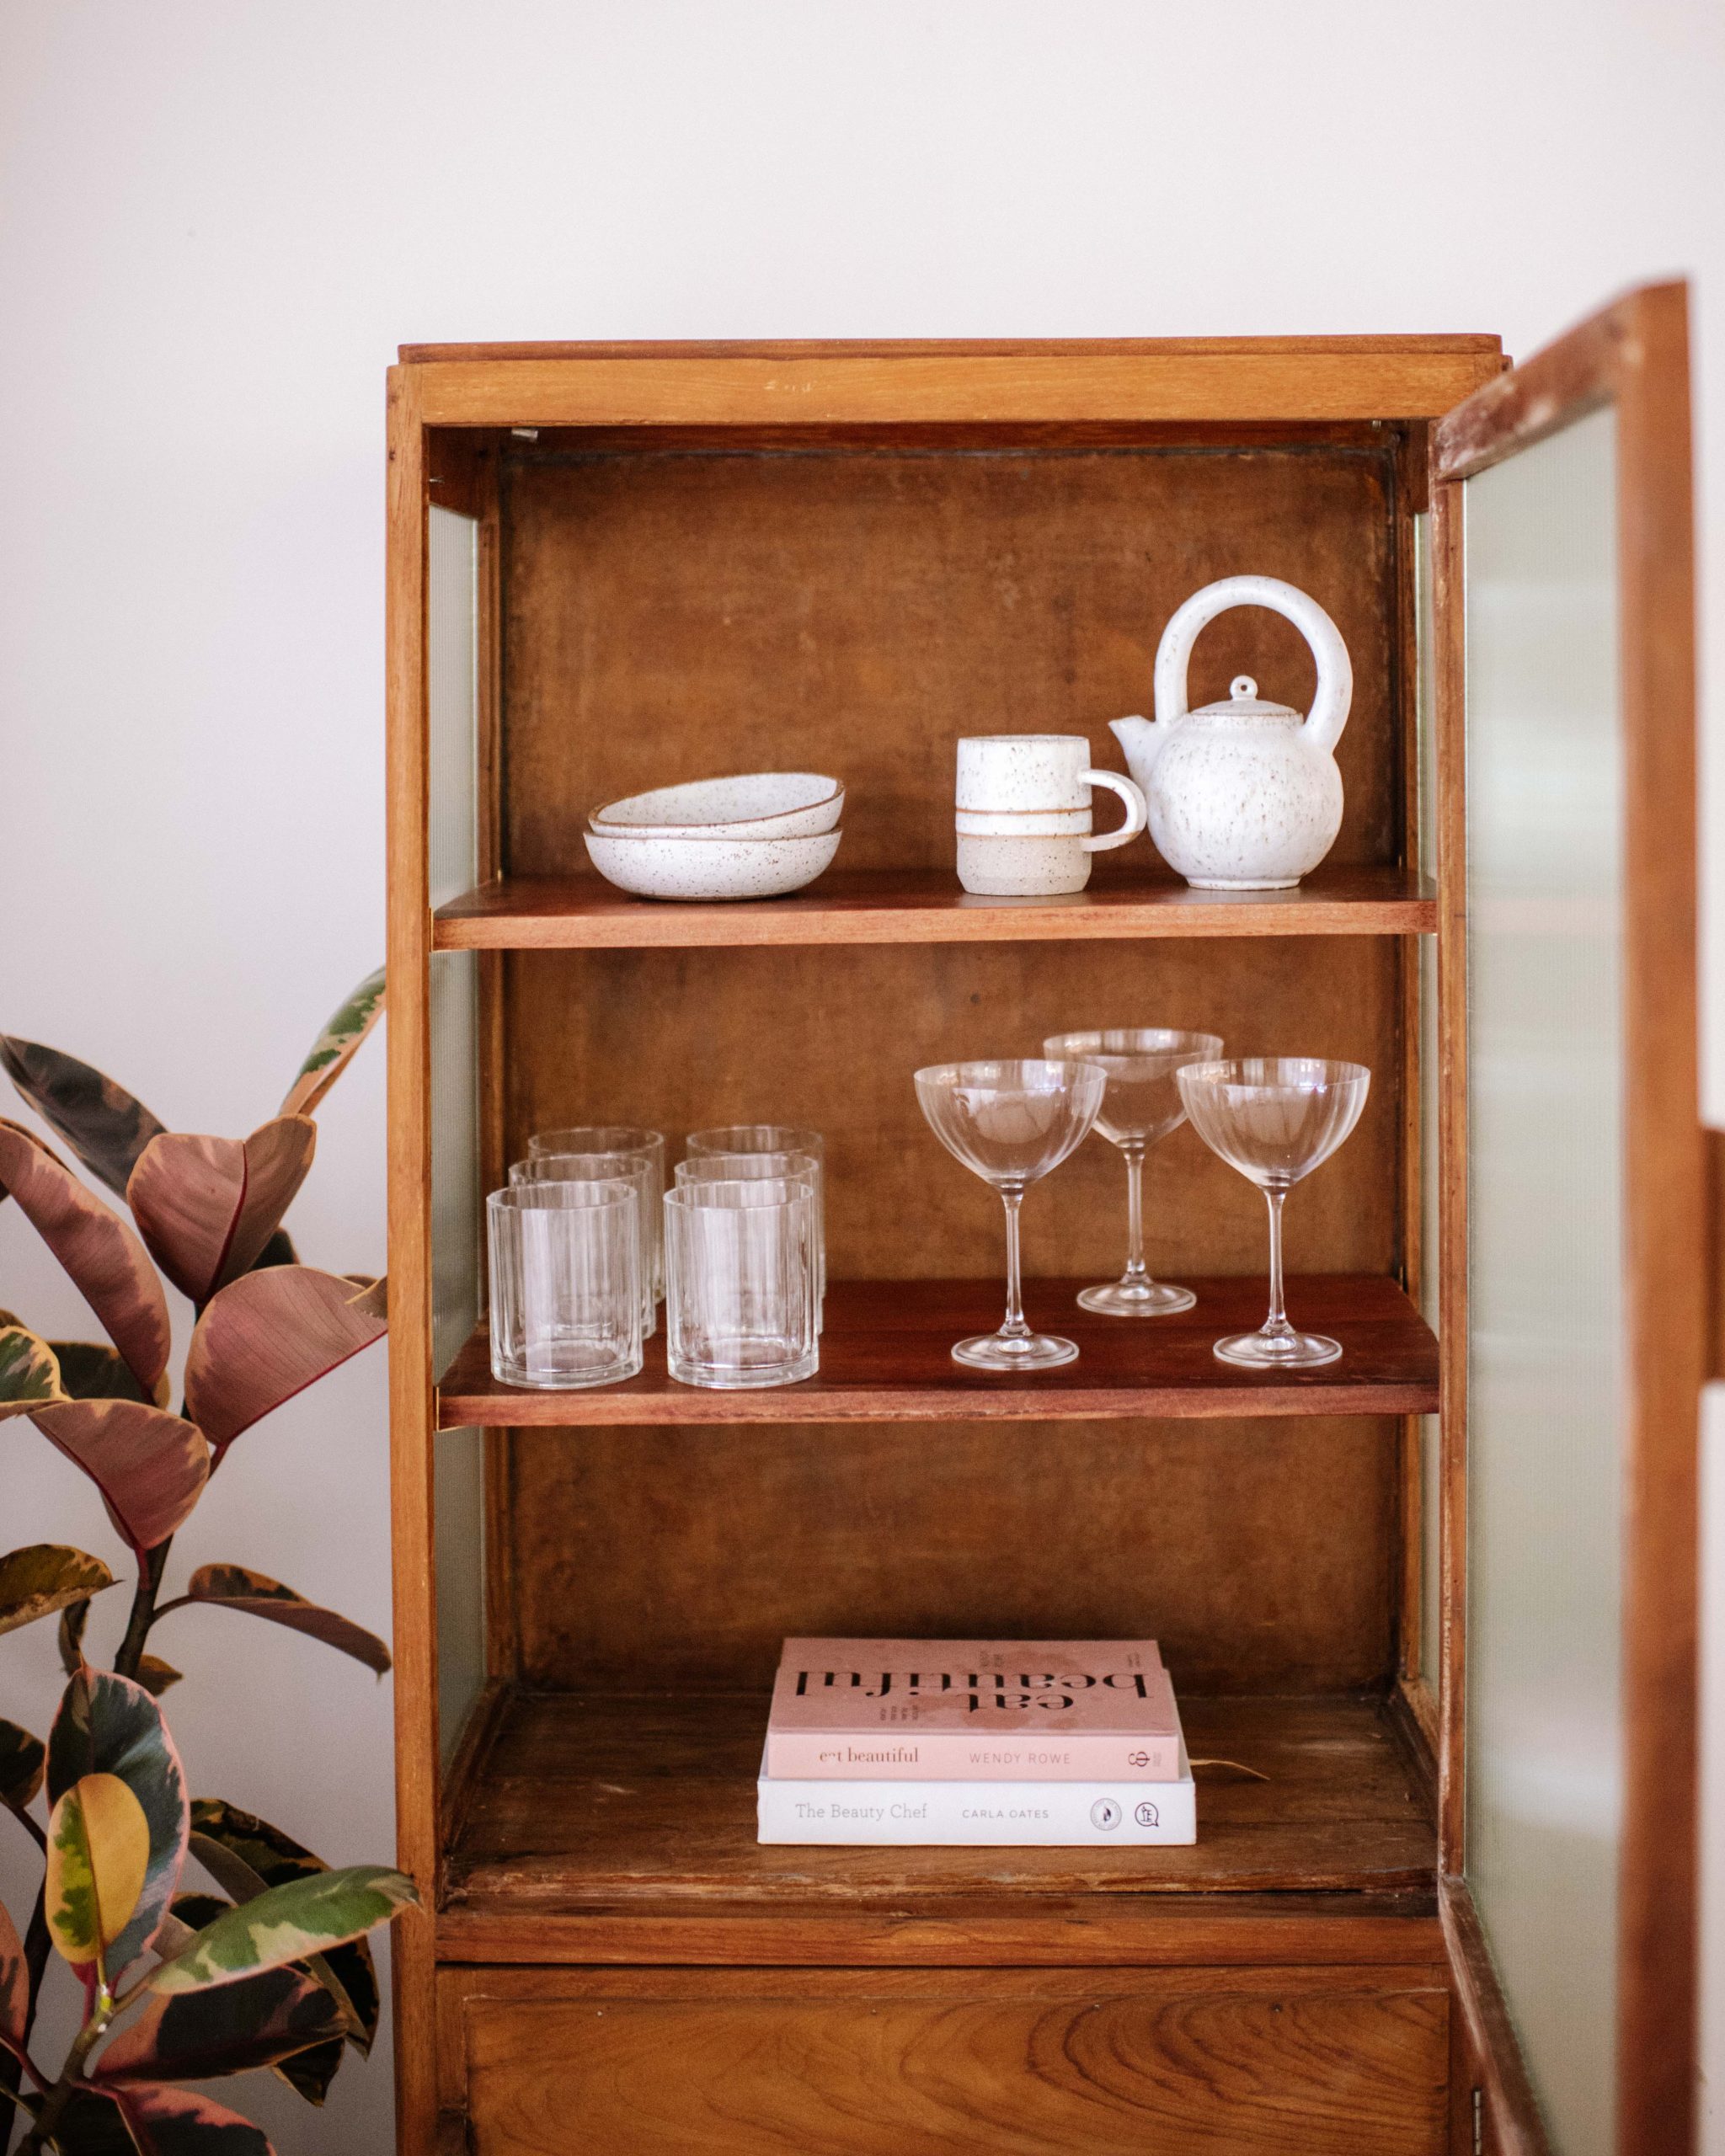
There is just nothing more satisfying than uncovering beautiful wood and bringing it back to life.
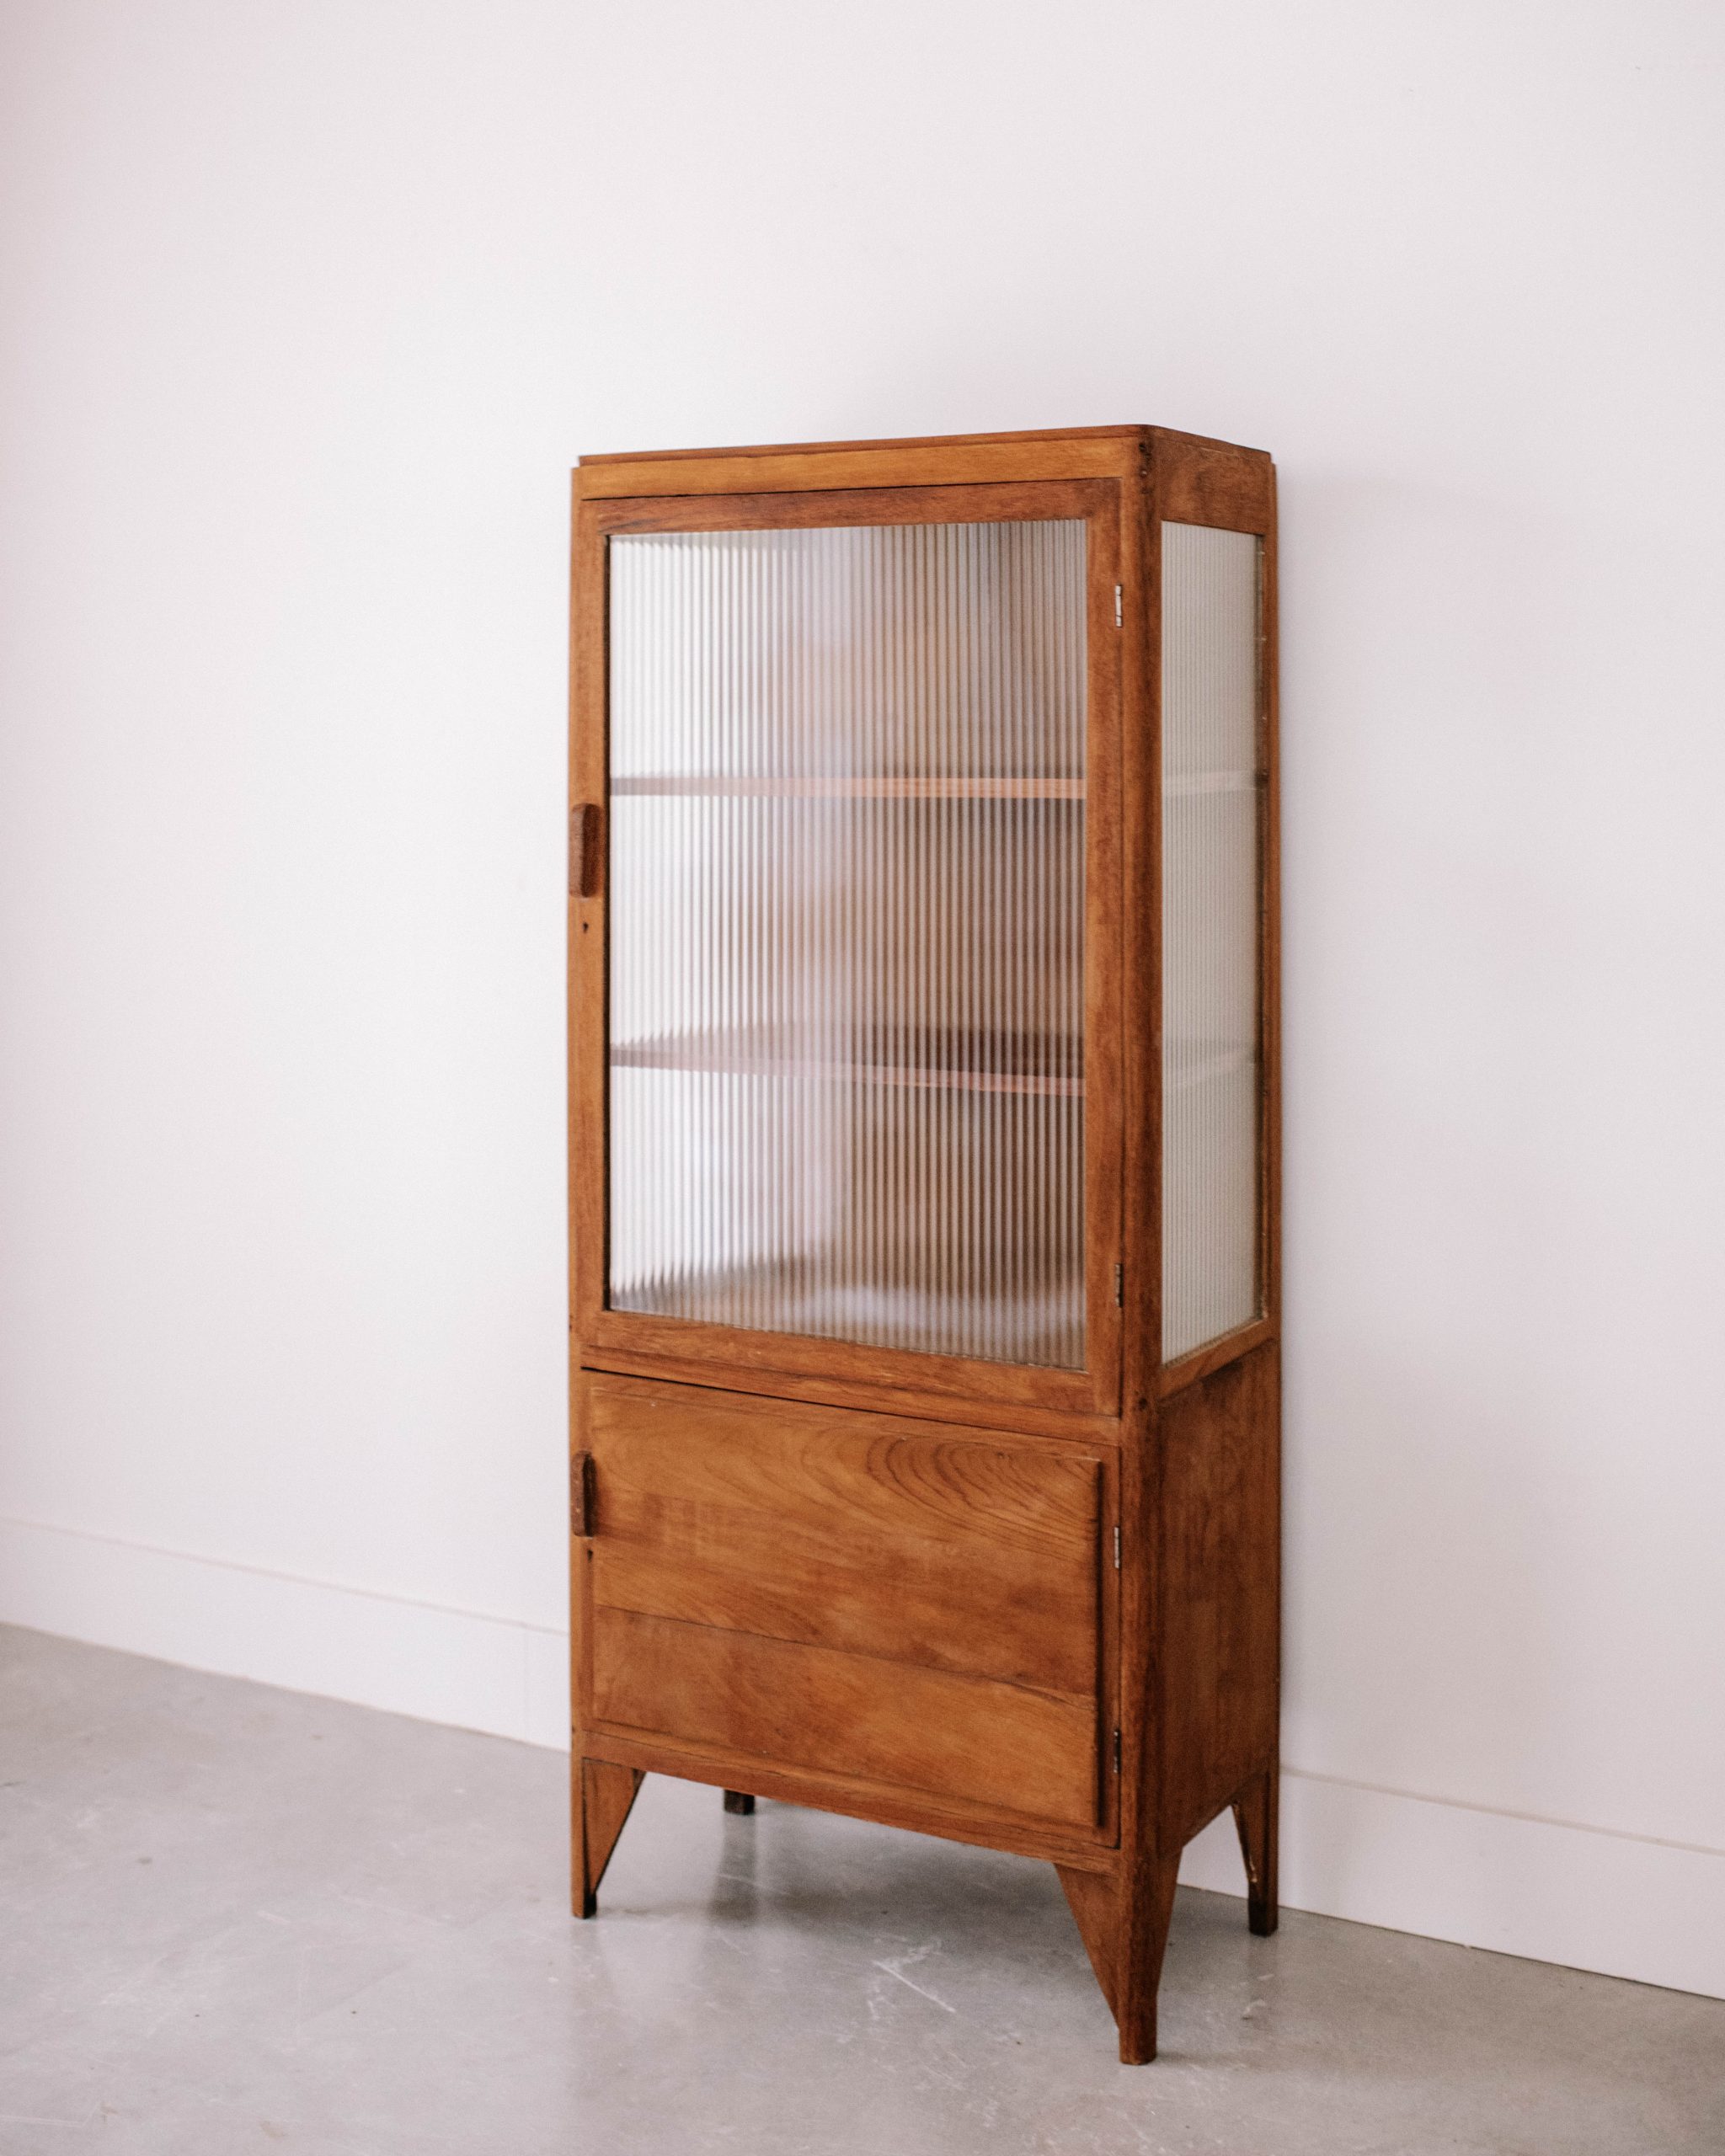
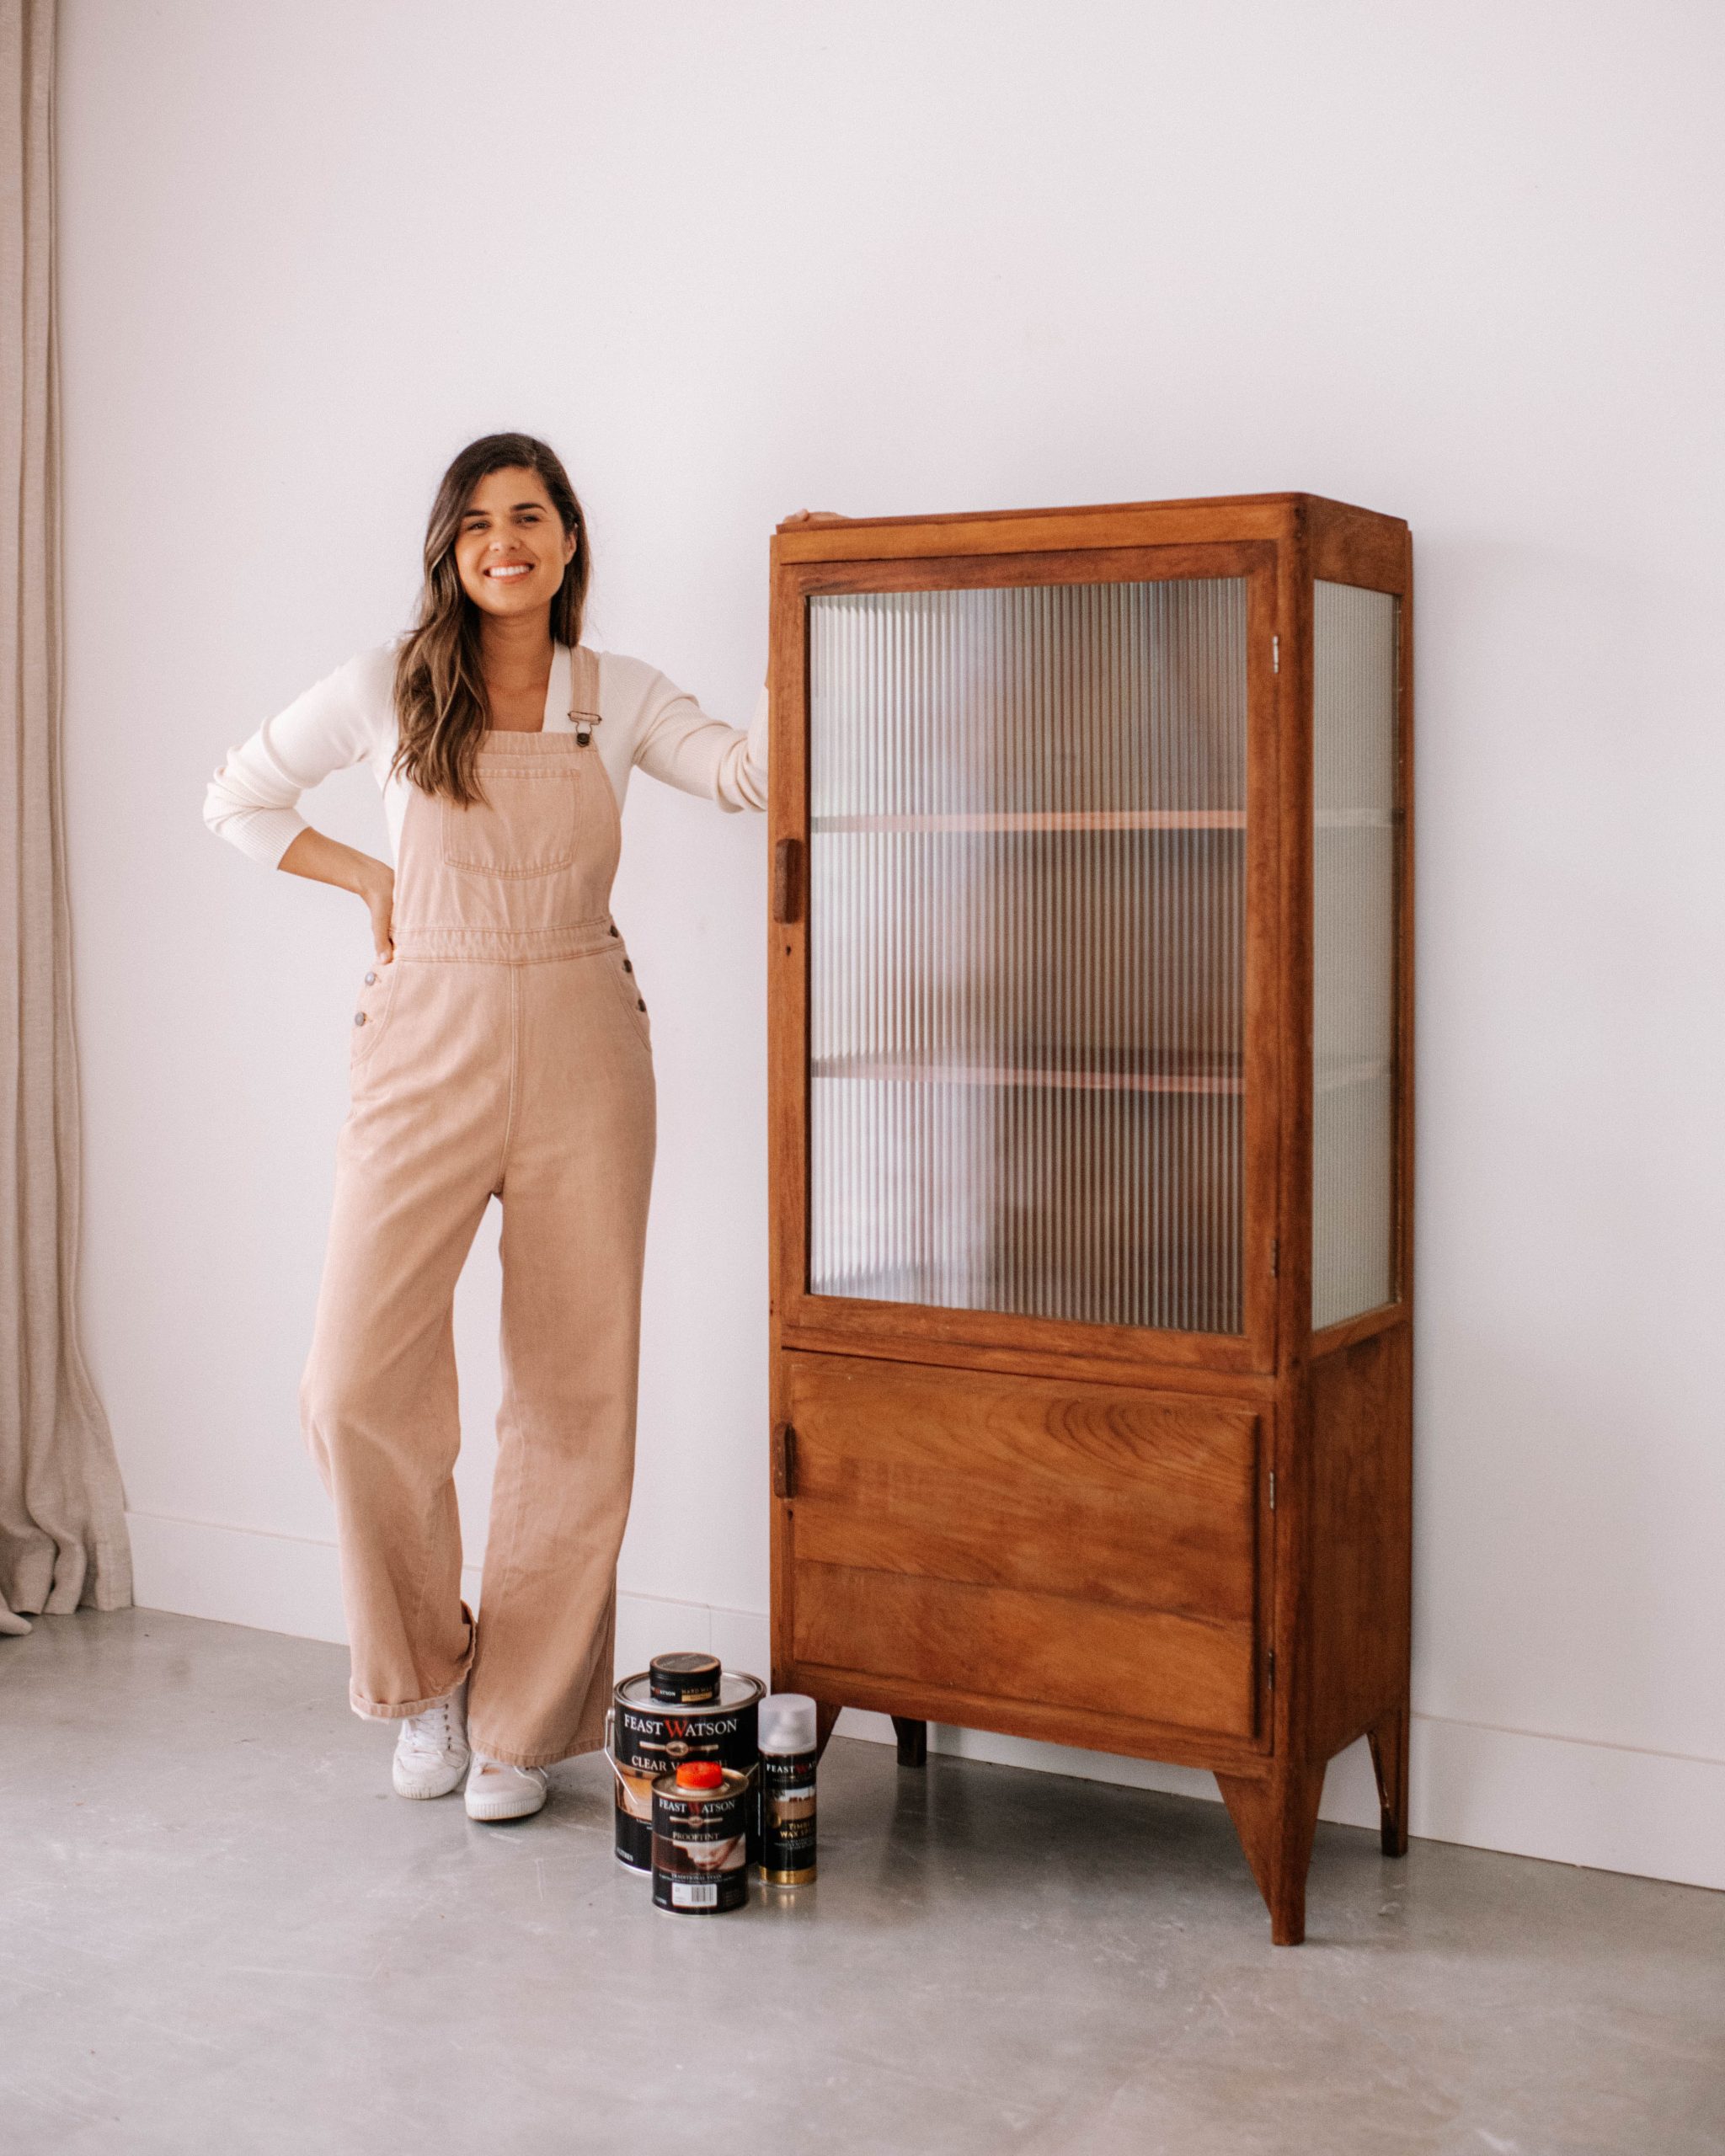
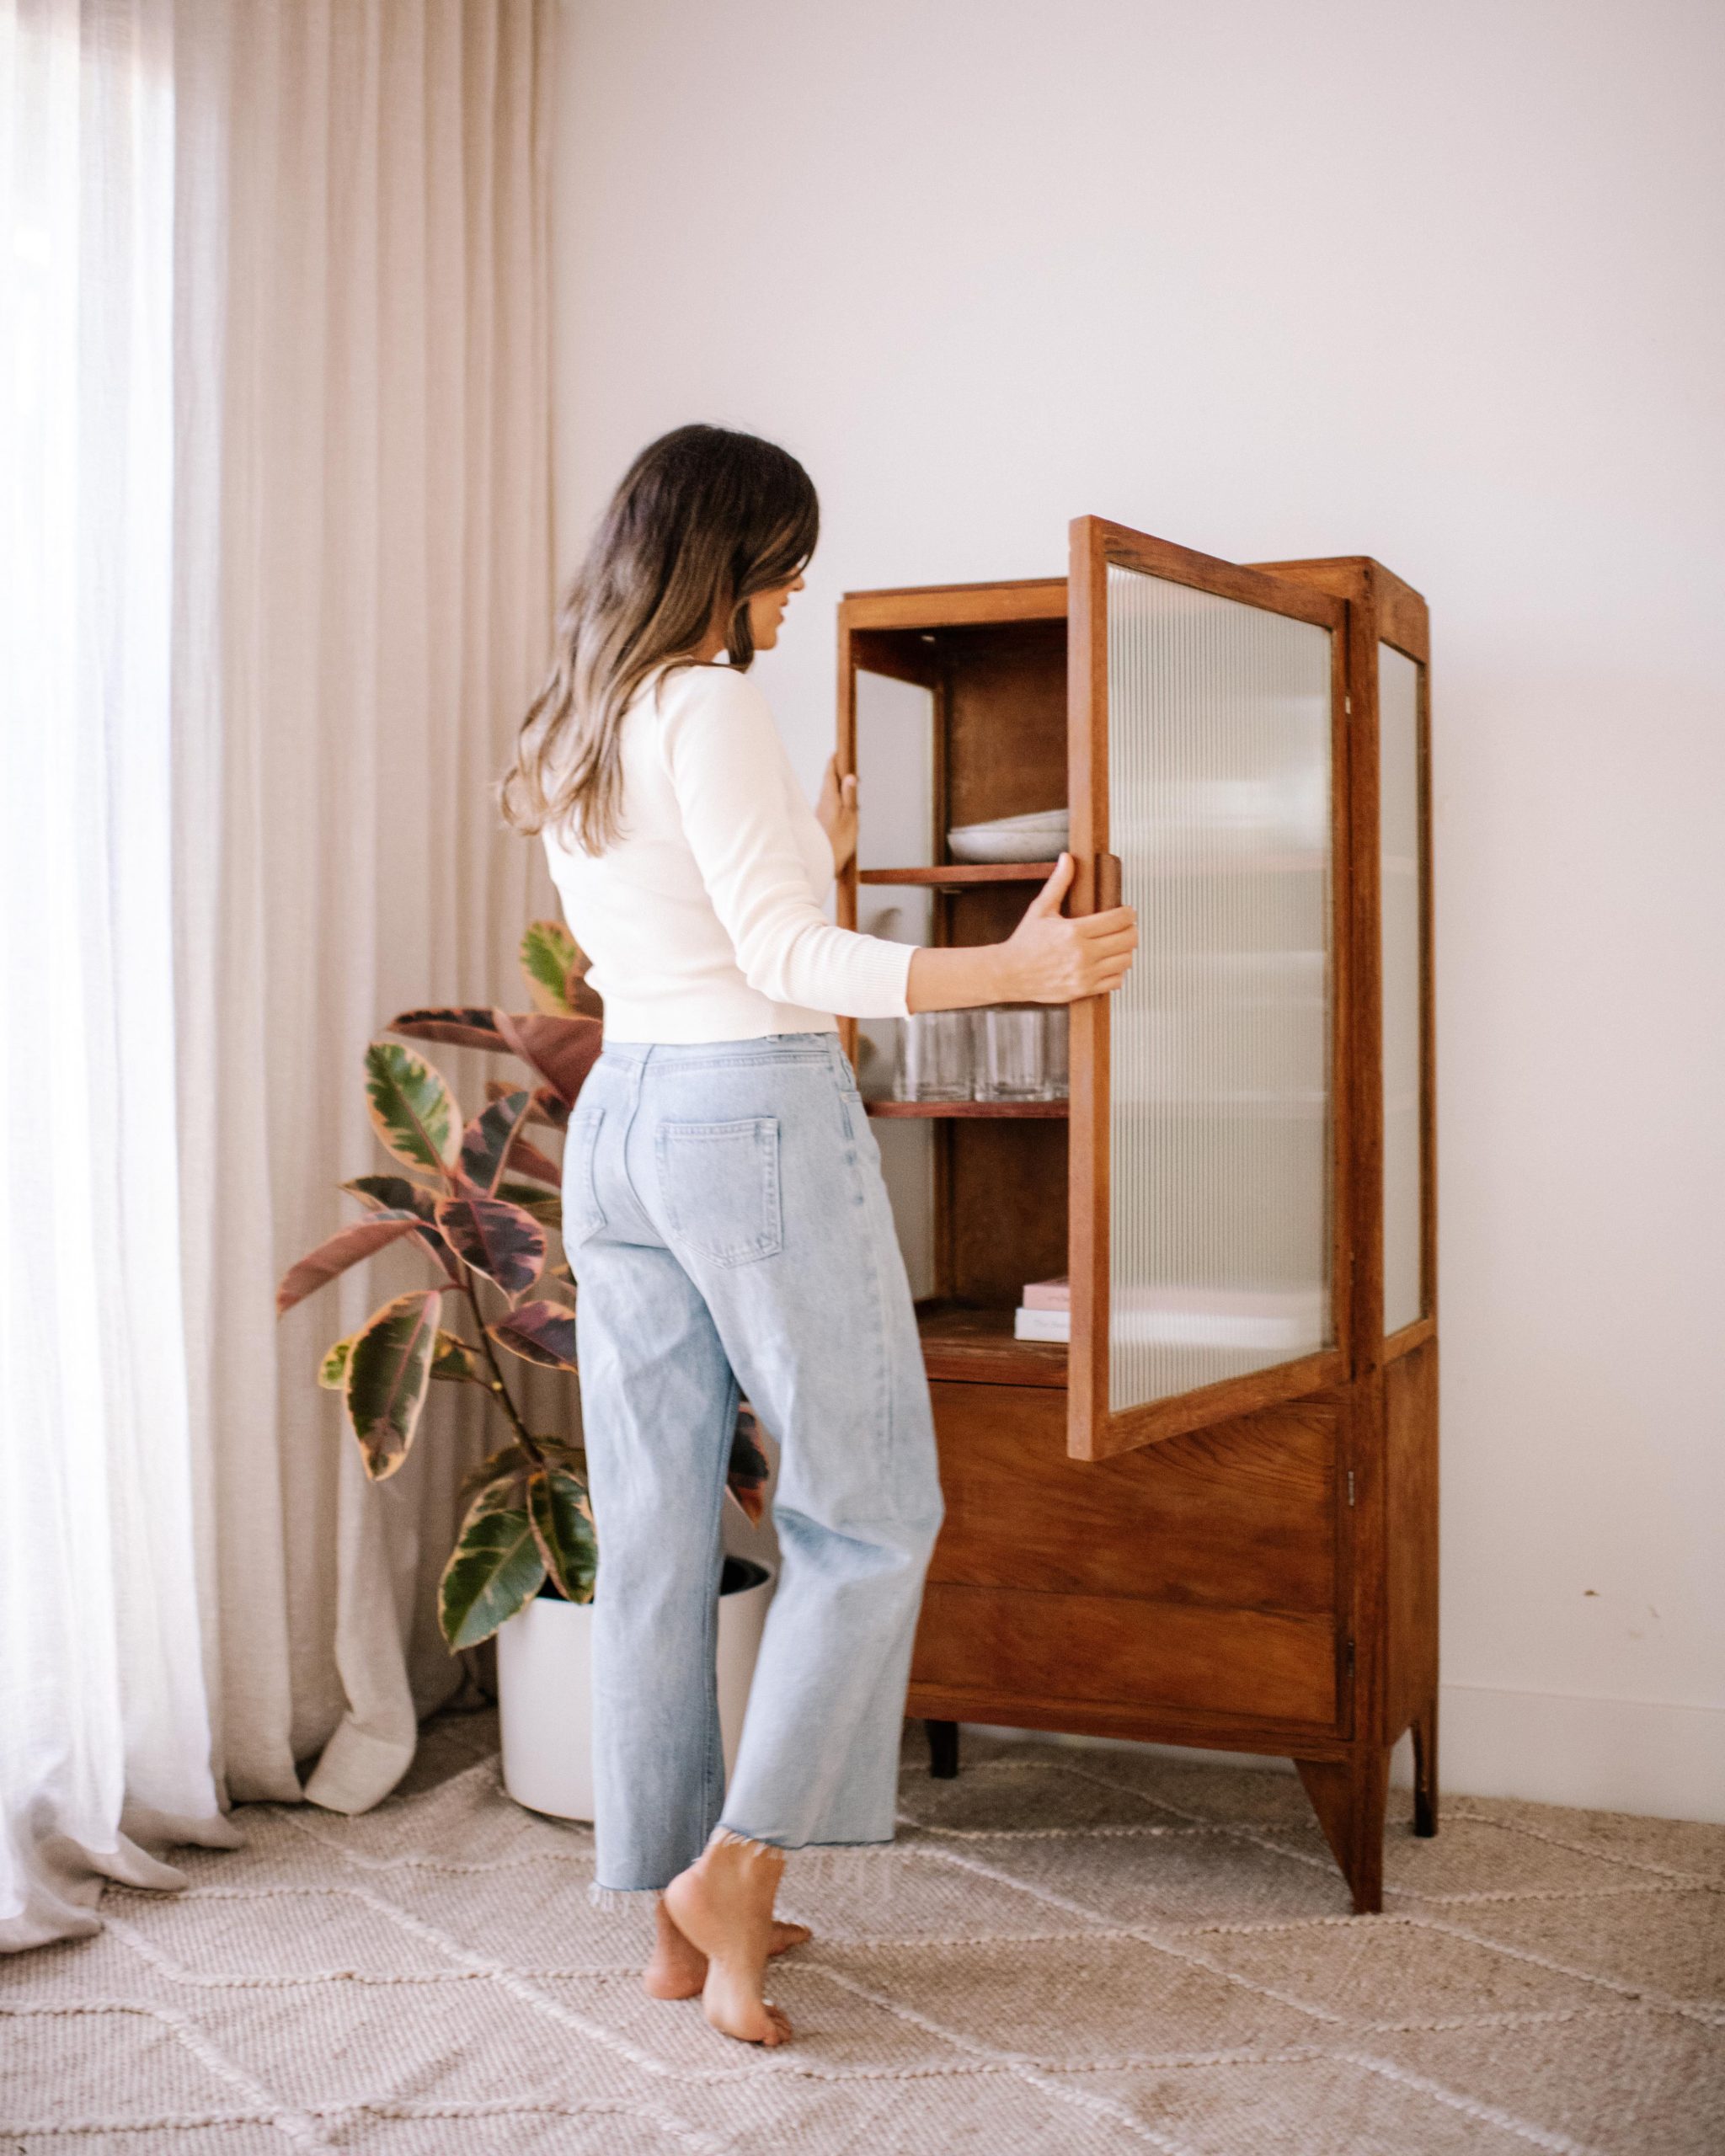
Recently I upcycled this cabinet as part of Feast Watson’s ReLove campaign, which is all about encouraging Australian’s to revive and refresh a lovely timber item for yourself. Honestly, it’s been so amazing to be the face of this nation wide upcycling project, and I LOVED doing this timber project. It has been so surreal to see my face and project popping up on signage around town!
The best part is, we’d love you to share your own projects, you could win great prizes. Three winners will receive (amongst other things) $250 worth of Feast Watson product, $500 Bunnings voucher for your next ReLove project and a 30 minute online style consult with me to help you decide your next project. To enter simply upload a ‘before’ photo/video and an ‘after’ photo/video’ of your ReLoved item to your Instagram feed, Tag @feast_watson and @bunnings and Include the hashtags #ReLoveProject #FeastWatson #Bunnings.
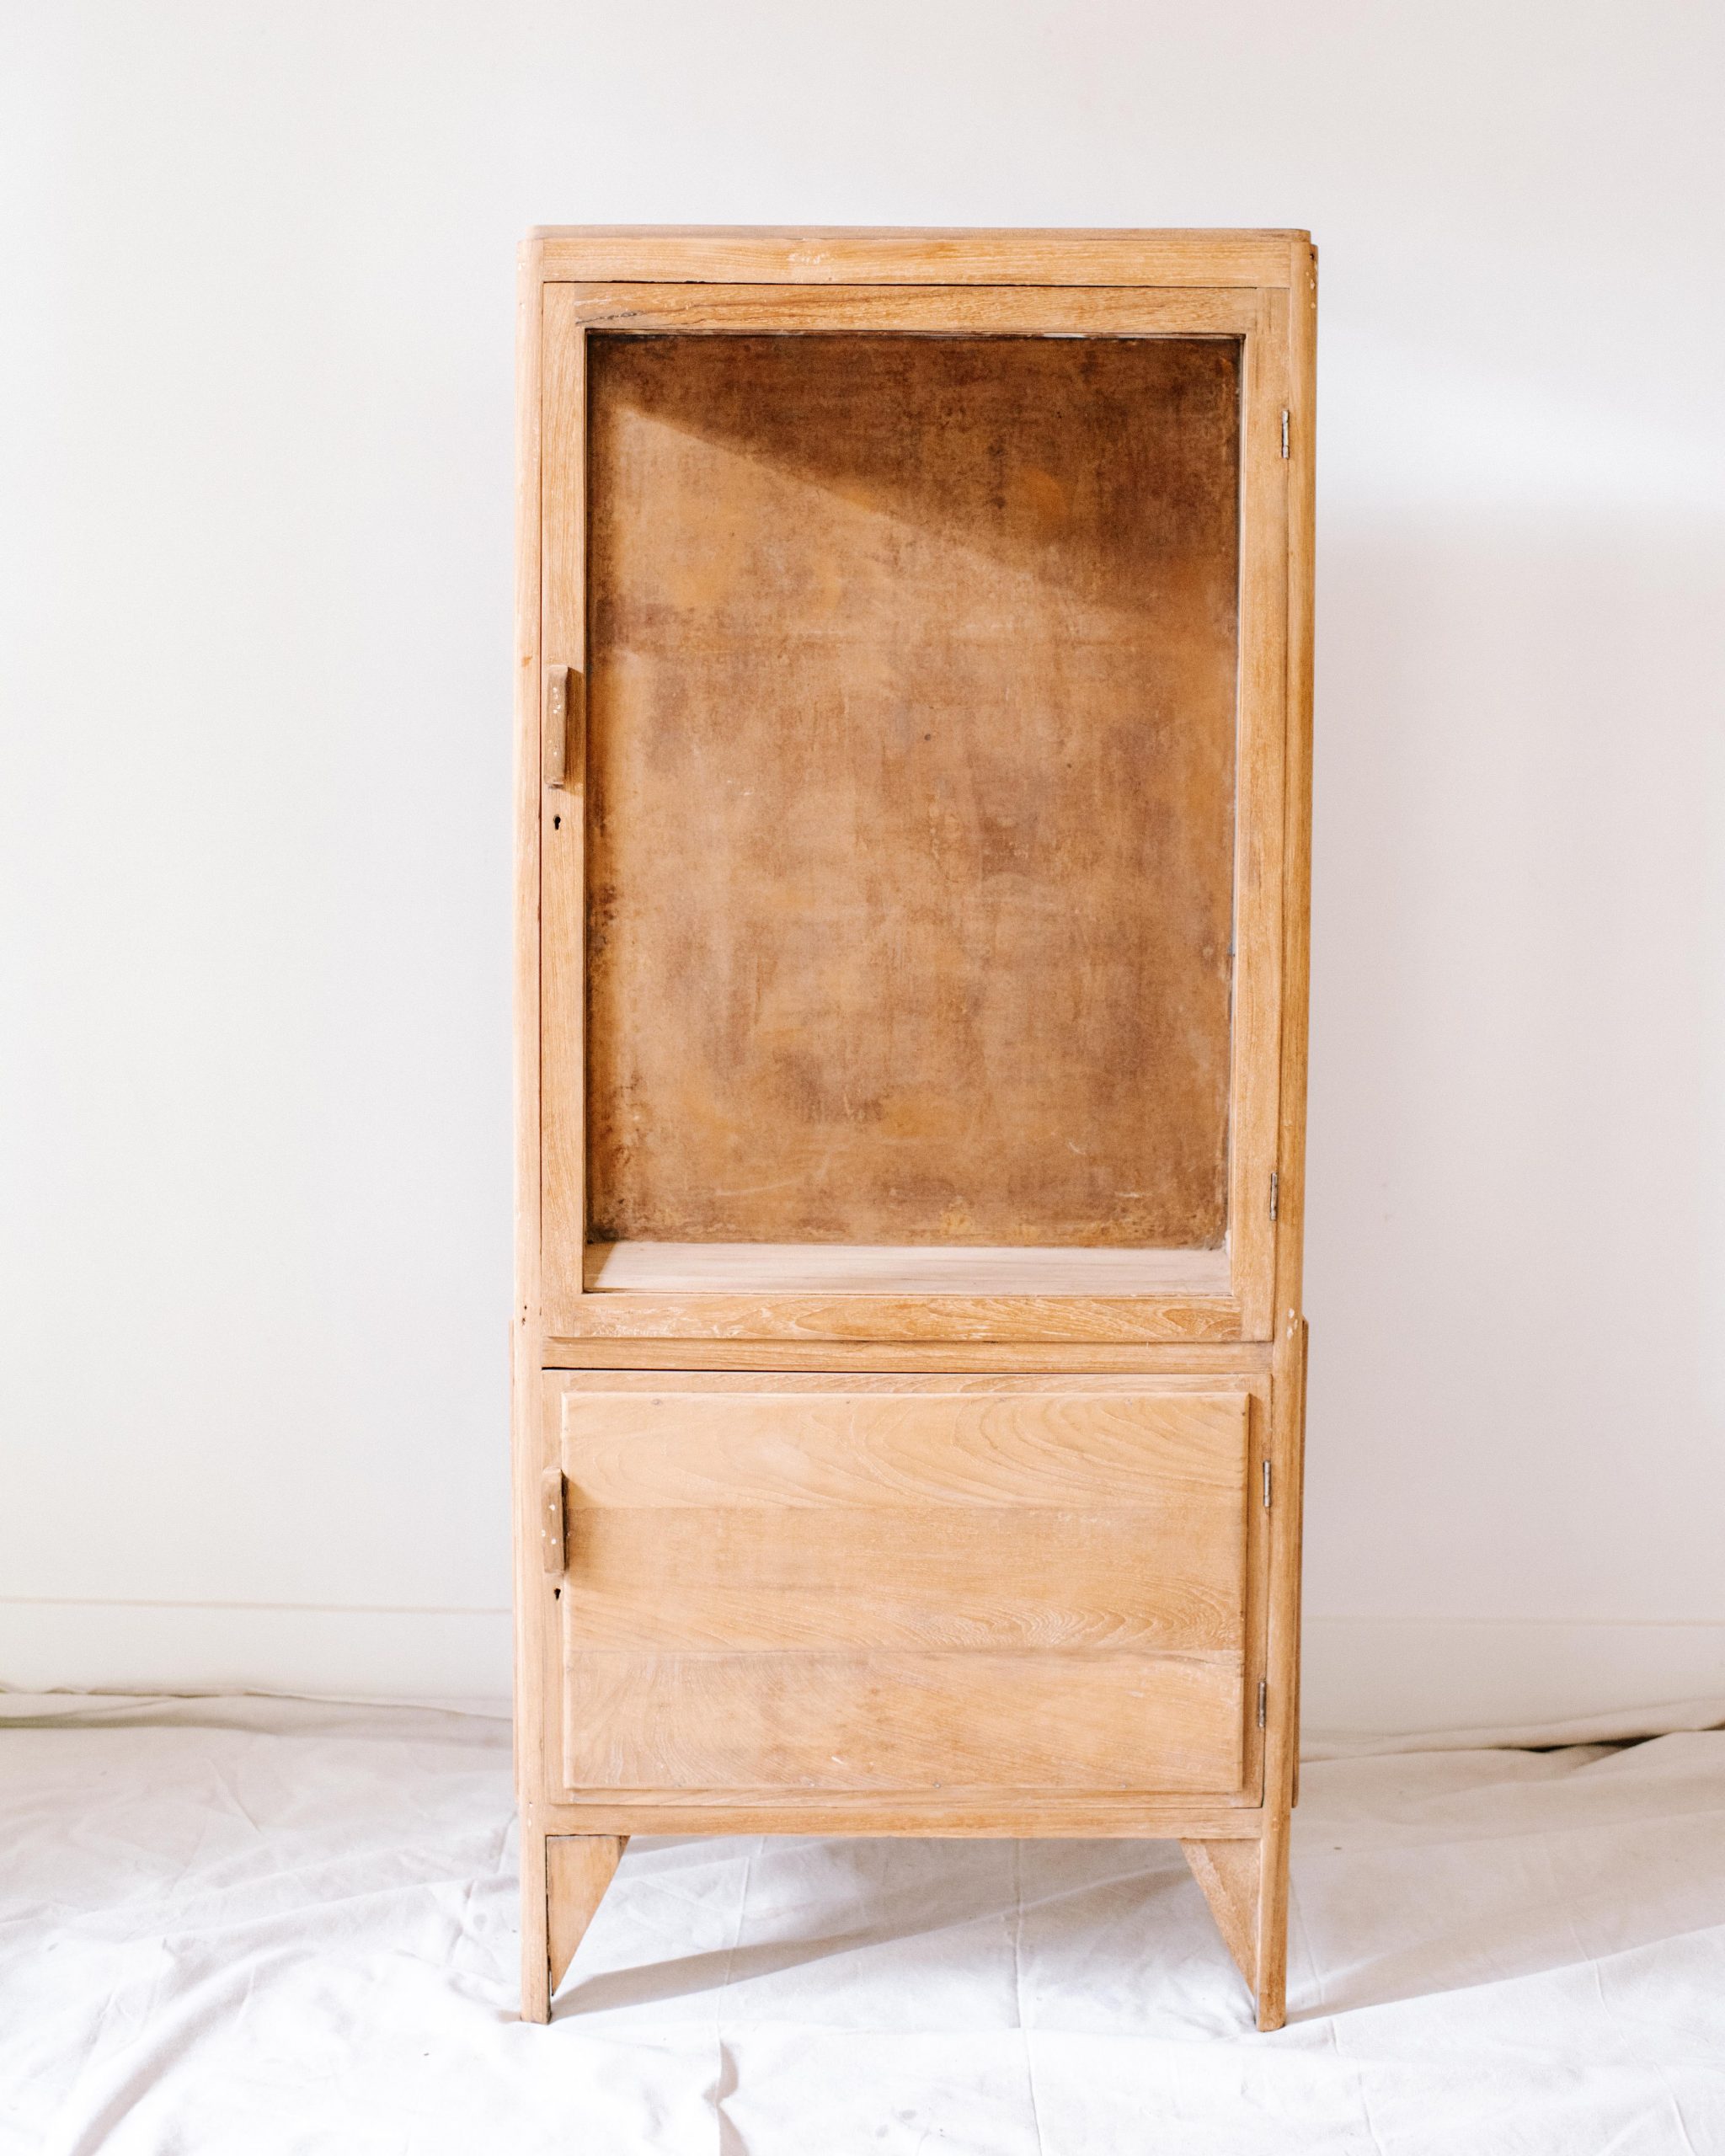
- Before
- After
As you can see, I had my work cut out for me when I started on this project. But that’s what the #ReLoveProject is all about, breathing life back into timber pieces that may have seen better days, and this piece had definitely seen some better days.
Stripping & Sanding
The first step to this project was using paint stripper to strip away the dark blue paint. Once I had scraped away the last bit of blue, I went in with my detail sander and sanded until smooth.
Choosing A Design
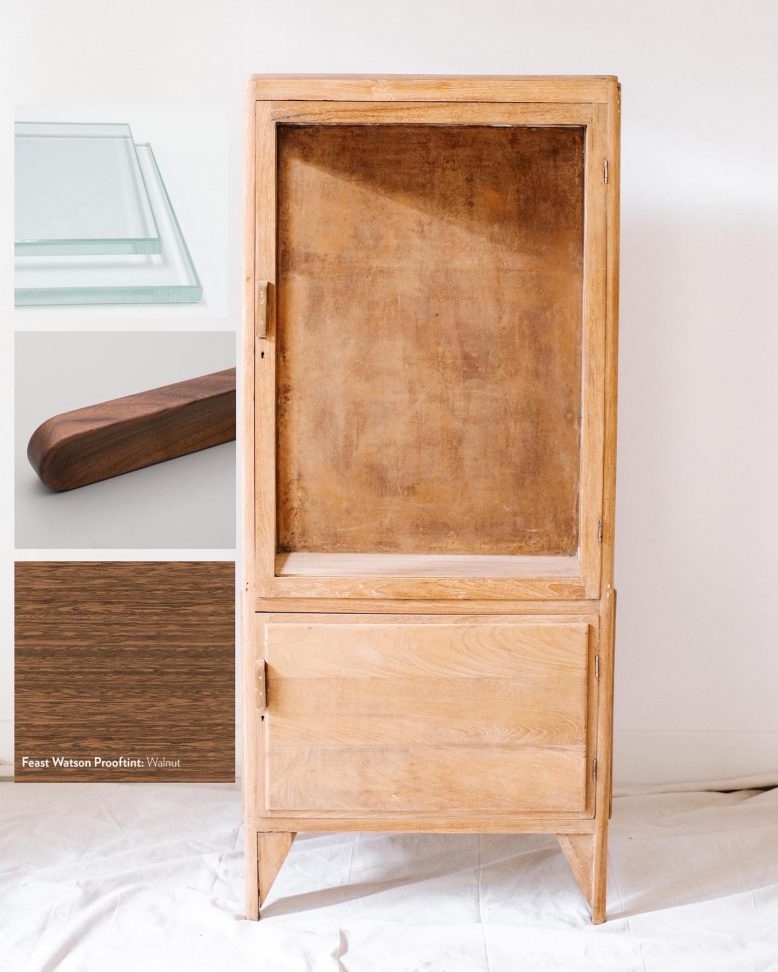
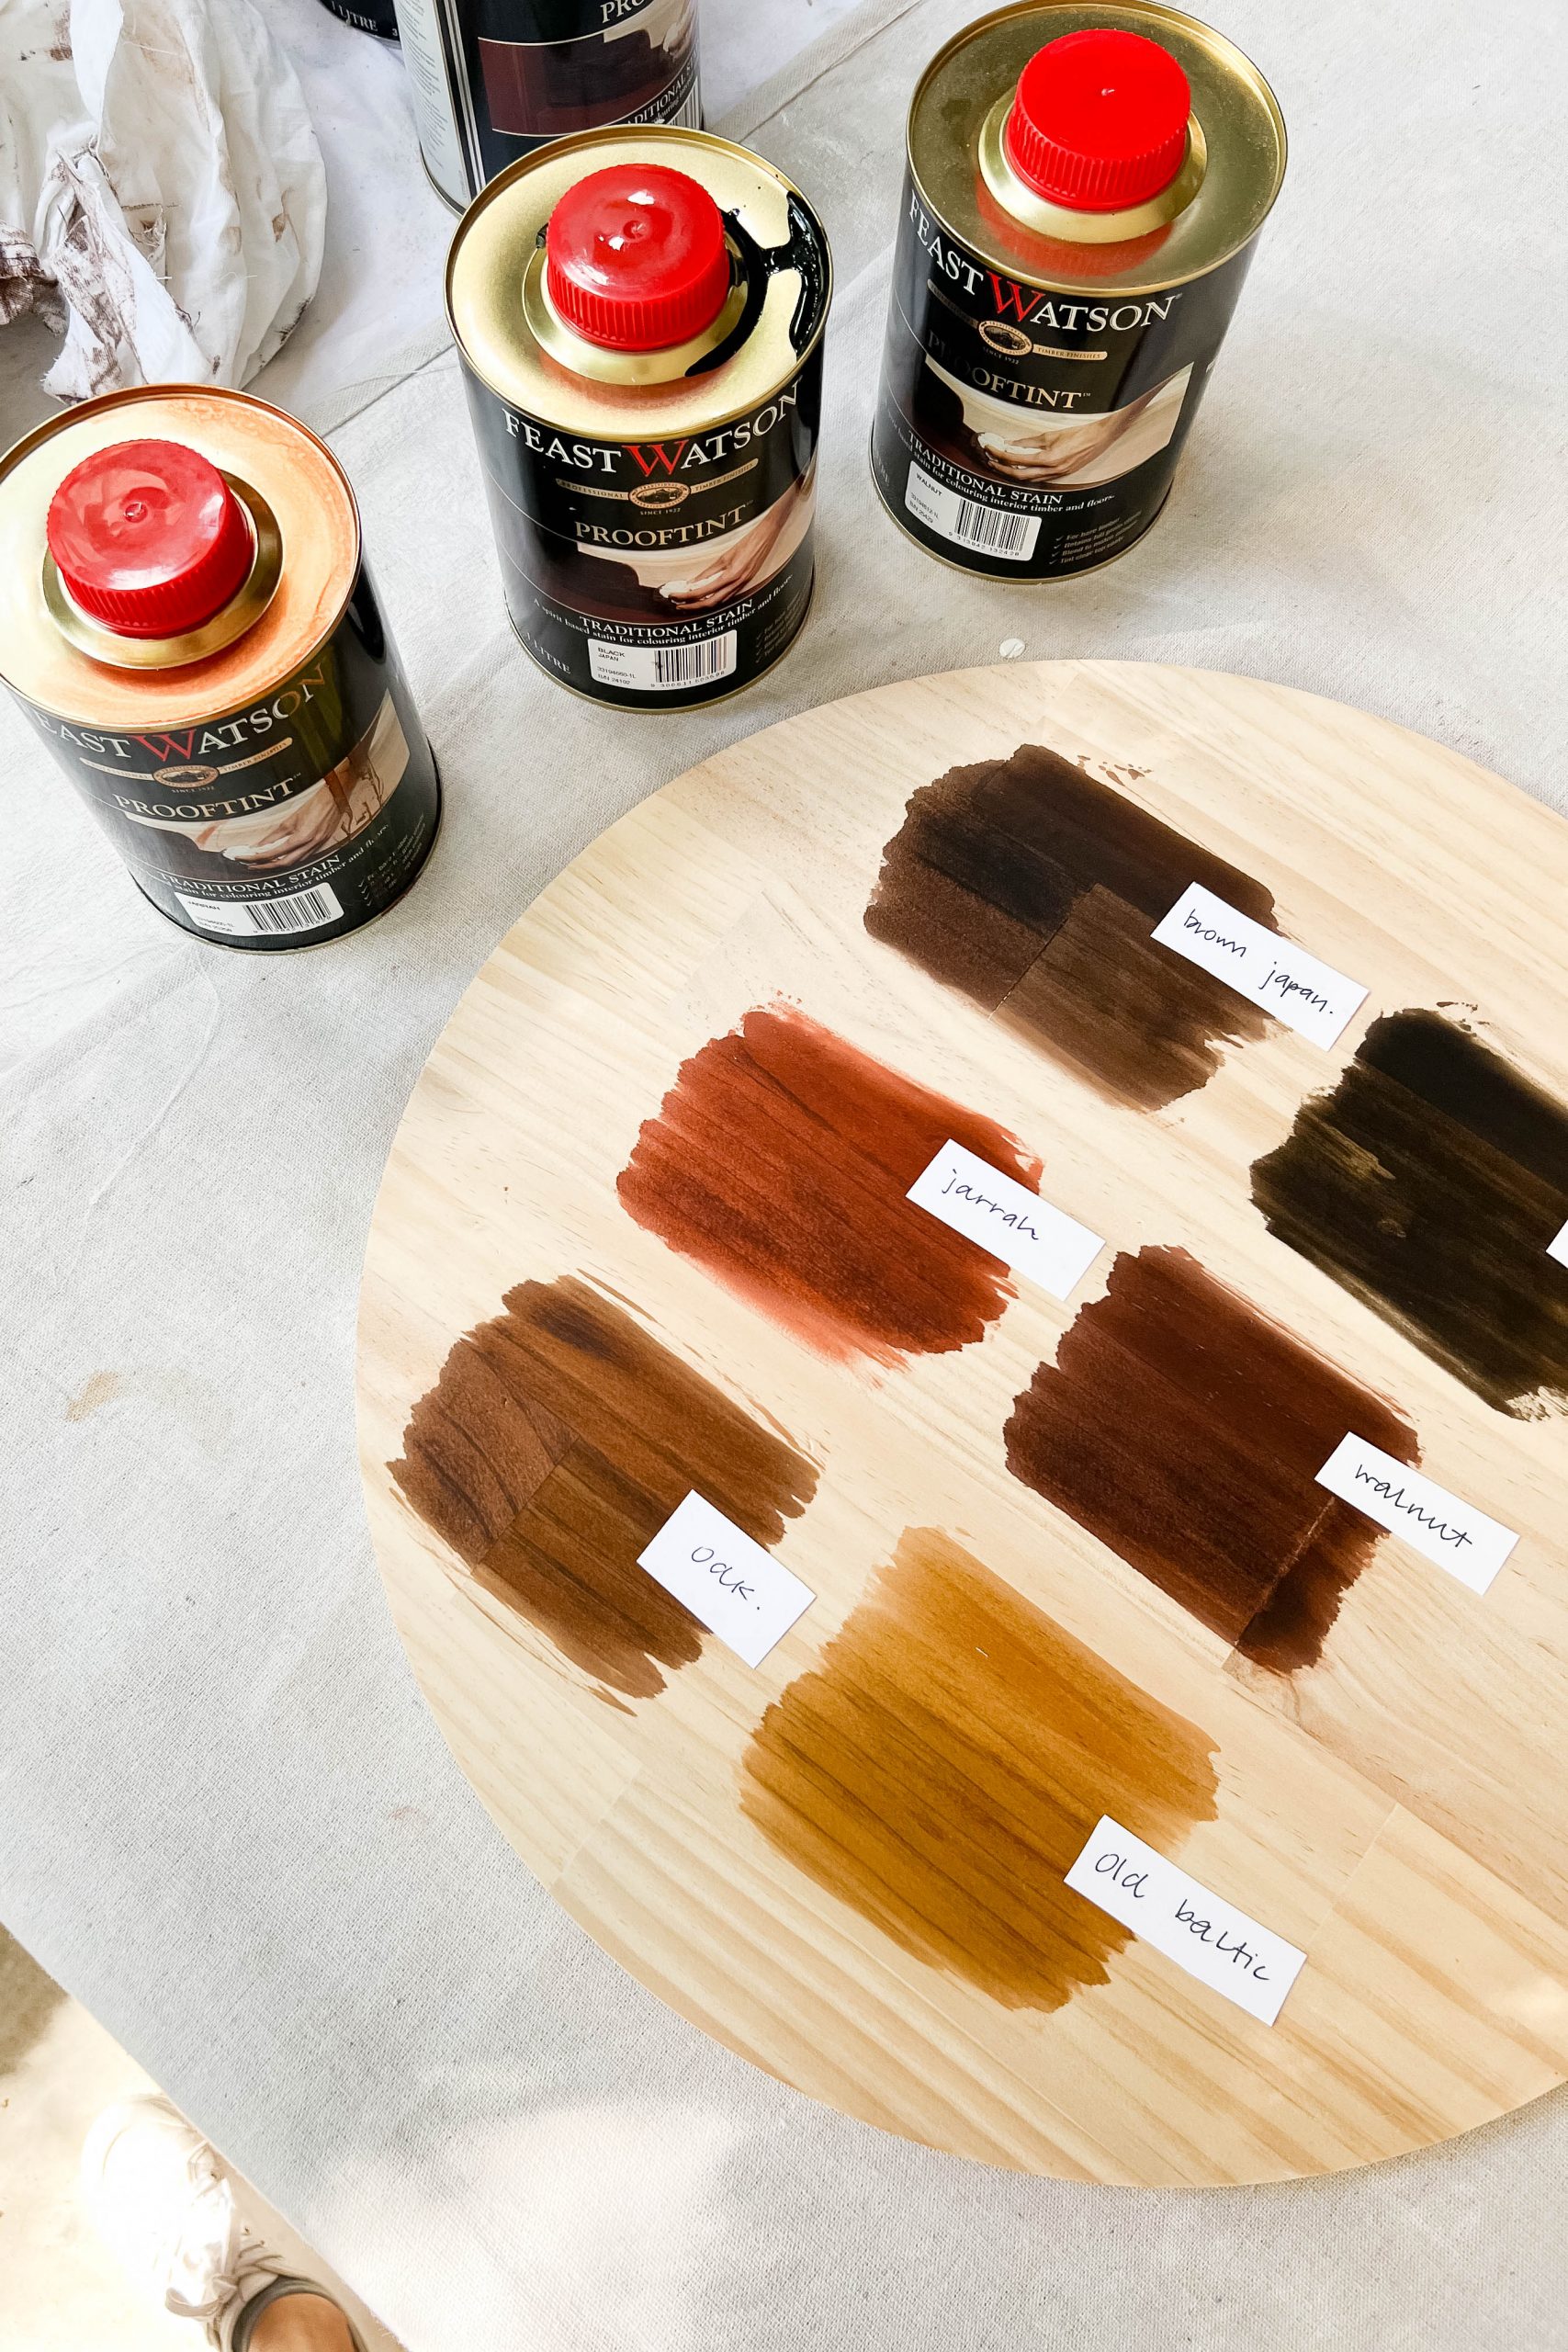
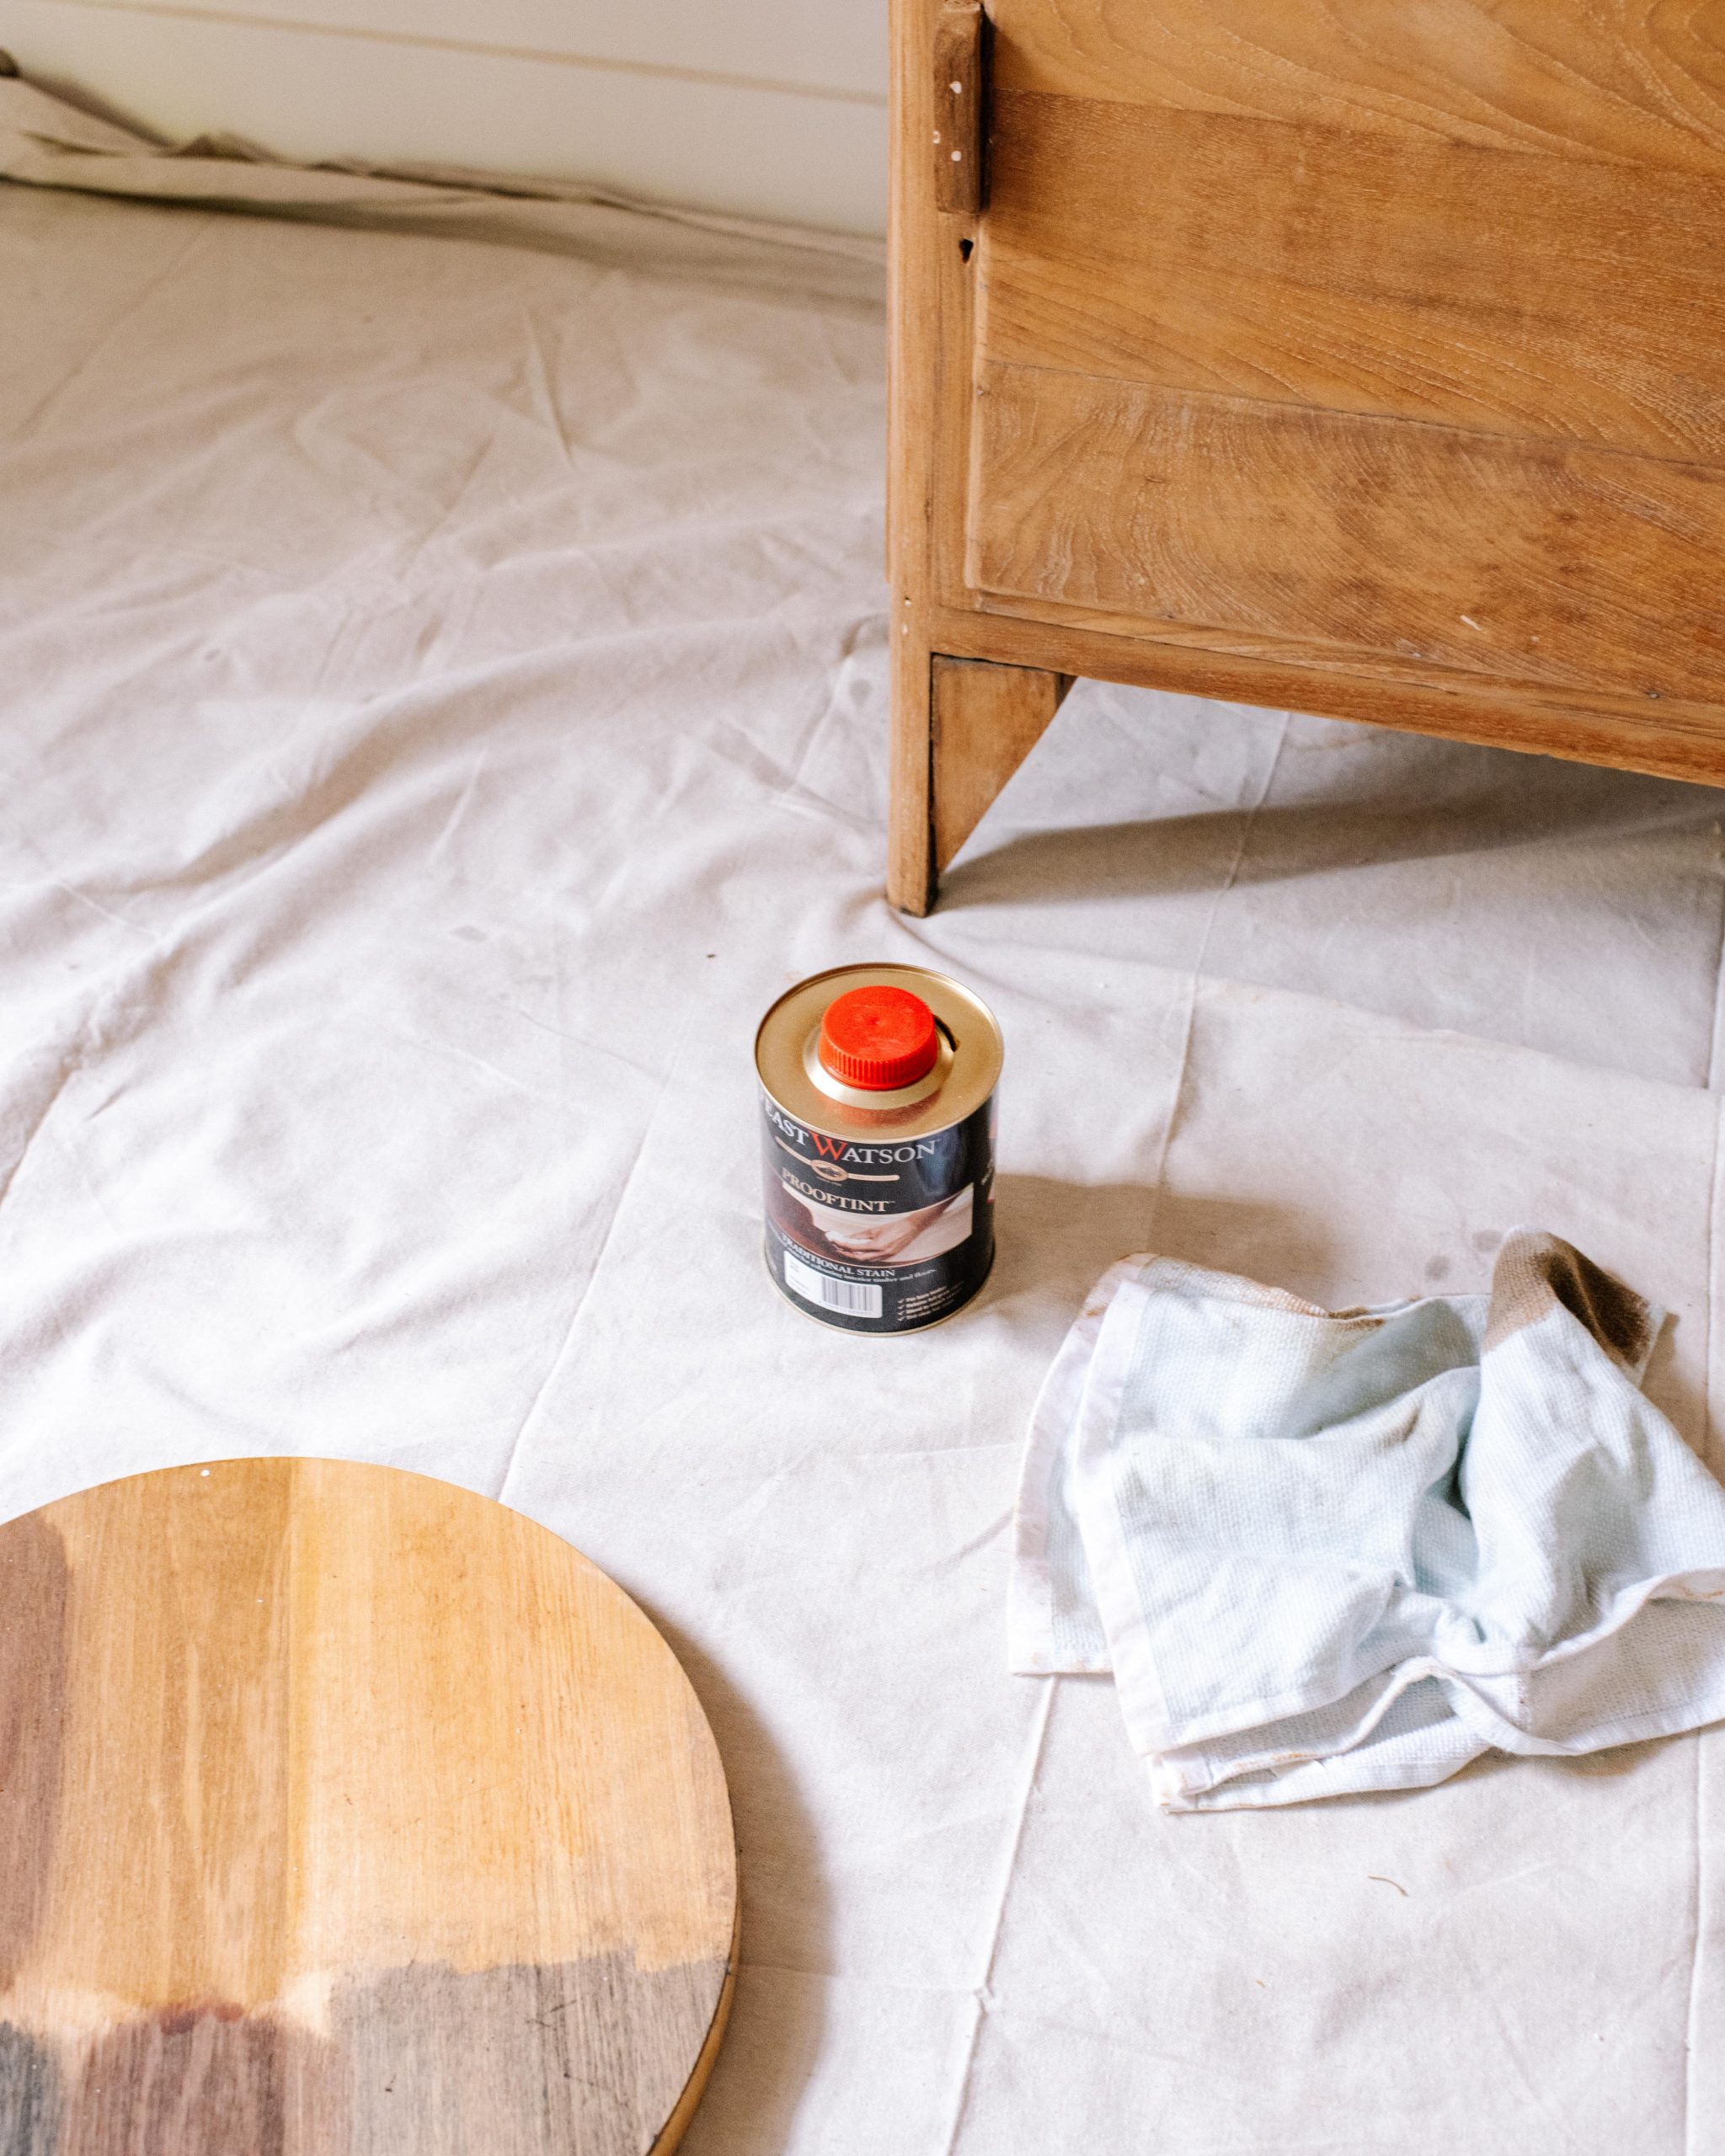
Once I had stripped and sanded the cabinet back to it’s natural wood colour, I had to make the decision of what Feast Watson stain I wanted to use and the details that would do along with it. It wasn’t an easy choice but eventually I narrowed it down to 3 options.
Option 1: Prooftint stain in ‘Old Baltic’, light toned handles to match the wood (or keep the original?!), and reeded glass.
Option 2: Prooftint stain in ‘Black Japan’ which is a sheer black tone, black handles and some sort of mesh inserted into the doors.
Options 3: Prooftint stain in ‘Walnut’, matching handles and clear glass.
- Option #1
- Option #2
- Option #3
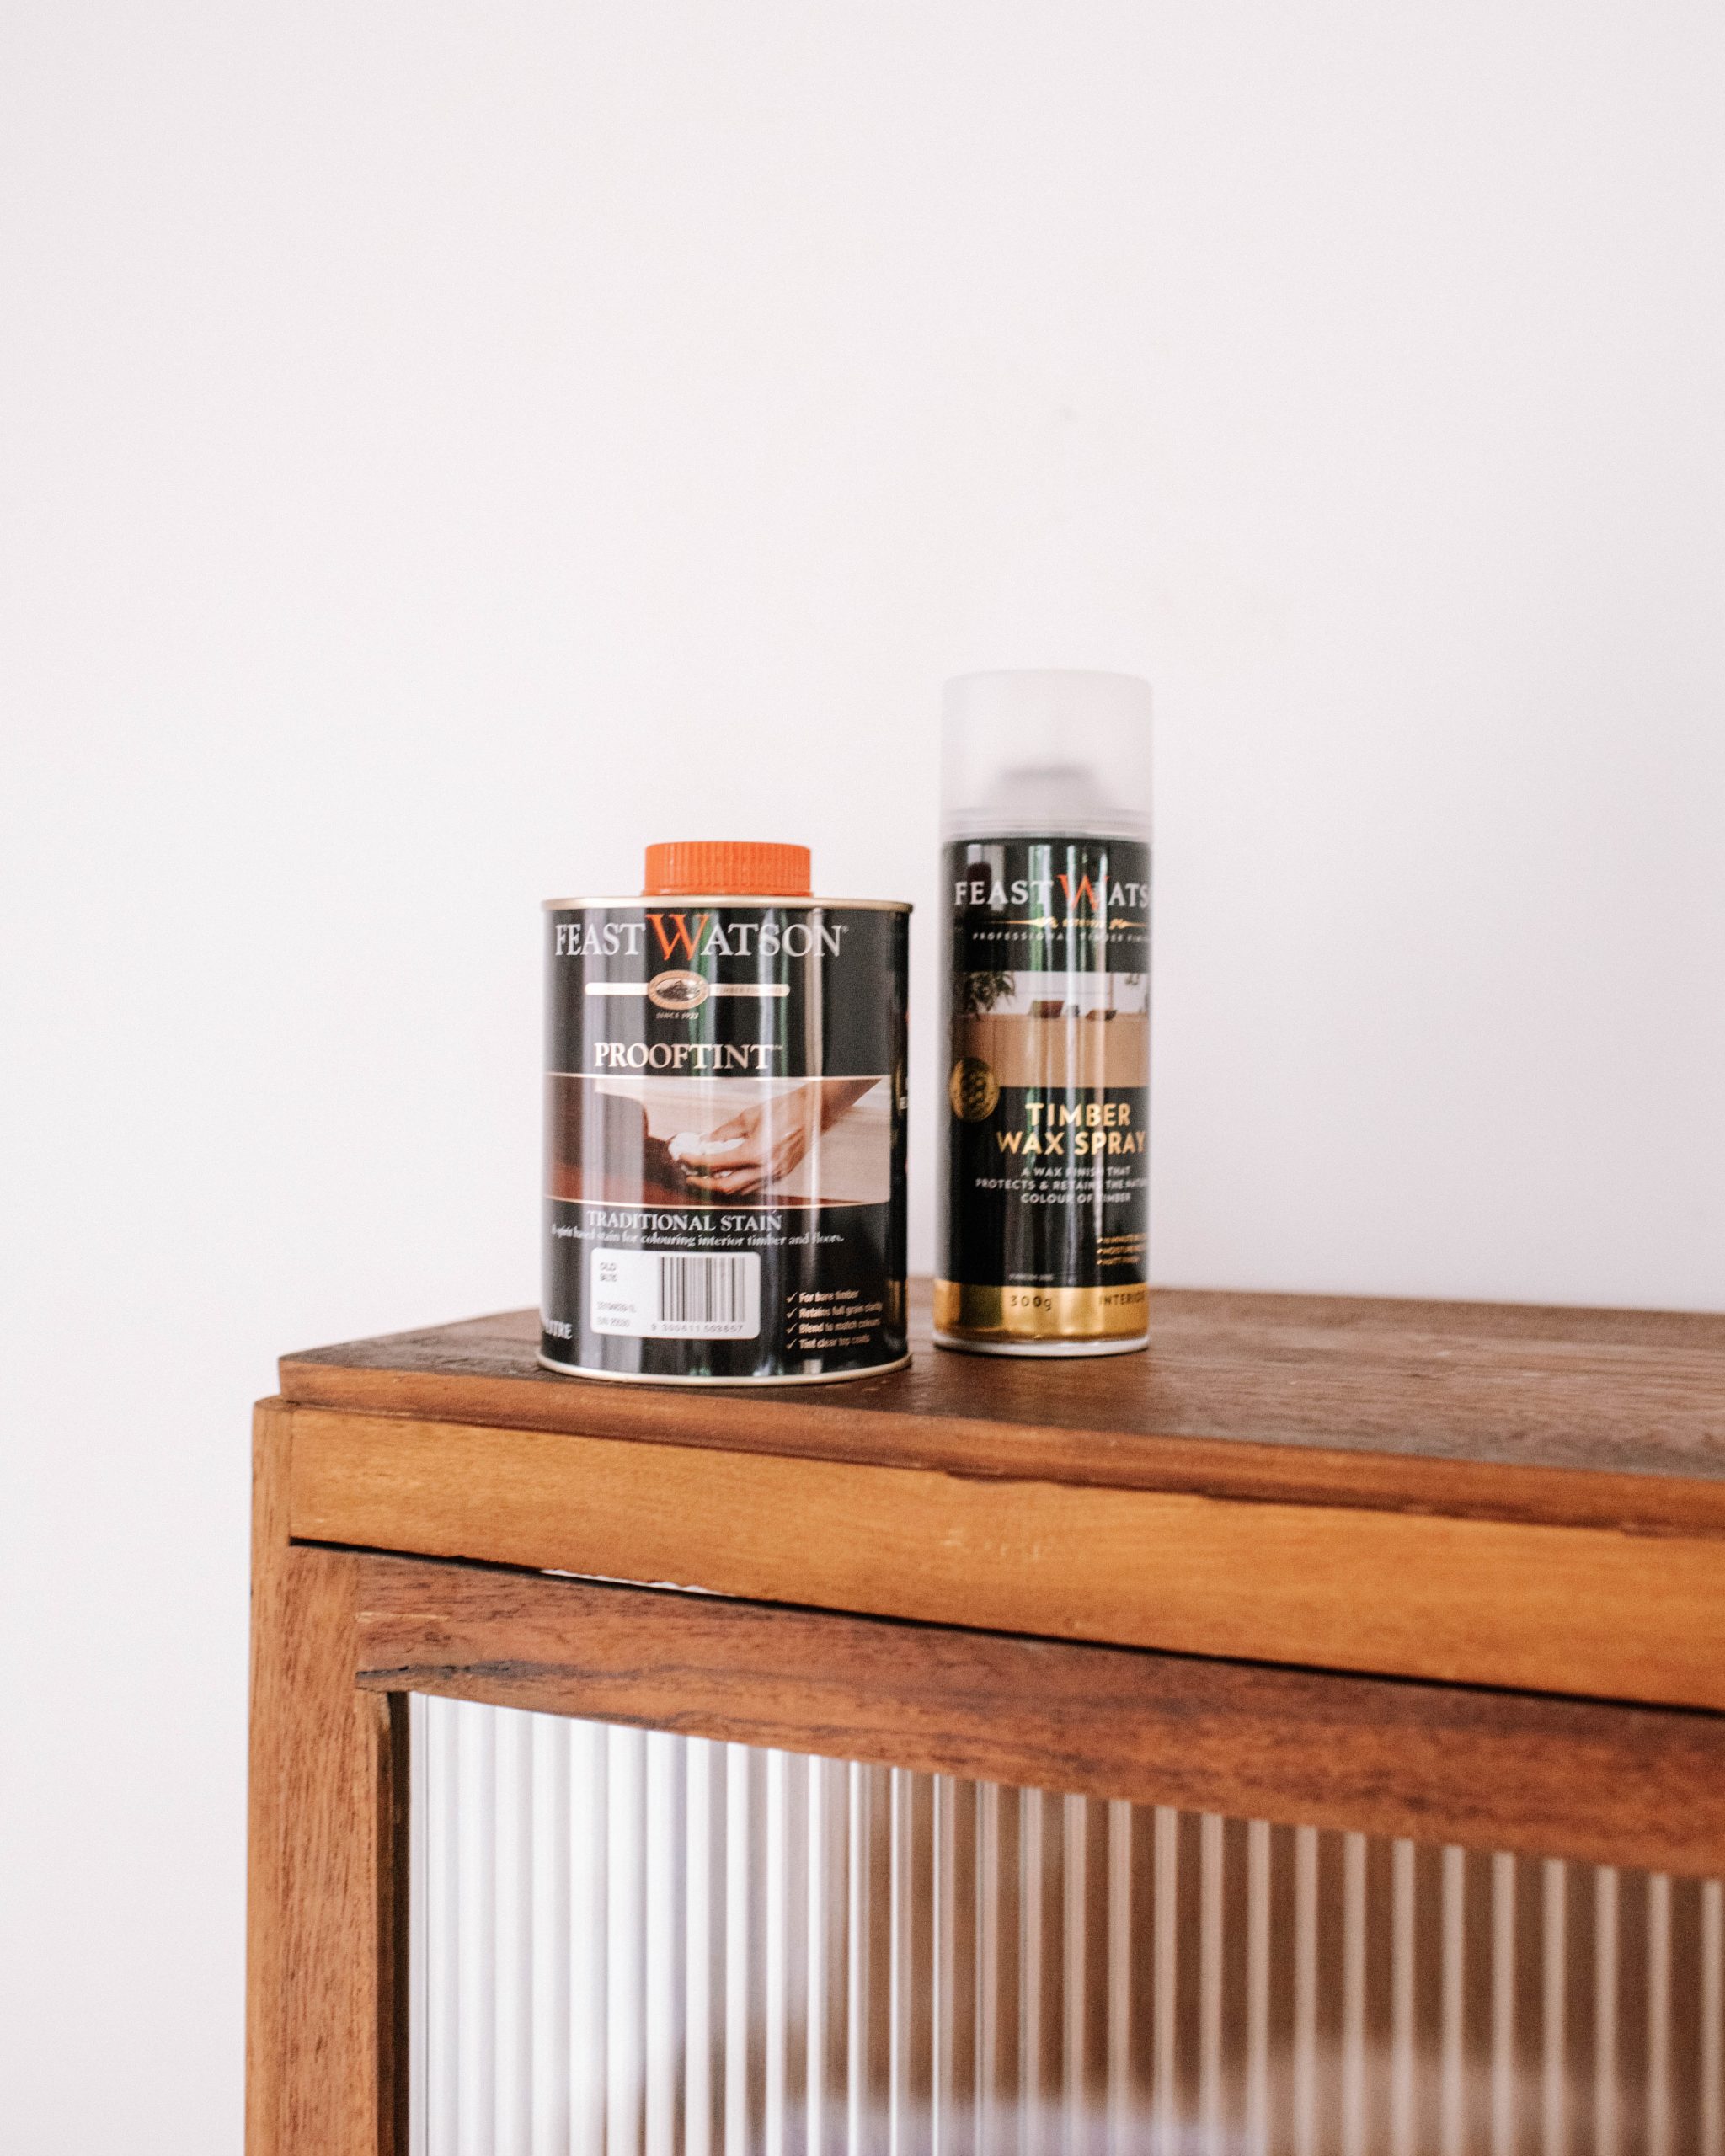
After playing around with some ideas and mocking up the finishes you can see above. I finally decided to go with Feast Watson’s Old Baltic Stain (option #1). I thought this satin would really bring out the natural timber grain and give it a nice warm tone (I was right).
Staining & Sealing
Once I chose the stain for this project, I rolled up my sleeves and got to work on staining the cabinet! After applying a final coat of Feast Watson’s Timber Floor Wax which sealed in the colour without leaving any shine, I was left with a gorgeous raw wood feel.
Replacing The Glass
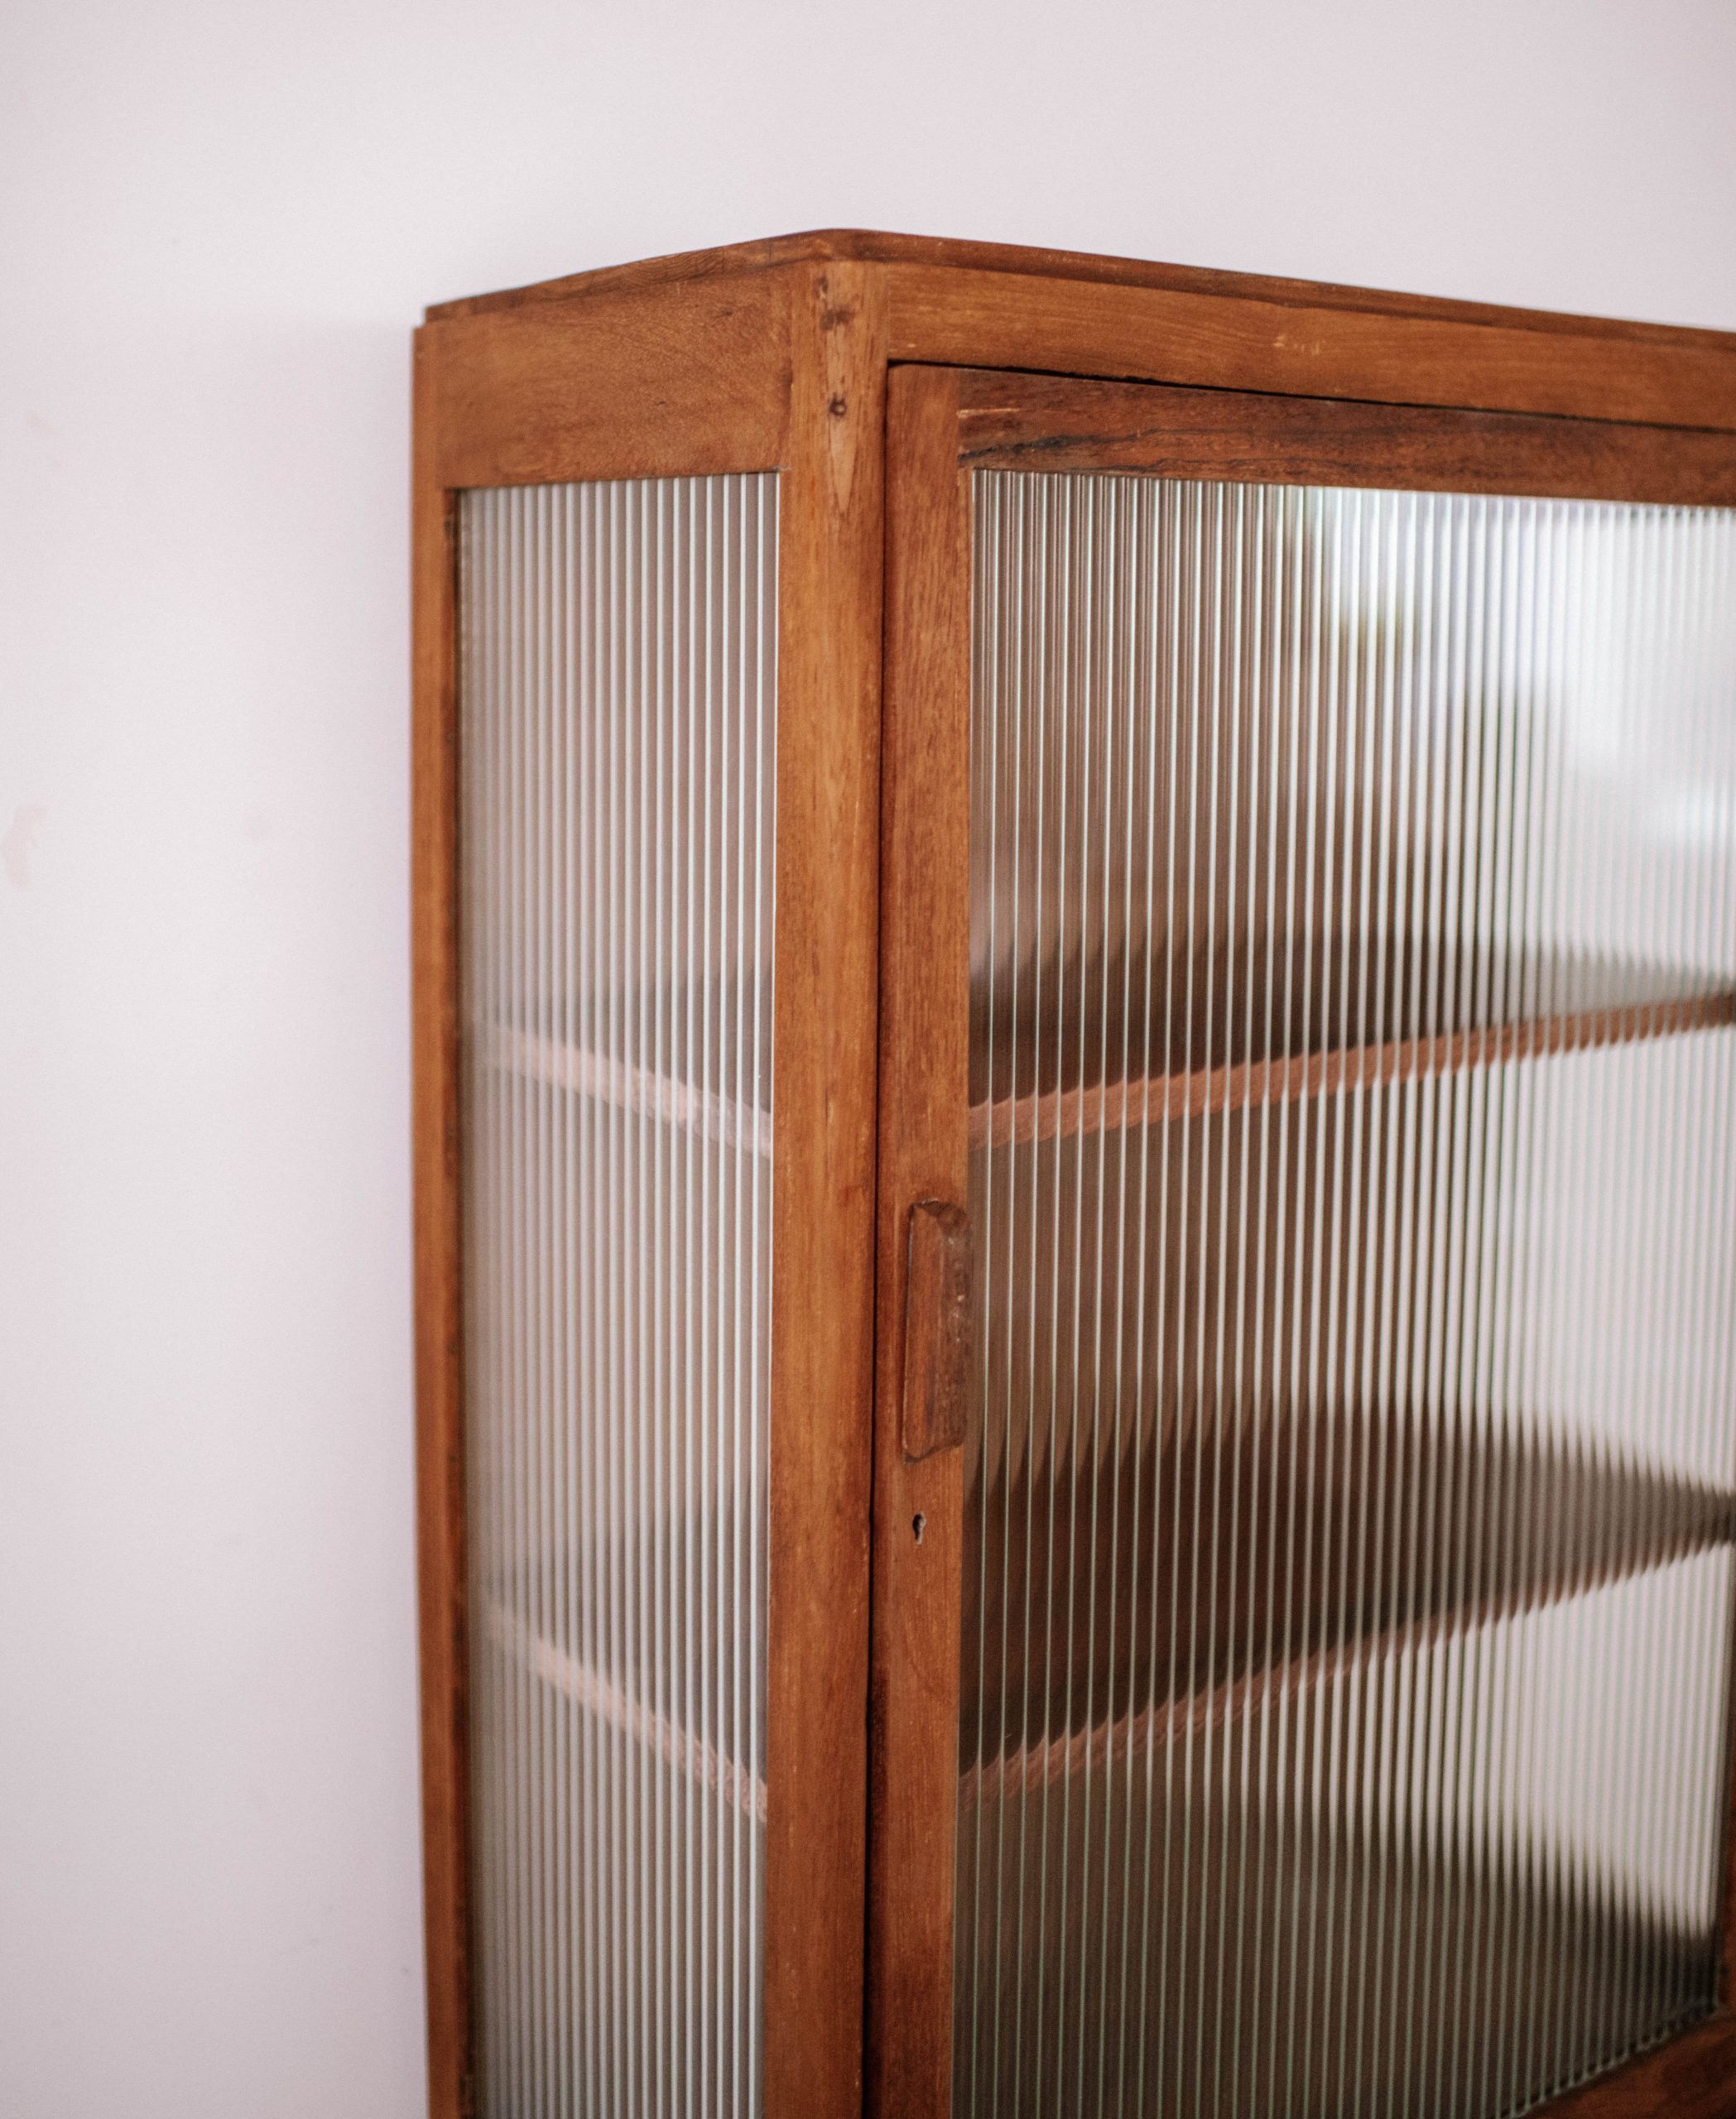
Because the cabinet came with its original glass, I had to remove the imbedded beading around frames and then insert three panels of reeded glass on the front and sides. This was a scary part of the project but it certainly made all the difference to the cabinet.
These sorts of projects are always a labour of love but they’re worth every minute.
Did you enjoy this upcycle cabinet project? Follow along to discover more projects like this below!
How To Choose Paints For Your Upcycle Projects
This post is in collaboration with Feast Watson. Don’t forget to enter the competition! Three winners will receive (amongst other things) $250 worth of Feast Watson product, $500 Bunnings voucher for your next ReLove project and a 30 minute online style consult with me to help you decide your next project. To enter simply upload a ‘before’ photo/video and an ‘after’ photo/video’ of your ReLoved item to your Instagram feed, Tag @feast_watson and @bunnings and Include the hashtags #ReLoveProject #FeastWatson #Bunnings.


