Welcome back to another edition of the paint series! As you know, painting is one of my favourite solutions when upcycling. A fresh coat of paint can give a whole new life to something old and tired. I’ve painted many pieces around our home and studio including this office chair, this outdoor table and this kitchen cabinet!
Over time, I’ve tried and tested a lot of paints on a lot of different surfaces – wood, tiles, plastics, metal and more! I always get questions about which types or paints are going to work best on which surface. In this guide I wanted to help you find the right paints for your upcycle projects by showing you which paints I have used on each surface type – and some tips and tricks along the way. Enjoy!
1. Choose A Colour Palette
There are literally endless options for paint colours so I’ve written a whole blog post on how to pick a paint colour. If you feel you need help choosing a colour palette, circle back once you have read that post as it will assist you in sourcing inspiration and choosing paint chips.
2. Collect Paint Samples
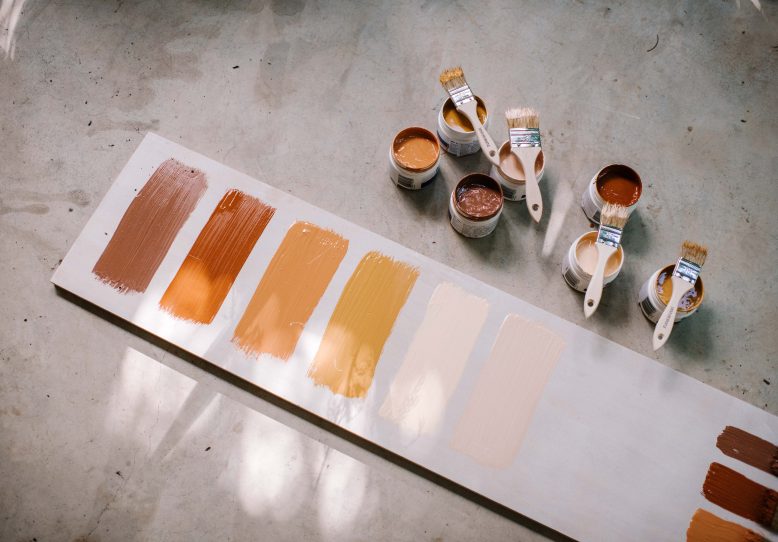
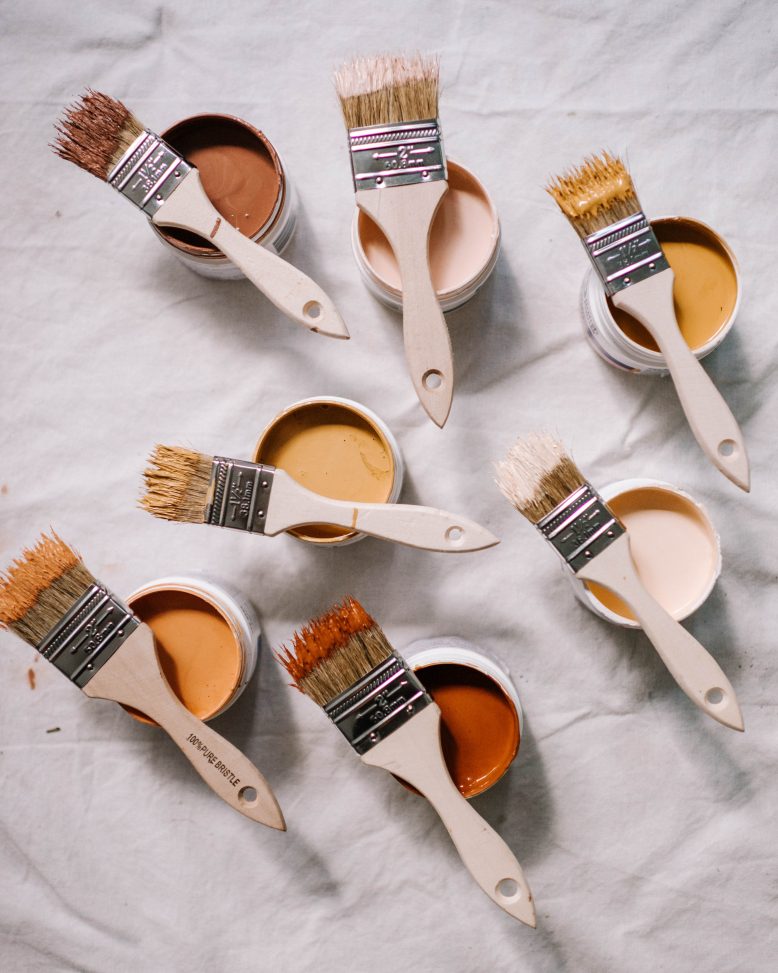
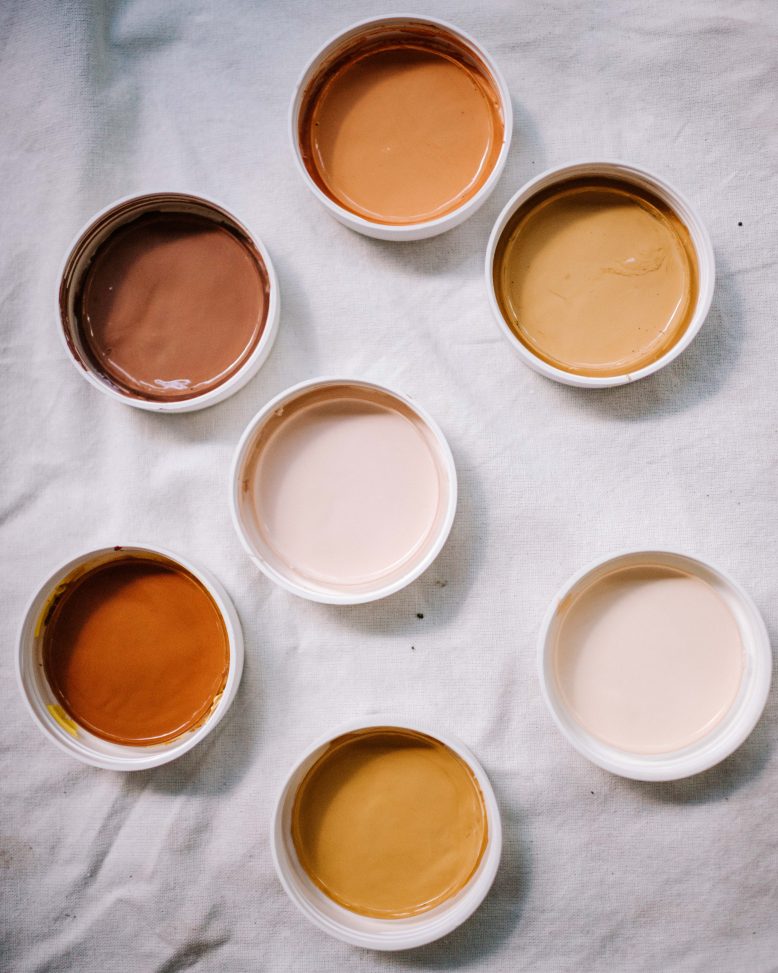
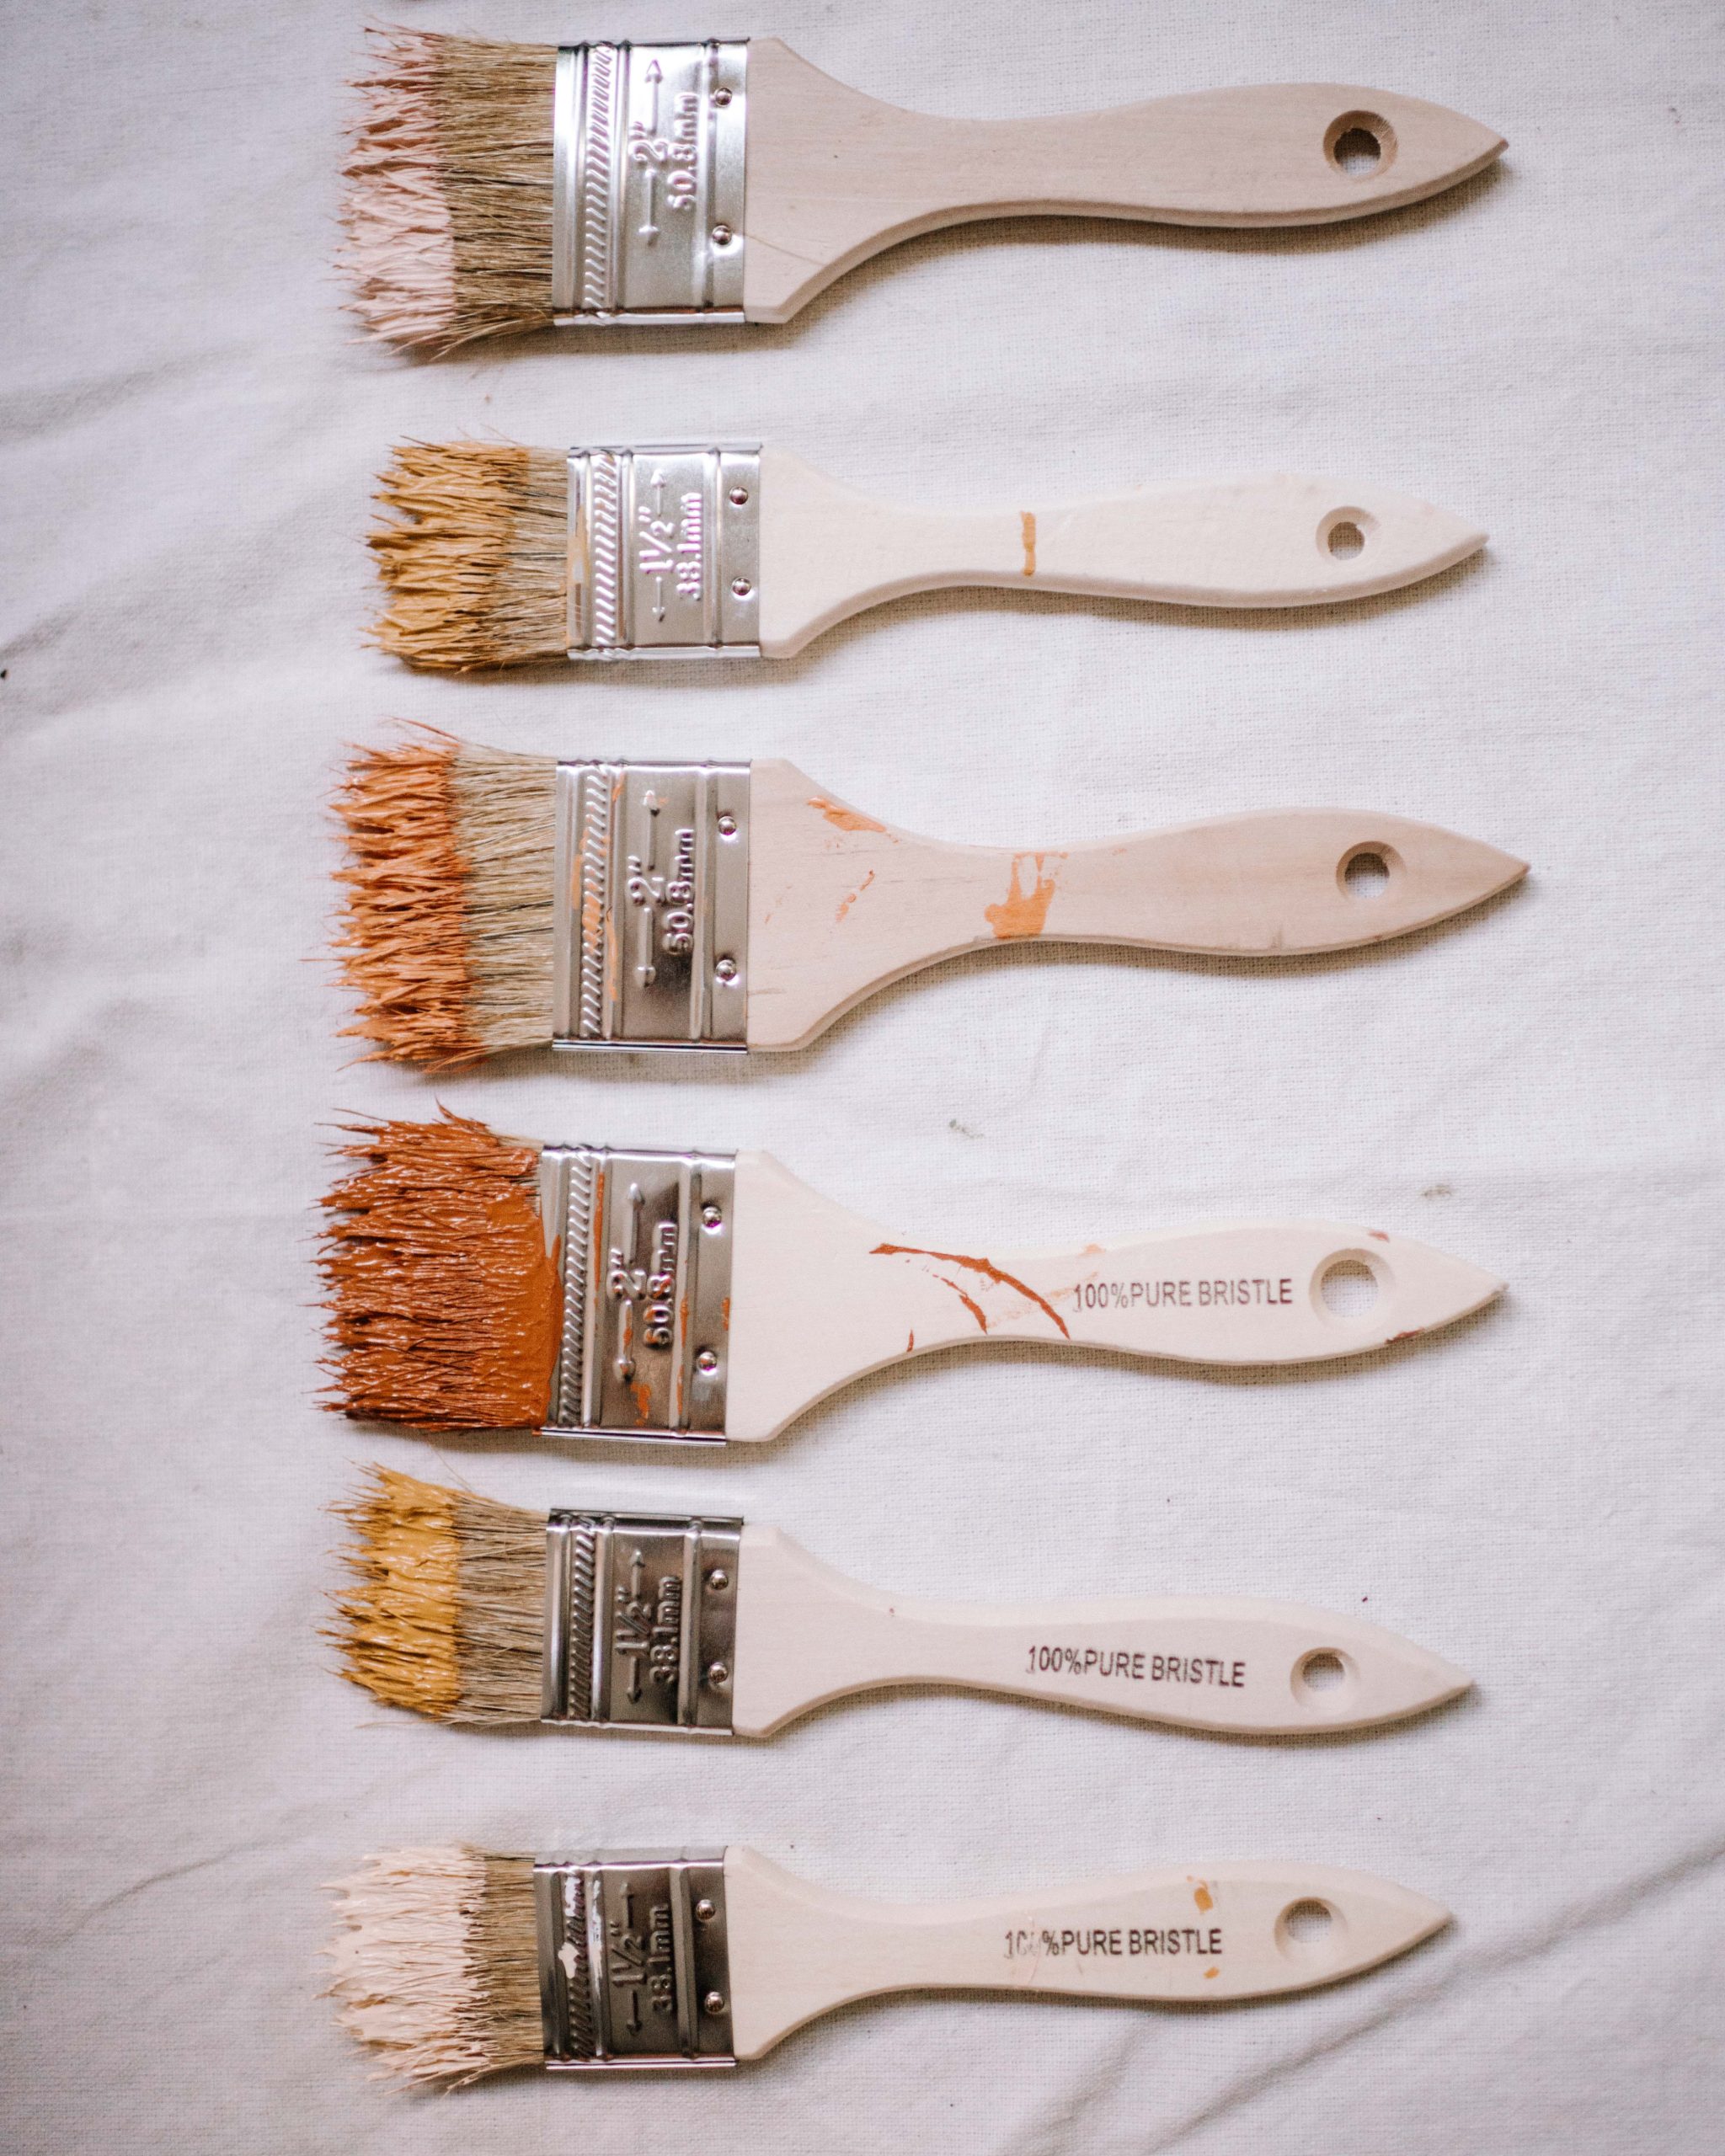
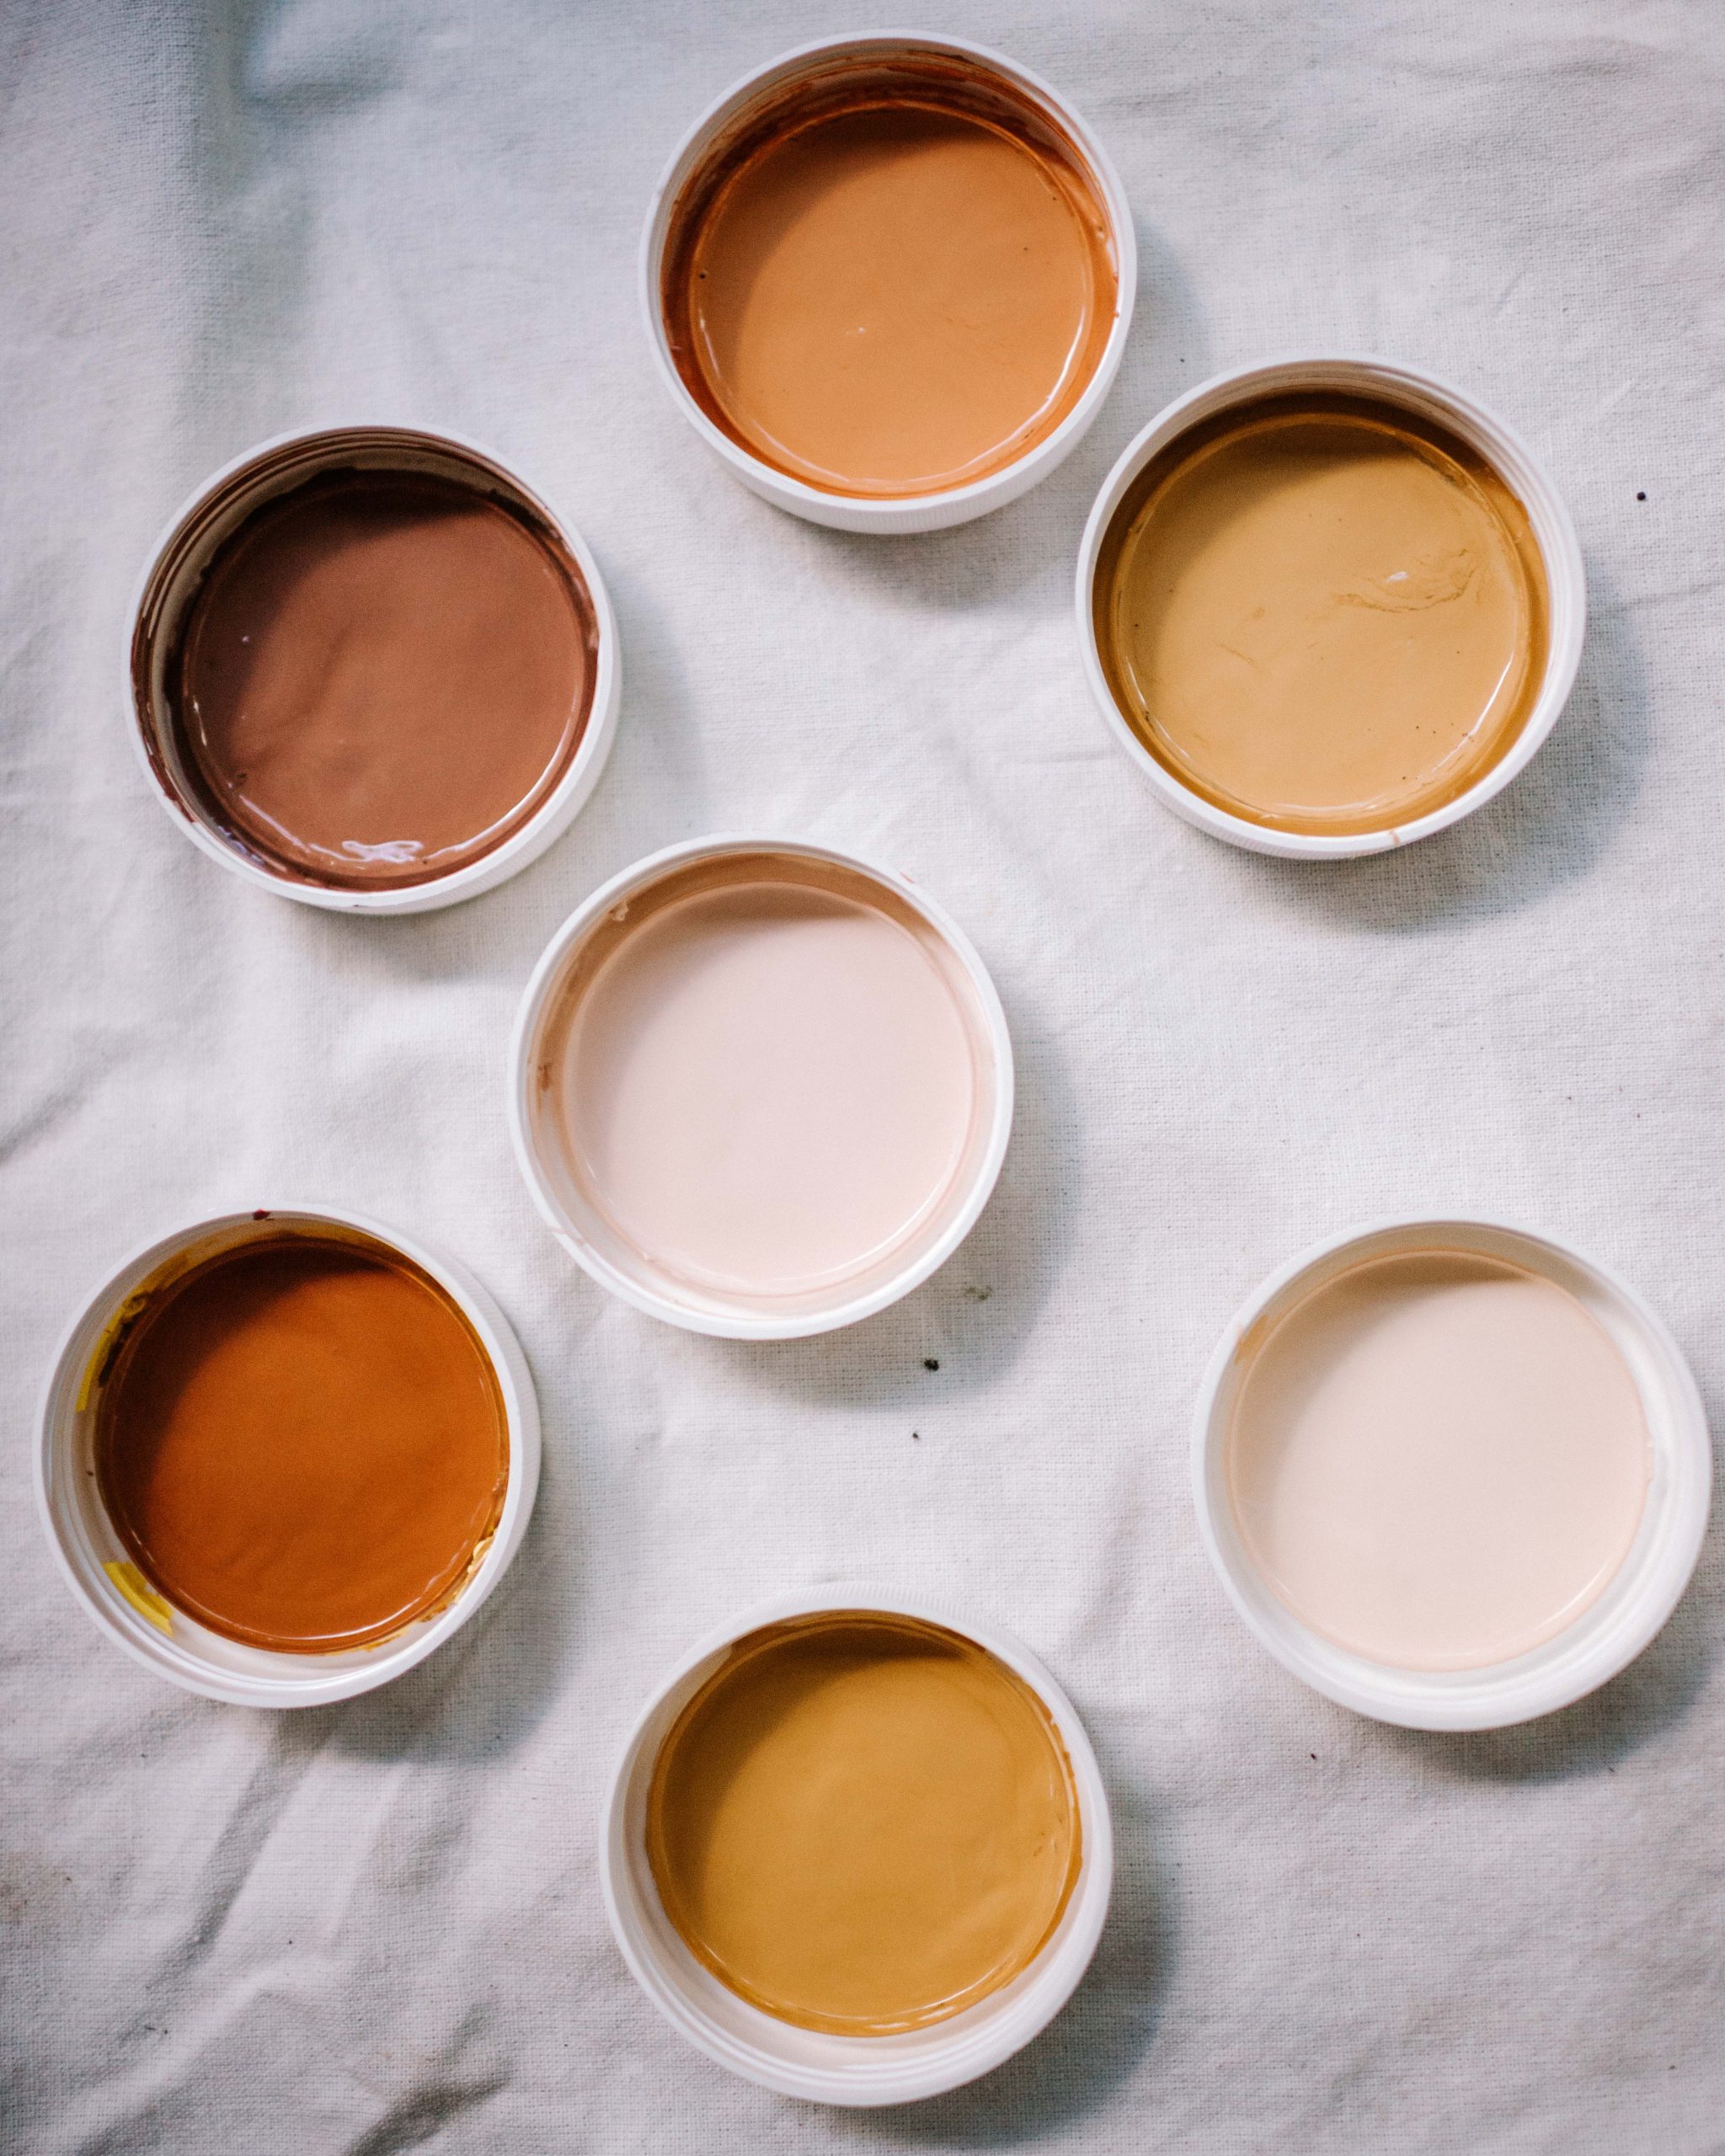
Once you’ve got your paint samples (I recommend 3 – 5), it’s time to see what they look like in real life! This is most important step as the paint sample can sometimes be lighter, darker or a different undertone to the paper chip. I suggest painting some thin plywood boards or a piece of wood you have lying around with each of the colours you are testing. You can then place them on the piece of furniture to review, as well as move them around the house to test in various lights and against soft furnishings and curtains.
As shown in the image above, I usually do a coat of the undercoat or base colour (or the wall colour that will surround the item), and the top coat to see a true indication of the colour.
3. View in Different Lights
Over the next few days you can view your selections in daylight, at night and with internal lights on in the home. You will usually be able to tell fairly quickly what the right paint colour is for you!
4. Test Hardware
Hardware must not be forgotten when choosing a paint colour. Hardware is the final touch that can give it the wow factor that’s needed to take it from drab to fab. As you are mulling over your paint samples, use a few hardware samples to see which will compliment your paint the best.
Painting Different Surfaces
Plastic
I was dubious about painting on poly plastic when I first starting upcycling this kids trike, but after a chat with team at Bunnings I found a great primer that wasn’t going to peel off after a few uses! This is the primer I used and recommend on plastic: Rust-Oleum Ultra Cover in Satin Blossom White. For the top coat, I used Rust-Oleum Chalked in Blush Pink – you can use a gloss or a chalk/matte finish. Matte is my personal preference! I also used Mega Treat Liquid Terracotta for the terracotta details on the seat and handlebars.
Tip: If the plastic is glossy, use a fine sandpaper (180-grit) to first give it a bit of a buff.
Metal
I’ve upcycled two office chairs – this rope chair and this woven twisted paper rope chair, and have found that metal frames on both came up beautifully after a coat of paint! Firstly, I gave the metal a good scrub to ensure there was no rust. You can use White Knight Rust Guard primer to create an anti-corrosive barrier. For the base coast, I used White Knight Squirts Spray Paint in white – using white ensures that the top coat really pops! For the top coat, I prefer to use outdoor paint by British Paints.
Tip: Use an old sock to apply the top coat of paint evenly. This also works for wooden balustrades on a staircase or furniture with a lot of detailing in the woodwork.
Wood
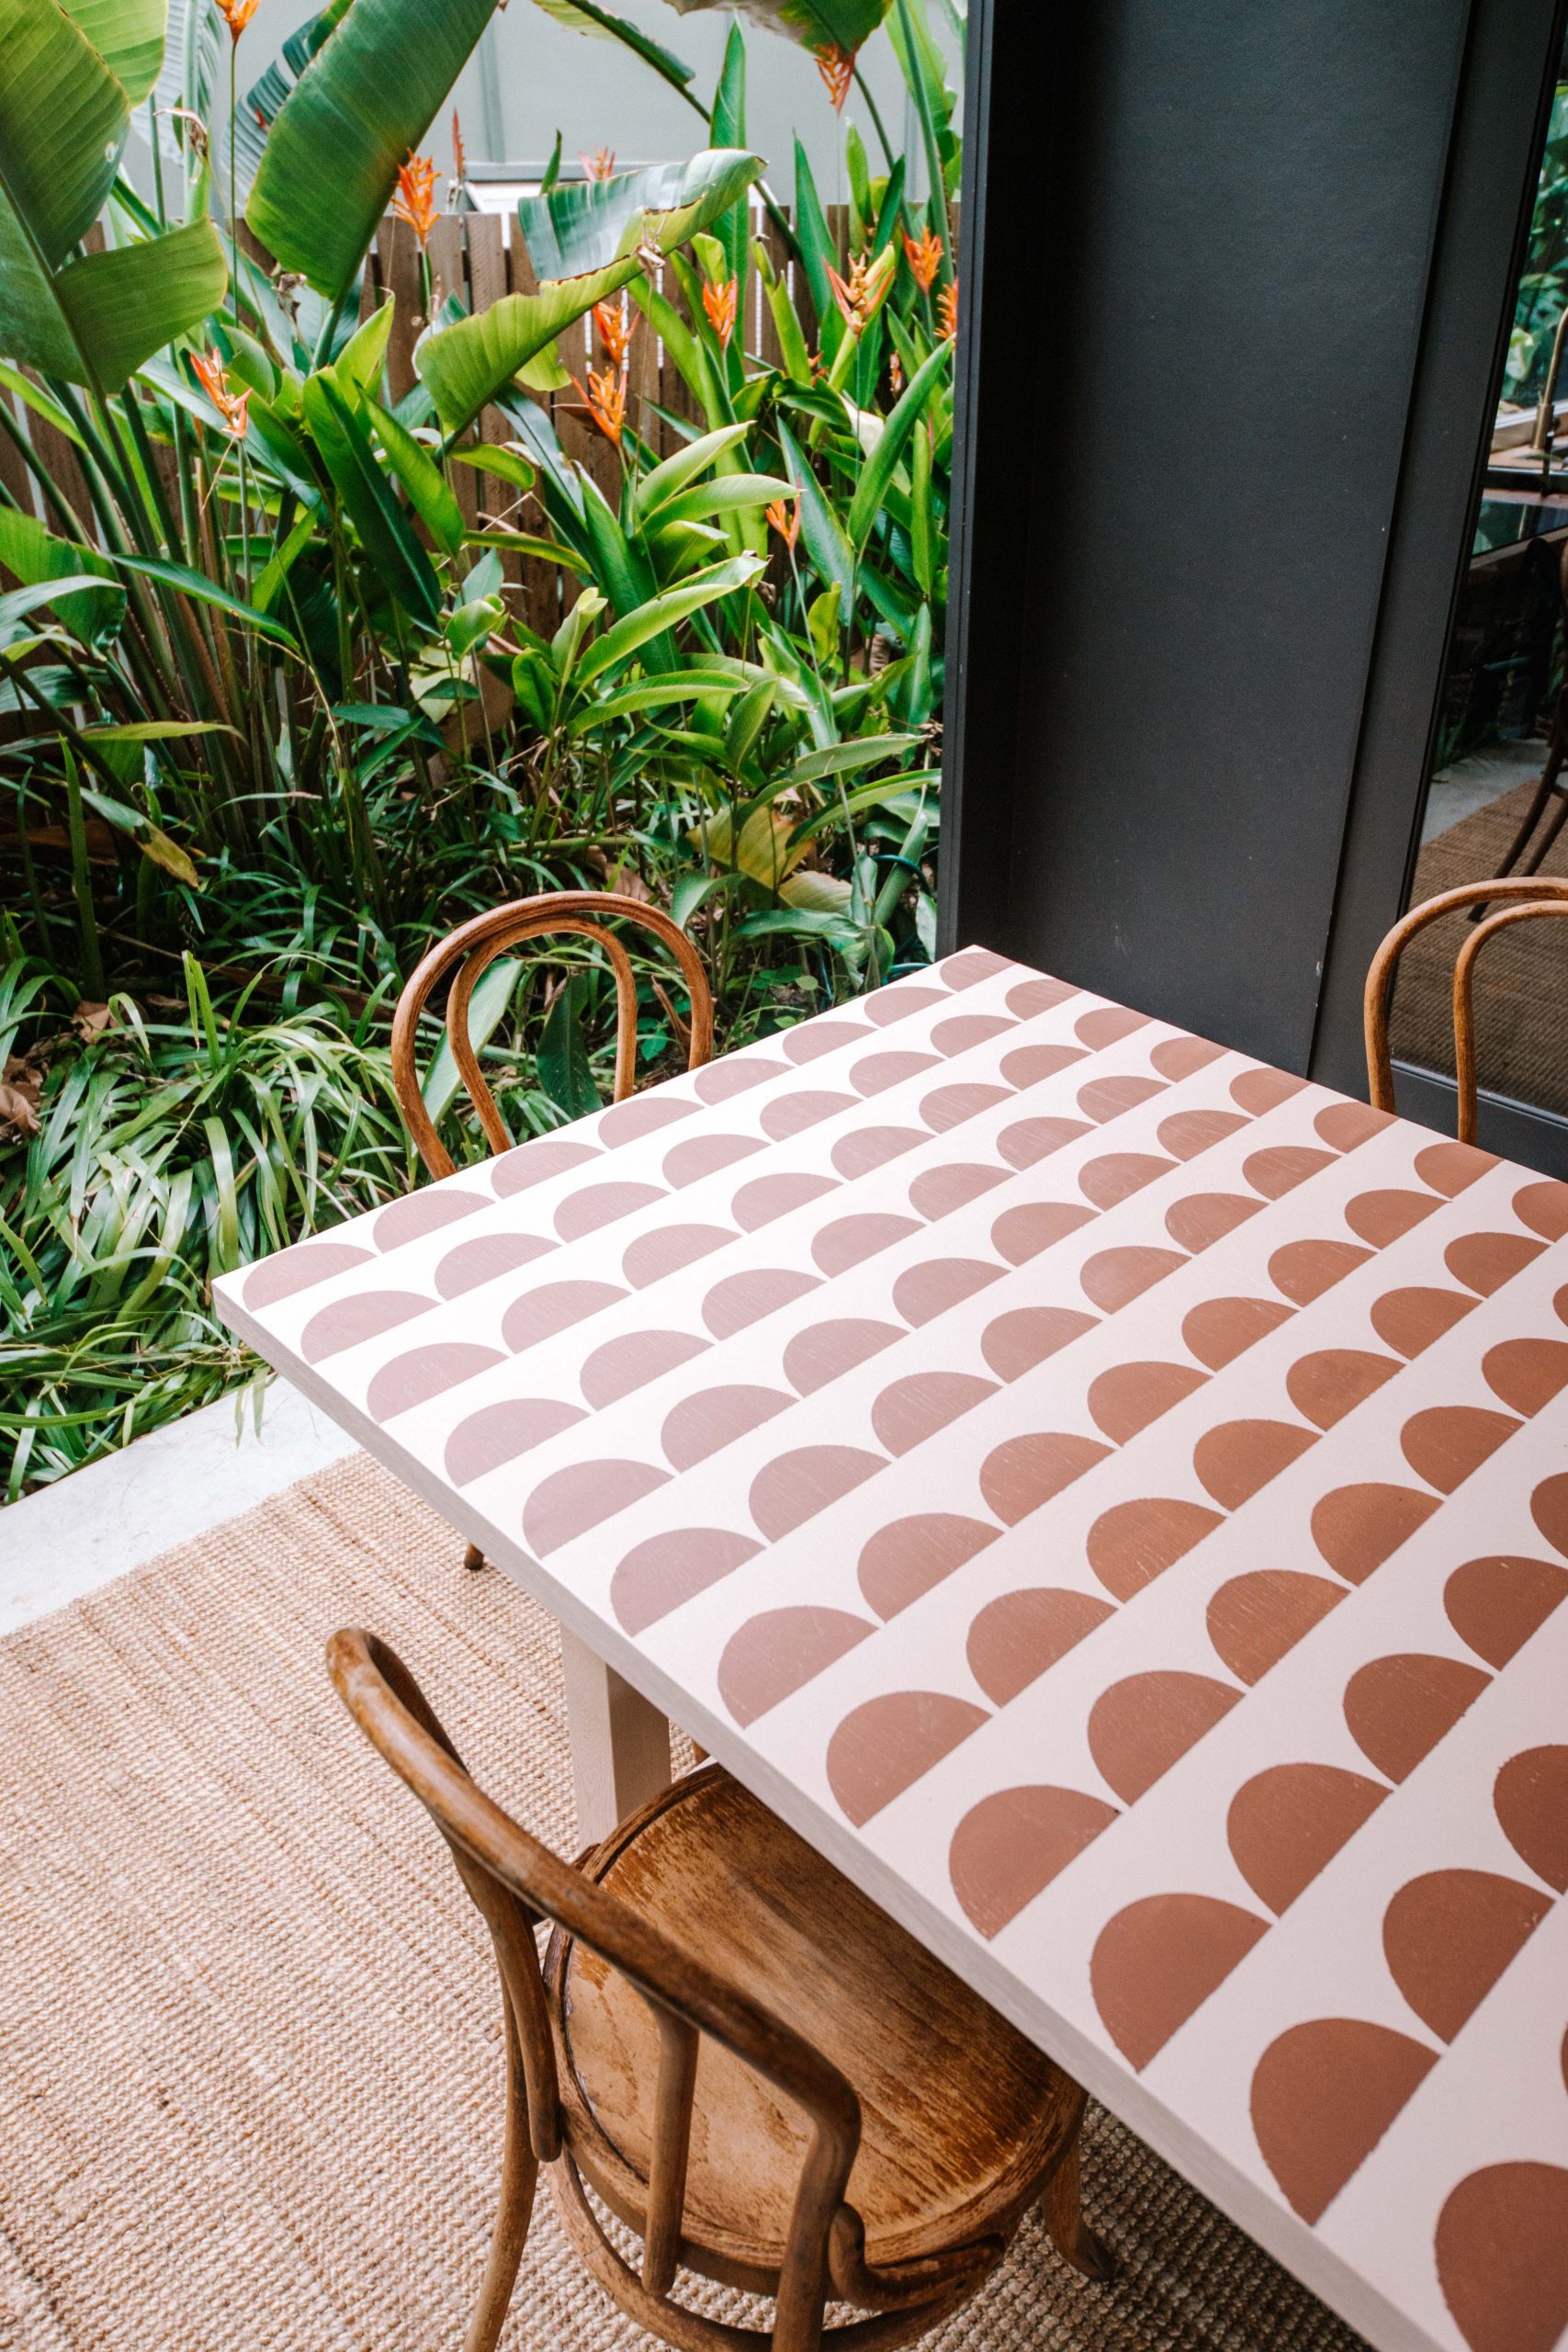
Painting wooden furniture is something that I love to do, particularly when I have a wooden item that has seen better days. Some of the projects I’ve done in the past include the above stencilled outdoor table, this kitchen cabinet, and this cute chest of drawers.
Start by sanding your wood. I use a combination of an electric hand sander for large flat surfaces, and then strips of sanding paper for legs, corners and hard to reach spots. Remove all sanding residue with a wet cloth. For the base coat, I prefer to use a light coloured primer, usually in white. For the top coat, an exterior oil based paint can sometimes work well for furniture that will get a lot of wear, otherwise a simple wall paint will work.
You can read more on my guide to painting wooden furniture in this blog post.
Tiles
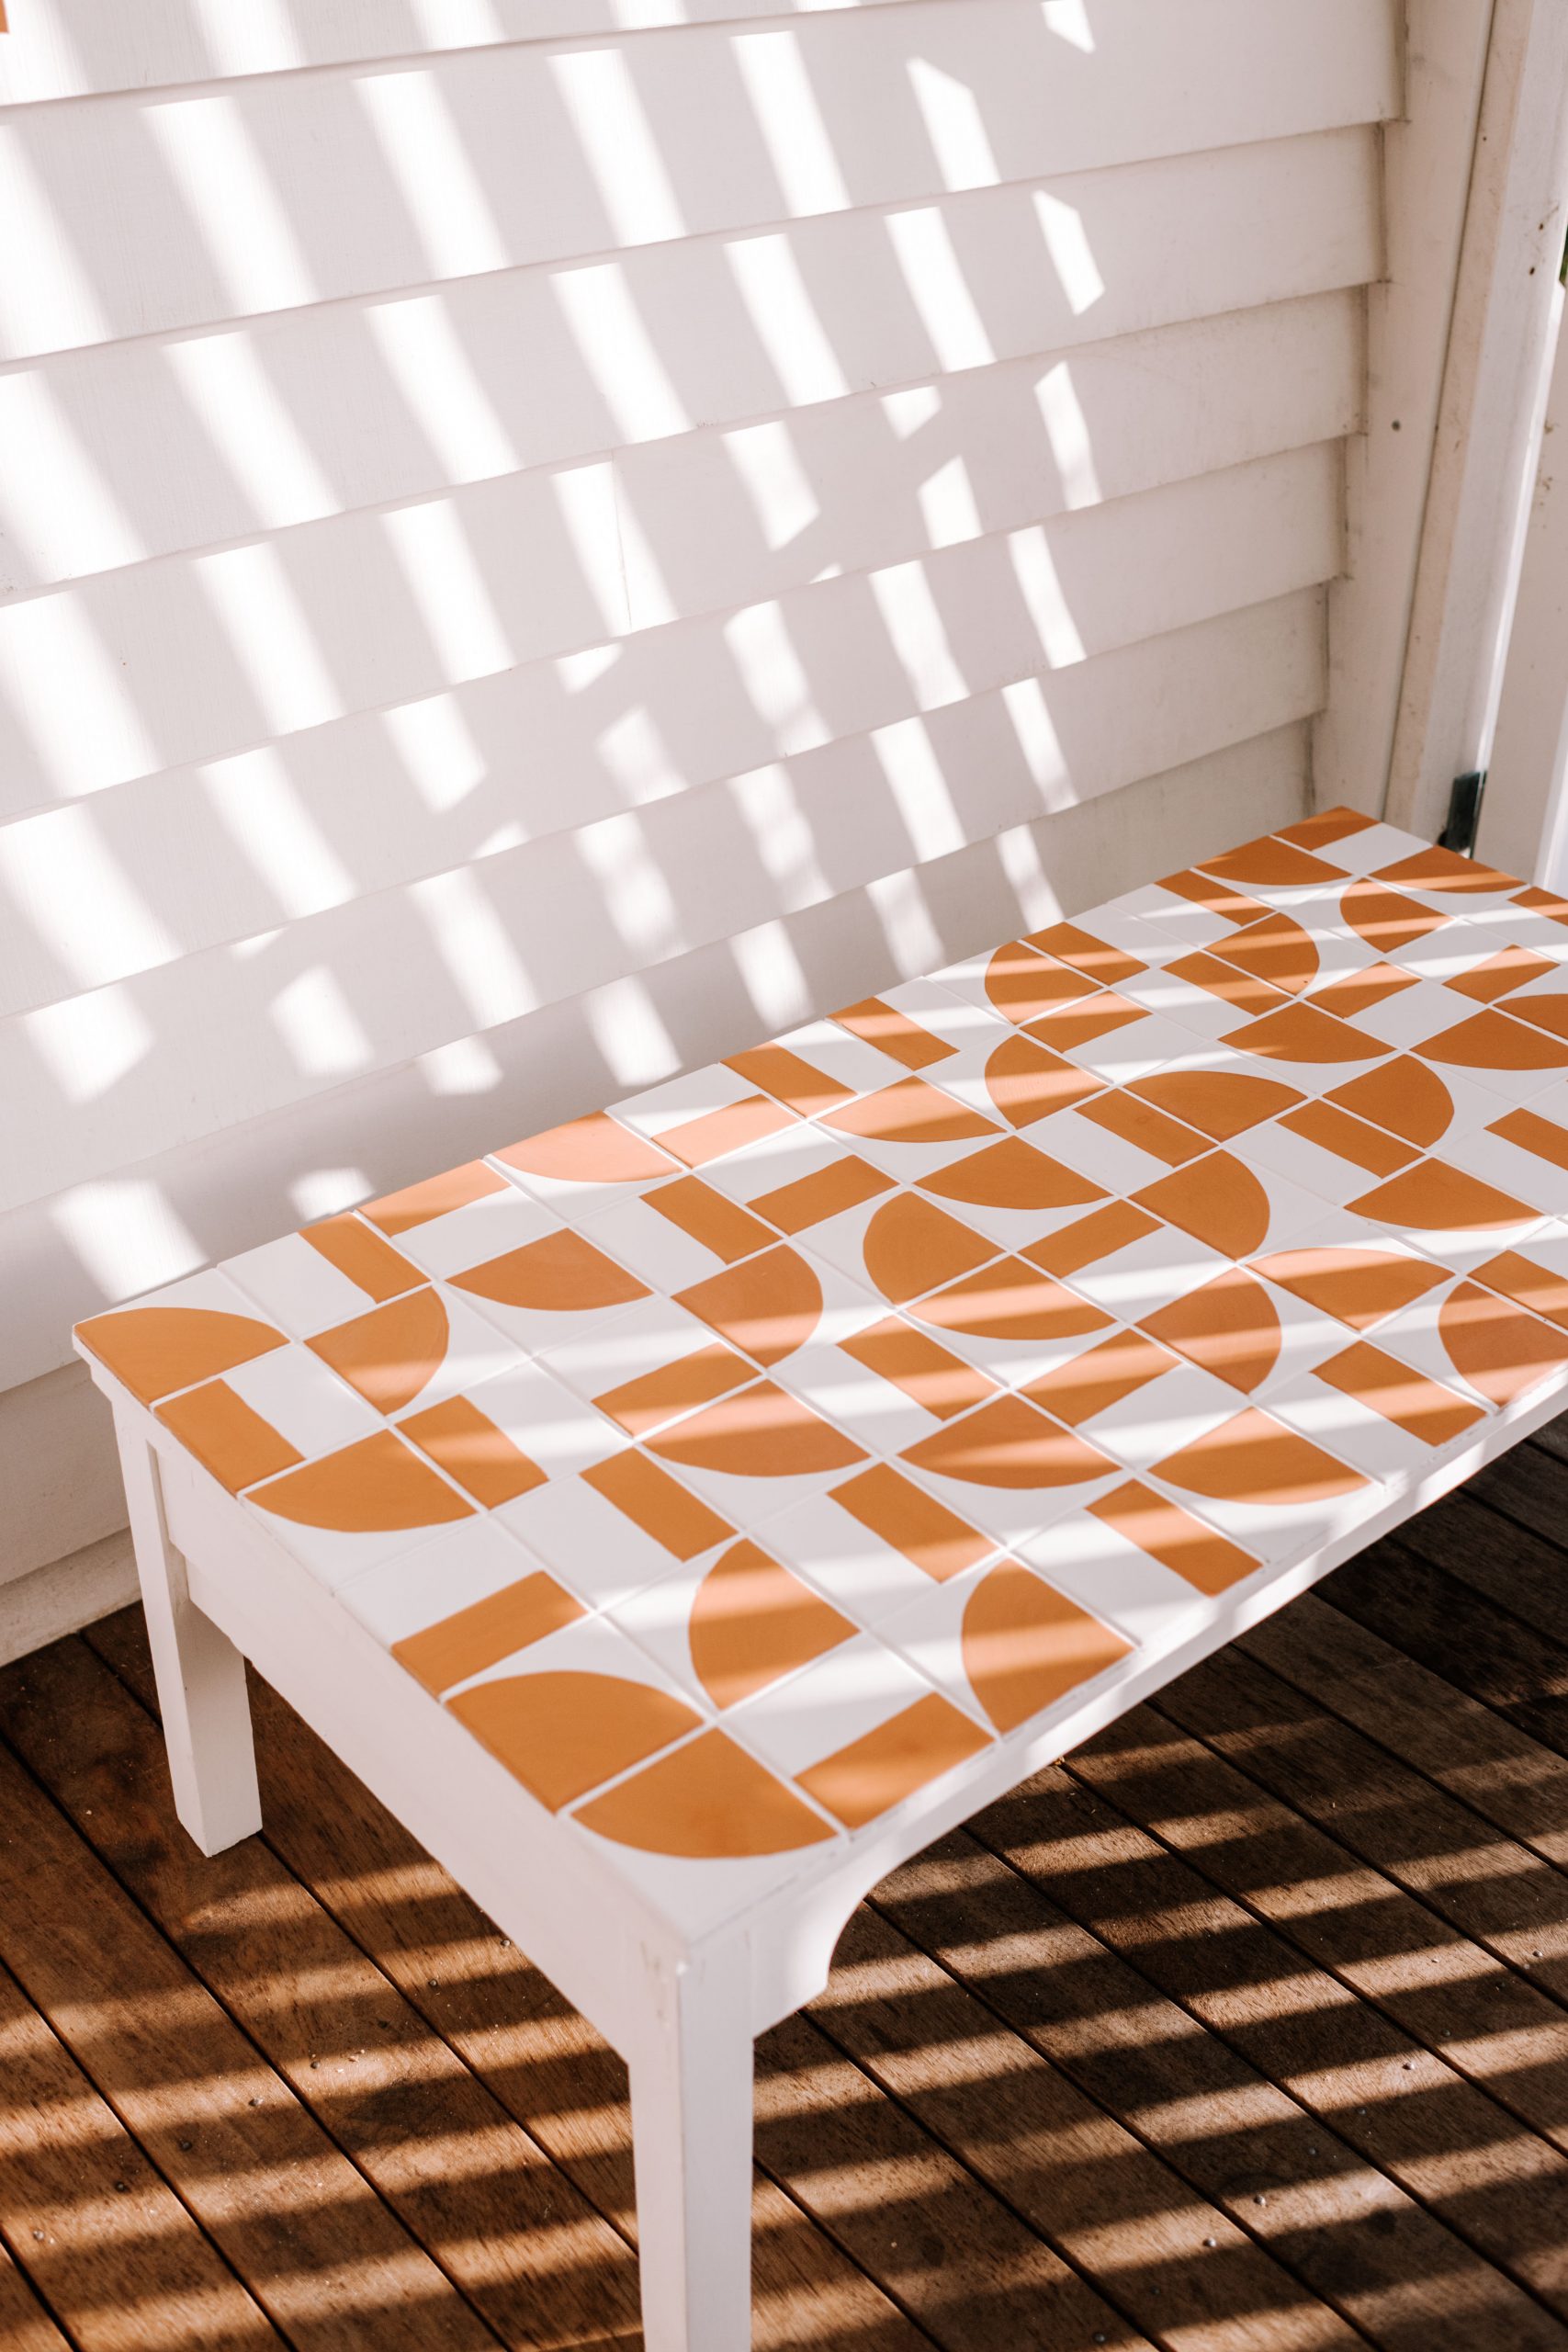
I love the look of painted tiles and this painted tile coffee table is one of my all time favourite upcycles. From my experience, the challenge with hand painted tiles is that they have a tendency to chip, so it’s really important to prime and seal them properly. To start, I prefer to us an acrylic paint primer (I used this product called ESP Primer). For the top coat, use an acrylic interior paint. I used Taubmans Pale Russet, and also Megatreat Liquid Terracotta for the above table.For the final (and most important step) seal your paint! I prefer to use this Rustol-eum Clear Spray.
For a thorough guide to painting tiles, check out this blog post.
Here are a few of my favourite painted upcycle projects
- The Upcycled Office Chair
- The Stencil Painted Table
- The Upcycled Cabinet
- The Tiled Table
I hope this quick guide to testing paints for upcycling will help you with your next project. Let me know in the comments which upcycle project you’re taking on next! Happy painting!


