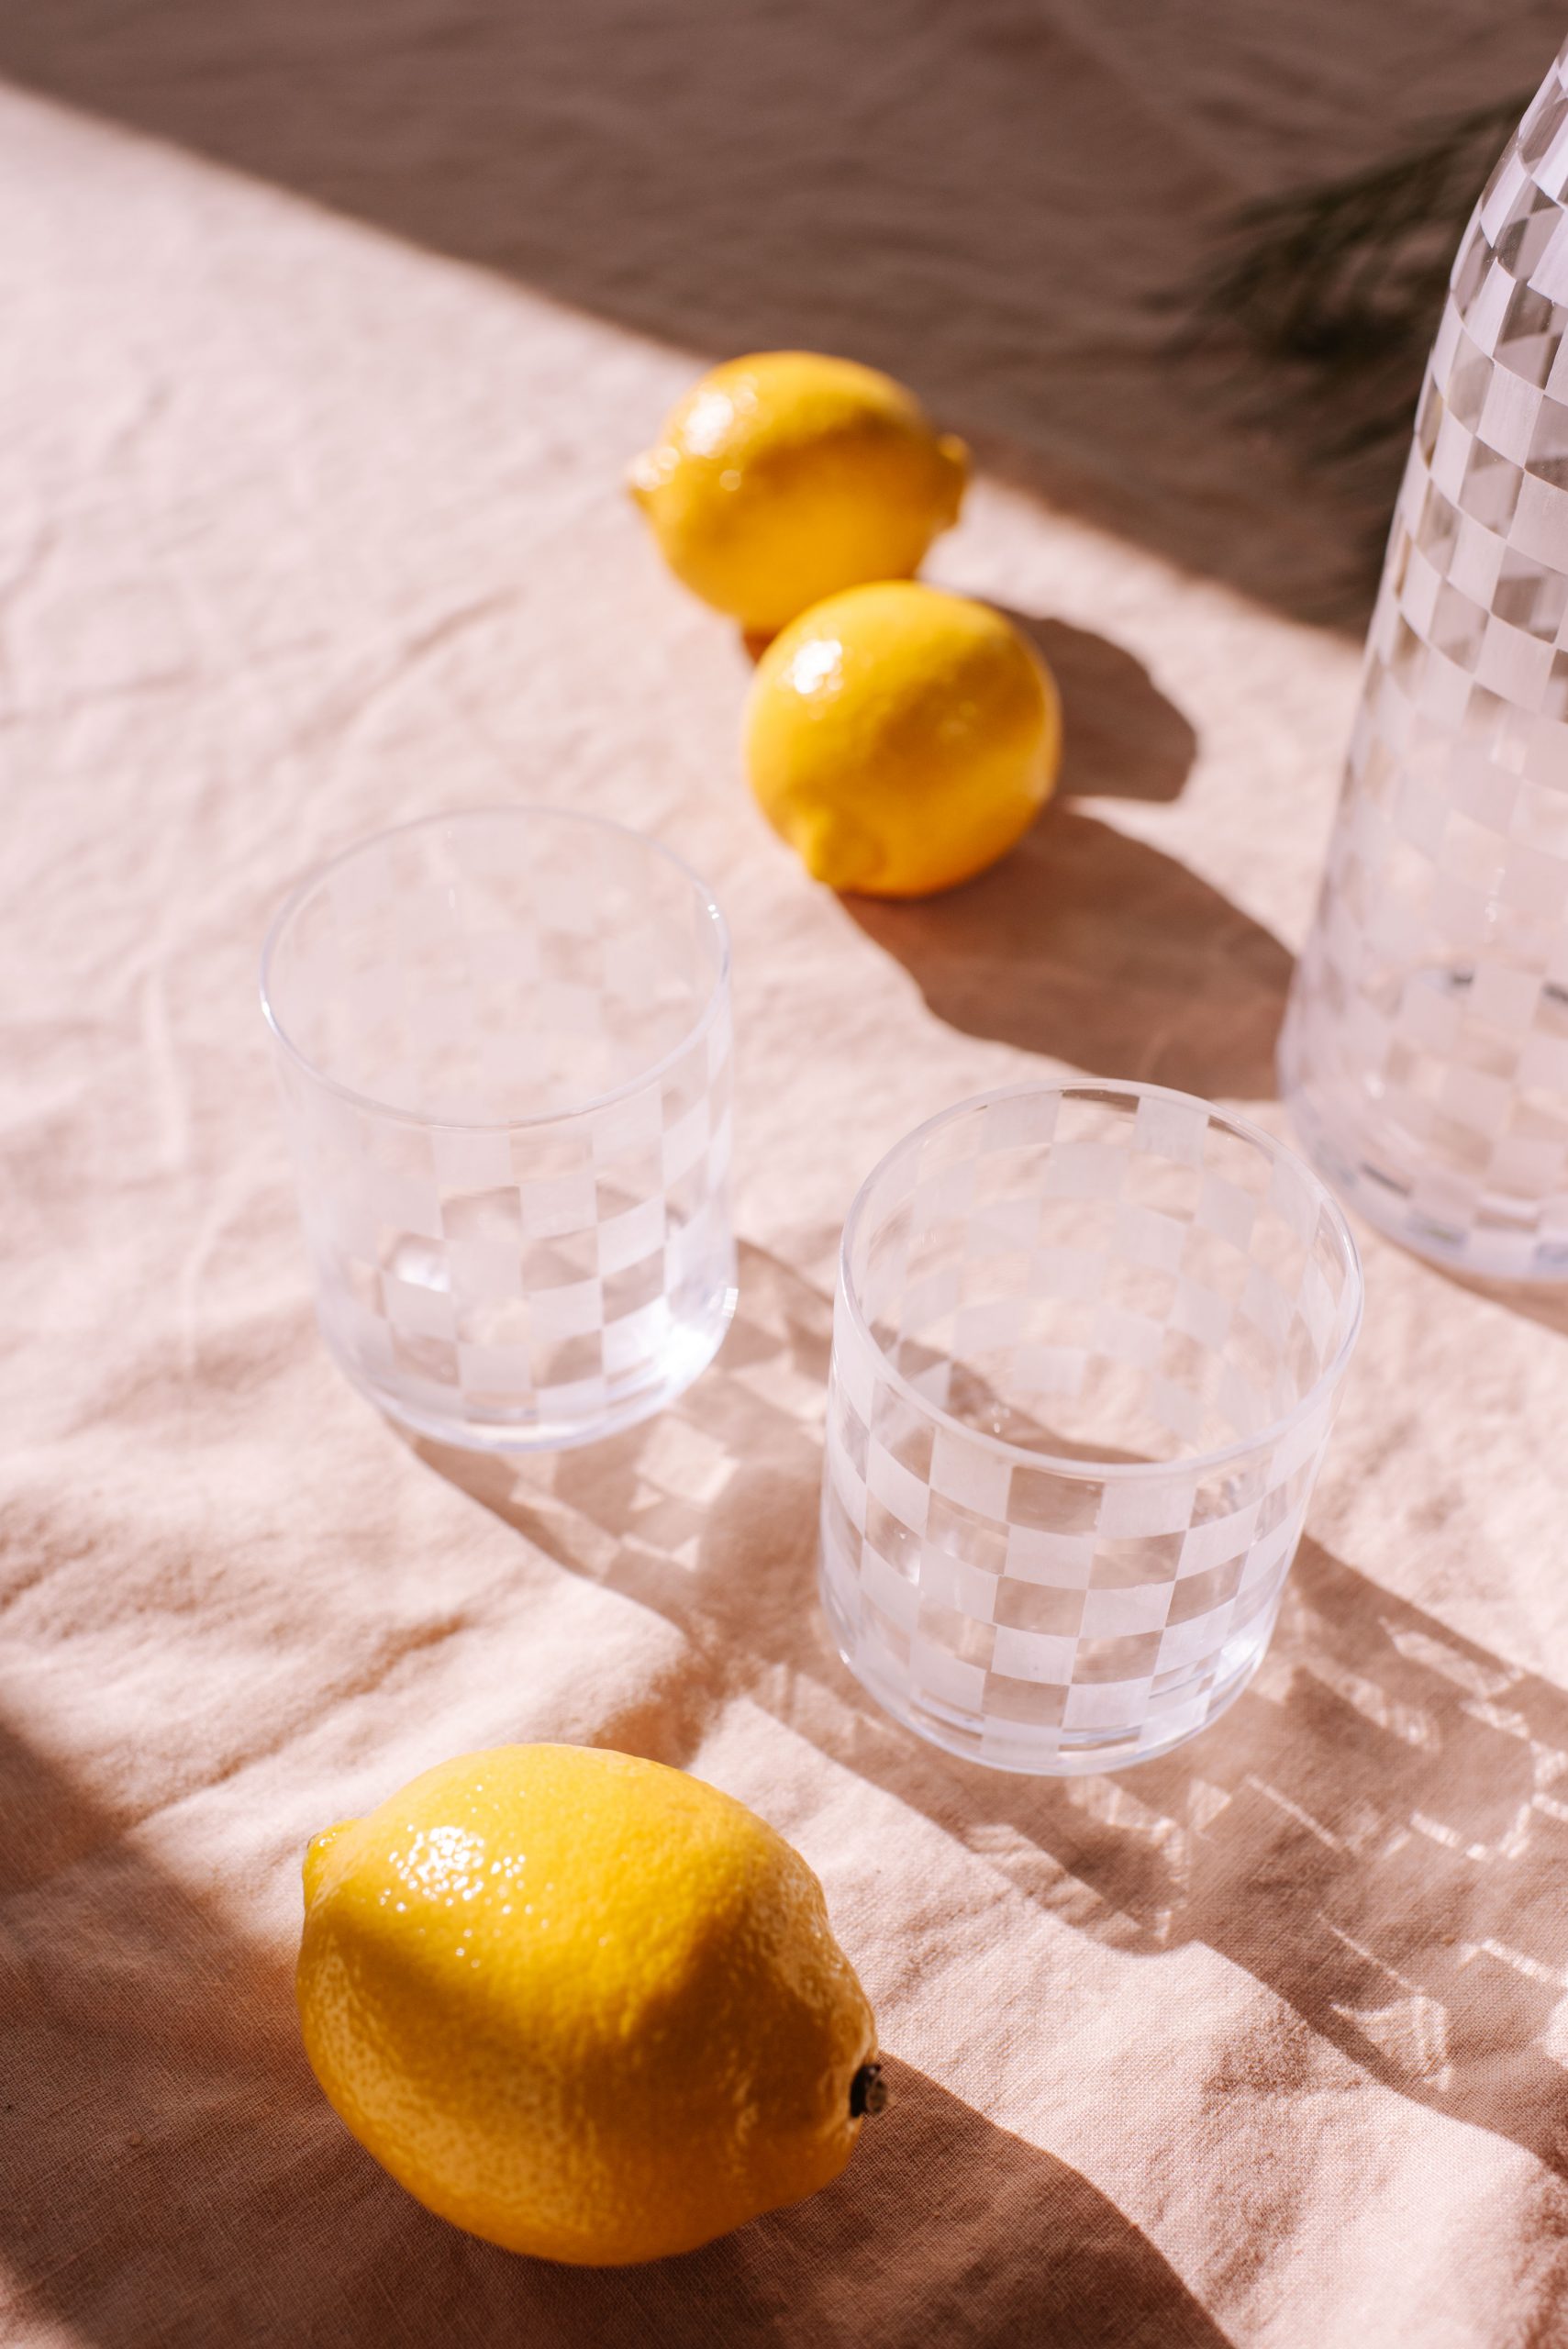
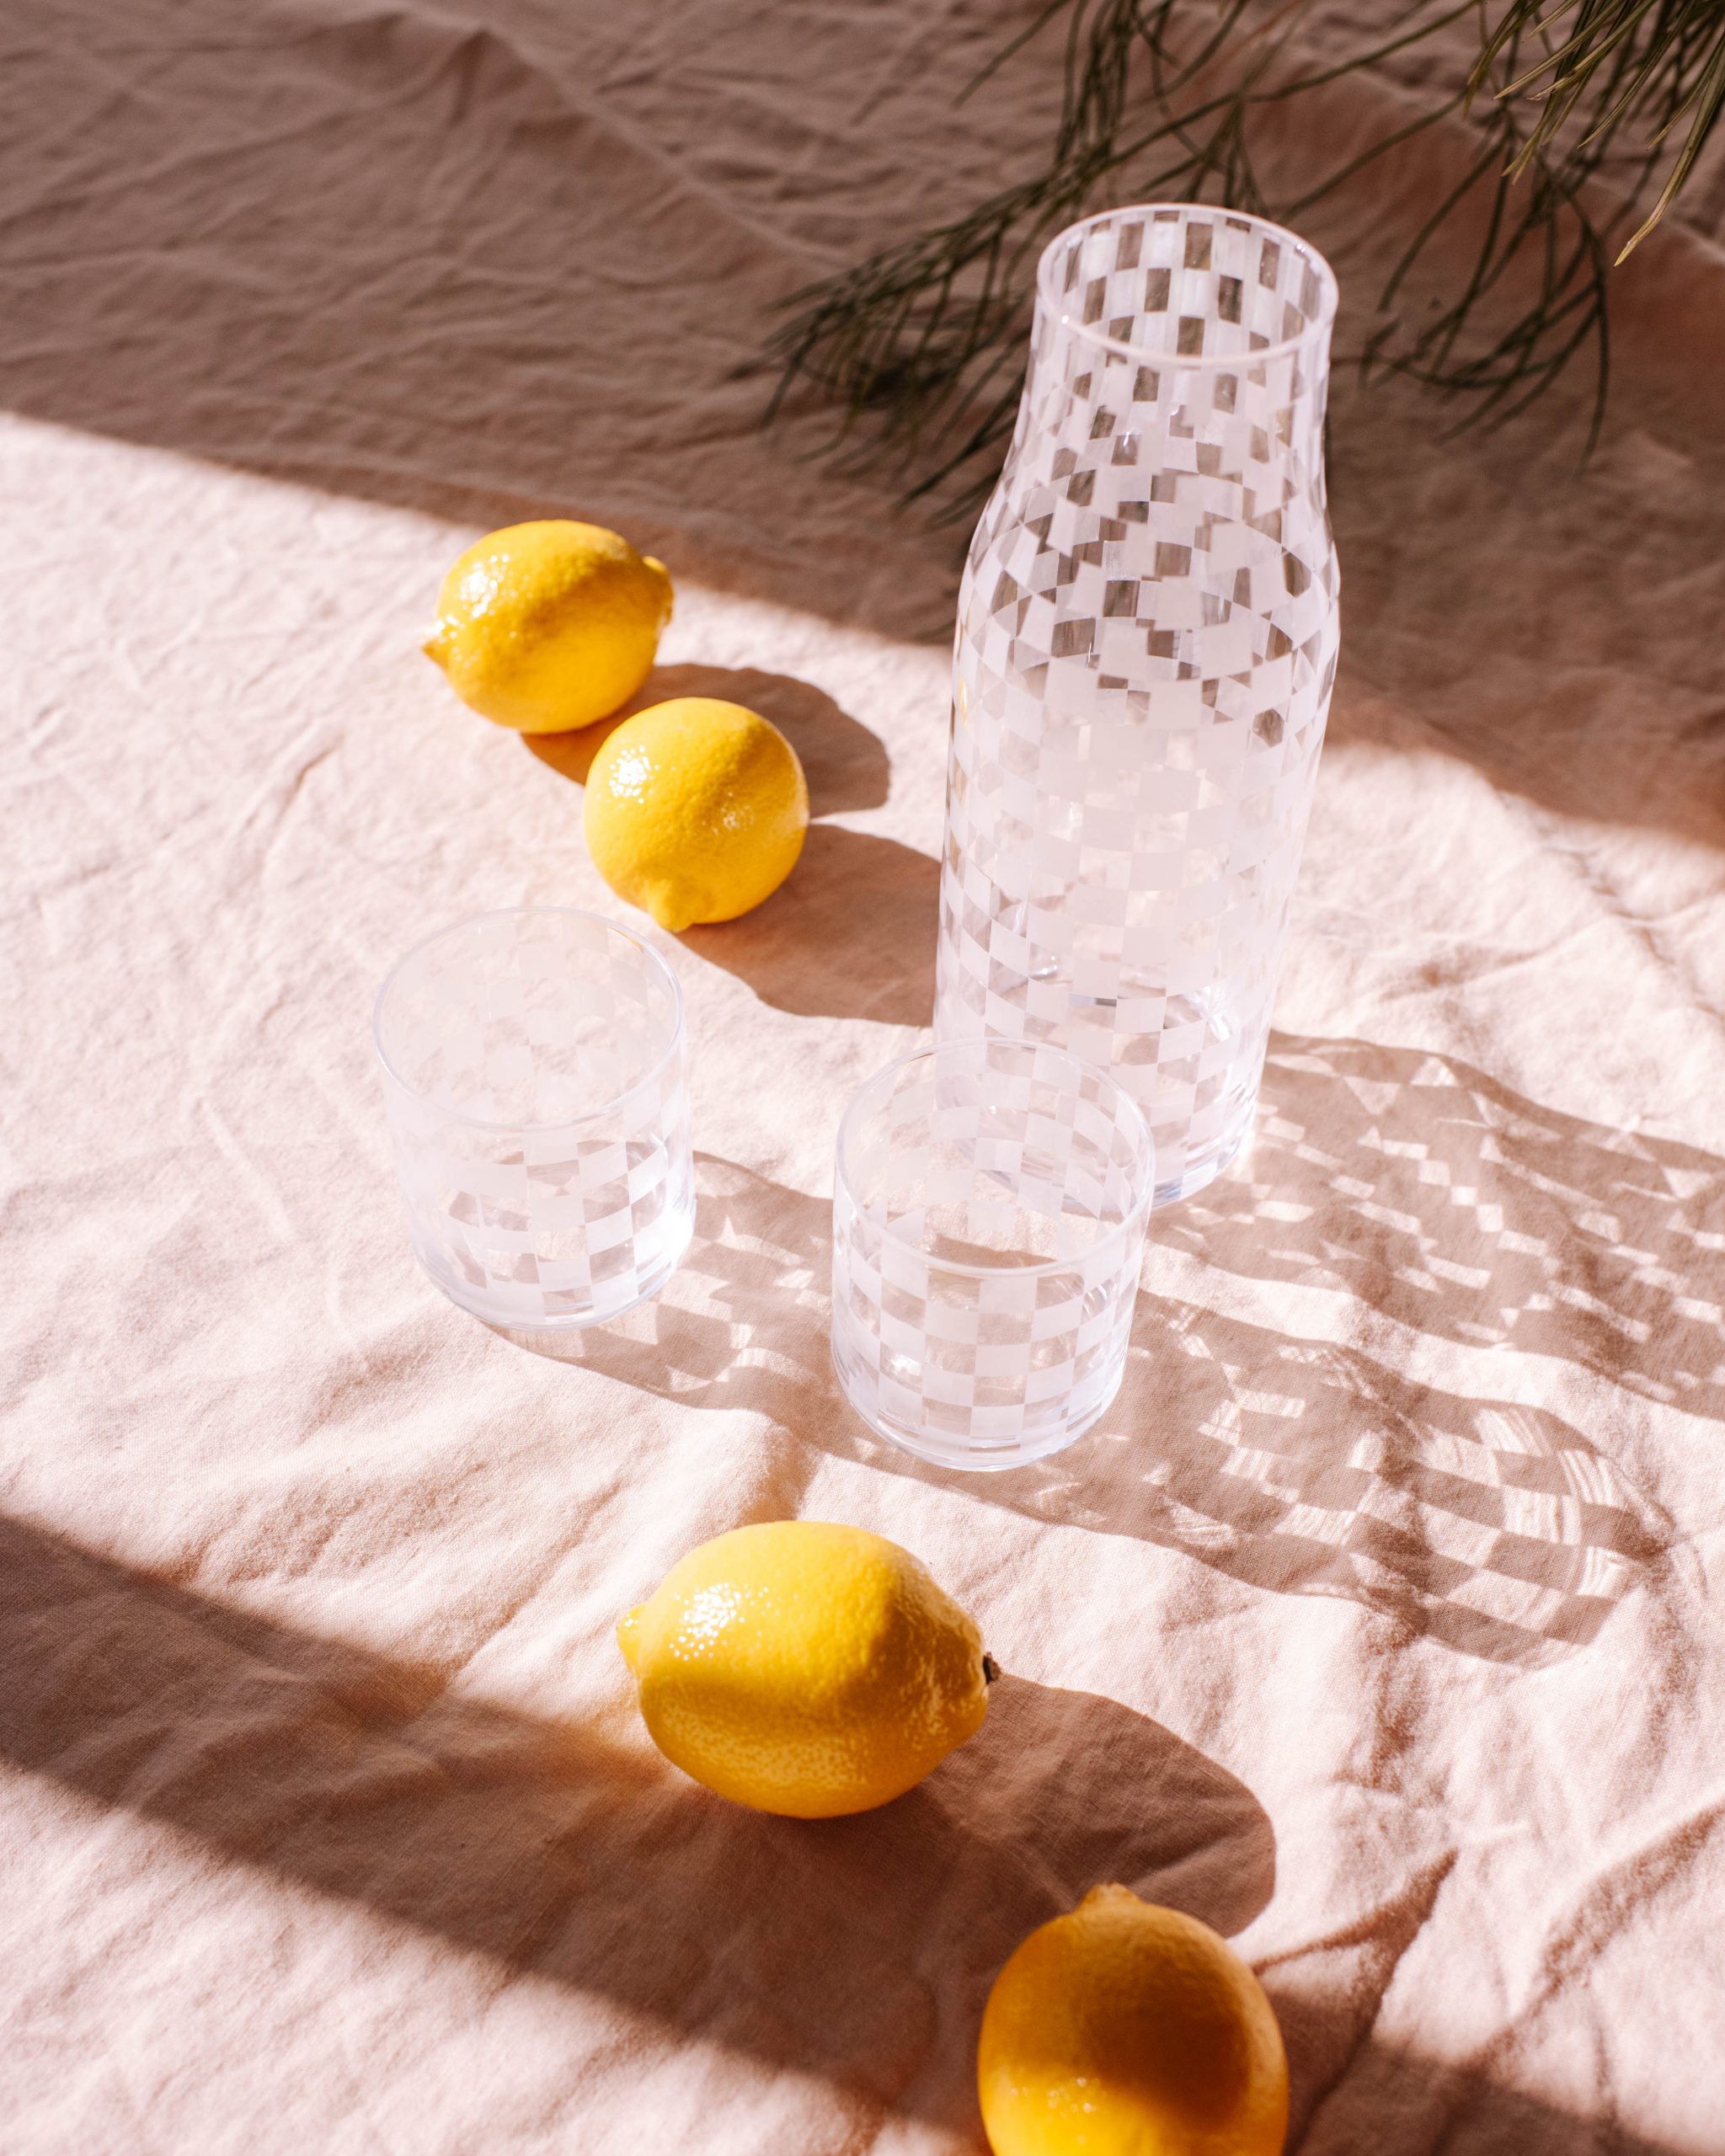
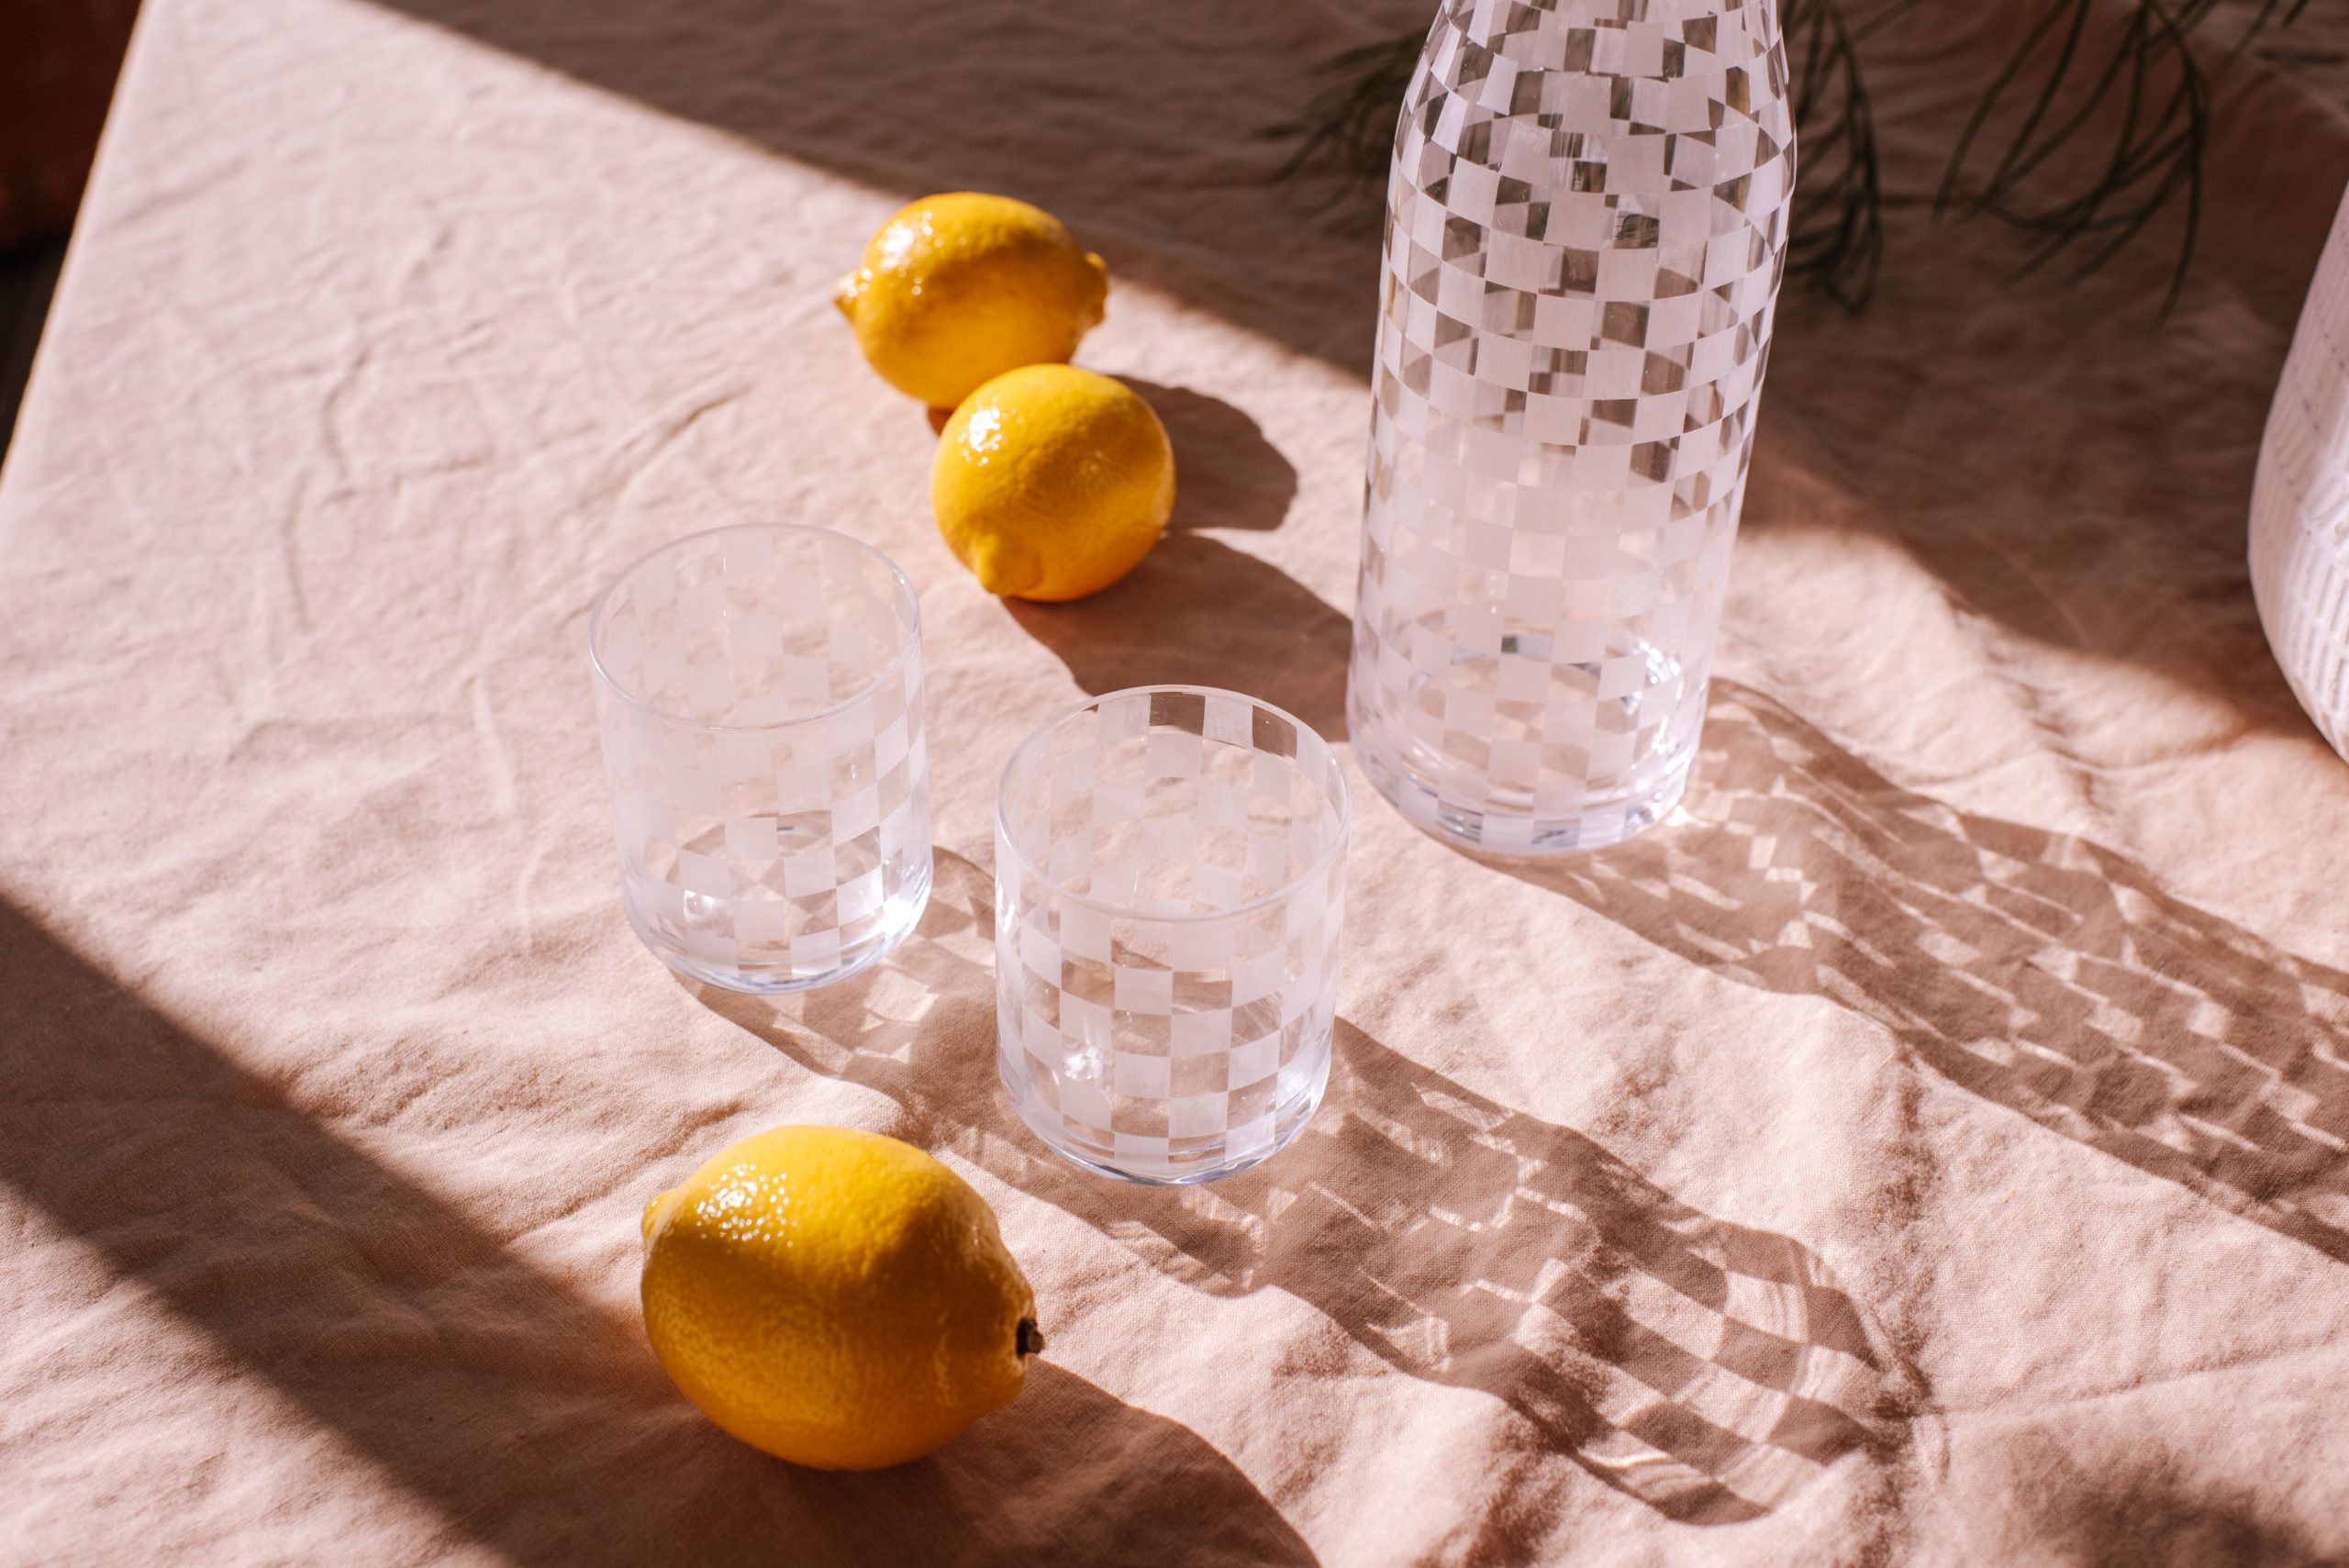
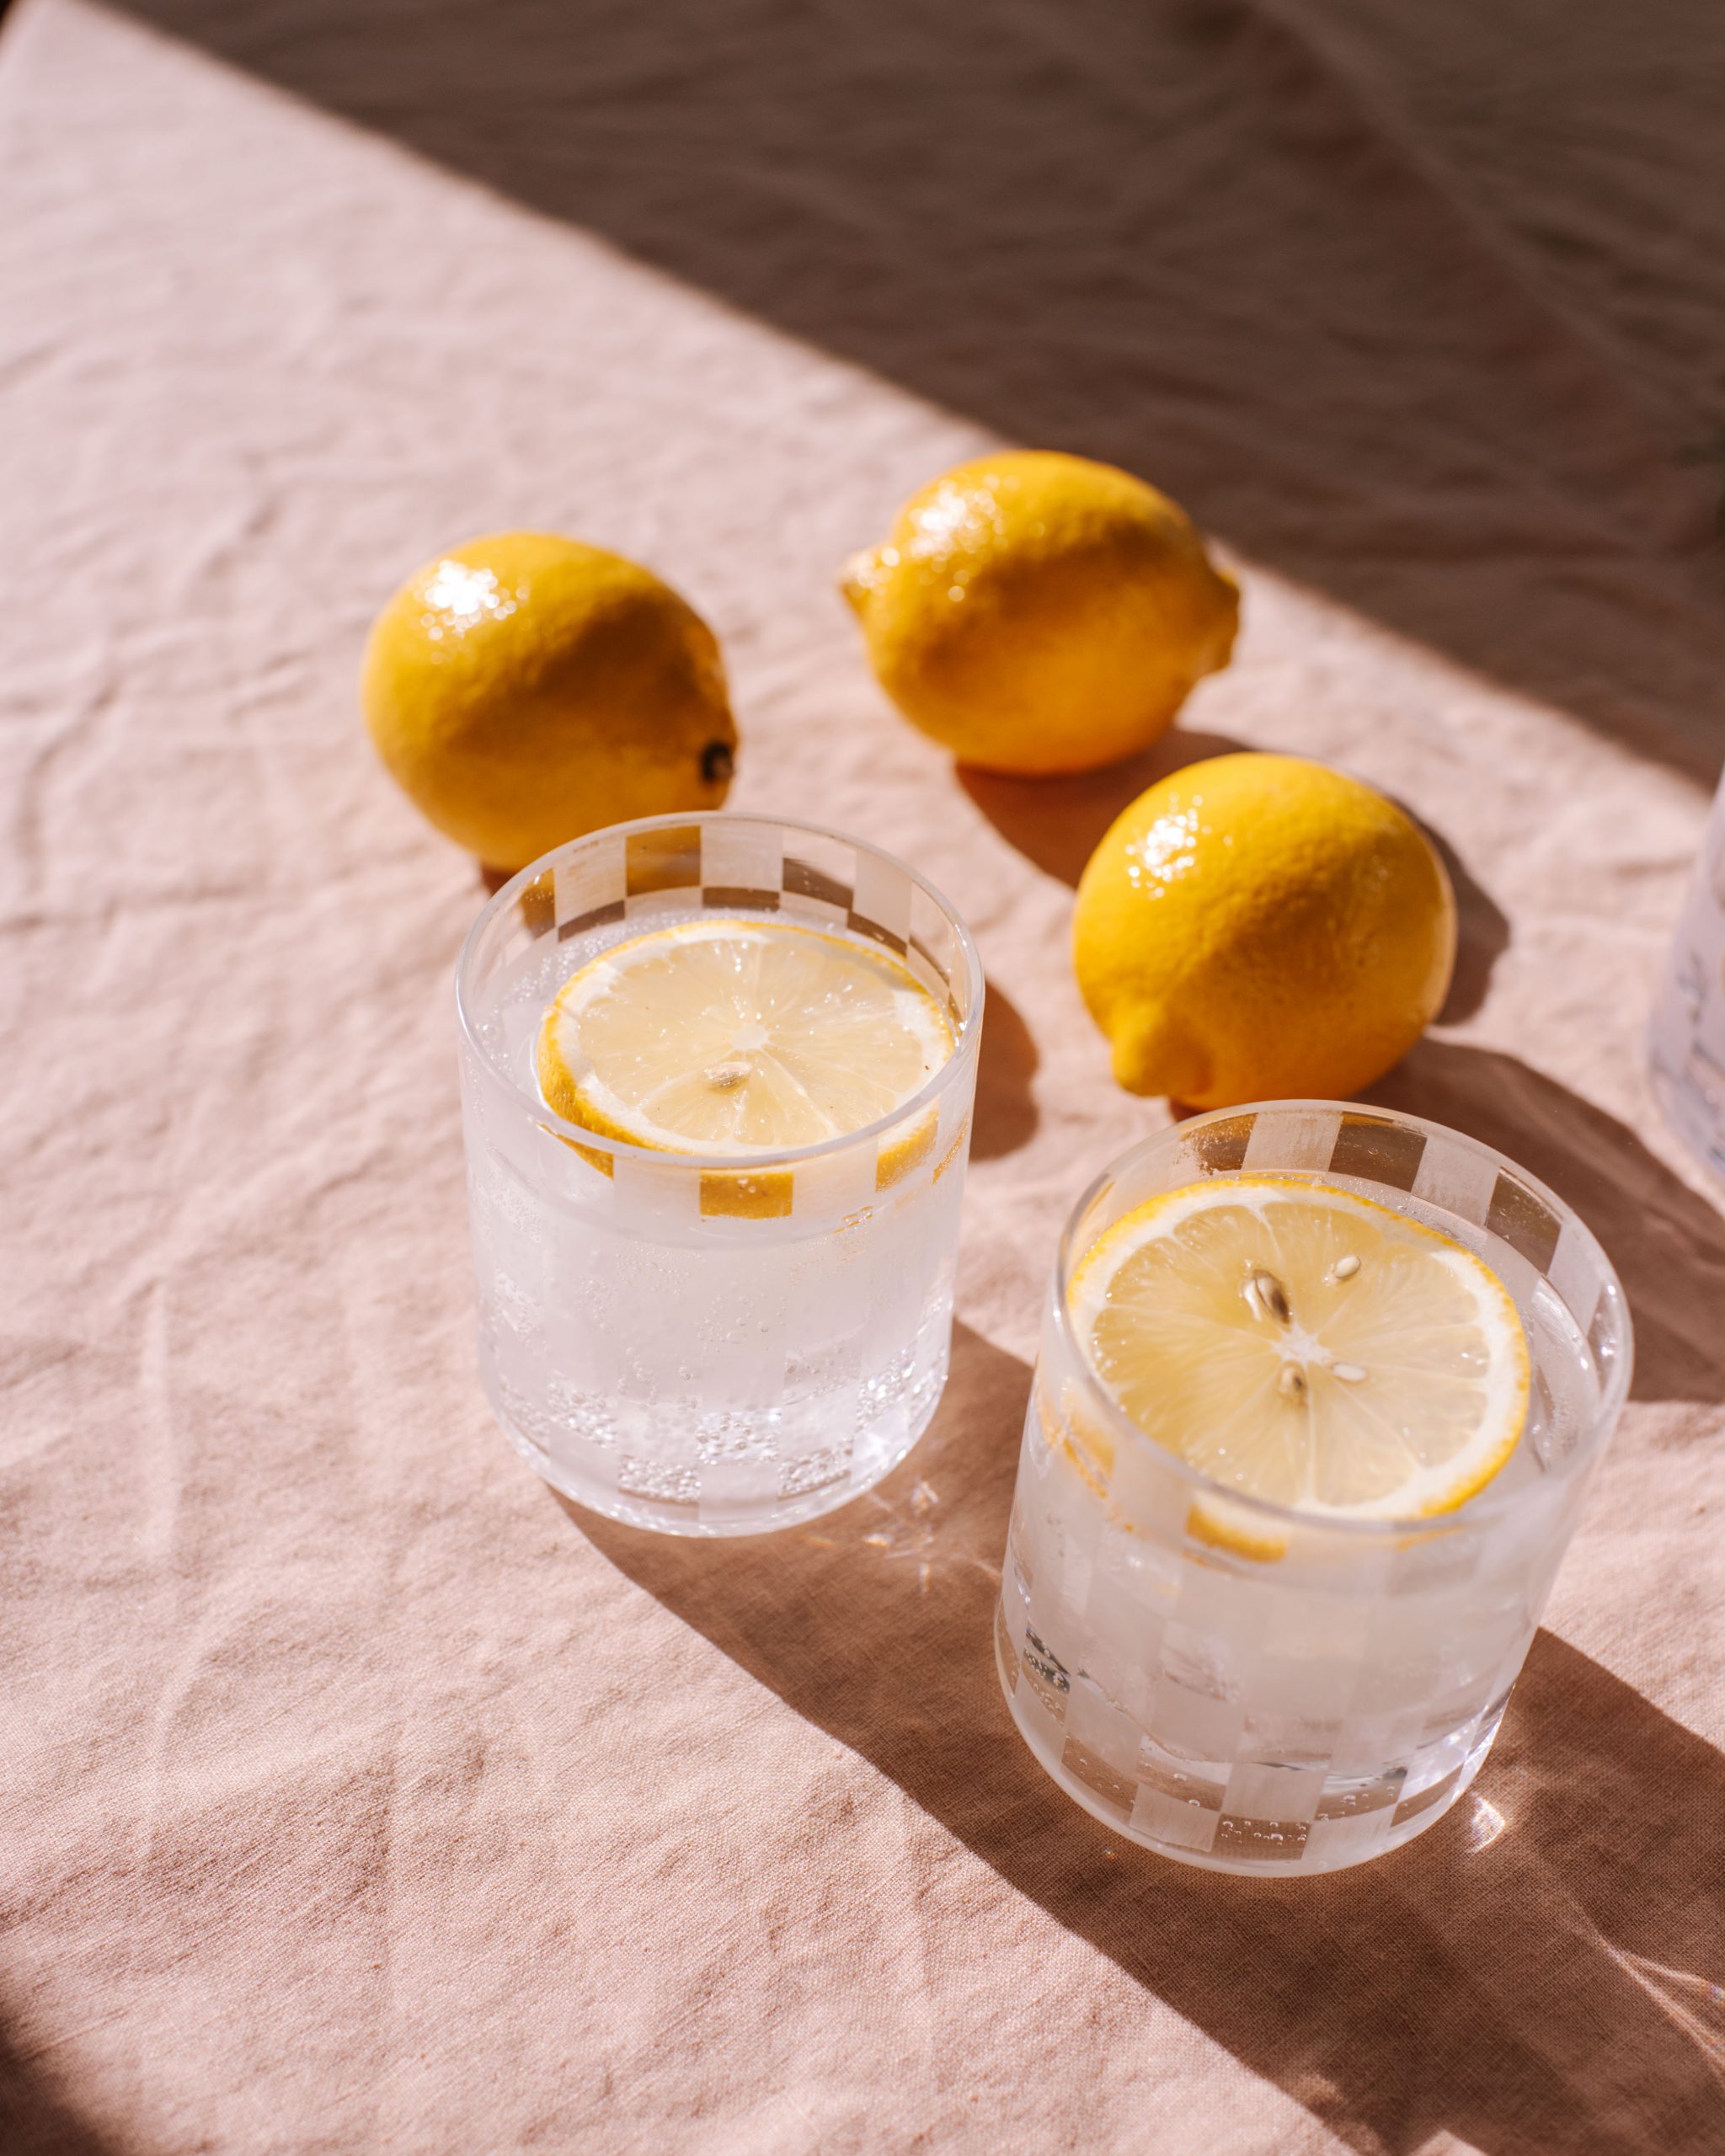
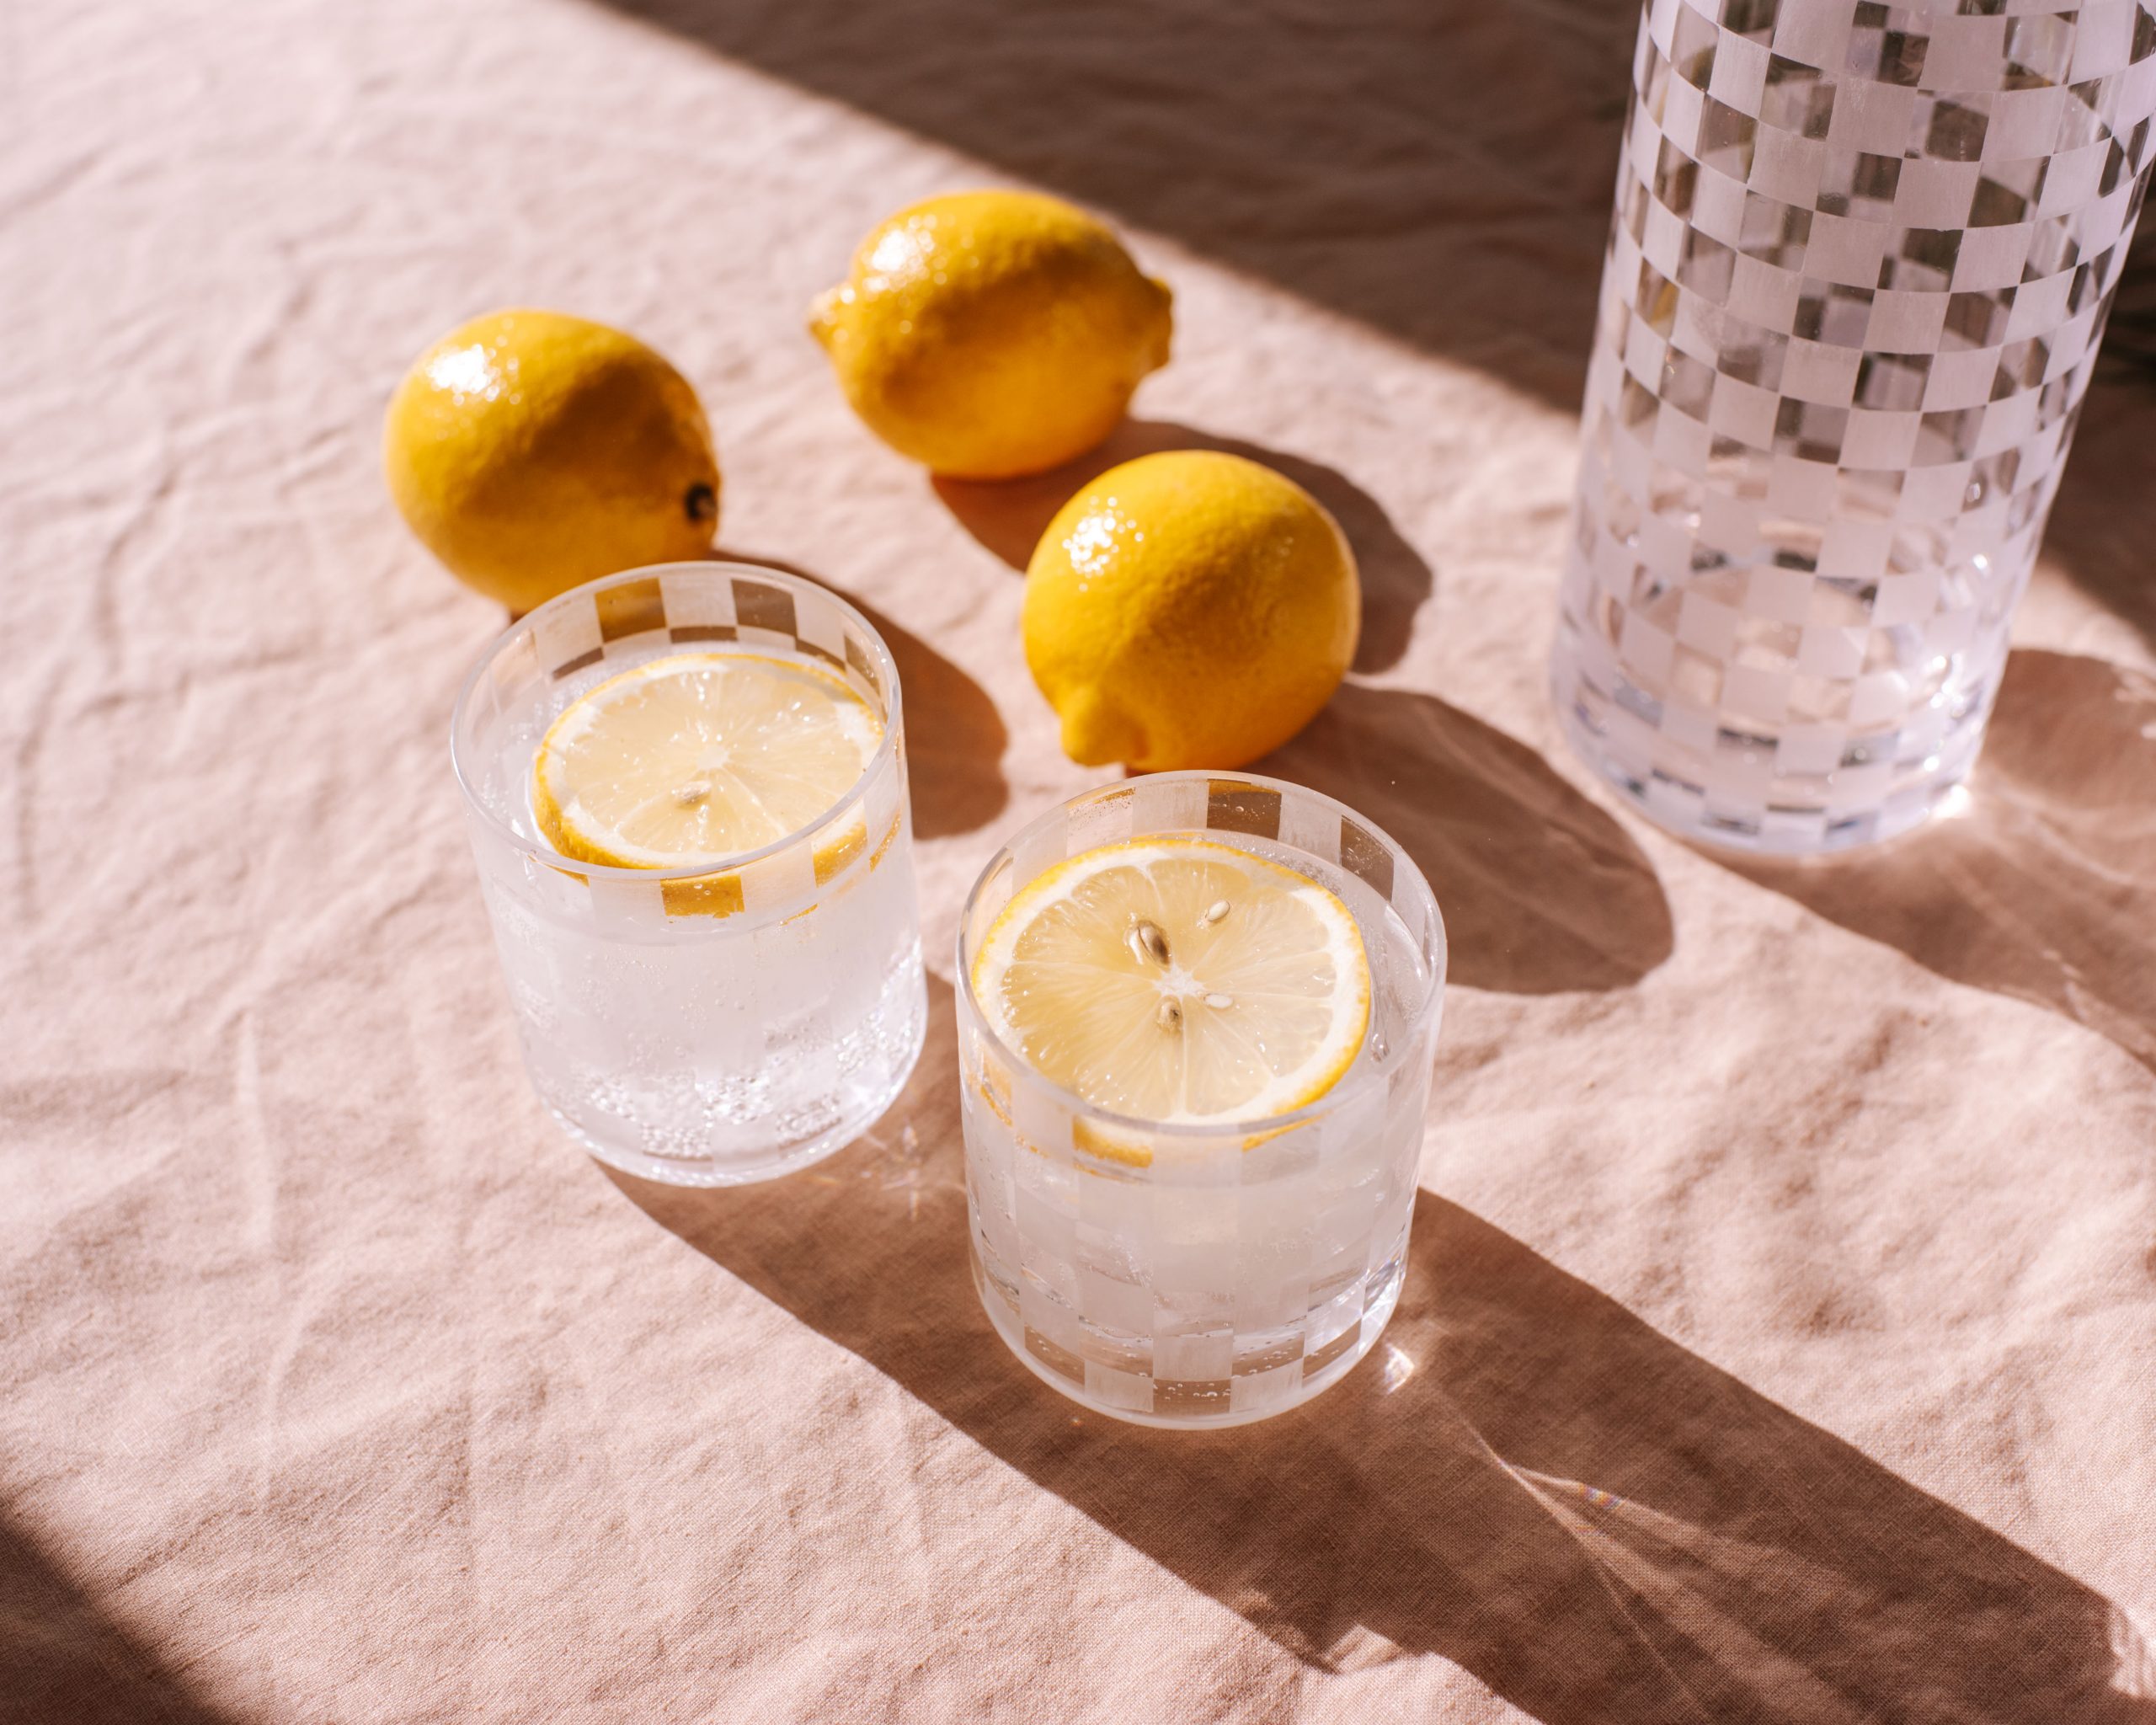
Etching cream is a fast acting compound that lets you create permanent etched designs on surfaces like windows, mirrors, or glassware! Cool right?
The chemicals in glass etching cream permanently “etch” the glass with micro-scratches to give it a frosted appearance which also happens to be dishwater and food safe!
I recently had my first experience using etching cream to create this checkered glassware set (I’m obsessed). After posting this blog I received so many questions about etching cream so I decided to do a deep dive to collect all you need to know about etching cream. This is the etching cream I bought.
Safety Precautions
Because etching creams are comprised of a diluted mixture of chemicals that lightly “eat” away at the surface of the glass. There are some safety precautions we need to talk about before diving in!
The mixture is comprised of the hazardous chemicals: Barium Sulfate, Sulfuric Acid, Sodium Bifluoride, and Ammonium Bifluoride. All these chemicals are harmful to bare skin and can irritate or even burn it if not washed off immediately. So you’ll need to wear latex gloves, glasses and a long sleeve shirt to ensure your skin is safe from any contact.
What Surfaces To Use It On?
Etching cream can be used on numerous surfaces such as glass, mirrors, porcelain, and glazed ceramics. The time for how long the etching cream needs to stay on the material in order to etch it may vary depending on the surface and cream you’re using. Keep in mind, it may take off any protective layers, such as the glaze on ceramics.
Note: You can etch on most types of glass, except some glass Pyrex bakeware that has been tempered for high heat.
Can you Colour etching cream?
If you wish to give your etching project a pop of colour, I would suggest using a a multi-media, translucent pigment dye such as Pinata Tints which can colour both porous and non-porous surfaces including glass. The Pinata Tints will give your piece a subtle soft watercolour effect to your etchings. Once these inks have dried they will be permanent and completely resistant to water. If you don’t like the look of the colour you can easily remove it with rubbing alcohol.
Things to keep in mind when adding colour:
- First frost, then add colour. Do not mix the dye with the etching cream, because the etching cream has to be rinsed off after the etching process is finished, the colours will not stick.
- These products are not recommended to come to contact with unwrapped foods. If you wish to colour a food container, do it outside of the glass where food doesn’t meet it.
- A topcoat is not needed nor recommended for Pinata Tints.
- Do not wash your tinted etchings in the dishwasher, with soap or with any kind of commercial glass cleaners.
10 Tips To Follow When Using Etching Cream
- Use isopropyl rubbing alcohol to clean the glass surface before beginning.
- Make sure there are no smudges or fingerprints on your glass before applying.
- Do not use common glass cleaners as they may have additives that leave a thin (almost invisible) layer that may cause uneven etching.
- Most etching instructions recommend using paint brushes, this is what I used and it seemed to work fine, however a lot of etching experts recommend using popsicle sticks to get a nice even thick layer.
- If you do use a paint brush, ensure you’re patting the product on rather than painting it on to avoid brush strokes.
- Because the glass doesn’t always etch evenly imperfections are much more obvious in large areas. So for best results keep the area you’re etching on the small side!
- While drying, use a popsicle stick to gently move around and tap the etching cream to avoid any air bubbles from leaving any spots or uneven etching.
- Once you are finished, you can scrape off the excess etching cream and put it back into the container.
- You can wash the etching cream off directly into a stainless steel sink without harming the sink. But if you have a porcelain sink, I would recommend placing a bucket in the sink to wash the cream off into.
- Make sure that both your glass and stencil are at room temperature before using it.
- Glass with a high leaded content can be hard to etch. The easiest way to identify if your glass has a high volume of lead is by tapping it gently with a knife. iI it makes a drawn-out chiming sound, it’s likely this glass has a high lead content. Regular glass tends to make a duller, briefer sound when tapped.


