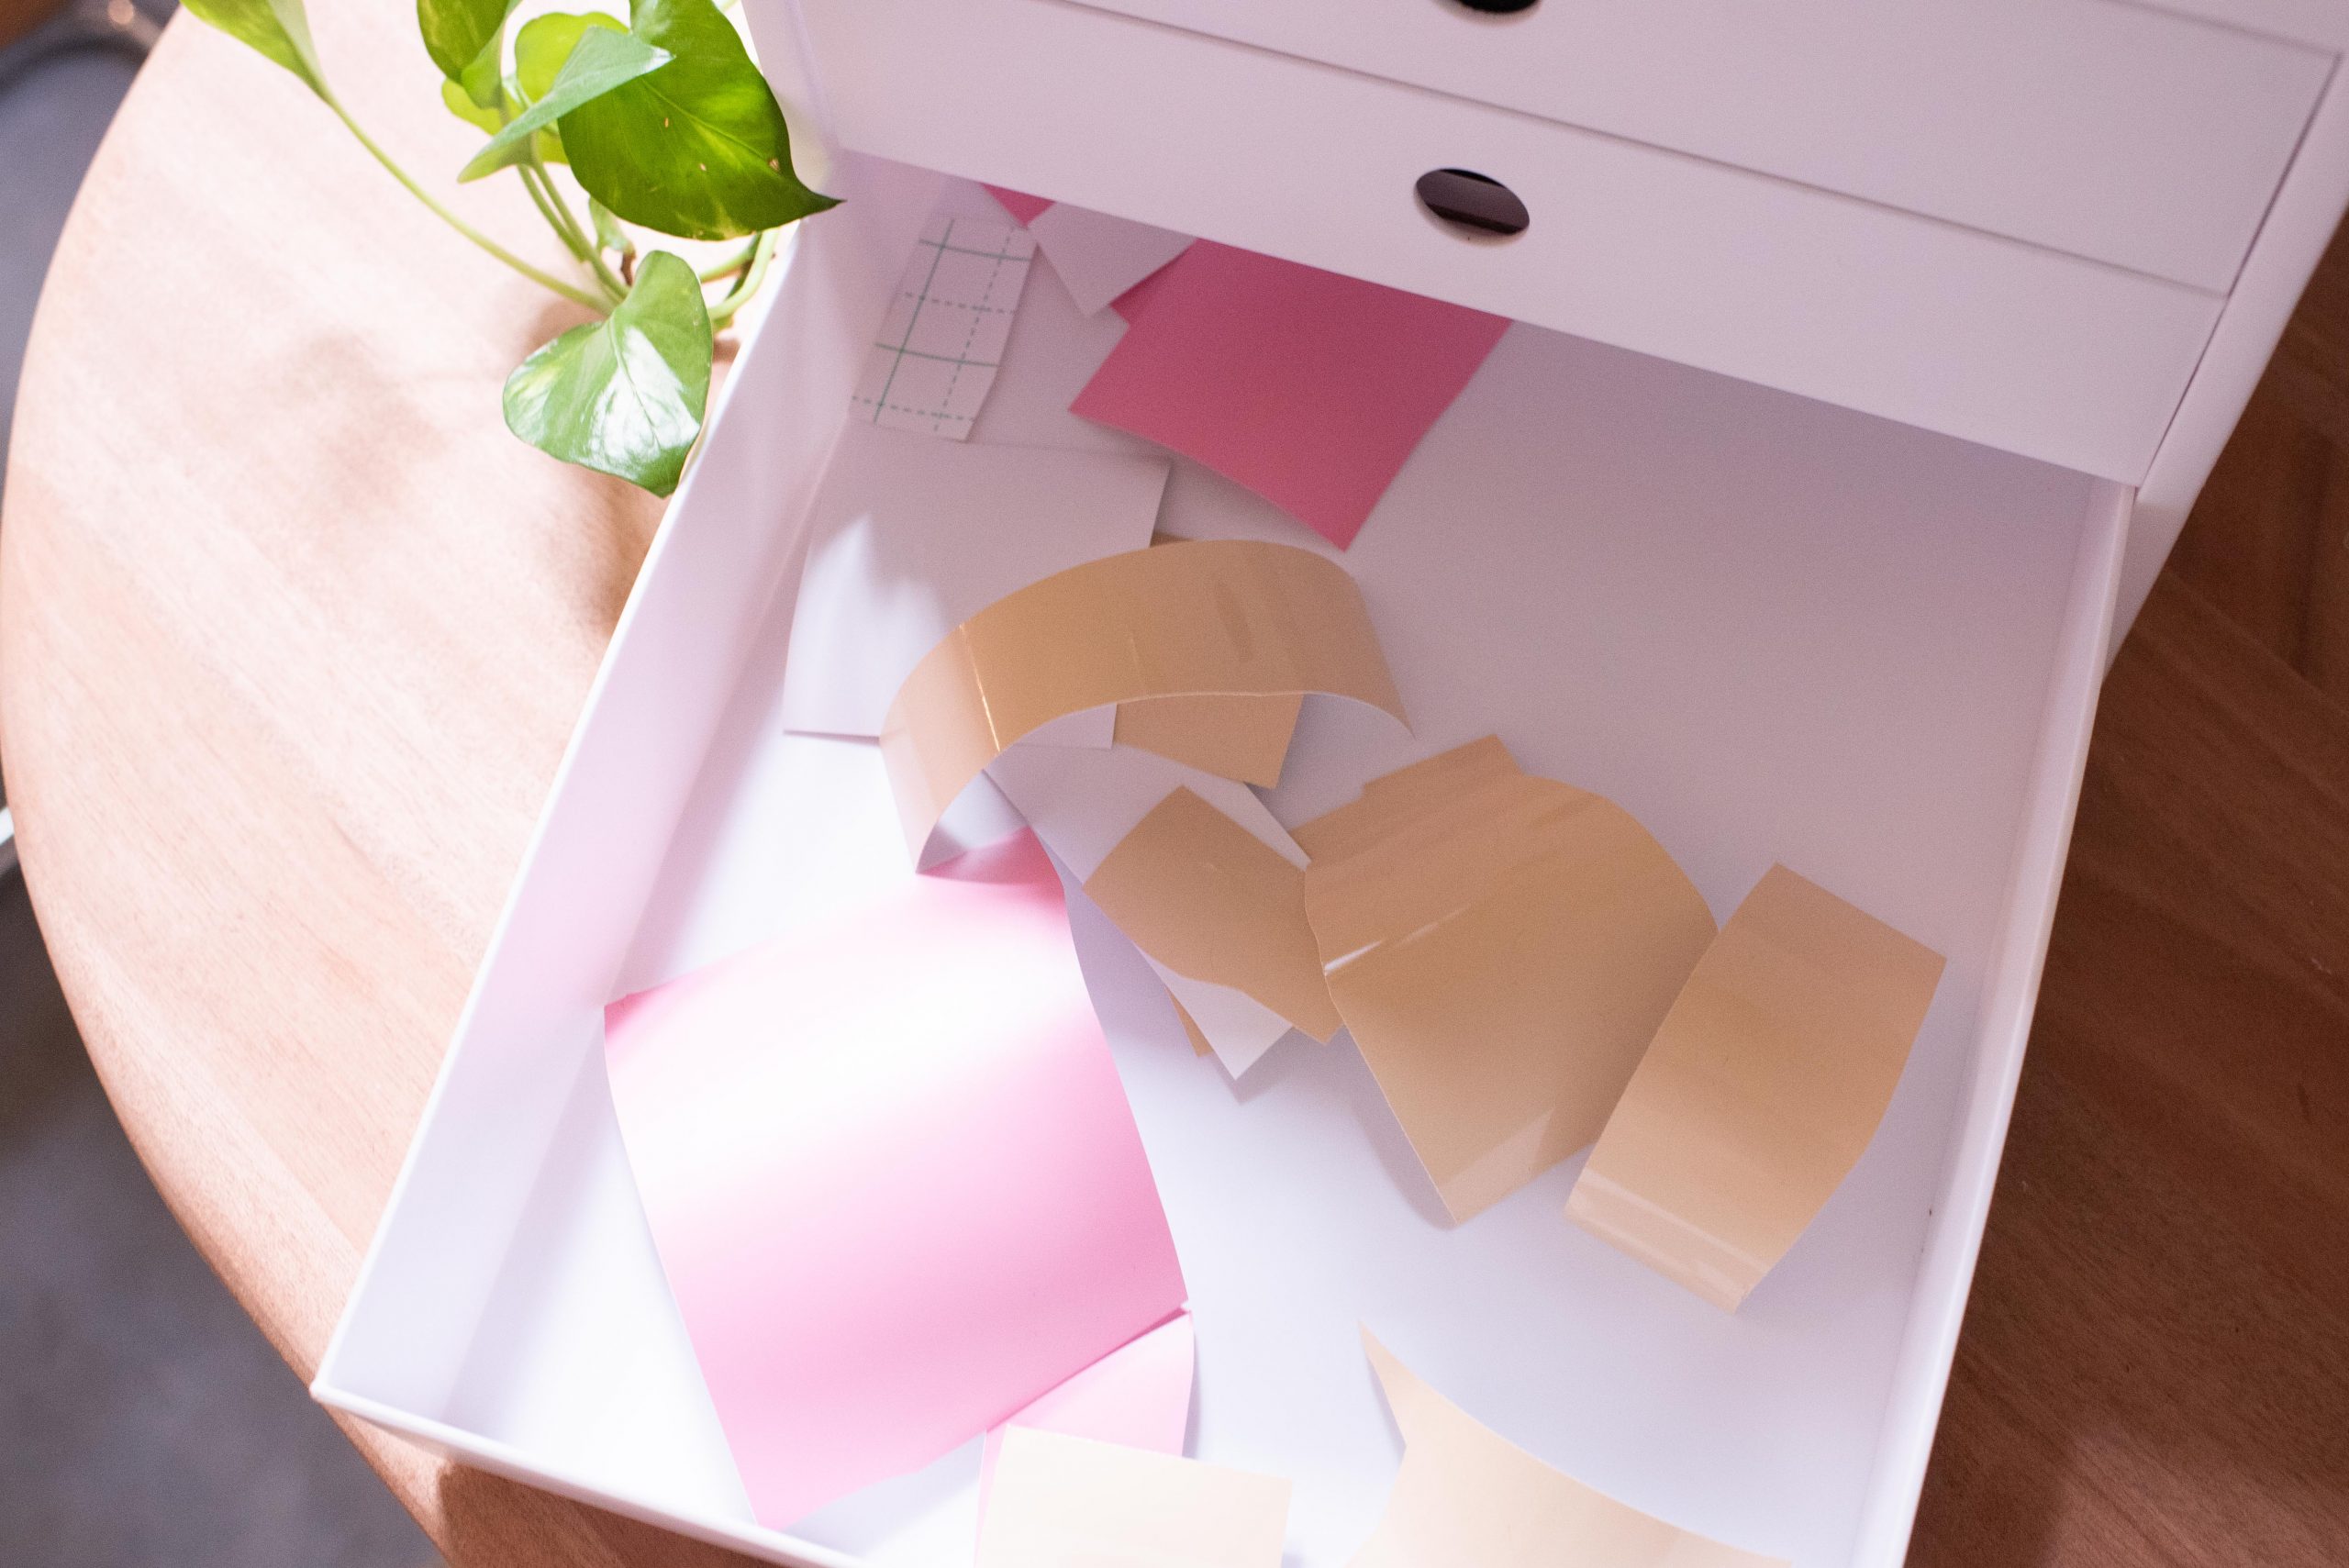
One thing I always do when I’m using my Cricut is hold onto any vinyl or material scraps that seem large enough to reuse, and it’s something I’ve been doing ever since I started using my machine. I’ve always pondered as to whether there’s a more simple way to reuse them, and recently I discovered the Snapmat function!
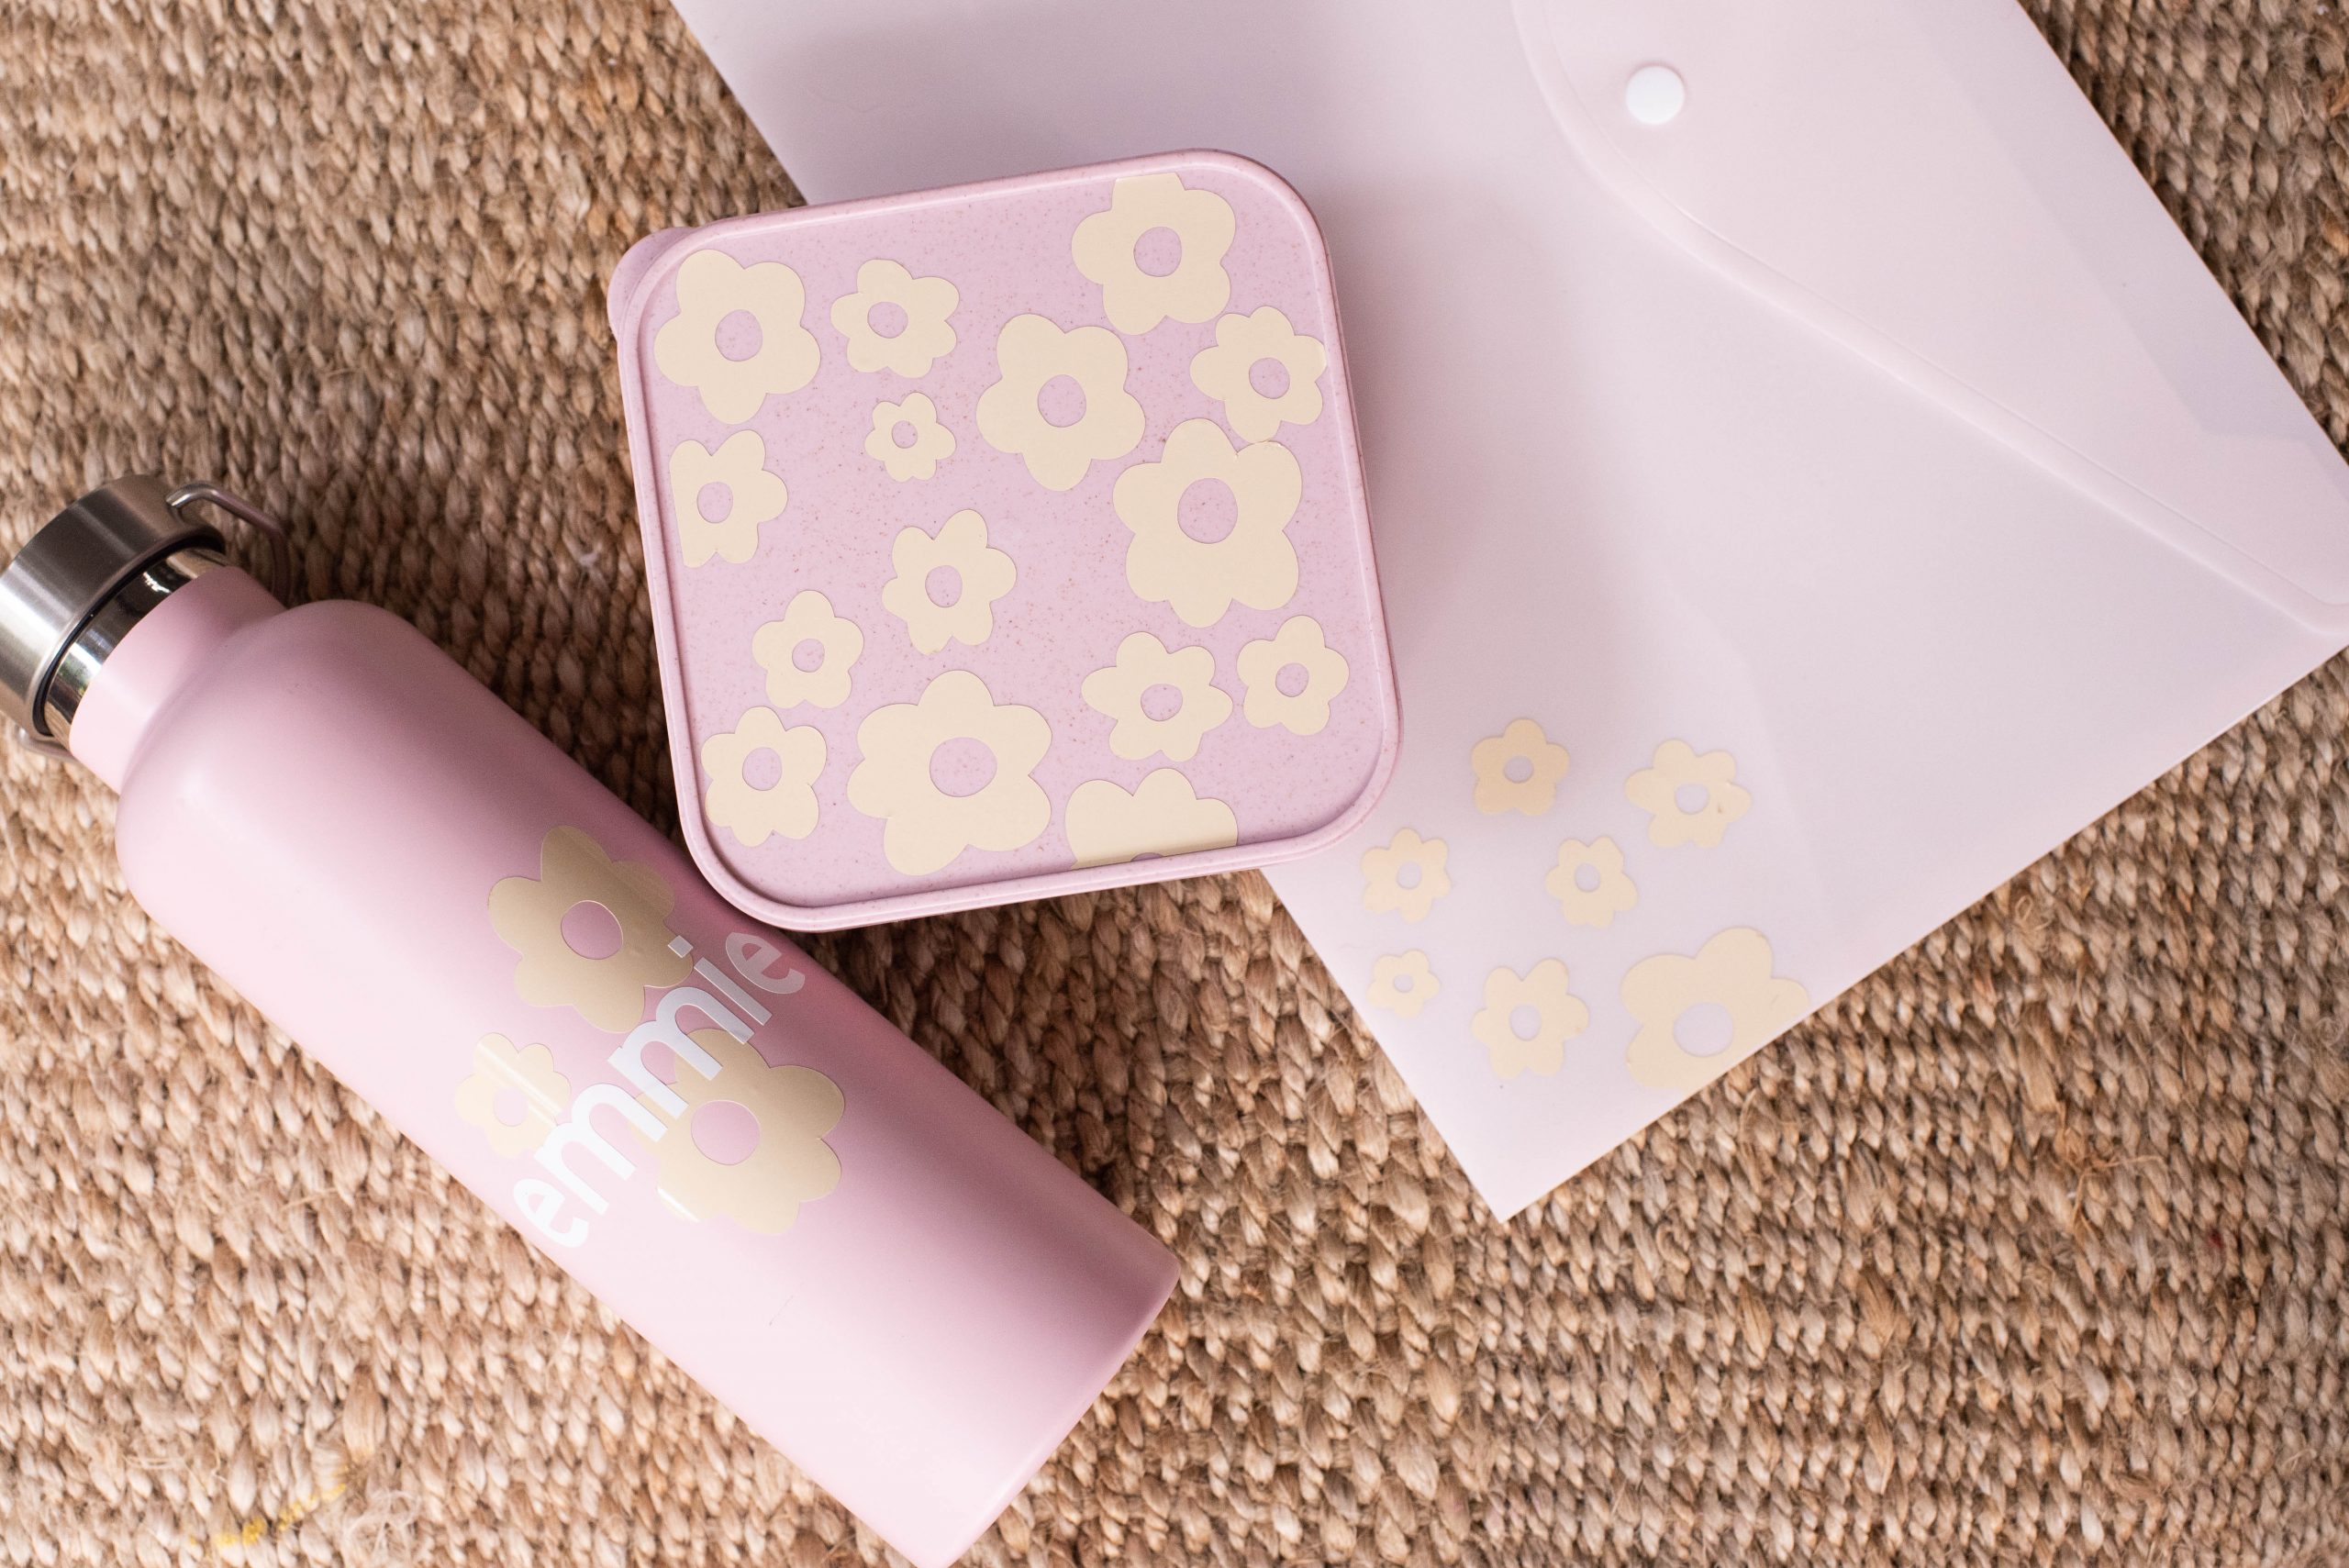
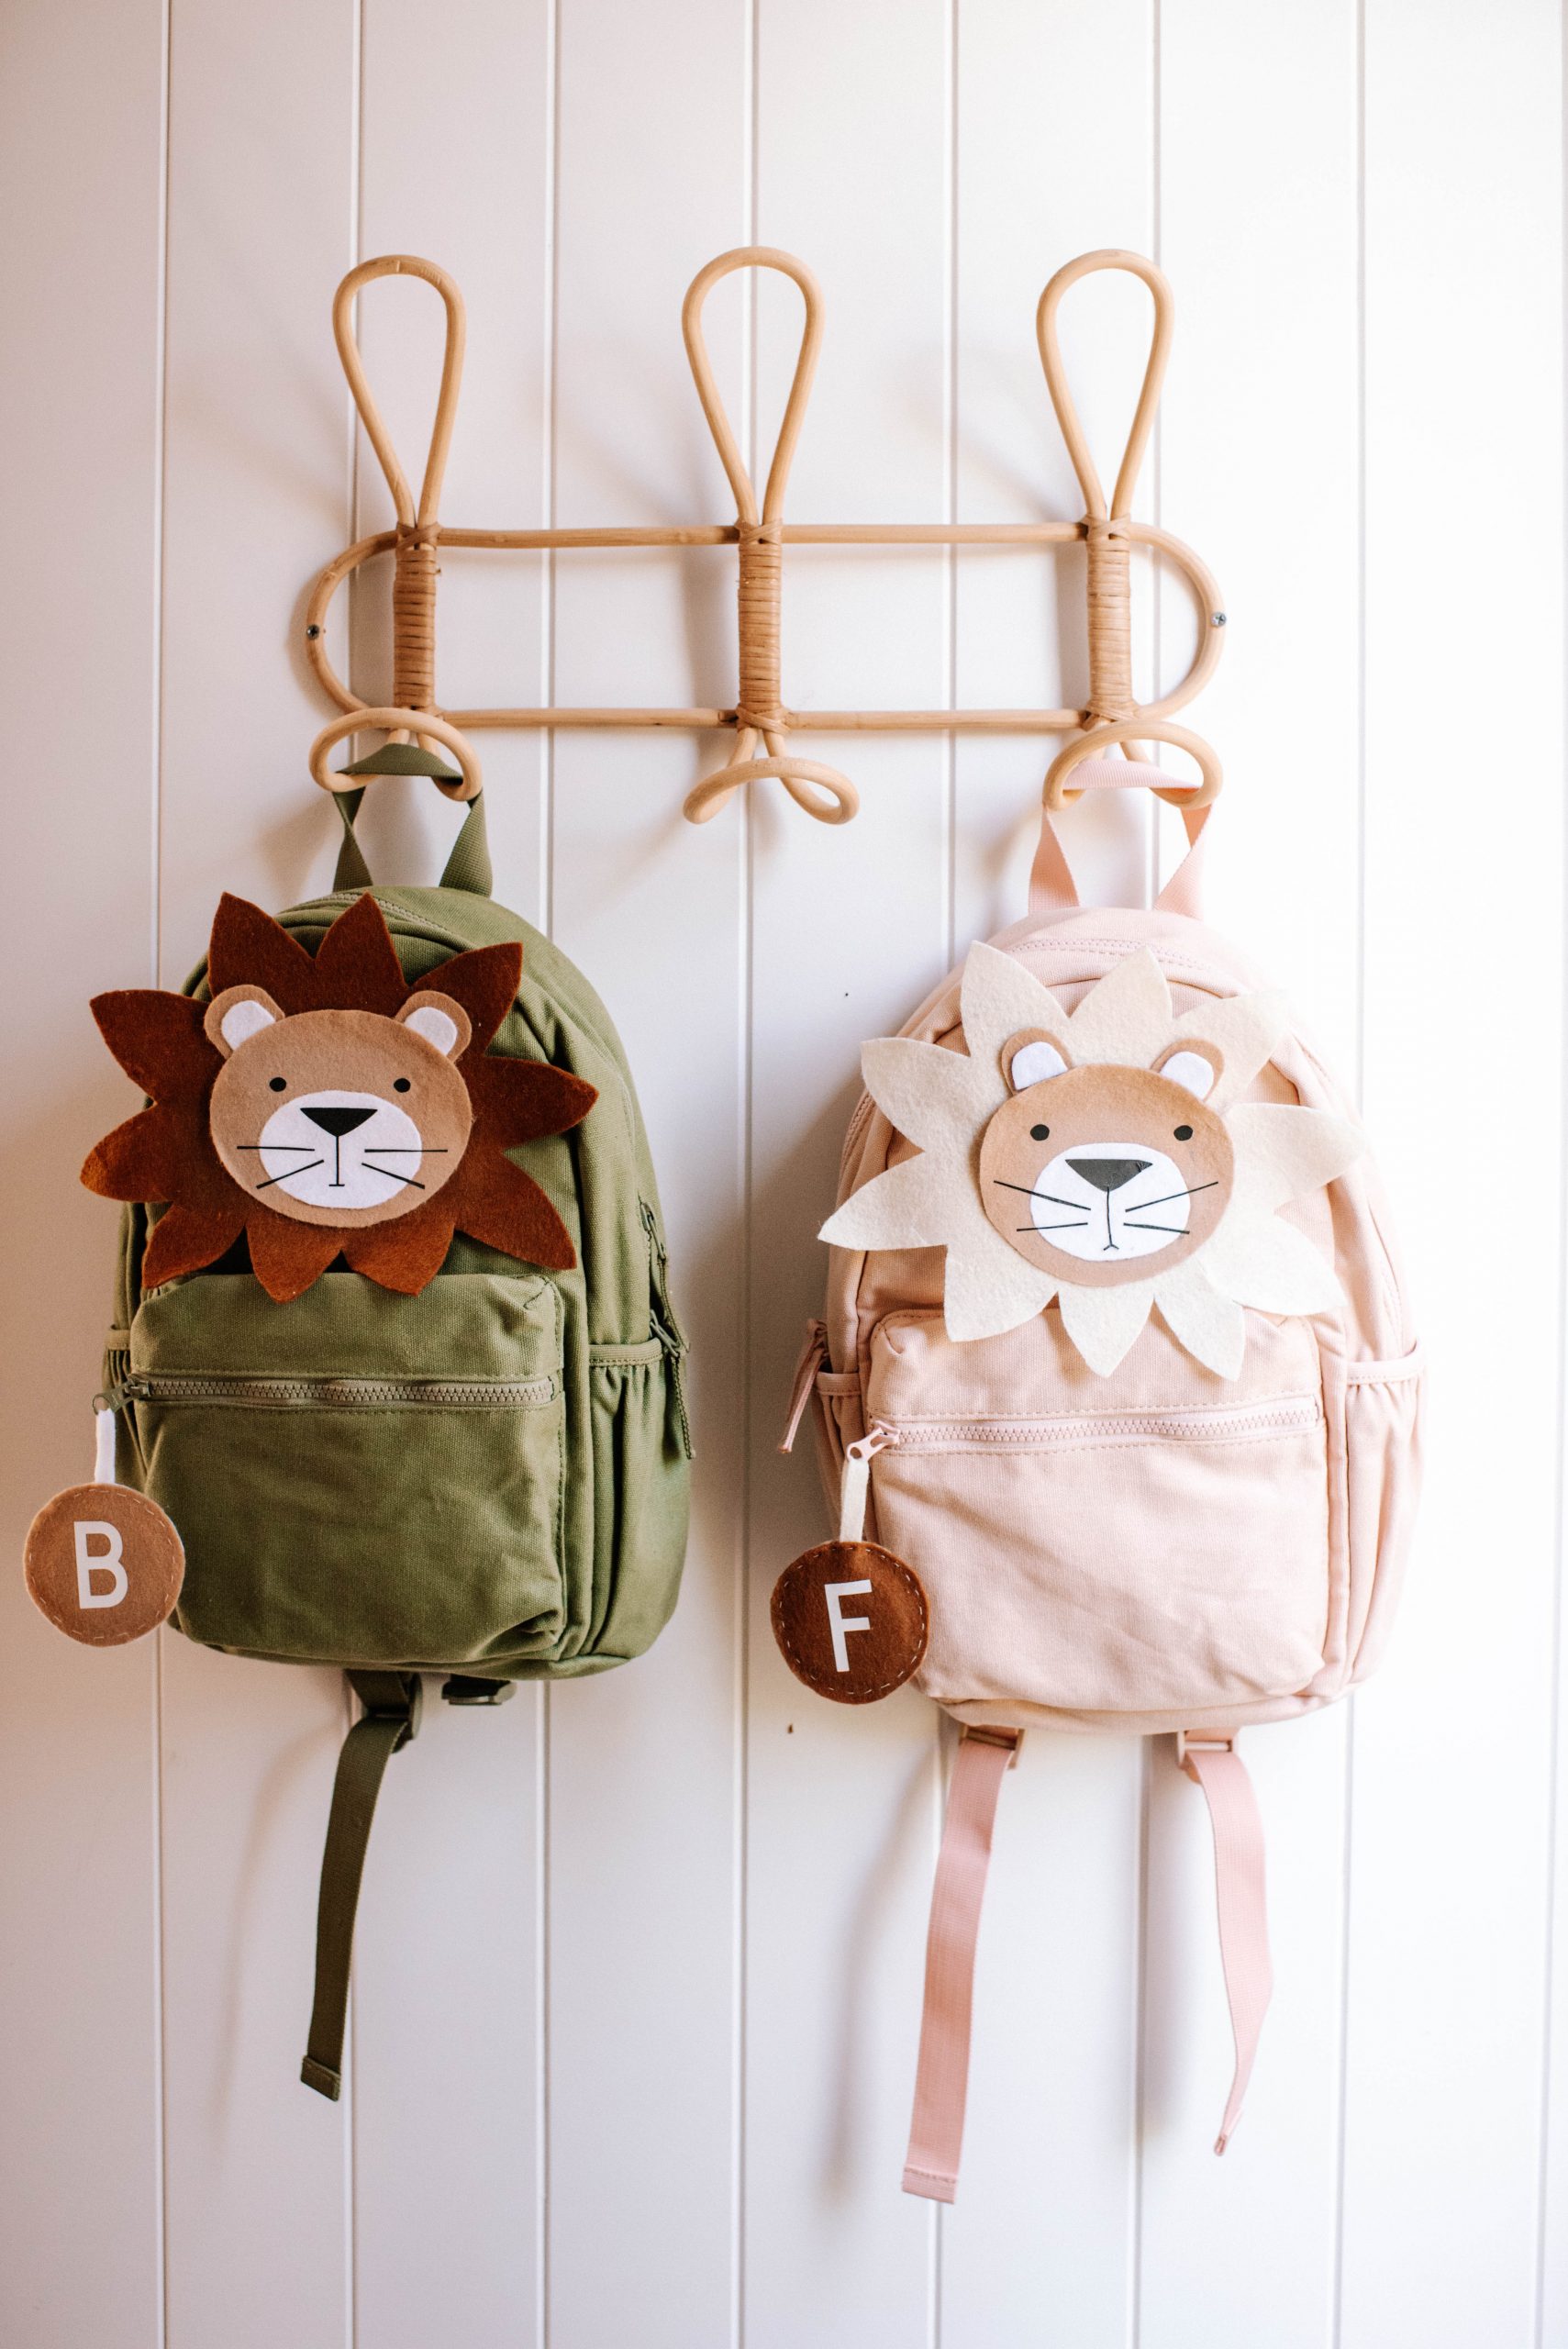
Today I’ll be showing you how to use this great feature, making a few little things to go into my niece’s backpack. I remember when I was growing up I loved cute matching things to go in my school bag, so with my niece’s first year at school just starting, I decided to give her something a little special to take to school with her! For a project like this, of course I turned to Cricut. This is such an easy project that’s perfect for all machine types, but I wanted to use the SnapMat feature to use up my scraps of vinyl for this project (how good!) which is compatible with my Maker 3 (and also Explore) machine so I used that.
What is SnapMat?
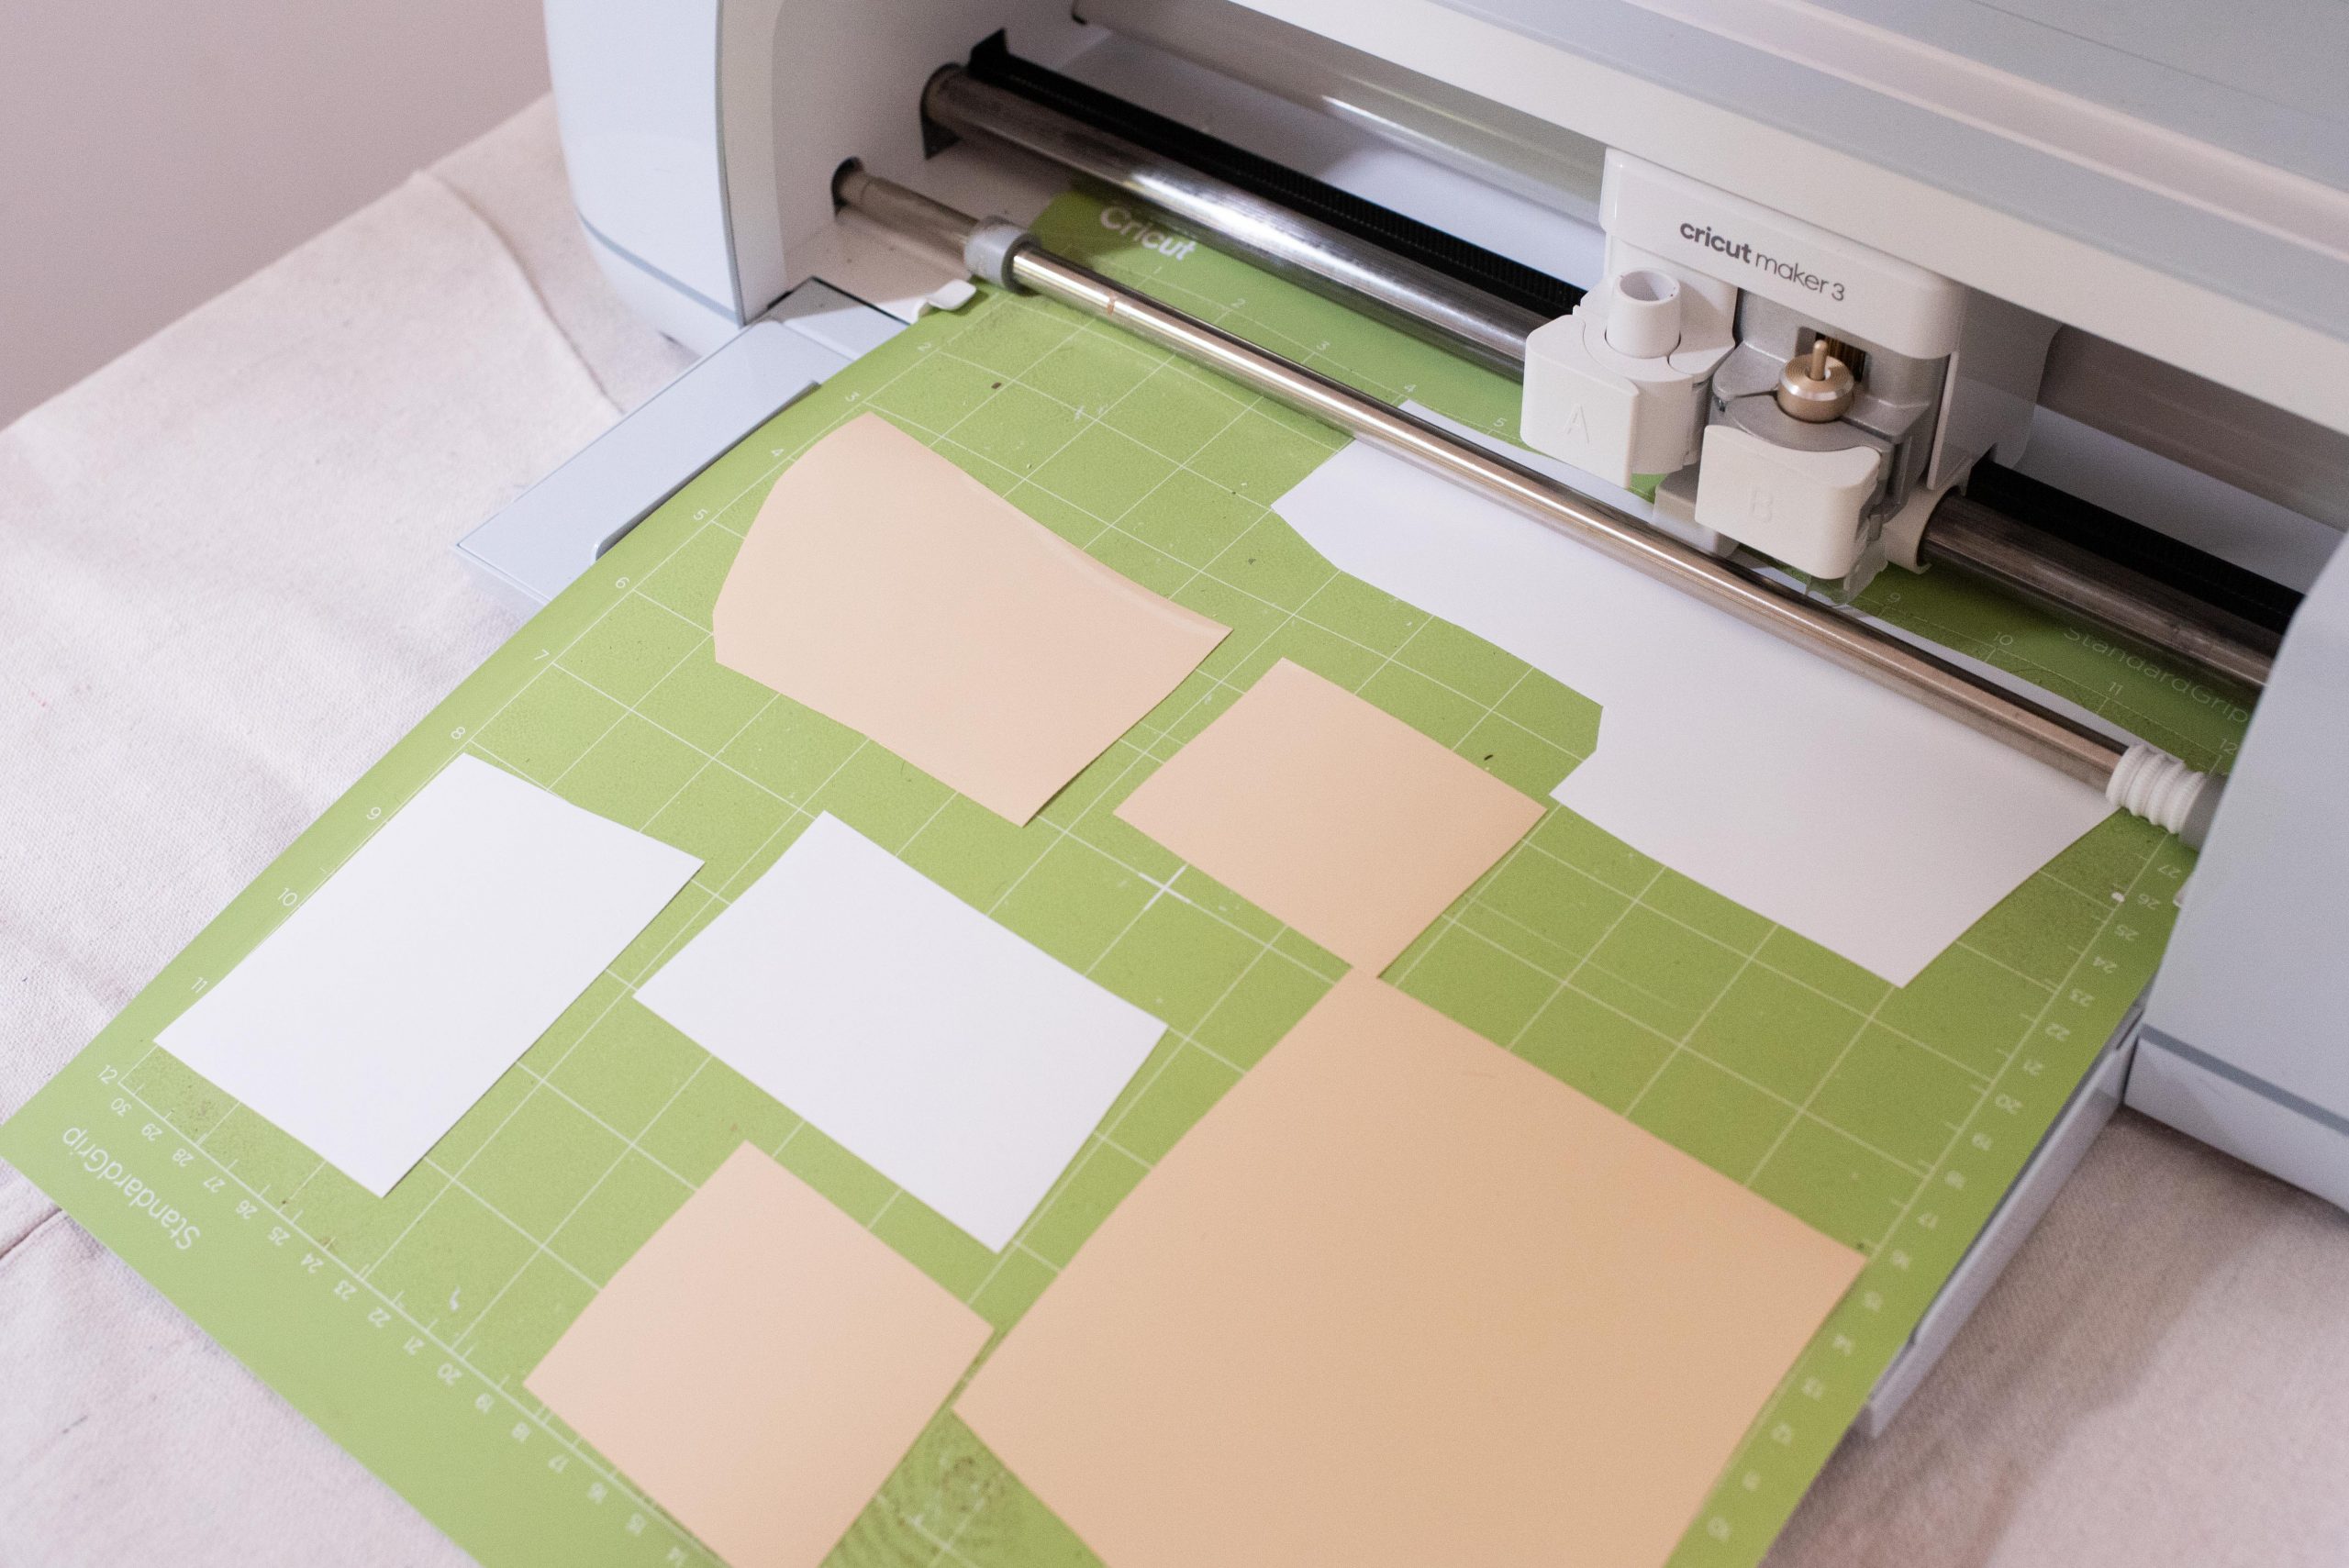
If you haven’t heard of SnapMat, it’s a Cricut feature that allows you to take a photo of your material on a cutting mat. Then, in the Cricut Design Space app, that image will appear as a preview, which you can then use to reposition your designs over your material so they cut or write exactly where you want them to! This is a great way to eliminate waste and use up vinyl scraps which you might otherwise throw away!
What You’ll Need
- Cricut Maker 3 Machine (the Snapmat feature works for Maker and Explore machines).
- Cricut Weeding Tools
- Scrap materials or vinyl
- Cricut Transfer Tape
- Items you want to personalise
How To Create Or Choose A Design
This is the part where you can tailor whatever you create to your personal aesthetic, or in my case my niece’s aesthetic! Using Cricut’s Design Space app, which you can use on your smartphone, tablet, laptop or desktop, you can either import your own design or choose from the literal thousands of projects or images that are on there to use.
Personally, what I like to do is browse and save projects I like that are on the app, and then use the customize function to tweak them to look exactly how I like. Your final project will be determined by the material you choose to load into the machine, so you’re just really looking for shapes and styles you want to pair with the materials you have. For example, for this project, I wanted to go with something fun and young as it is for my 5 year old niece!
How To Use The Snapmat Feature to Use Material Scraps
- Start by selecting and setting up your design in the Design Space app. After selecting Make It, click the little button in the bottom corner of your Prepare Screen labeled SnapMat. If you haven’t already, your iOS device will ask you to allow Cricut Design Space to access the camera.
- Then, follow the prompts on your phone to take a photo of your cutting mat from directly overhead. Once the mat is centered, it will automatically take a photo and upload it to the Design Space app!
- From here you can tap and drag your designs to whichever piece of scrap material you want to use. Do this with all your designs. Keep in mind, you must tap to select each design before you can place it on a scrap piece.
- Load your cutting mat into the machine, and press go on your app. Wait while your machine cuts out the design. Unload your material from the Cricut and you will be able to see the Cricut has cut out the design.
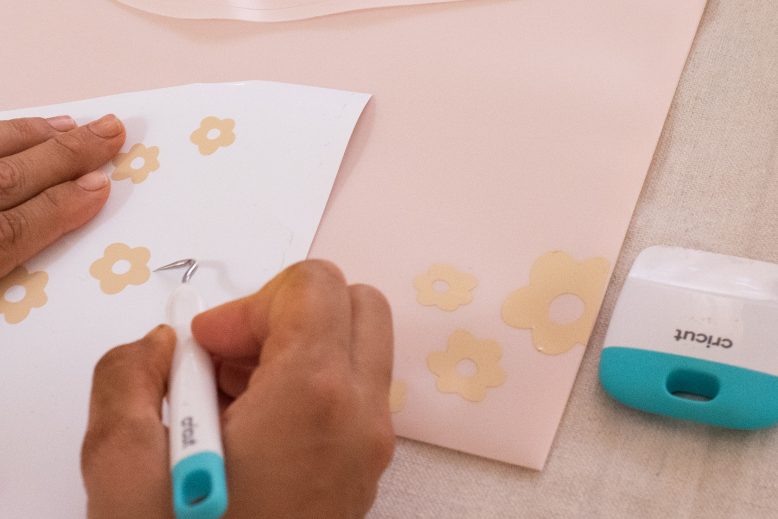
- Using your weeding tool, weed your design to remove all the negative space.
- Using your Transfer Tape, carefully cover your design and use the scraping tool to make sure it is perfectly bonded with no air bubbles. Remove the white backing from your Transfer Tape. This can be a little tricky depending on how intricate your design is, so take it slowly.
- Press the design and Transfer Tape onto the item you’re working on. Use the lines on your Transfer Tape to make sure the vinyl is in line. Use your scraper for a seamless bond on the surface. If any small bubbles get caught under the vinyl, I found you can carefully move them to the edges.
- Carefully remove the transfer tape from your design.
- Repeat this process on the rest of your items and remember you can use the transfer tape more than once.
Voila!
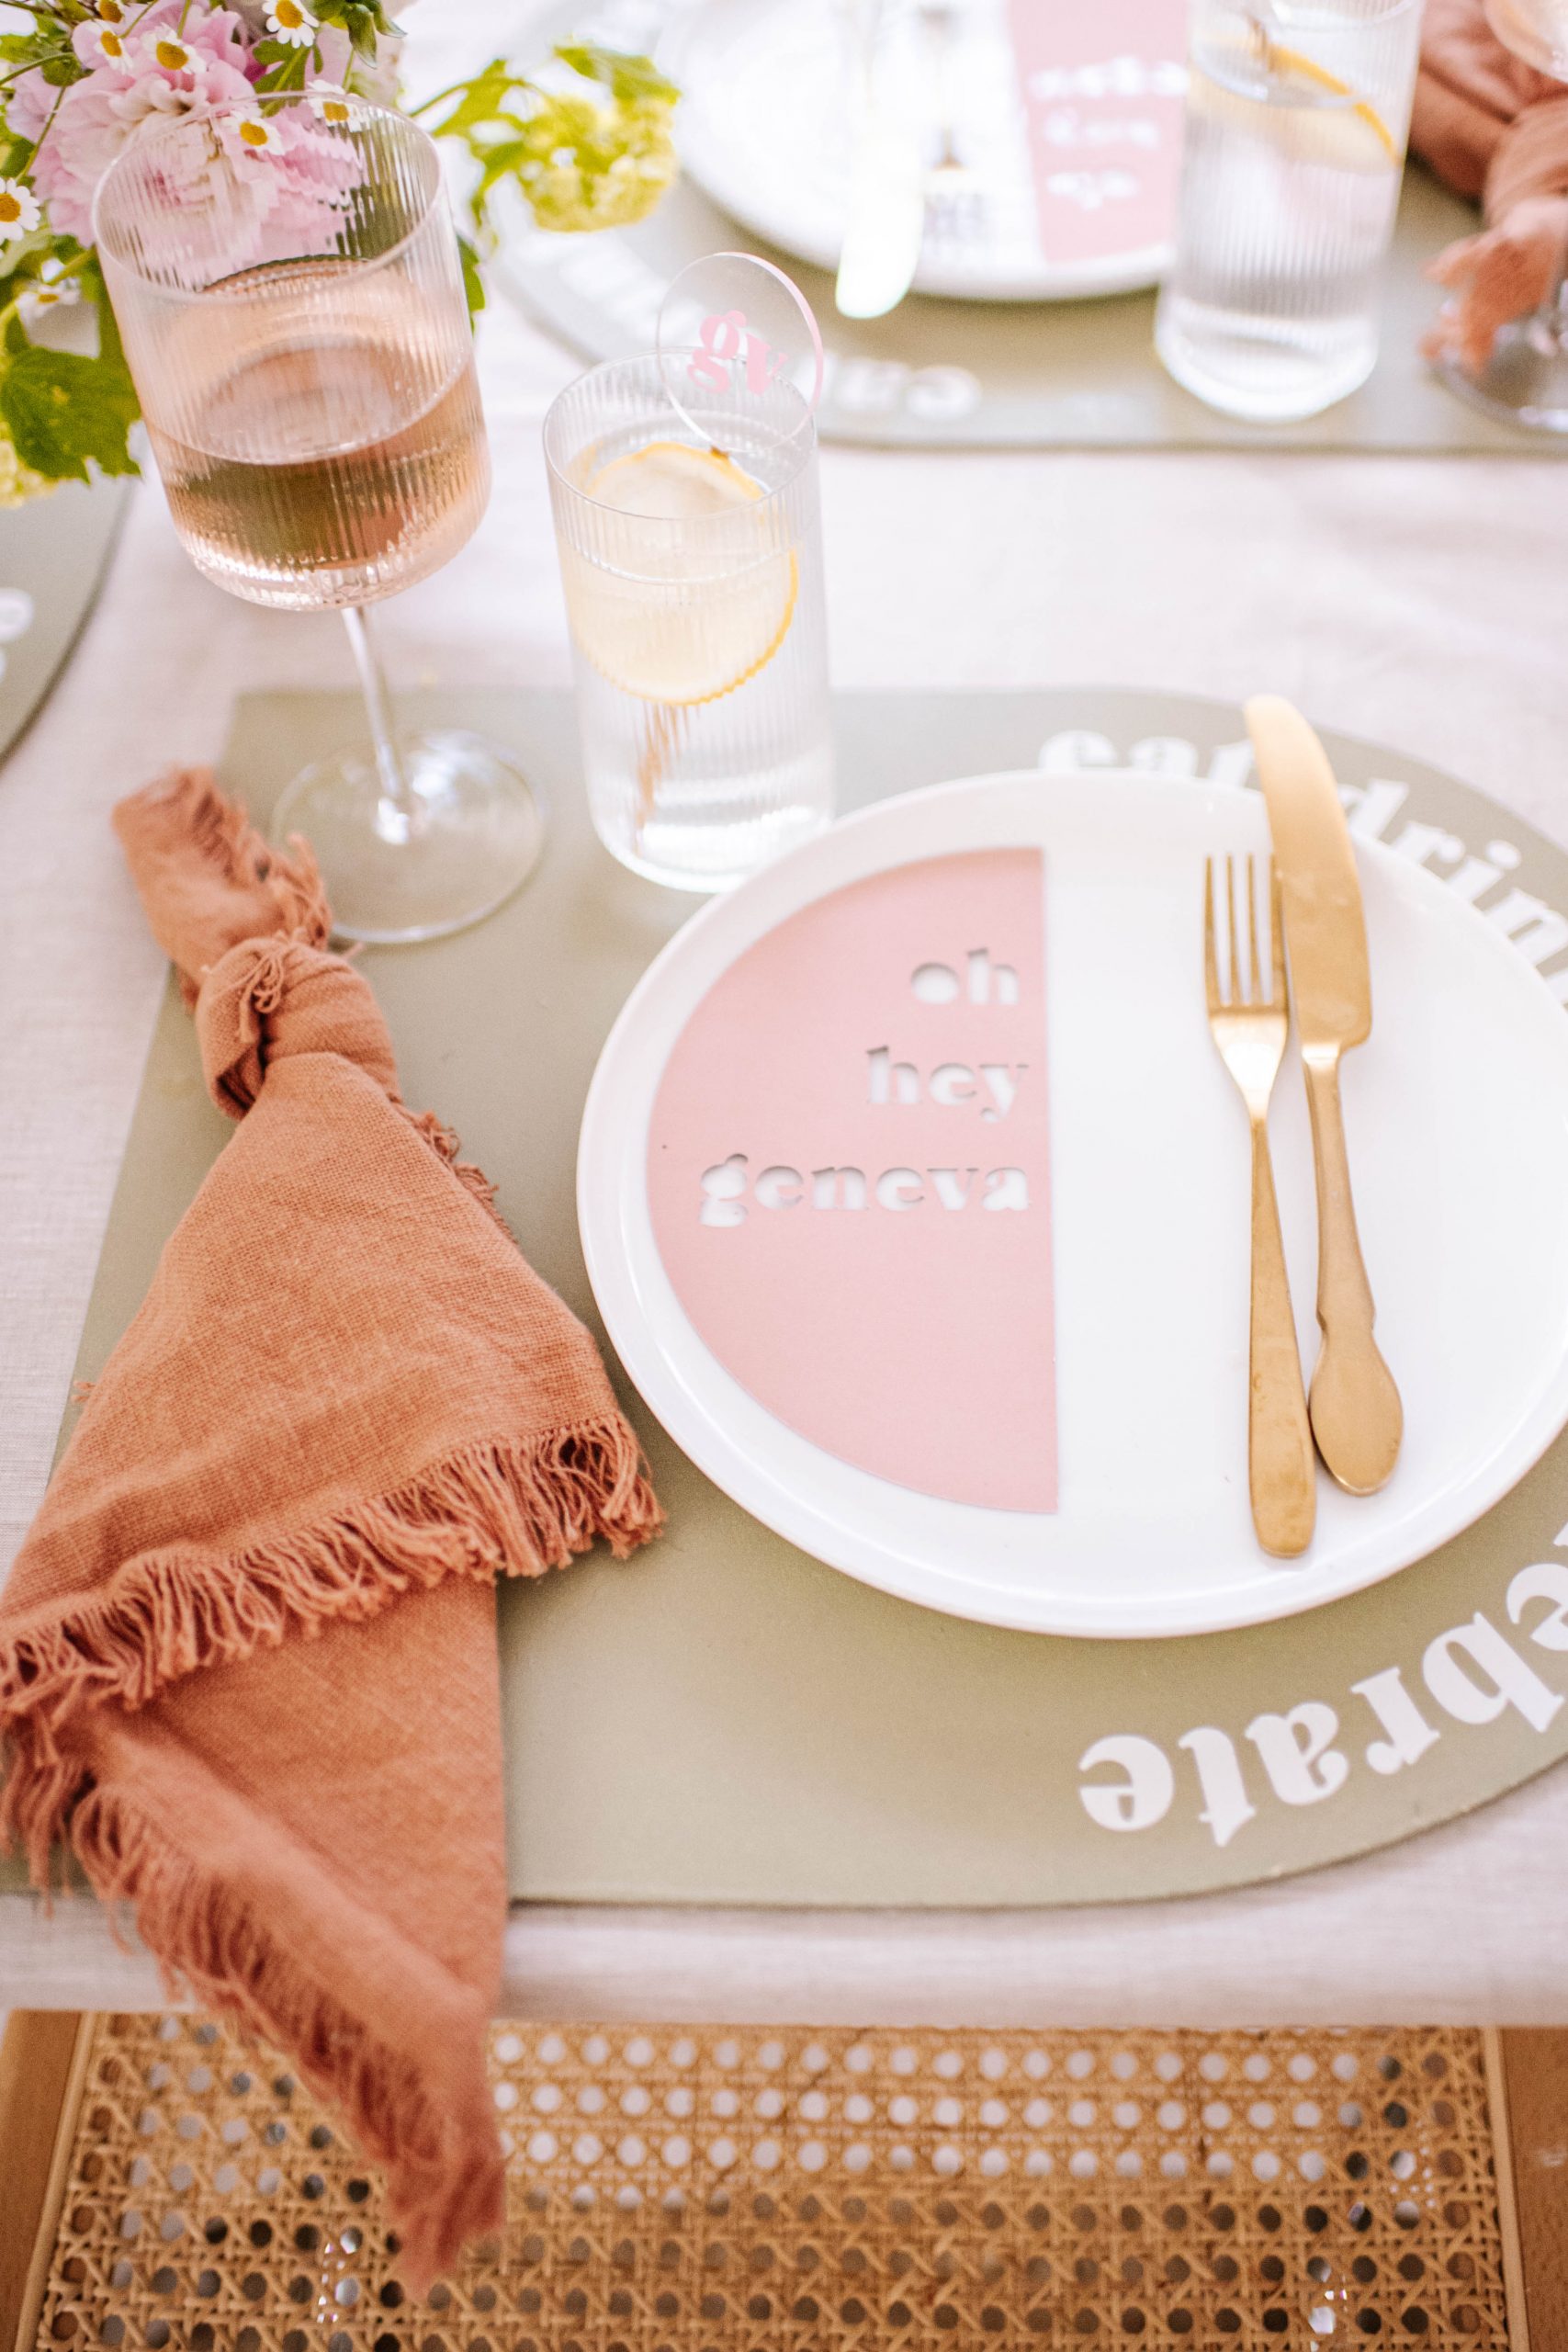
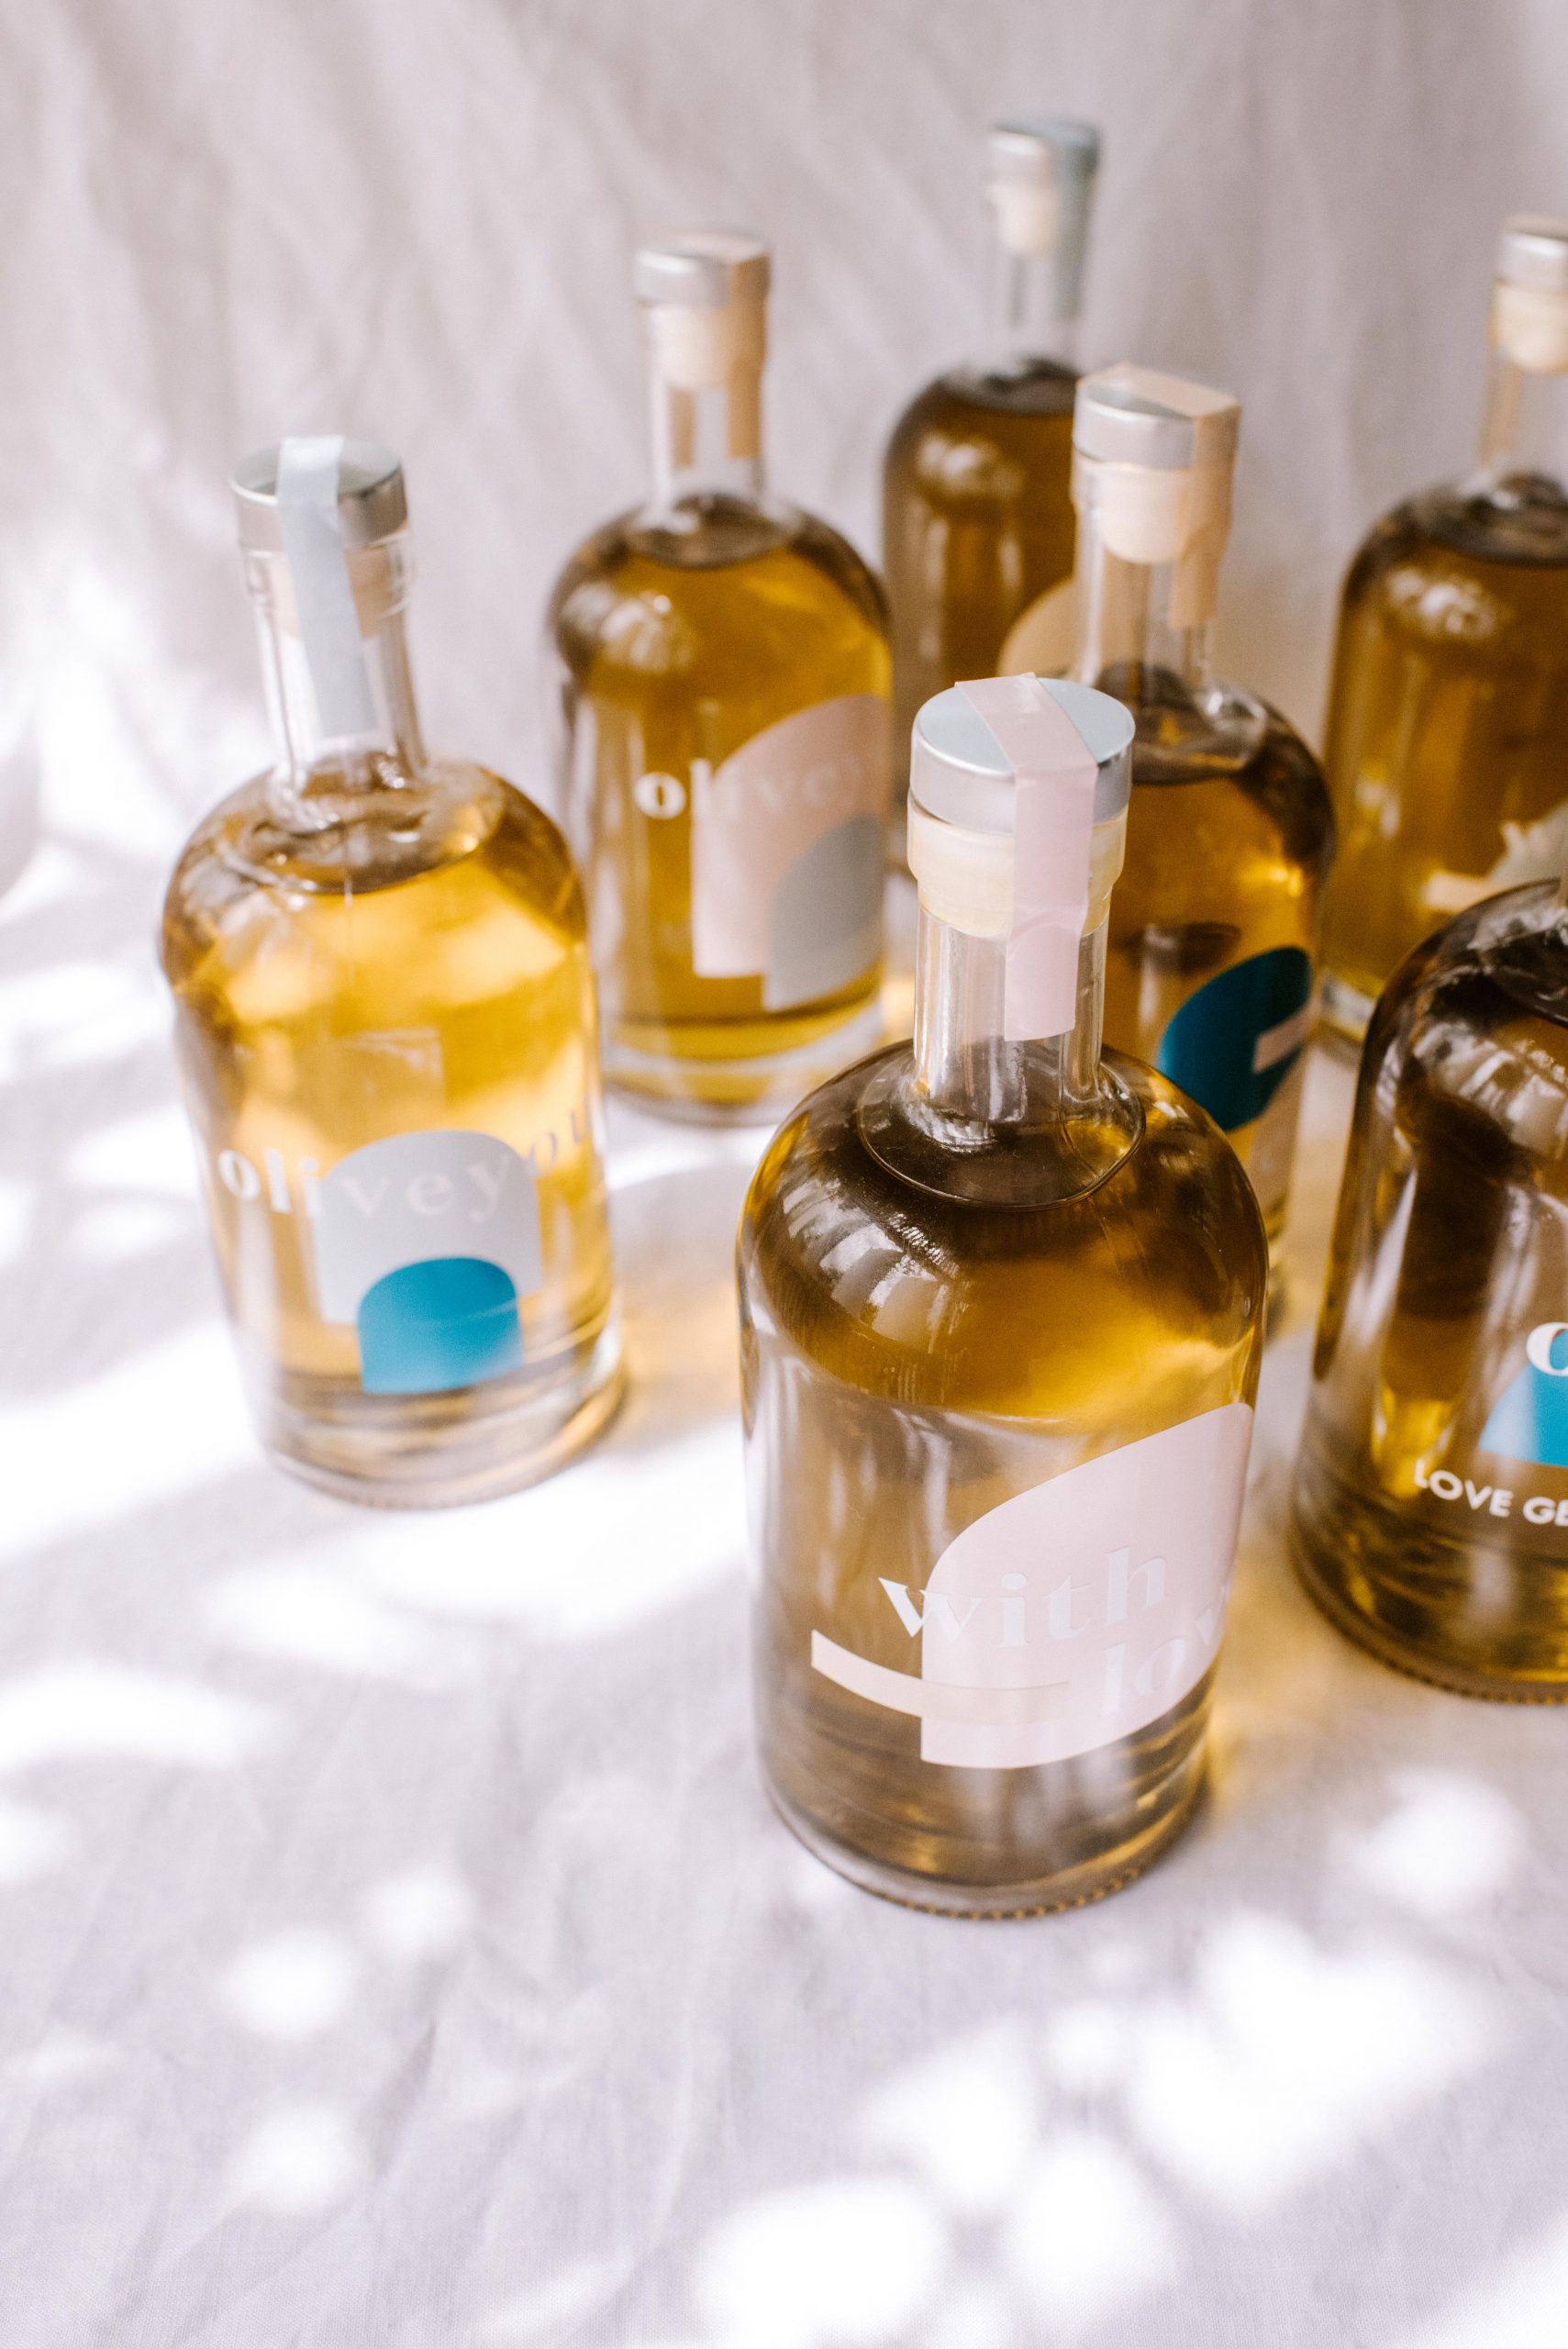
Here are some other project ideas to make using the snap mat feature!
My niece is loving her new school set and I really hope it’s making her first year of school feel a little more special!
This project is in collaboration with Cricut.


