There’s nothing better than a cute and simple project you can do in an afternoon, and even better when it’s affordable and uses things you’ve got around the house.
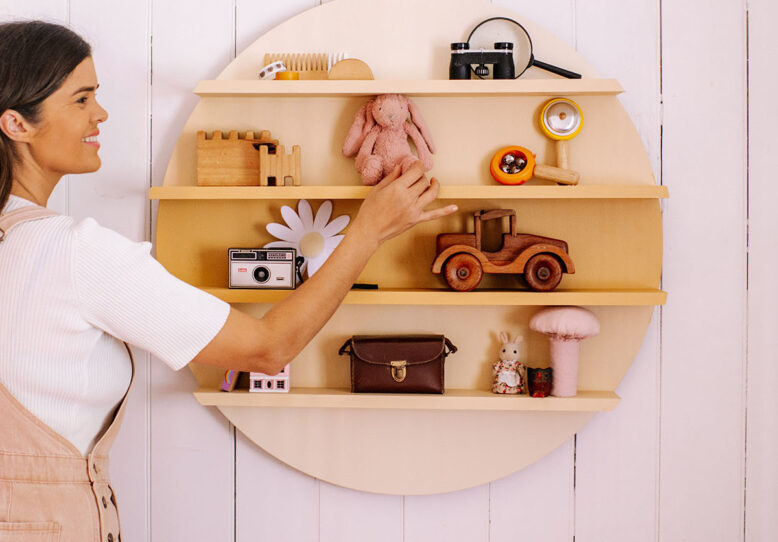
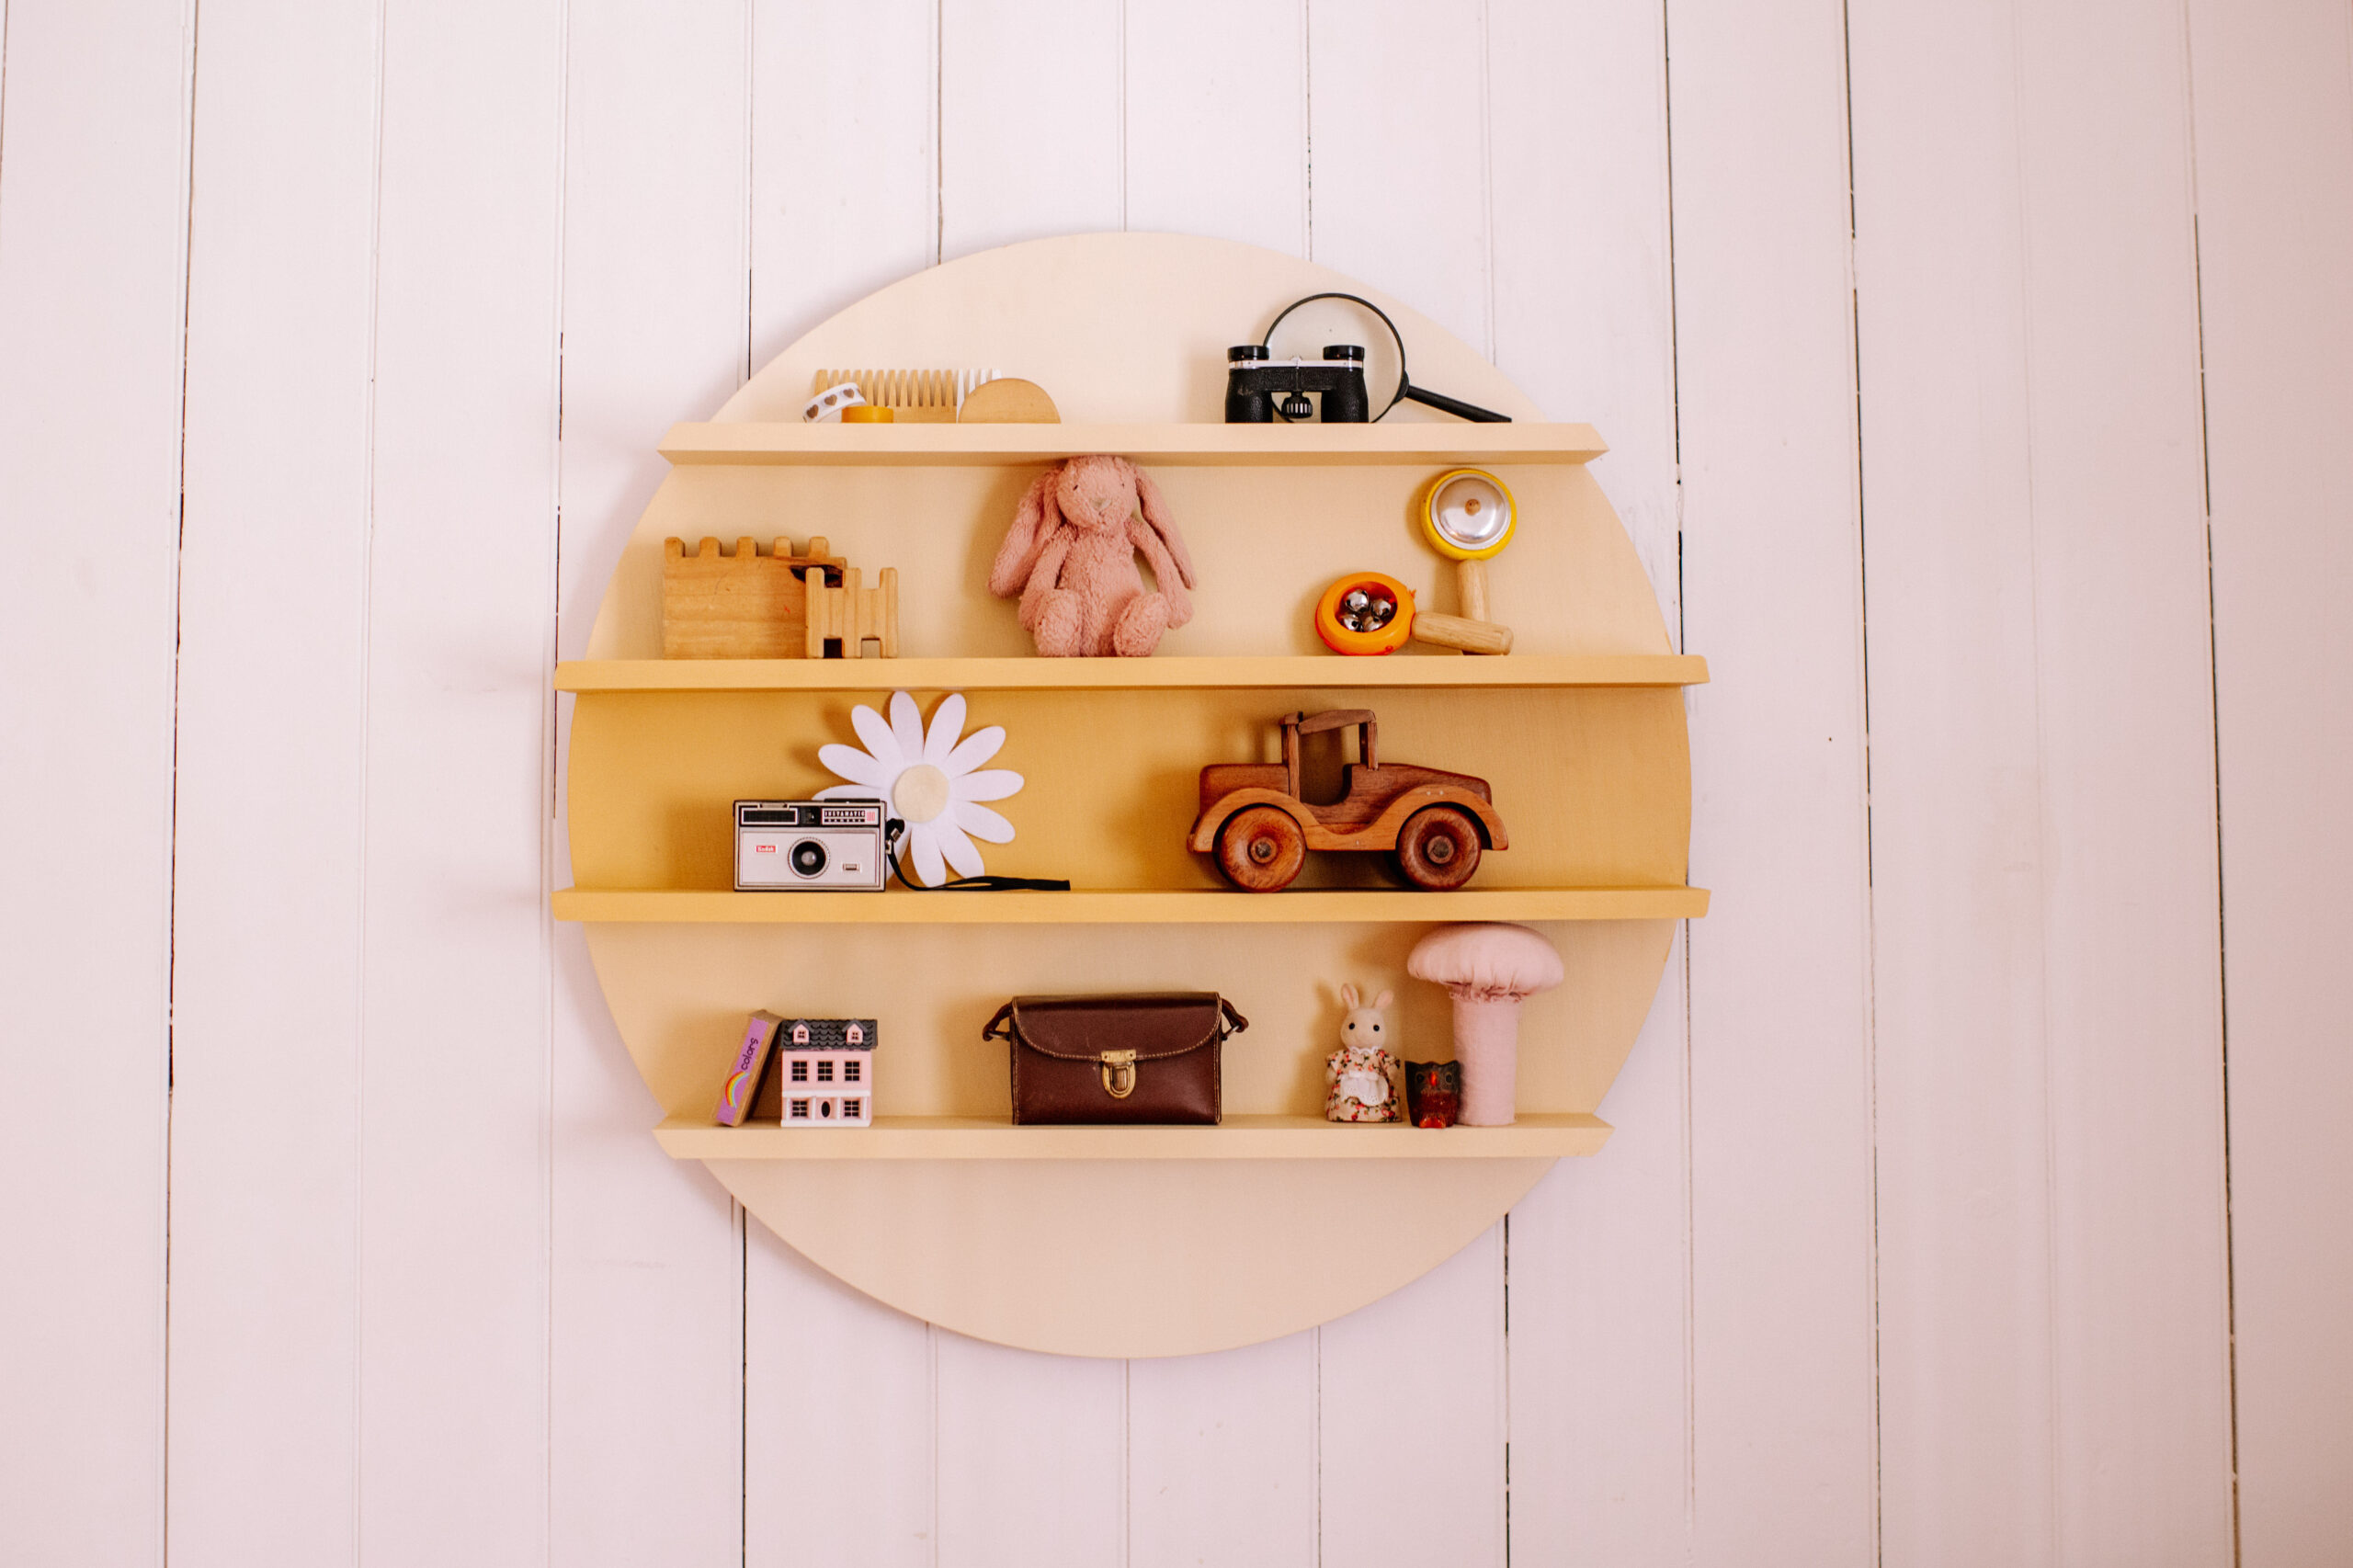
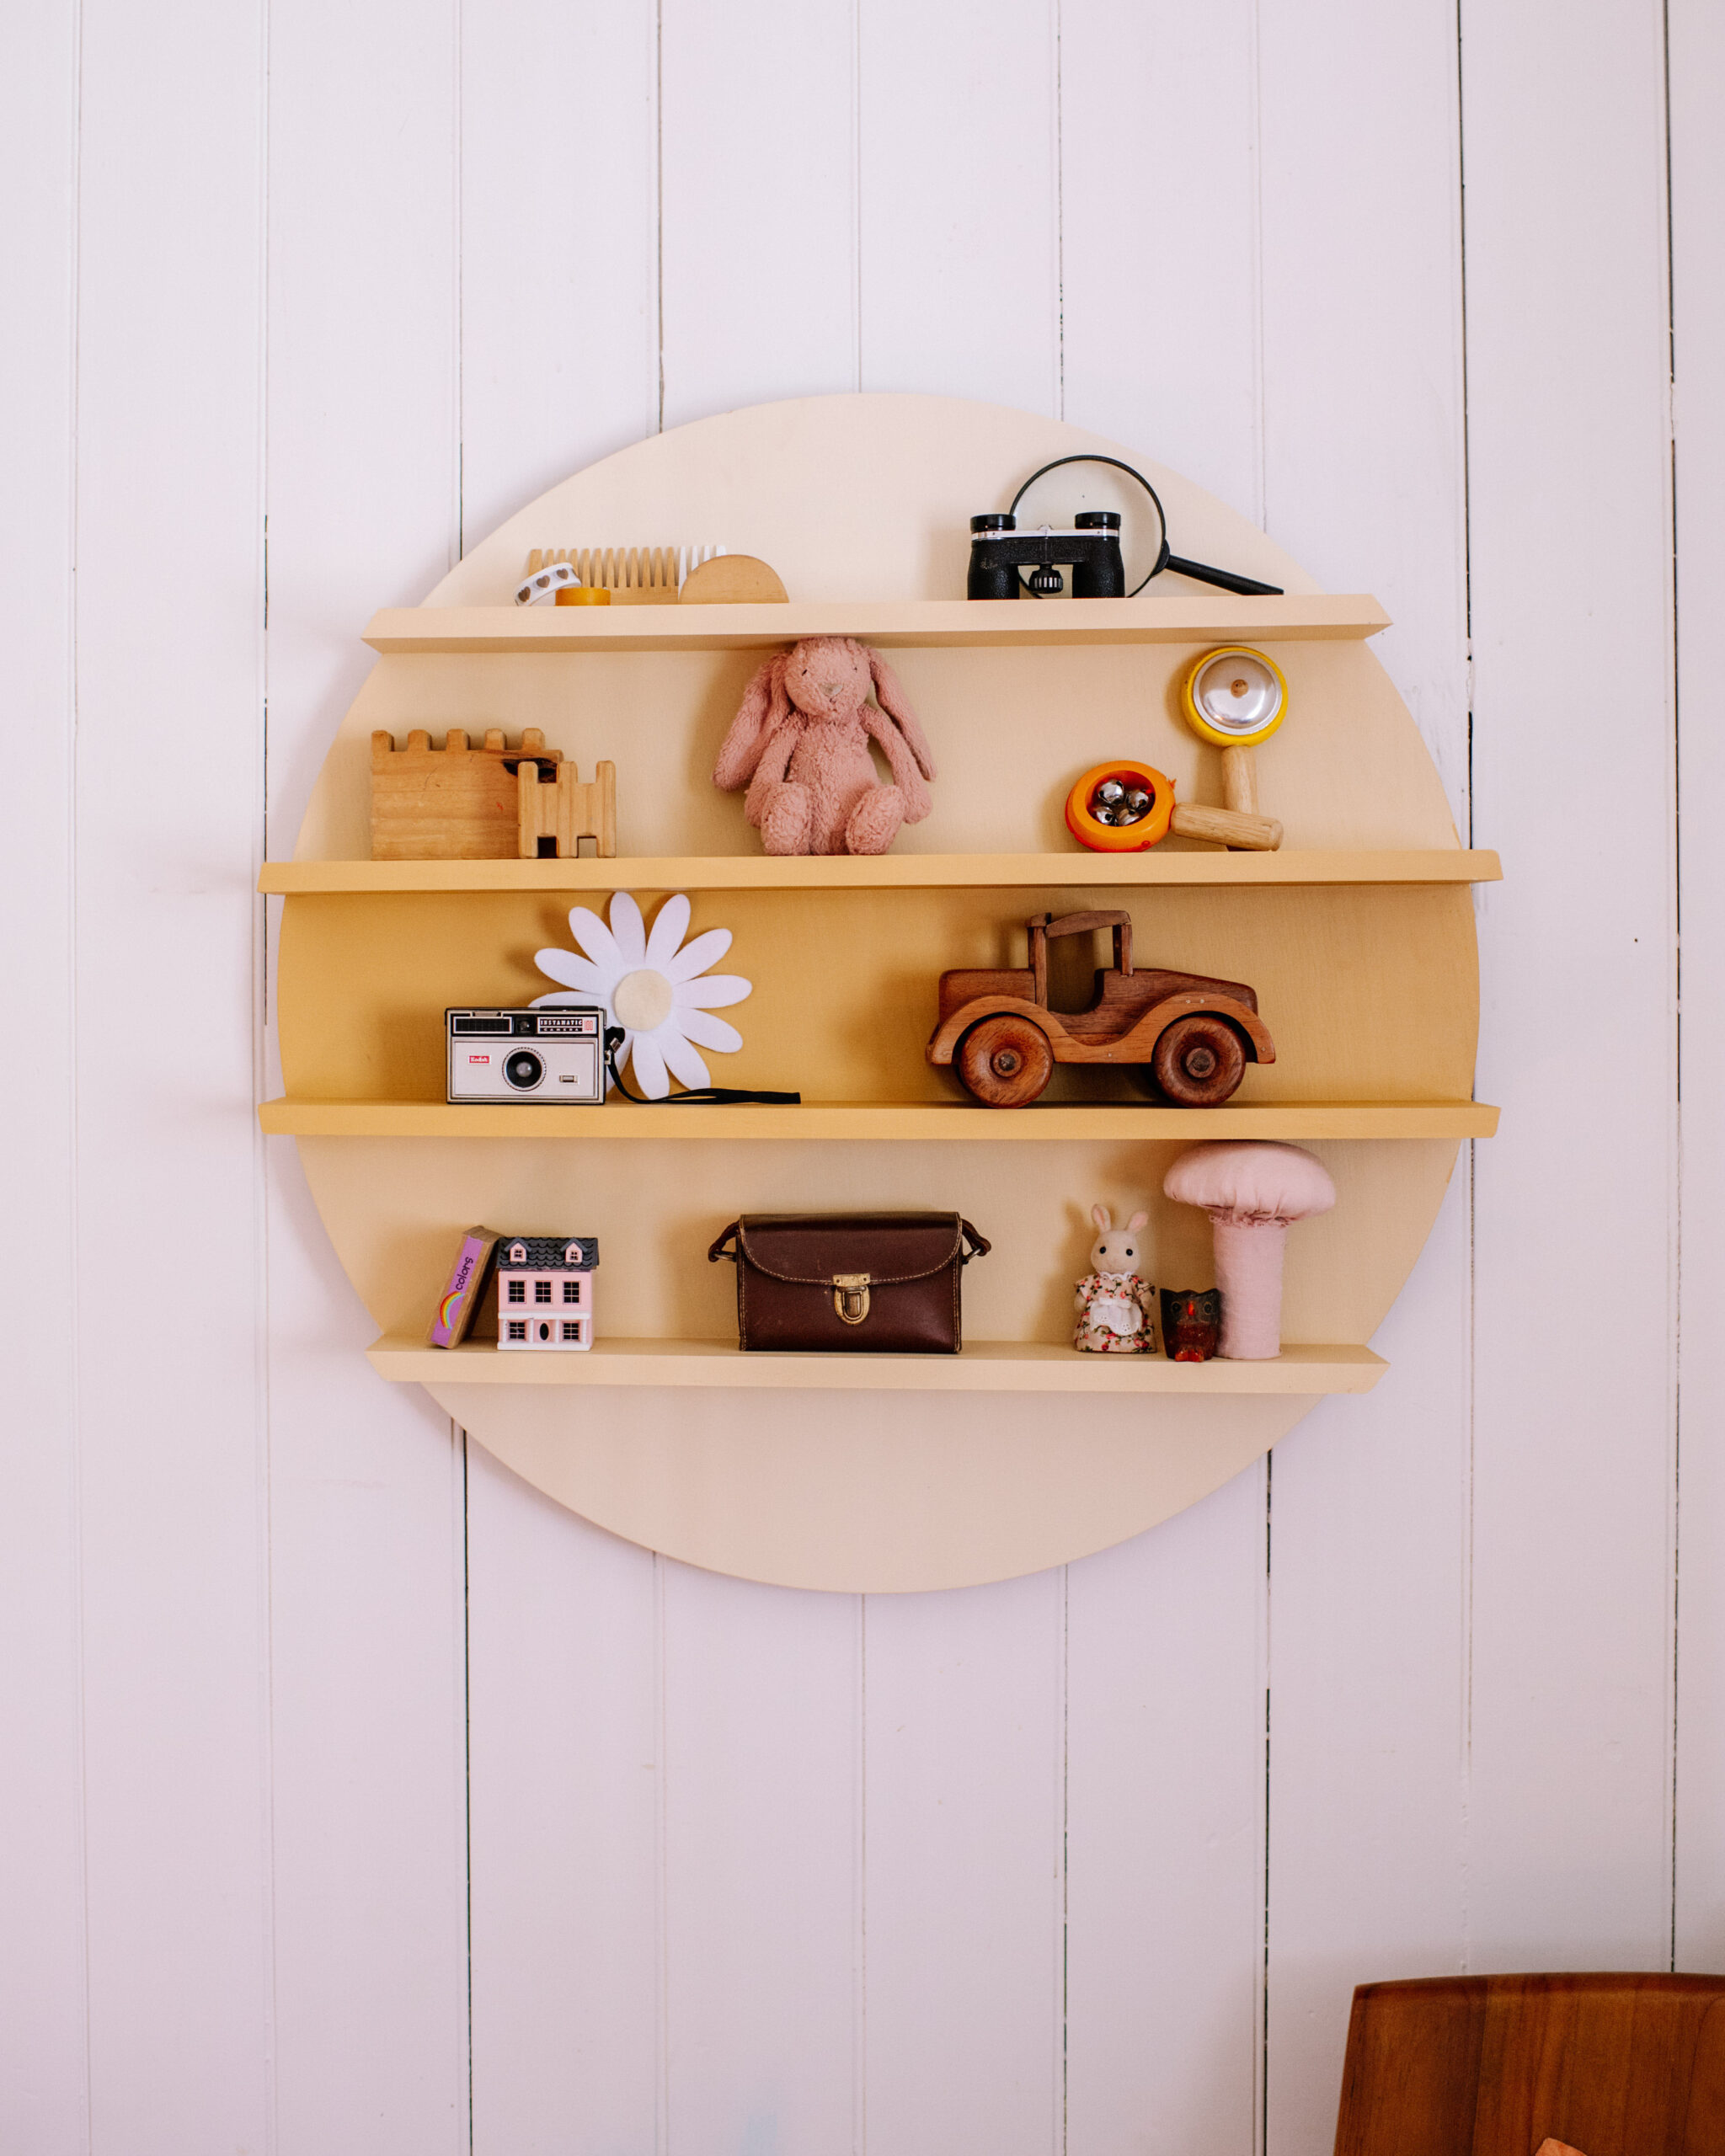
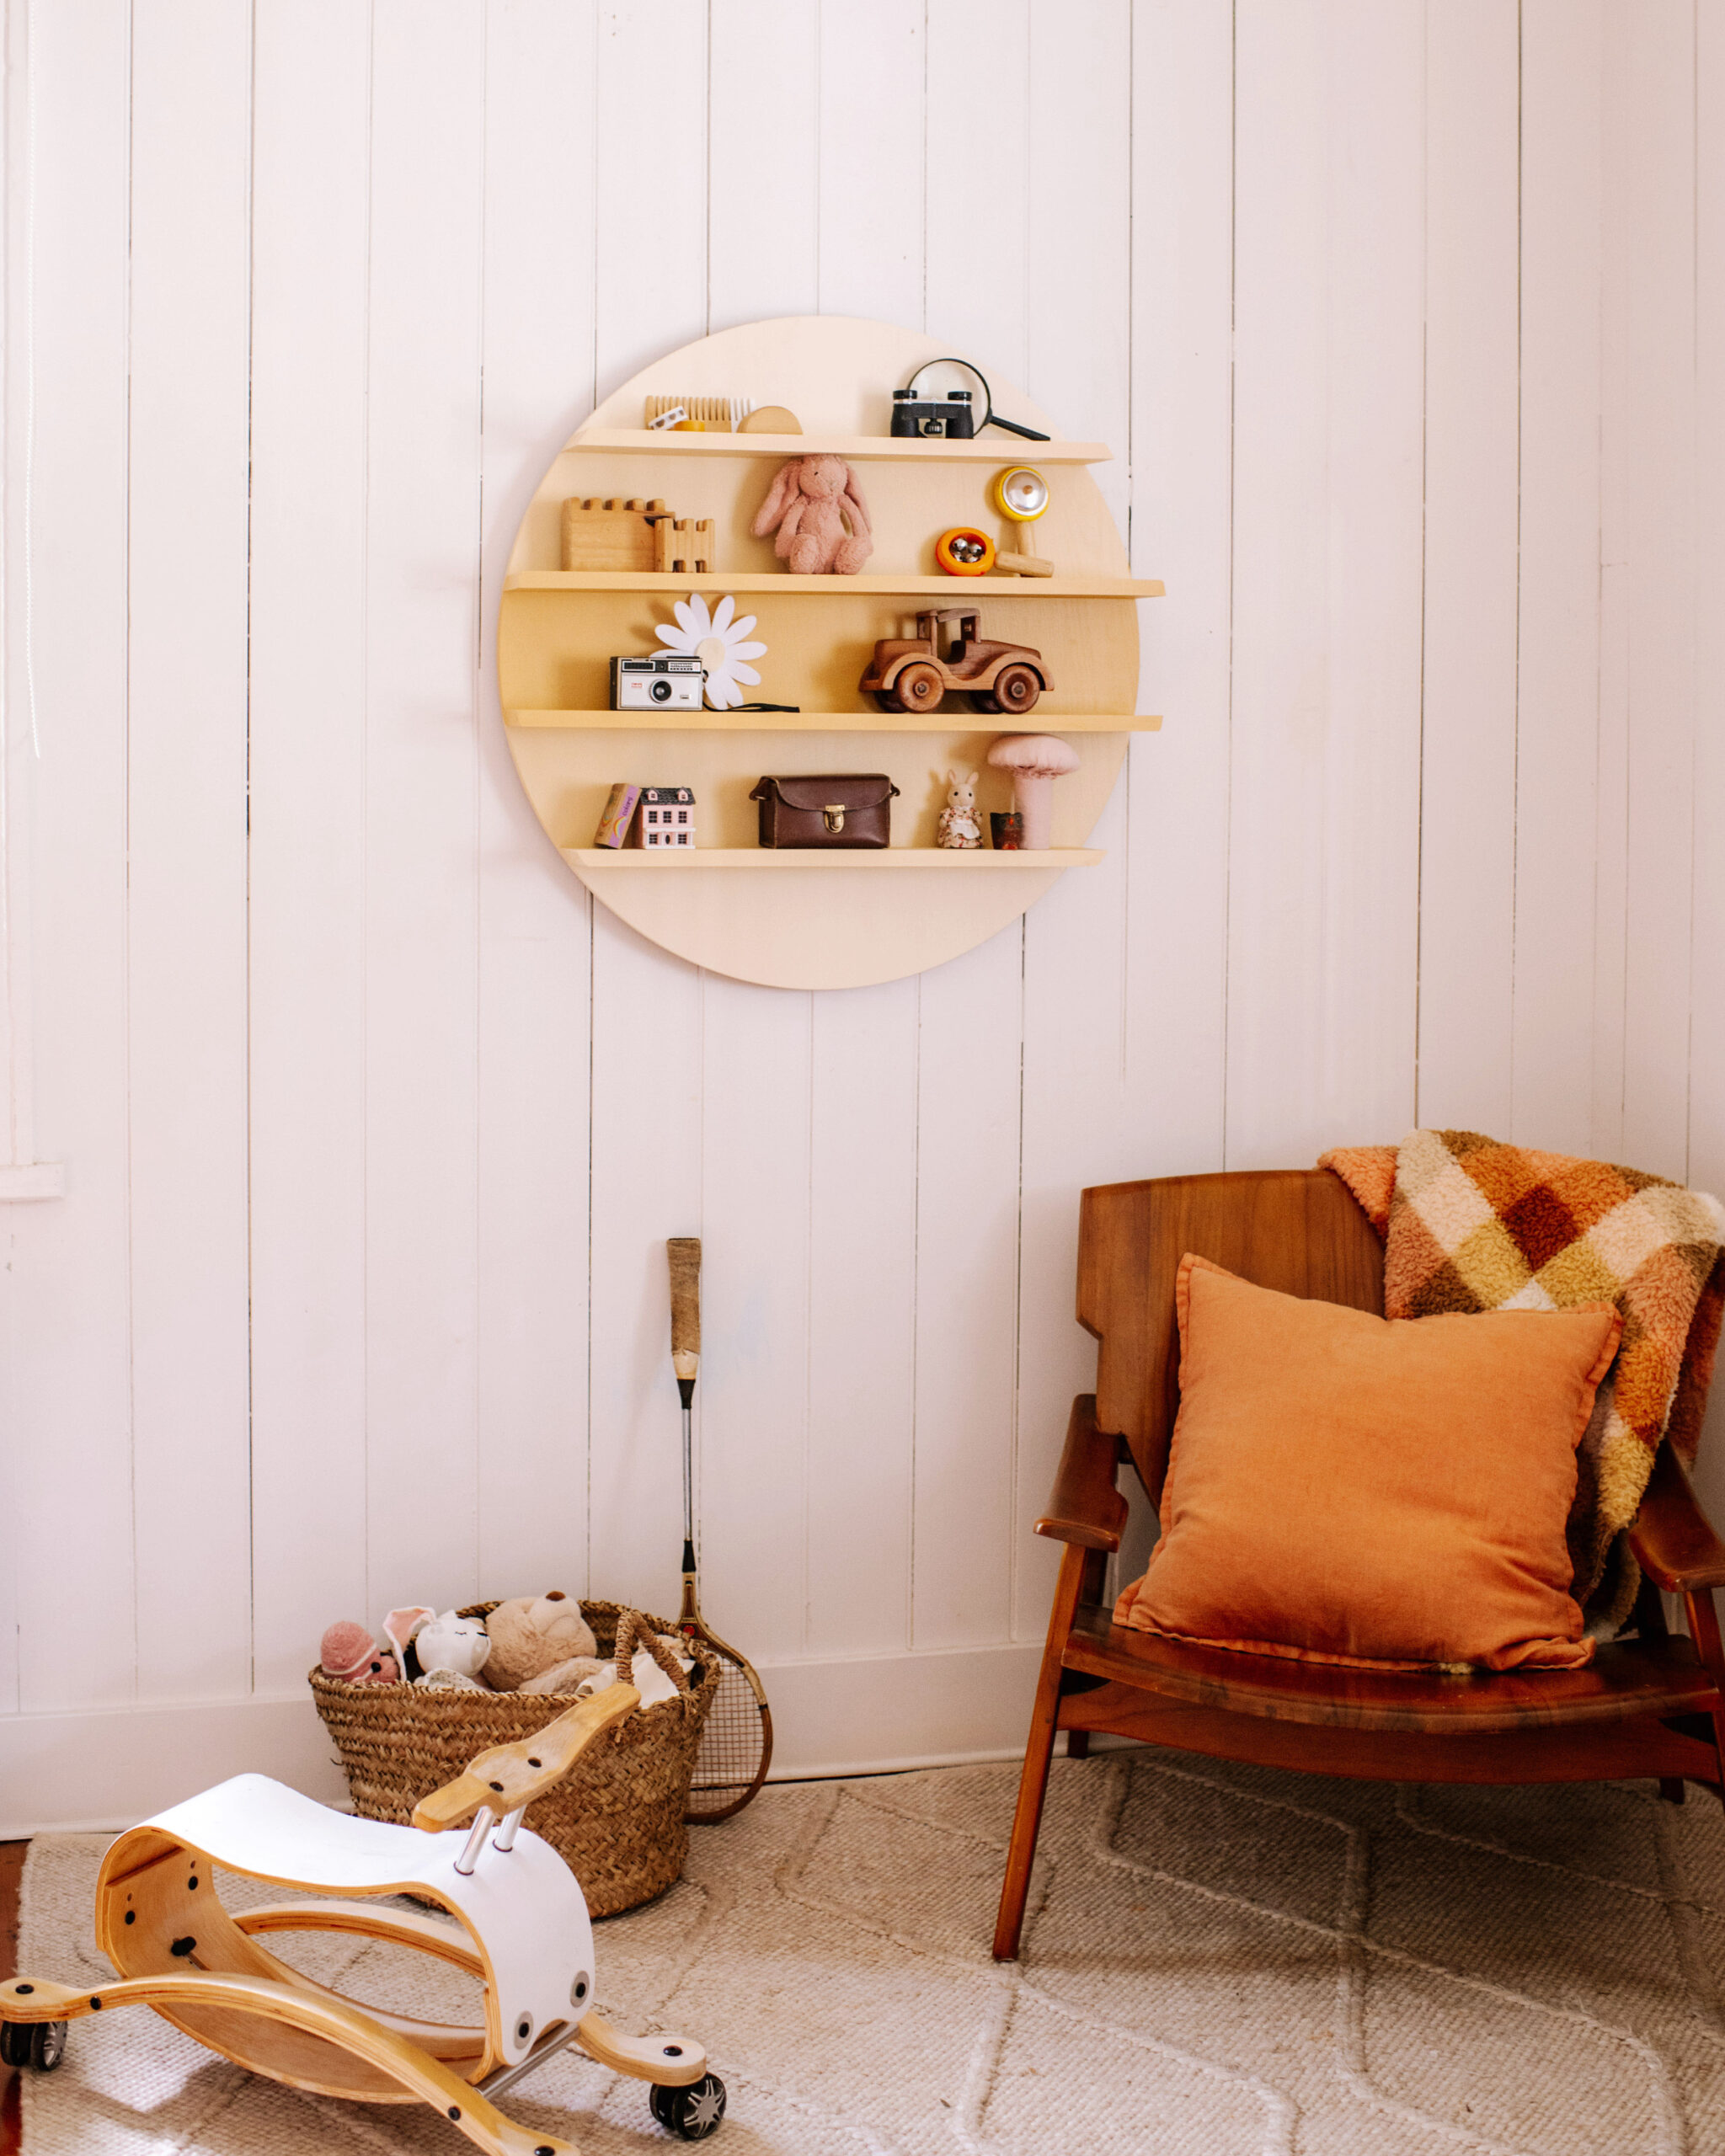
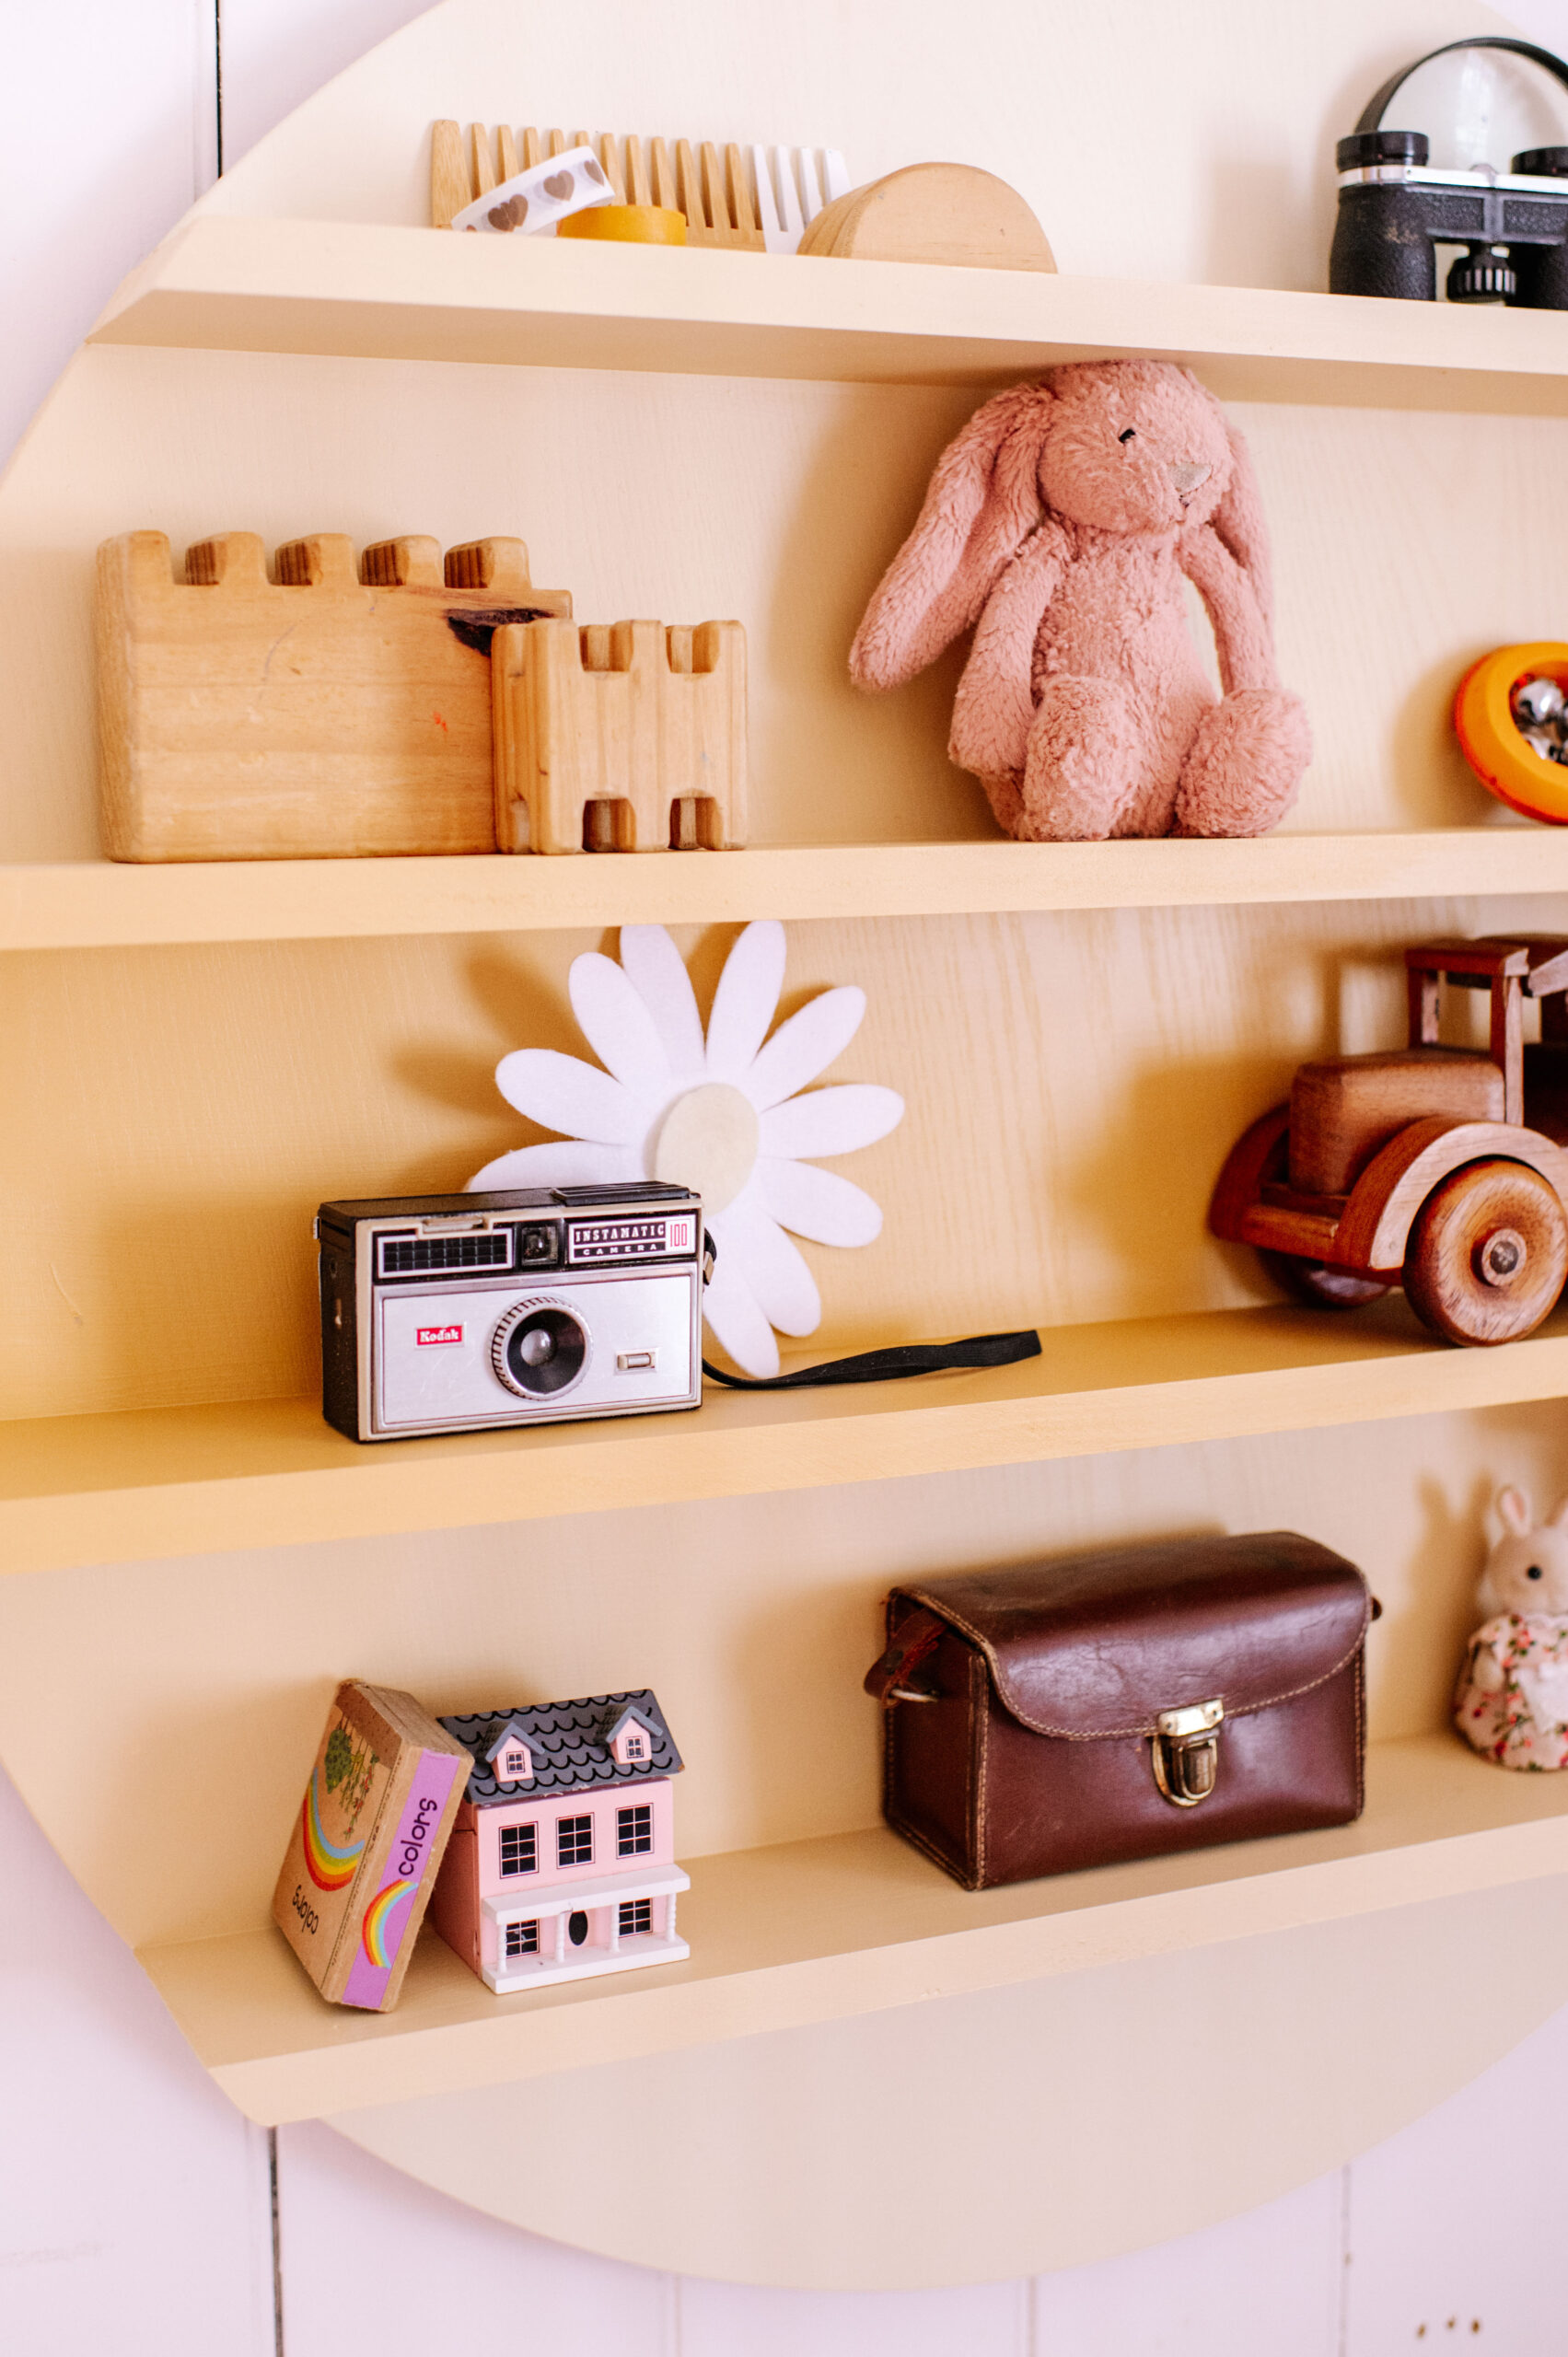
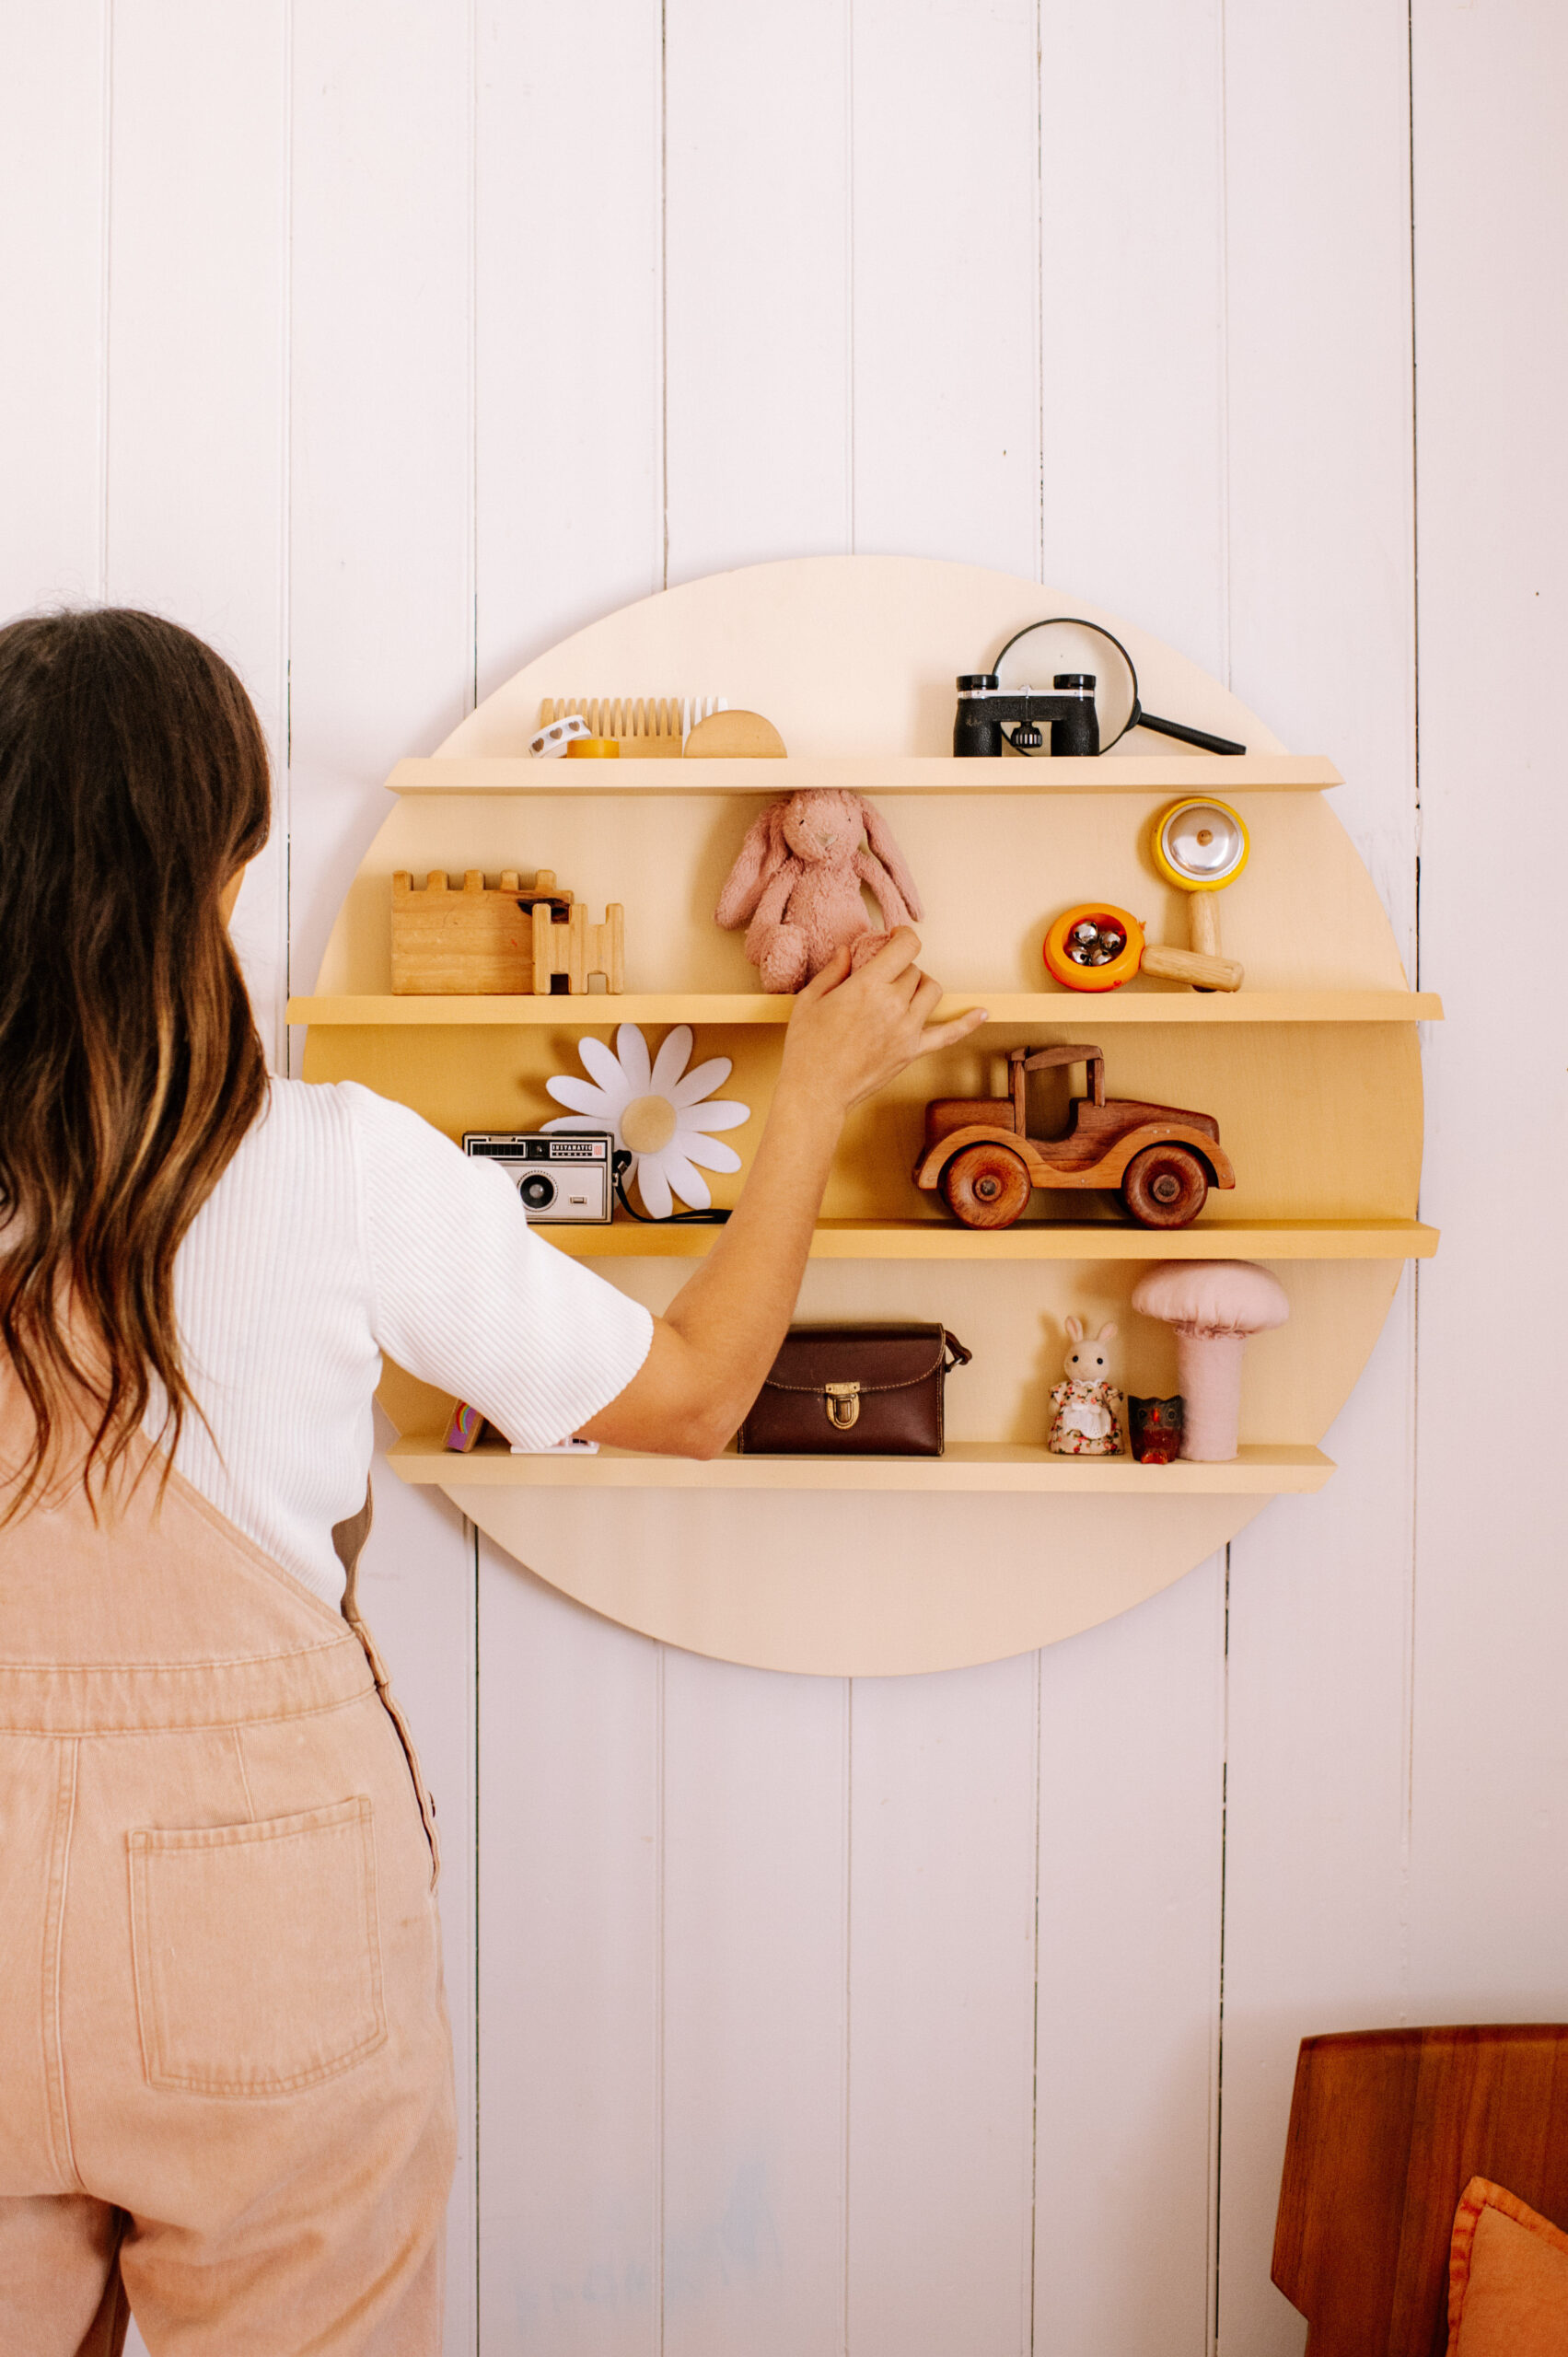
I wanted to create some shelving in the girls playroom for them to display their favourite things. I had an old round table top that was the perfect size, and after attaching some shelves and finding the perfect few shades of yellow (thanks to British Paints sample pots) I was able to create a beautiful ombré look on the front. I’m so happy with how these shelves have turned out and love that they can be moved around.
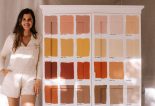
The thing I love about paint sample pots is that they’re such a great way to try out new colours, do little projects and experiment with colour without committing to the whole tin. Like for this project – I don’t have much yellow in my house but my daughter’s love it so I picked up a few lovely yellow tones (‘Grand Hotel’, ‘Pastry Parlour’ and ‘Lifestyle’) to have a play around. You can easily grab your own sample pots from the paint section of Bunnings, simply pick some paint sample cards and ask the person behind the counter to make up the pots. They come in 250ml and 500ml sizes and are so affordable. The more the merrier I say!
Materials:
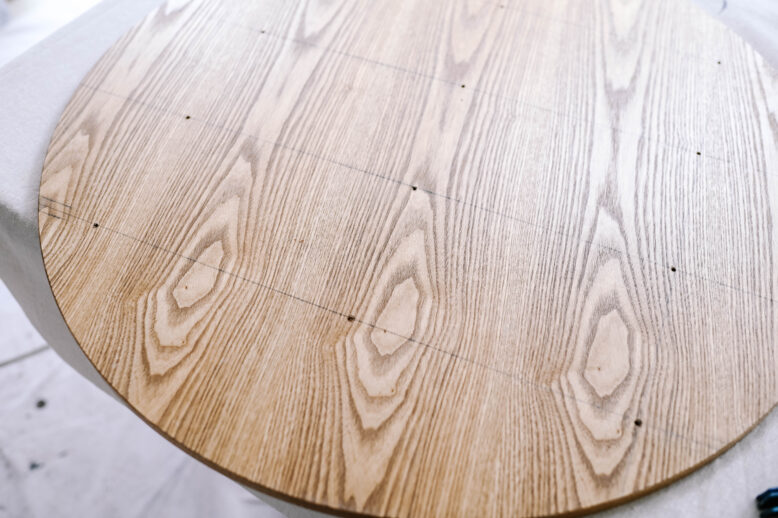
- Round wooden piece (I used a table top approx. 800mm diameter x 15mm wide – you could cut out of MDF)
- Pine
- Drill
- Drop saw
- Screws
- British Paints primer
- British Paints sample pots
- Paint brush
- Foam roller
How To Create Ombré Wooden Shelves:
1
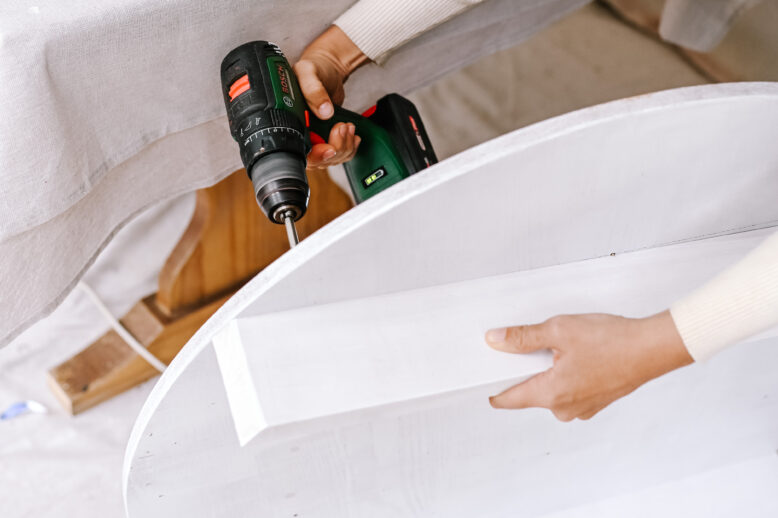
I started by marking out where I wanted the shelves to go on the round piece (both the front and back). I did 4 shelves approximately 150mm apart. I then used my drill to create 3 pilot holes along each line to screw in the shelves.
2
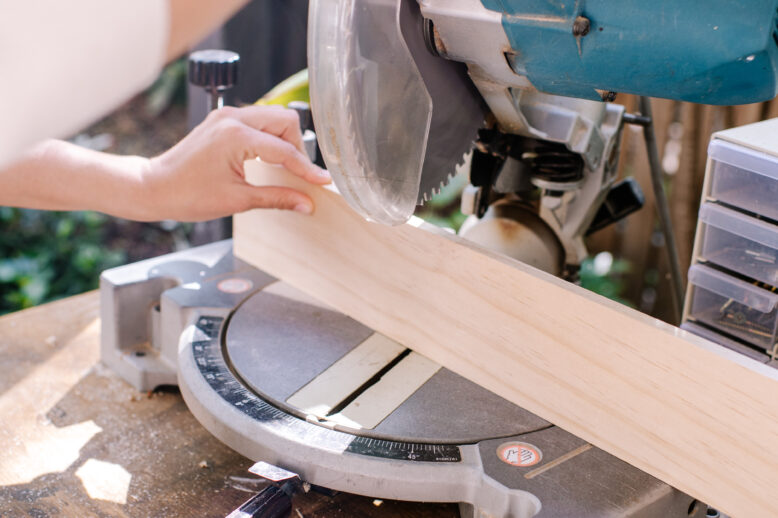
I then used the drop saw to cut out 4 lengths of pine (approx. 20mm high x 90mm wide) to the length of each marking on the round piece. I cut the ends on an angle to match the curve of the circle and sanded the whole thing with a fine grit sanding block. Next, I used a foam roller to paint all of the shelves and the round piece with British Paints primer.
3
Now it was time to assemble the shelves. Following the markings on the back, I used my drill to screw in 50mm screws through the back and in to the shelves.
4
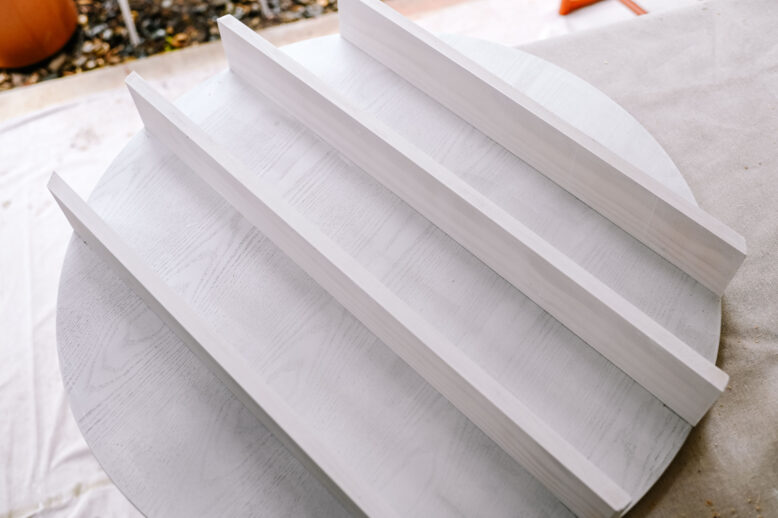
I continued this for all shelves, making sure they were straight and even as I went.
5
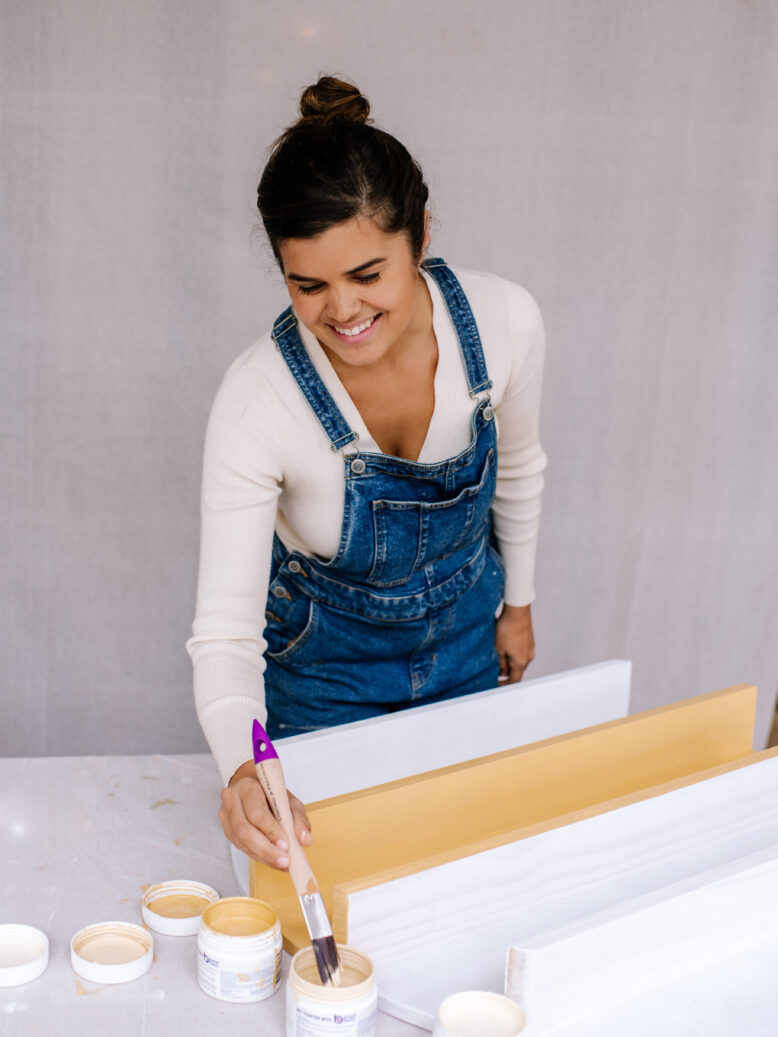
After this, I used a paint brush to paint the shelves using my British Paints sample pots. I started with the darkest colour in the middle and got lighter for each shelf.
6
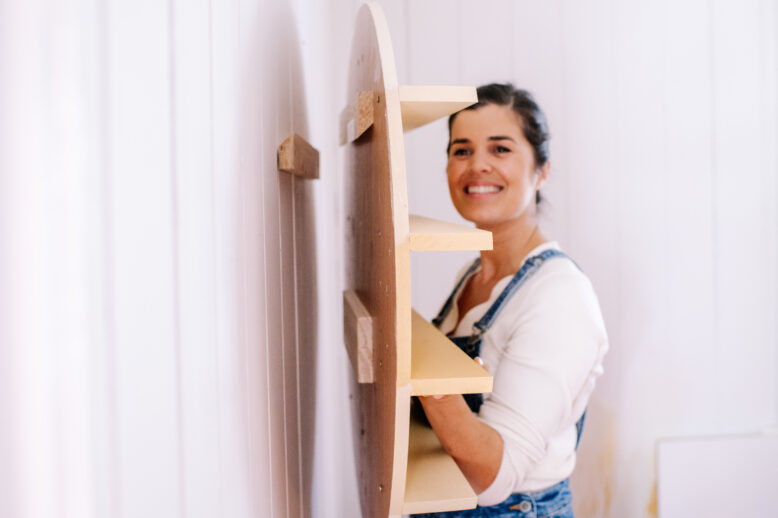
To finish, I used more pine to create a split batten to attach the shelves to the wall. I screwed one side of the spit batten to the back of the round piece and the other in to a stud in the wall. Your can read a full guide for how to make a split batten here.


