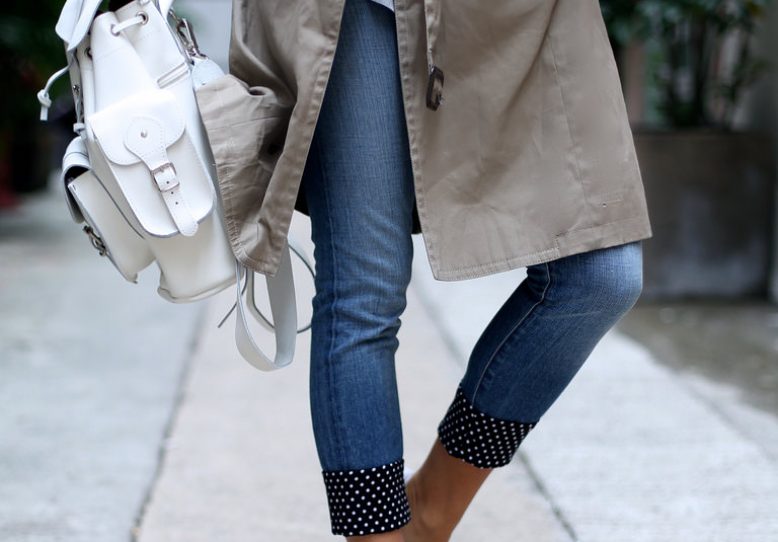
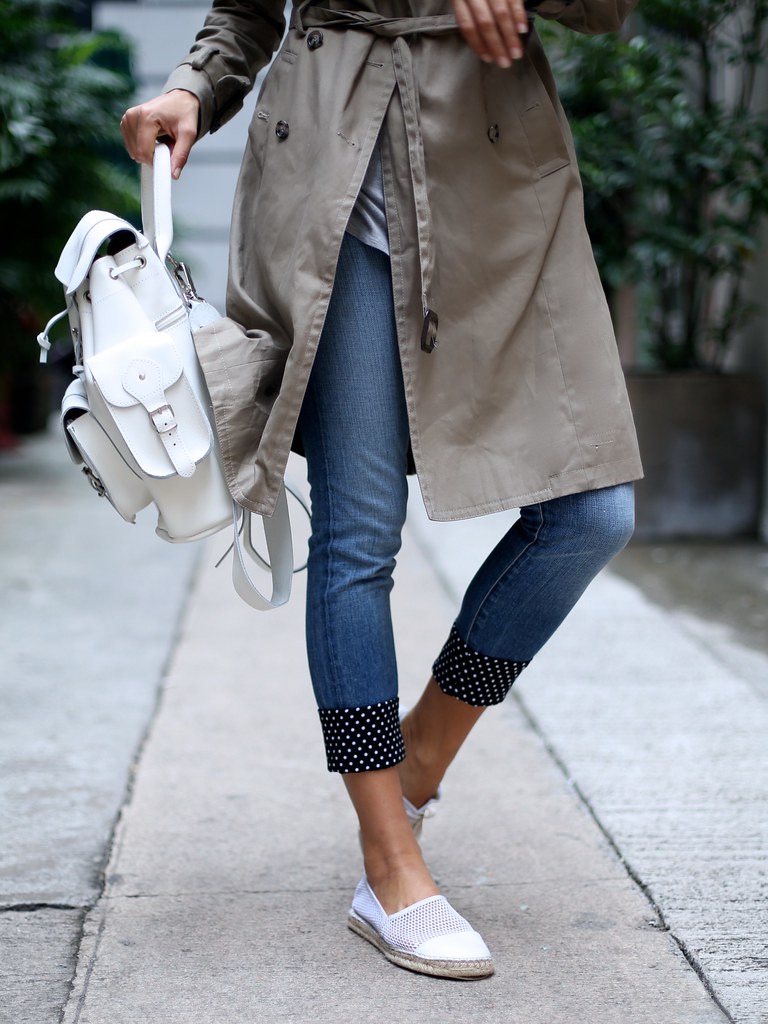
There’s nothing better than a really great pair of jeans – kind of like the best friend of your wardrobe, they’ll always be there and are sure to hold you up when you’re finding it hard to get it together. They suck at writing back on whatsapp but we can forgive them for that. But after a few weeks spent alternating jeans and two pairs of tights layered together, you can imagine I’m after a little variety in my life. Which is where this simple little update comes in, great because you can roll your cuffs up or down depending on how much print you want to show, and they can be removed or swapped out over time. Enjoy!
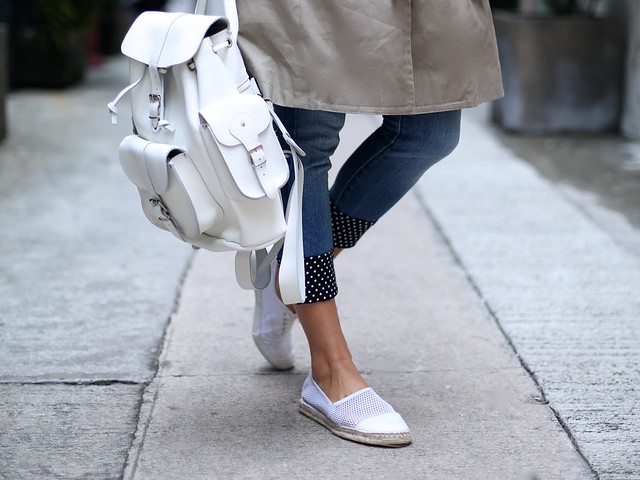
Wearing: J Crew updated jeans, Kookai trench, Grafea bag, Witchery shoes.
DIY Fabric Cuff Jeans
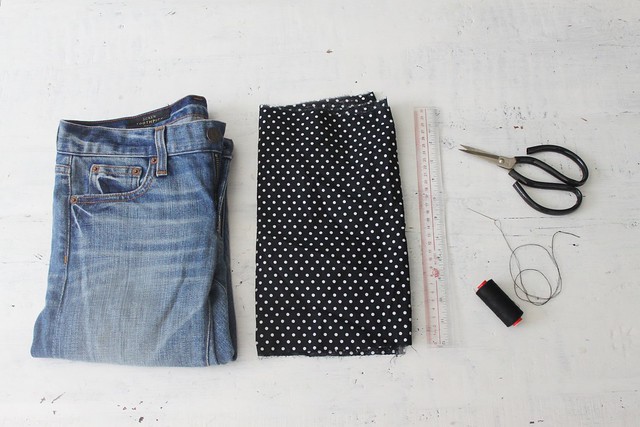
You need:
- Jeans
- Fabric
- Scissors
- Ruler
- Needle & thread
- Pins
MEASURE & CUT
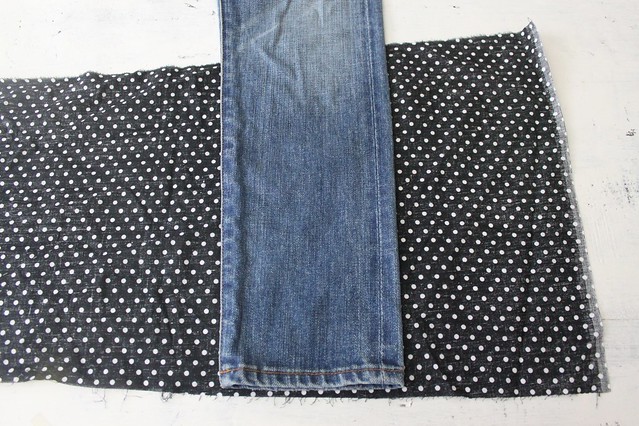
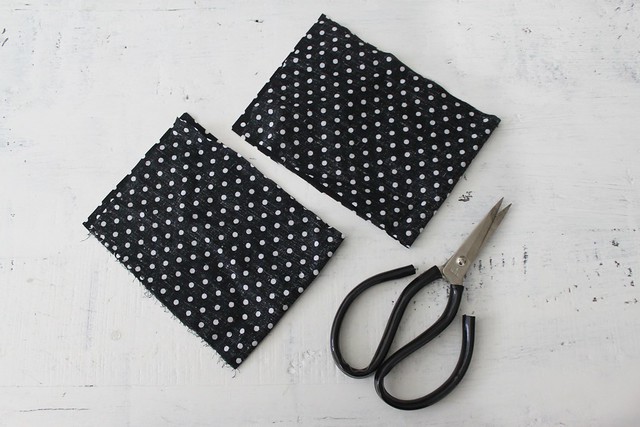
Measure how much you would like your jeans cuffs to turn up, in this case approx 7cm. Place your jeans on top of your fabric and then cut a matching section of fabric out.
Cut two pieces of fabric to this measurement.
MAKE THE LOOP
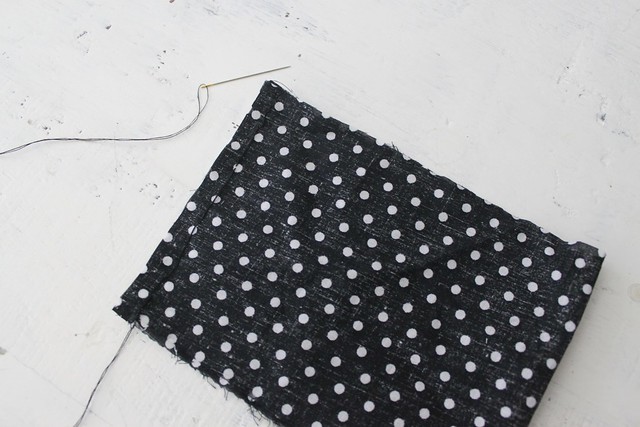
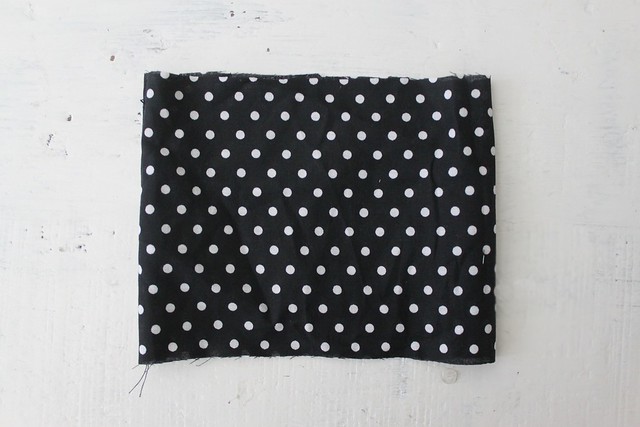
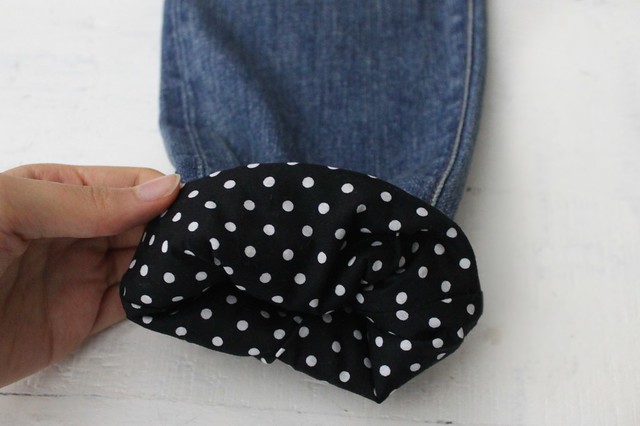
With a seam allowance, hand sew up the open side of the fabric and then turn the fabric inside out making a fabric loop.
ADD TO THE JEANS
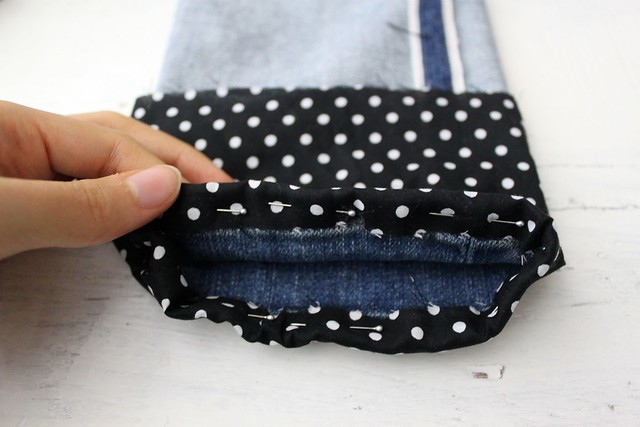
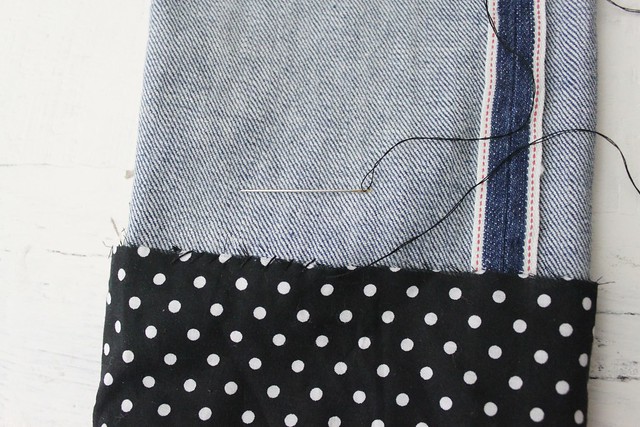
You’re going to add the loop to the inside of the jeans so when you roll them over you can see the printed cuff. Pin 1cm of fabric turned inside the cuff of your jeans and then hand sew both the top and bottom edges. You’ll want to use an invisible type stitch so you can’t see it from the other side.
THE BIG REVEAL
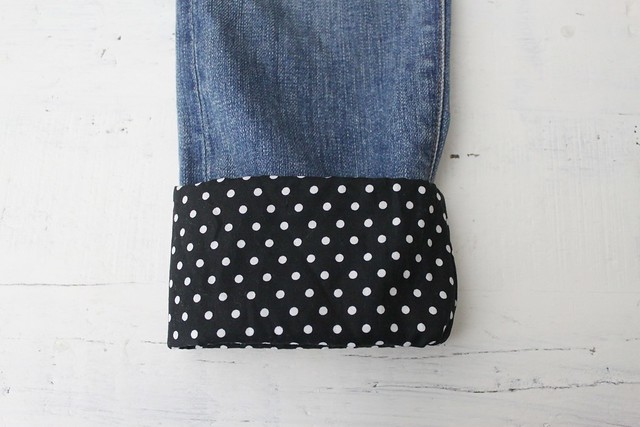
Turn your jeans back the right way and turn the cuff over to reveal the printed fabric.
Done!
** Did any of you notice the wardrobe malfunction in these pics? -laughing crying face-

