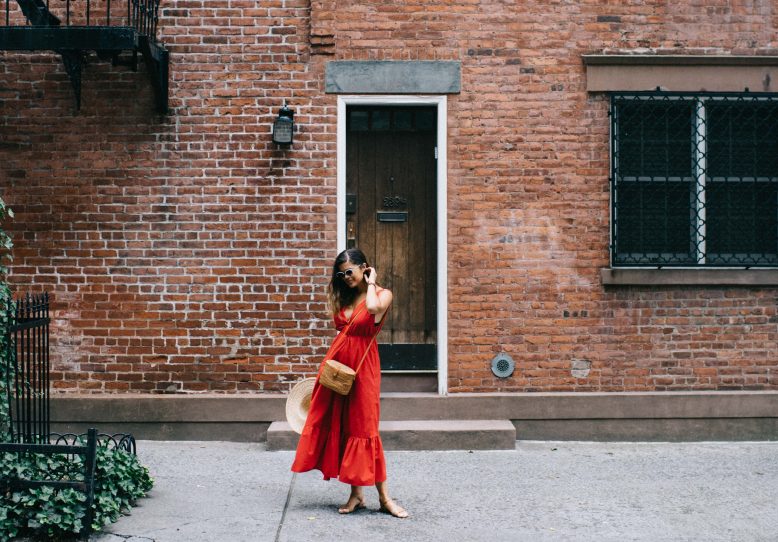
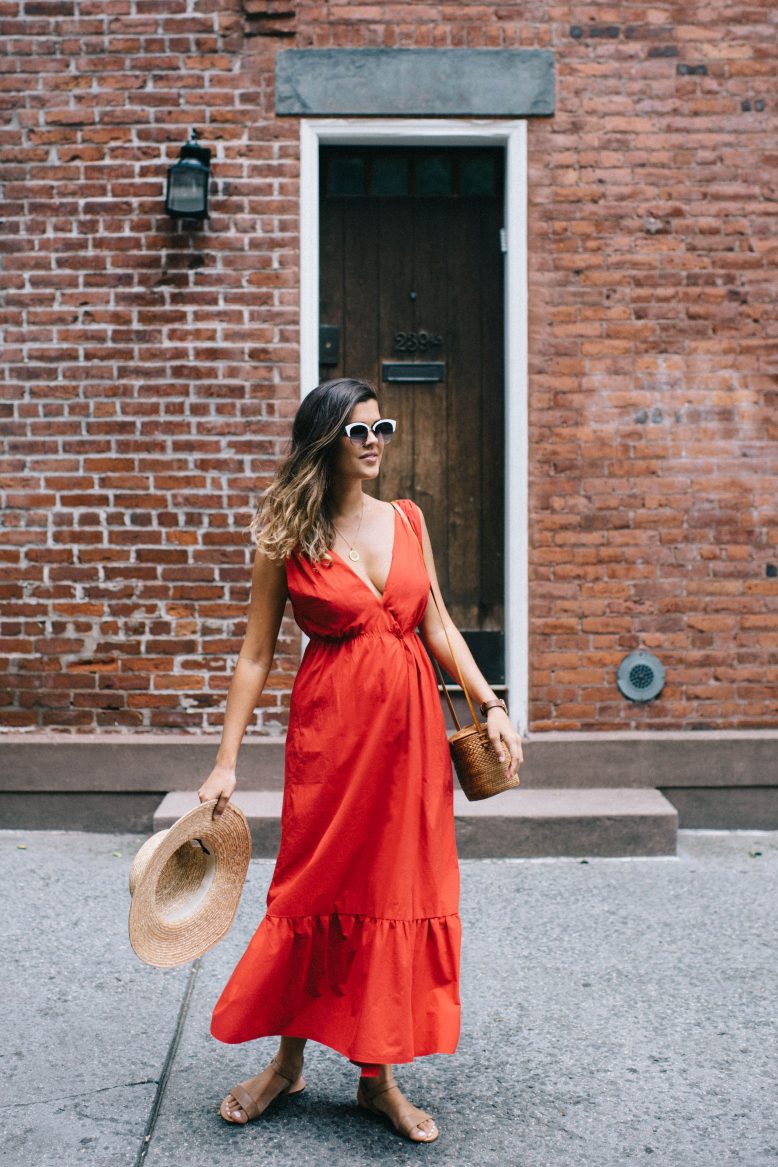
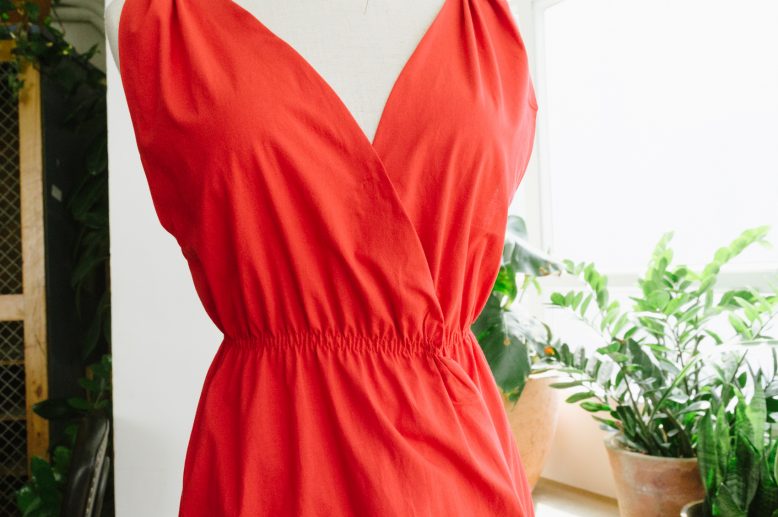
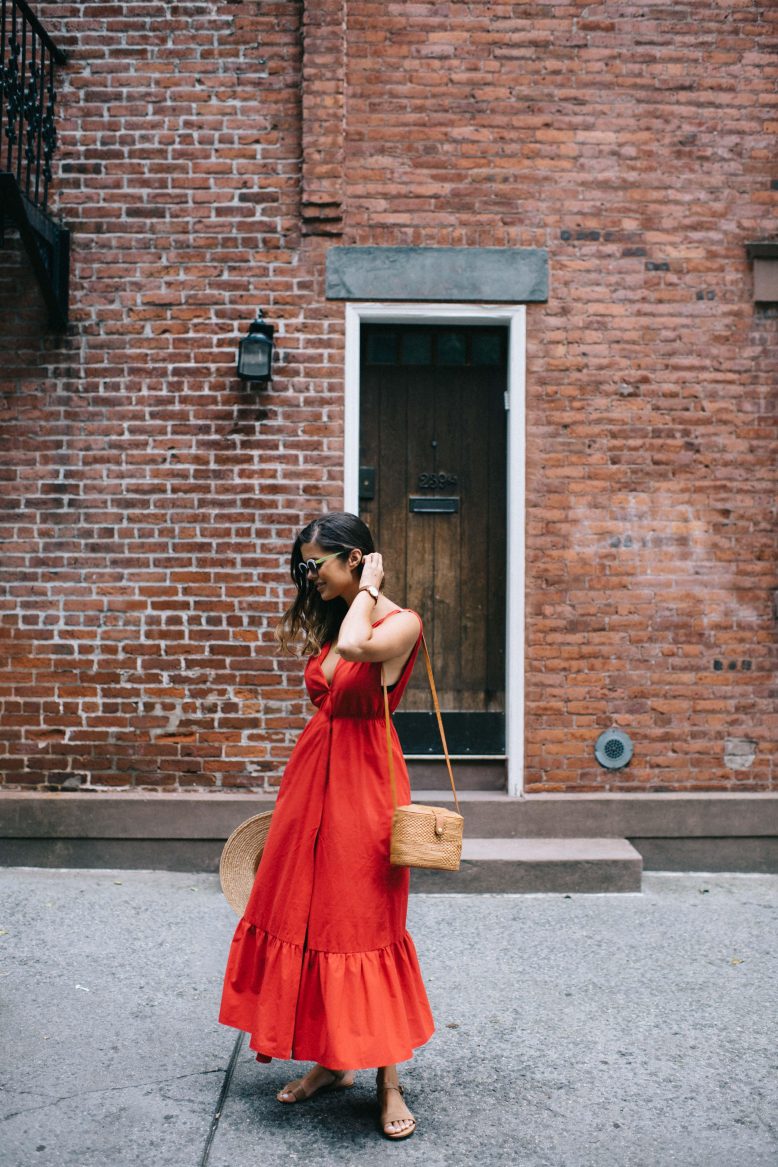
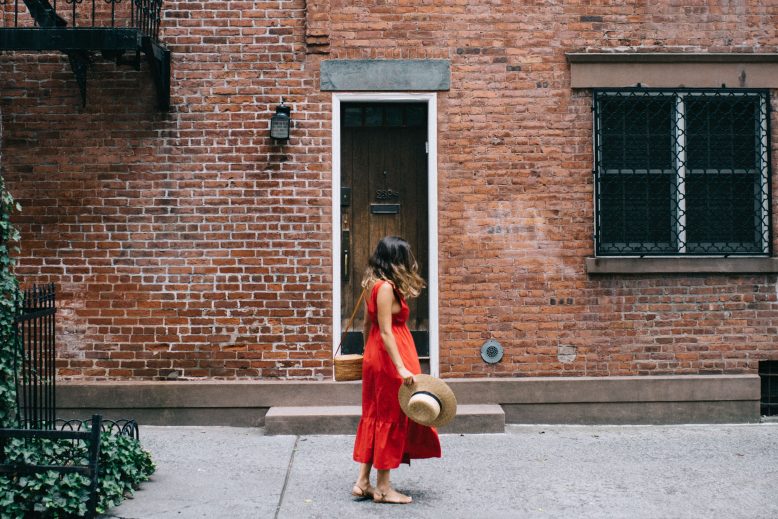
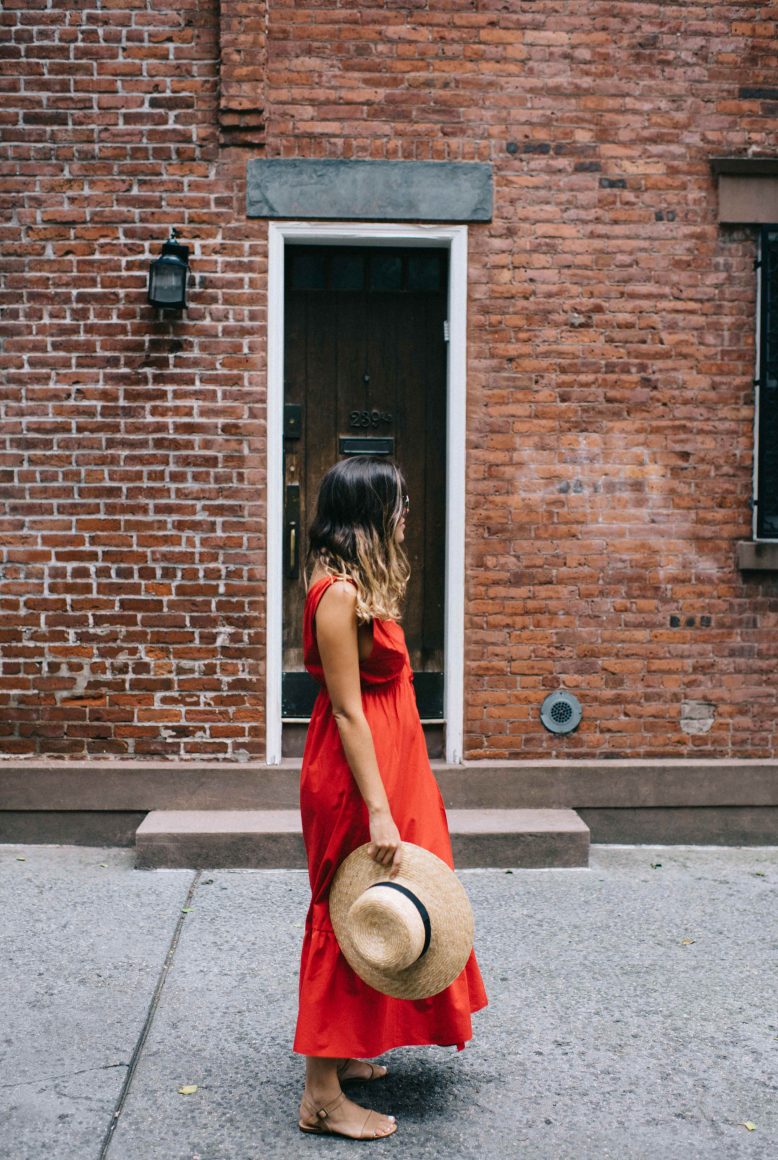
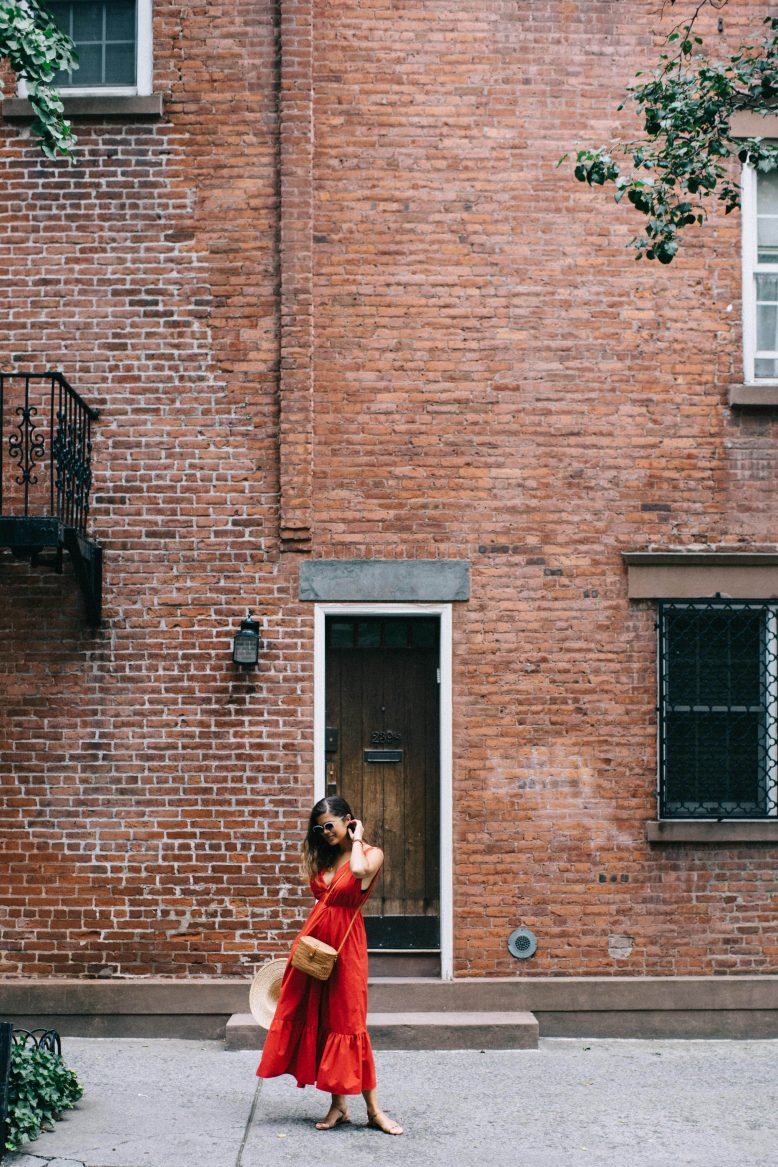
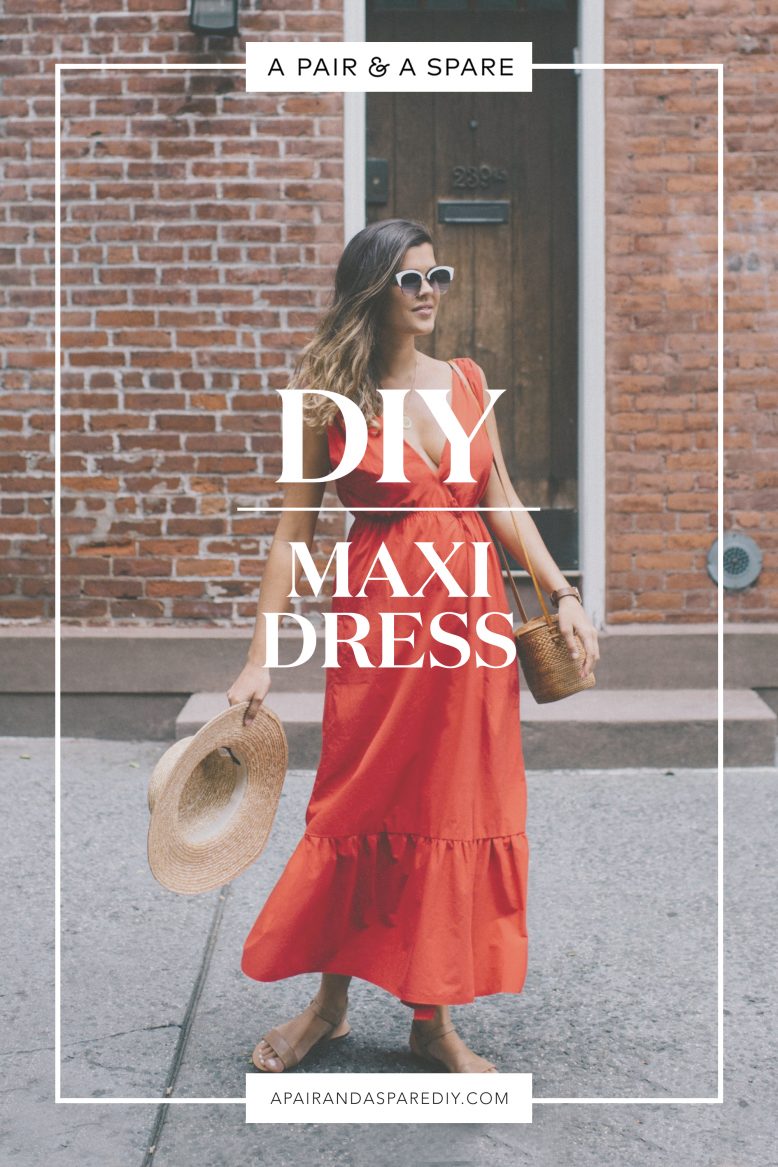
A maxi dress in a simple block colour might sound a bit basic, but in reality it packs a fair bit of outfit punch. Which is why you definitely need to make this DIY Maxi Dress.
If I’m honest, I haven’t worn that many maxi dresses in the last few years, I think I may have overdosed on them a few years ago… I remember all 6 of my friends and I would wear them at the same time and be the maxi crew… But they’ve been creeping back into my wardrobe recently, and I’m not mad about it. In fact, I’m pretty happy. There’s something just so nice about the swish of fabric around your legs! And as you know I went fabric crazy before my trip to New York, and knew that a maxi dress would need to be one of the creations. This one has a few elements – a wrap front and ruffled hem
DIY Maxi Dress
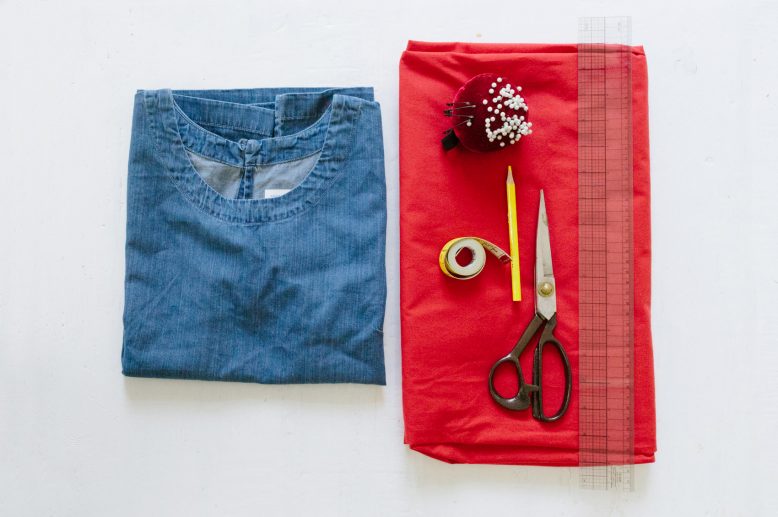
What You'll Need
Cutting Your Fabric
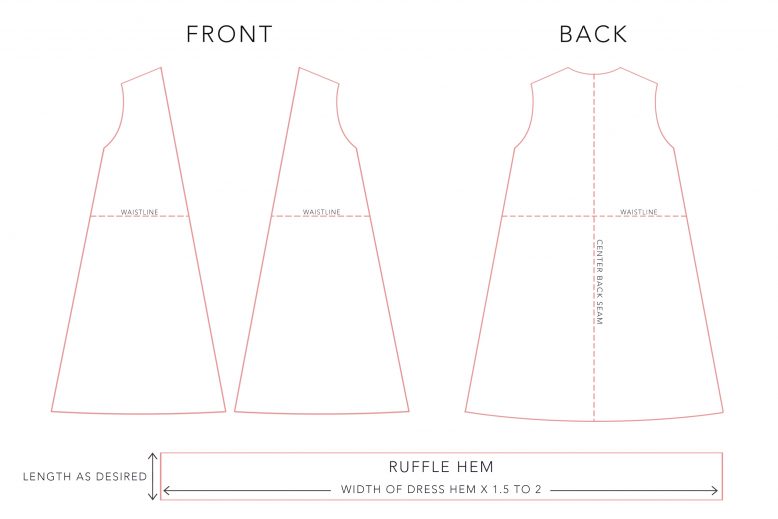
For this project, once again we’re experimenting with using our own clothes to make a pattern. So that you have the right size, we recommend using the bodice pattern (we used it here) as the basis for your dress. By then extending the waist out (to allow for waist gathers), and the length down so it’s a dress, you get the perfect shape for you.
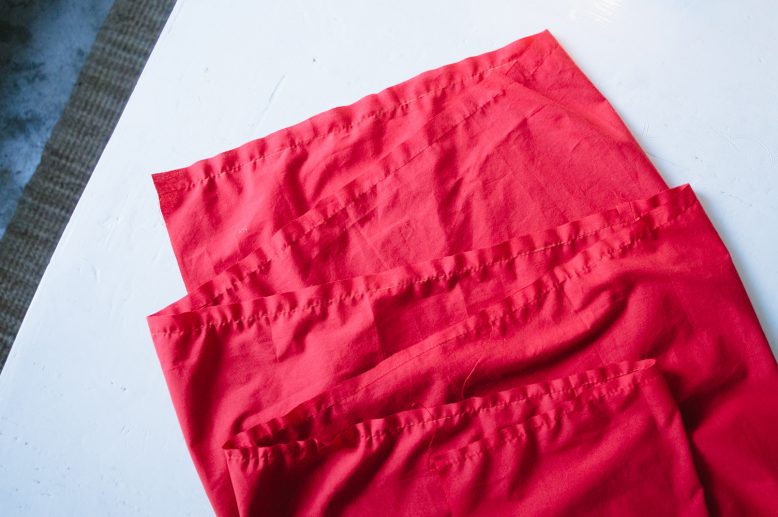
For this dress you will need four pieces of fabric – a back piece (mirrored down the centre), two pieces for the front that will overlap to create a wrap style and finally one long piece which will form the ruffle for your skirt. The length of the ruffle hem can be made as long as you like (we chose a longer hem), but the width will need to be at least 1.5 times the width of the dress’ entire hem, more if you’d like more gathers. You could also skip the ruffle bottom if you wanted it to be more simple, but the ruffle gives it some shape.
1
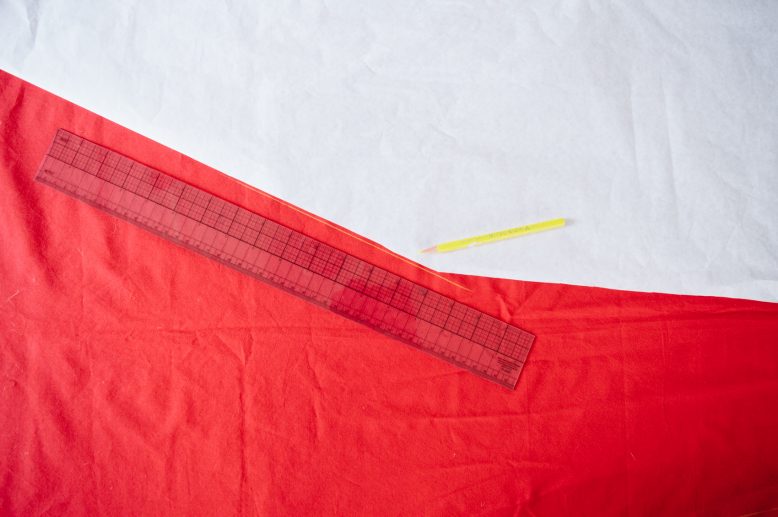
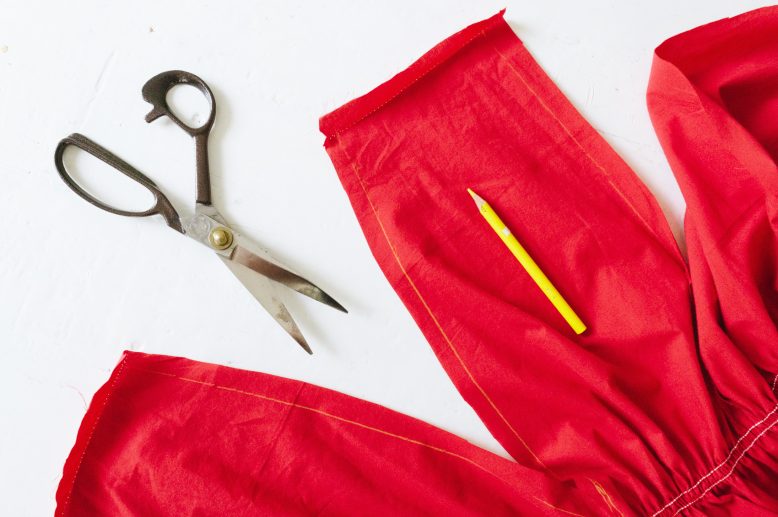
Cut your fabric. Don't worry if your fabric isn't long enough to make the continuous ruffle, just sew a few pieces together and iron well.
2
Pin the front and back panels together and sew down the side seams first. You will have a kimono style dress with an open, overlapping front at this stage.
3
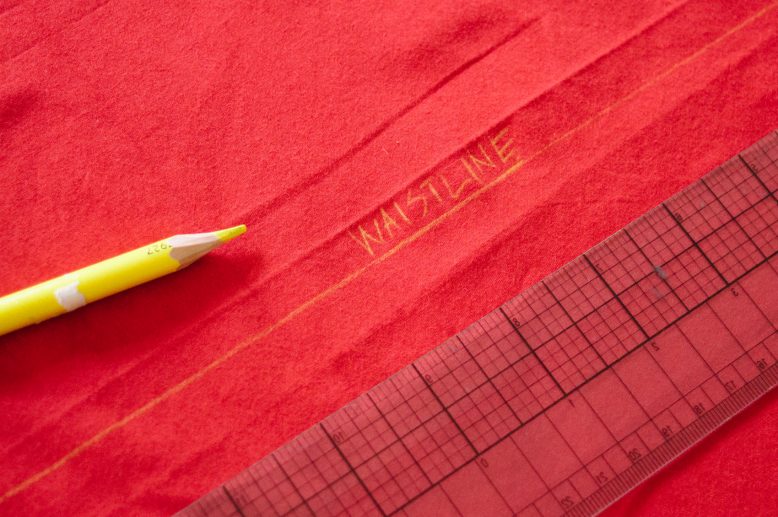
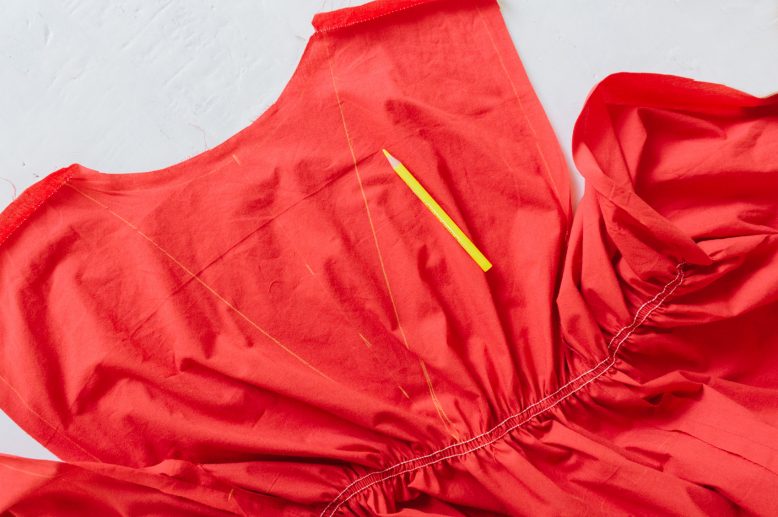
Then, out your dress on and decide where you want the waist to sit. We are going to shirr it to create the shape. Make sure to mark the waistline on the right side of the fabric to act as guidelines for shirr the waistline. Remember to use water soluble marker or erasable fabric chalk for this step.
4
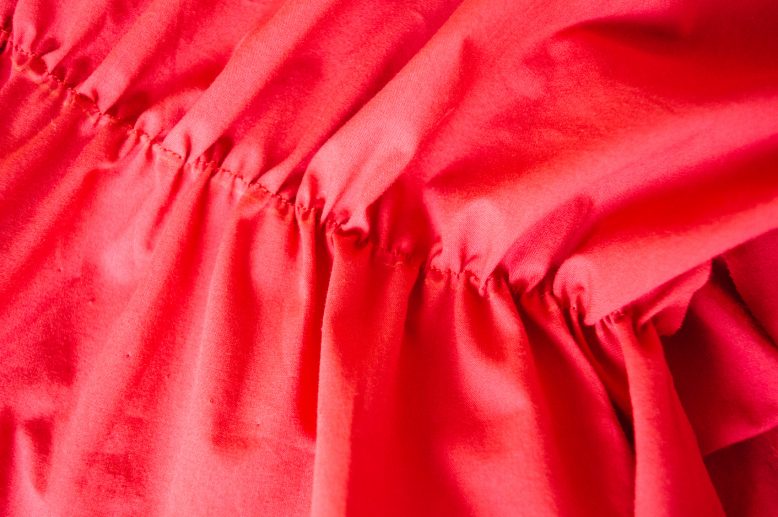
Shirr along the waistline, using matching thread for the top thread and elastic thread for the bobbin thread. The number of shirred rows depends on your liking, we did two rows for this dress. You can find a more in-depth tutorial on shirring here!
5
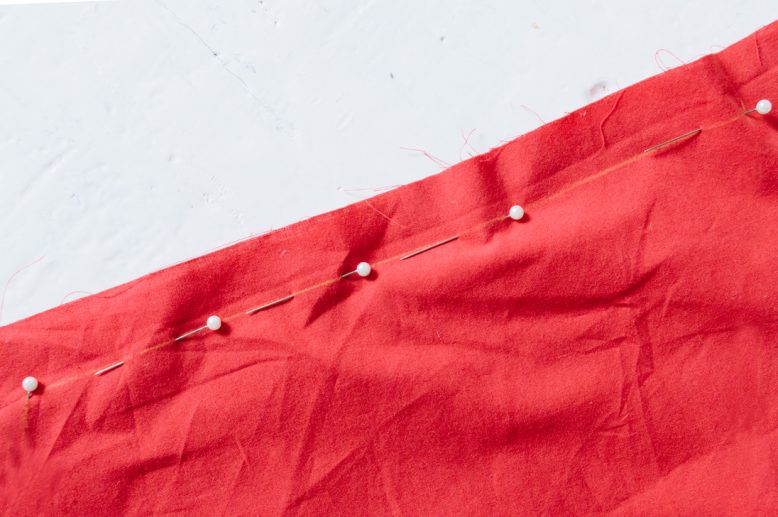
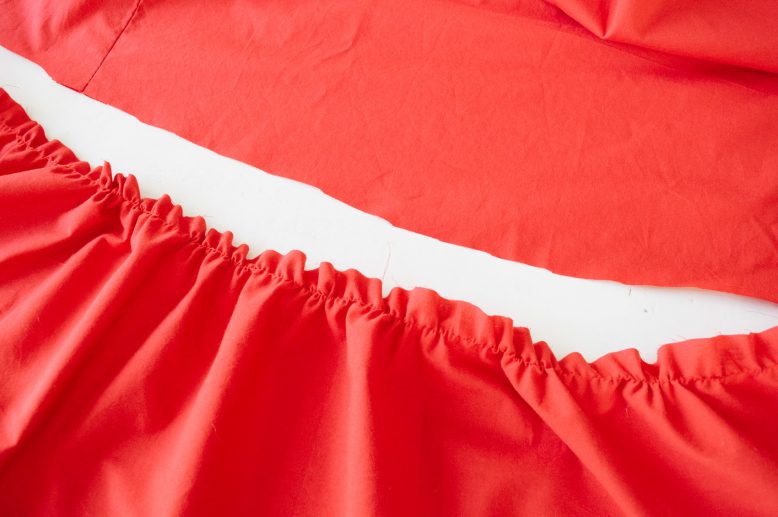
Next, we are going to gather the ruffled hem using a straight stitch on the sewing machine. Set your machine to the longest stitch and lowest tension setting, then sew along the seam allowance (without doing any backstitches).
6
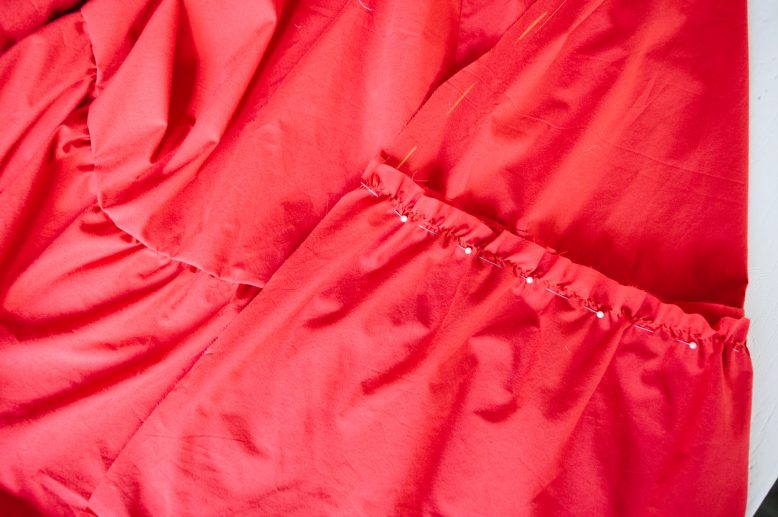
Gather your ruffle by pulling on the thread ends, and pushing the fabric to the middle. The width of the gathered ruffle needs to be the same width as the entire hem of your wrap dress. You can find more details on gathered ruffles here.
8
We decided to make this dress a V at the back so that the dress has symmetry in front and back, so draw two lines that meet in the center back line. This is optional.
10
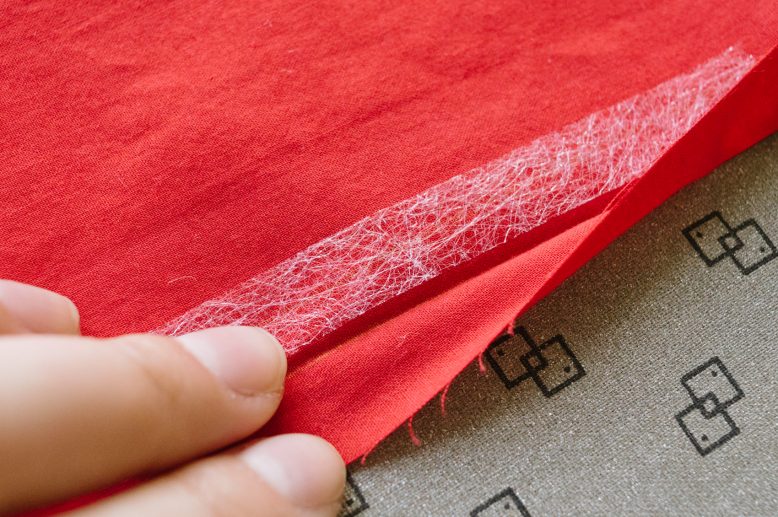
You can hem all the raw edges of the dress at this point. We actually used fusing tape to secure the seam allowances to the wrong side of the fabric, as we didn't want to do any visible stitches around the hems. You can do this or just simple sew the edges as normal.
11
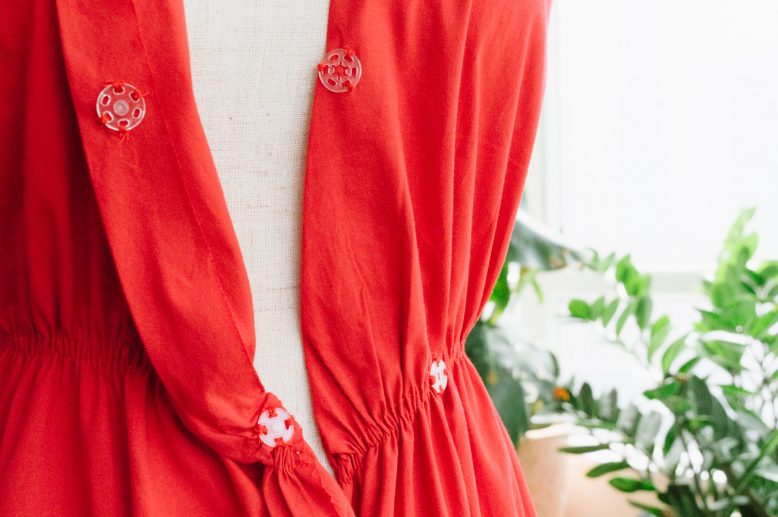
To close the dress at the front, we decided to use snap buttons, and simply hand sewed them to front opening of the dress.
12
The buttons on the overlapping side were sewn close to the edge, but the placement of the buttons on the inner layer will depend on how snug you want the dress to fit you, and how deep the front V is. You can play around with this to get the best fit!
Voila!
Wearing: DIY Dress, A Pair & A Spare Sandals, Market Bag, Sportsgirl hat.
I have to say I’m loving red more and more! Are you guys gravitating to any particular colour at the moment?
Hope you love this DIY Maxi dress as much as I enjoy wearing it! Here are a few more summer style DIYs: Cross Back Dress | Shirred Dress


