Hand painted tiles made easy! Also known as #uptiled.
I absolutely love everything about painted patterned tiles, and recently when I made my DIY upcycled tiled table I decided to see if I could make them myself. The challenge with hand painted tiles is that they have a tendency to chip, so it’s really important to prime and seal them properly. Over the last few weeks I’ve tested lots of different methods and products for doing this, and landed upon this tutorial as the best for reducing chipping and making the tiles more durable. Read on for more and watch the video!
How To Choose The Right Tiles To Paint
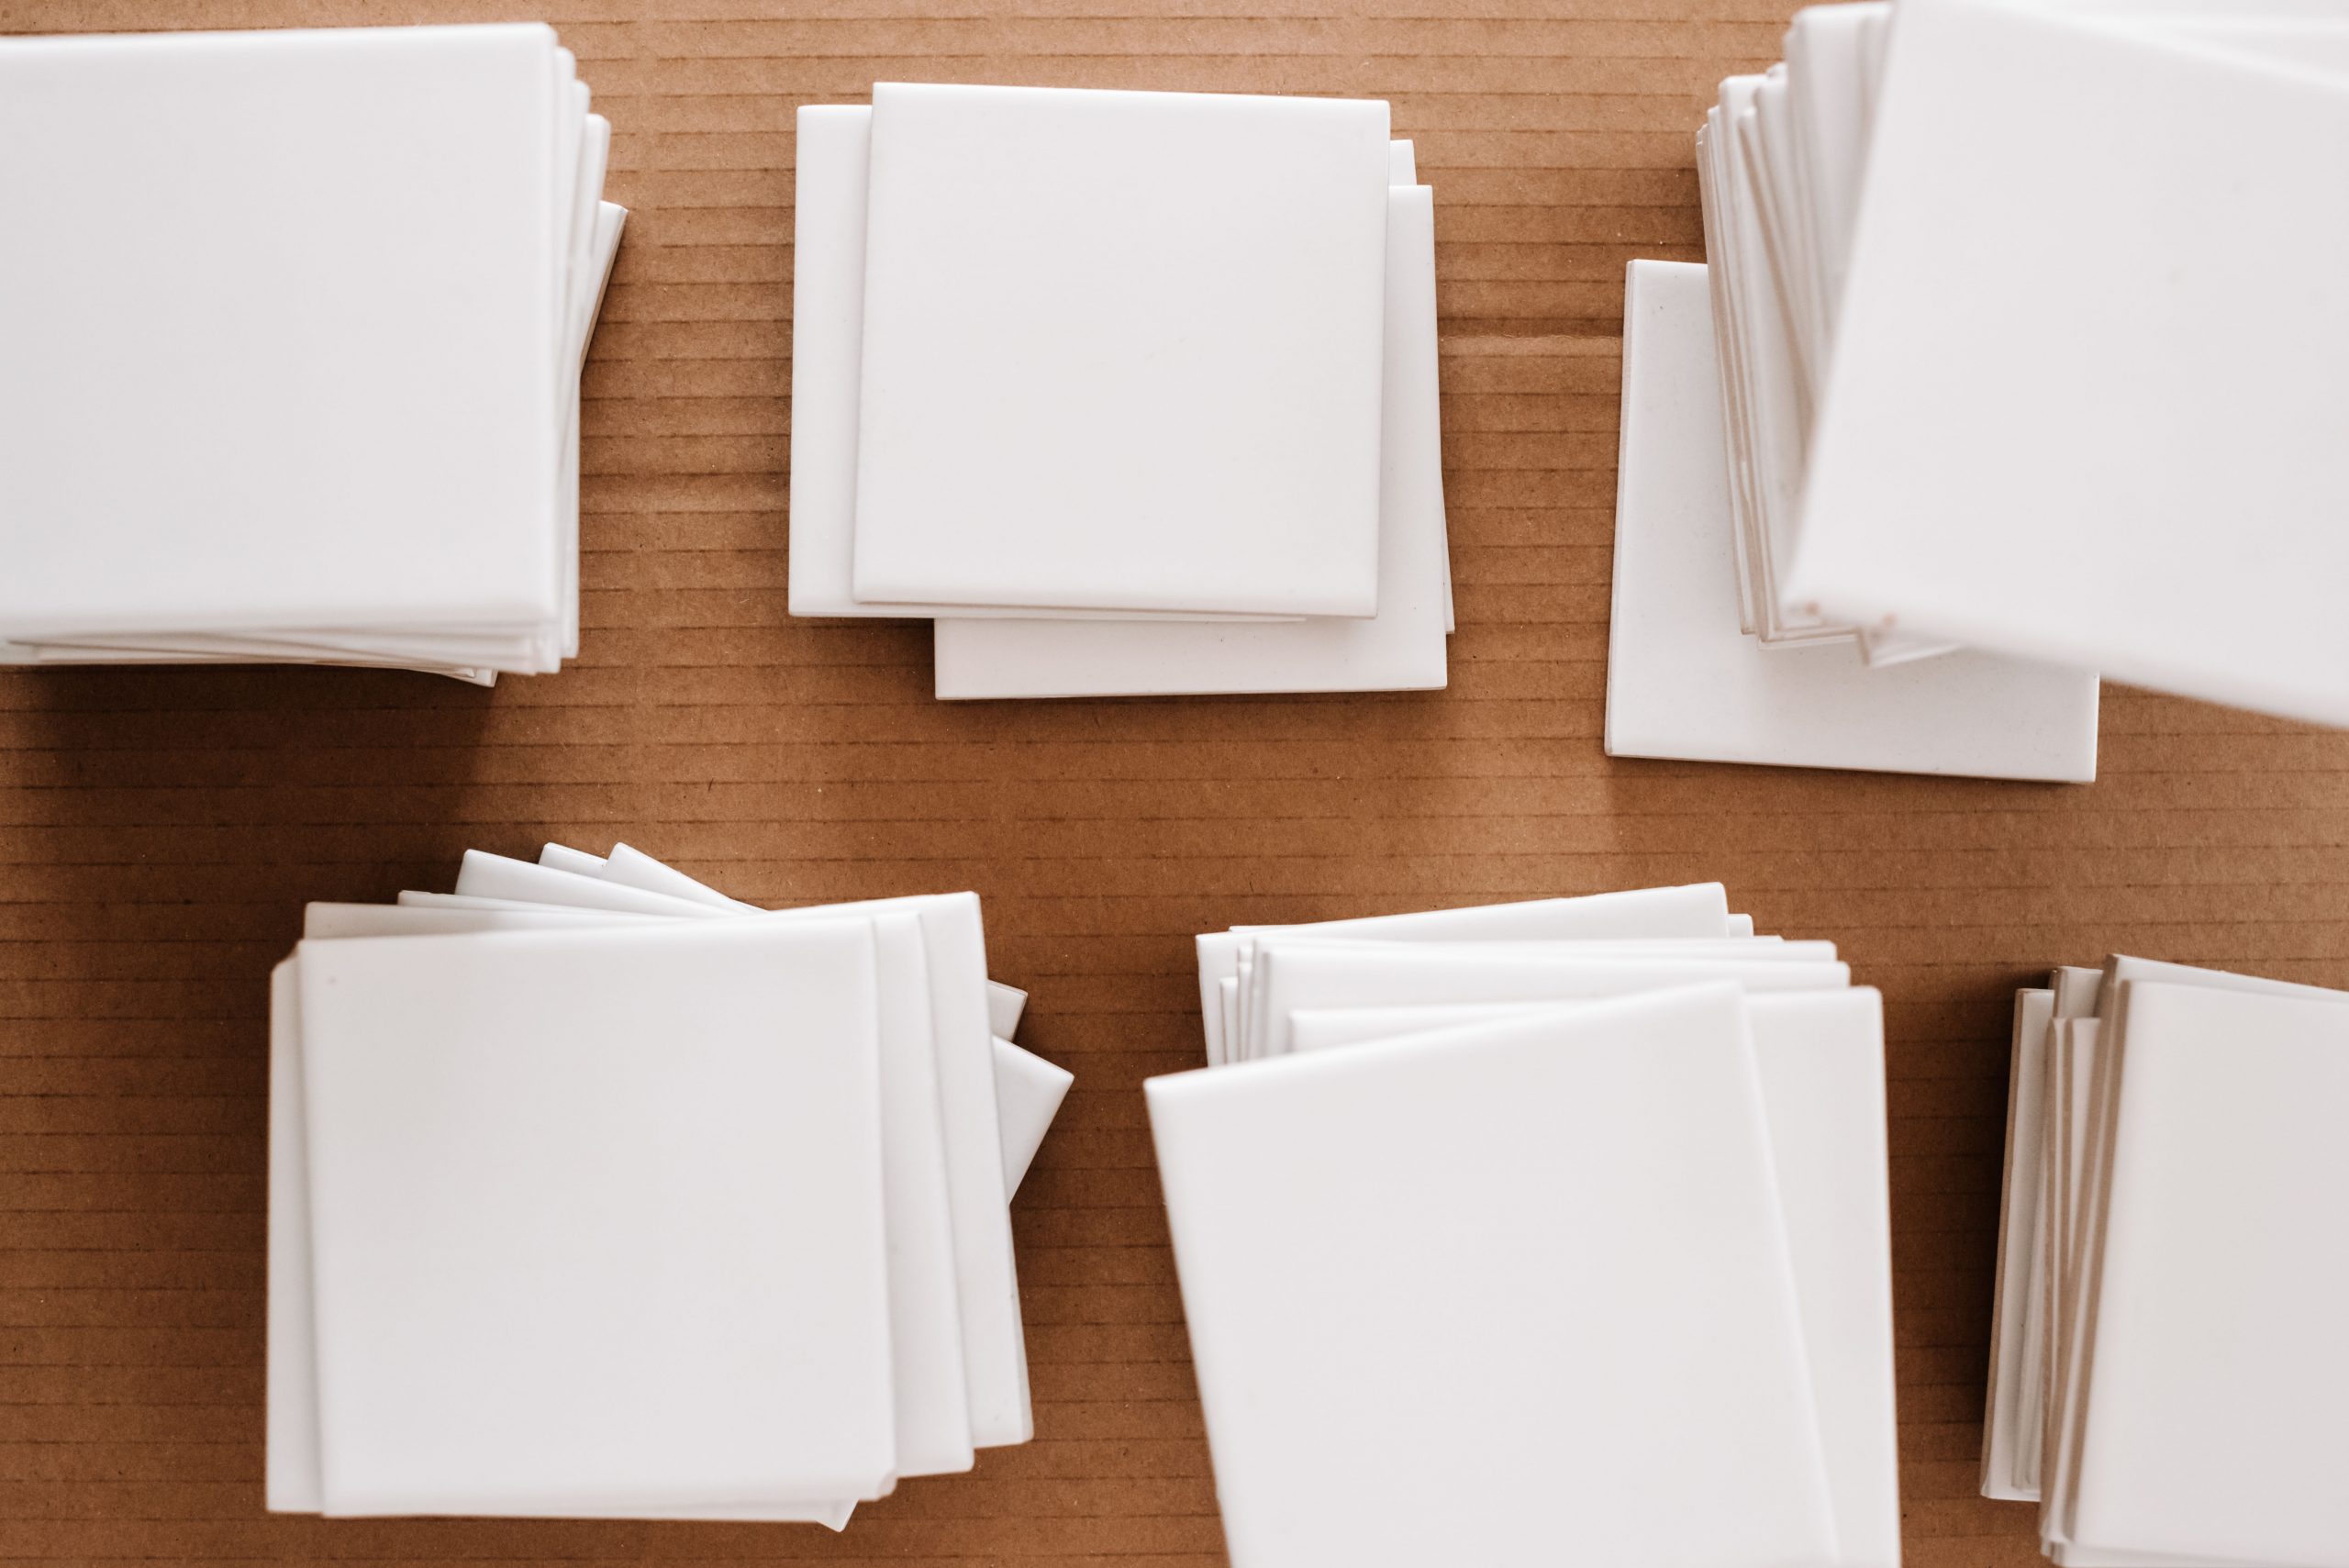
The best tiles to choose when you plan to paint them is the non-shiny variety, meaning they haven’t been glazed, or if they have it’s a simple satin type glaze. The ideal type of tile is completely unglazed. This will make it easier for the paint to adhere to your tiles. For this project I used Johnson Tiles 97mm x 97mm satin finish tiles.
What You Need To Hand Paint Tiles
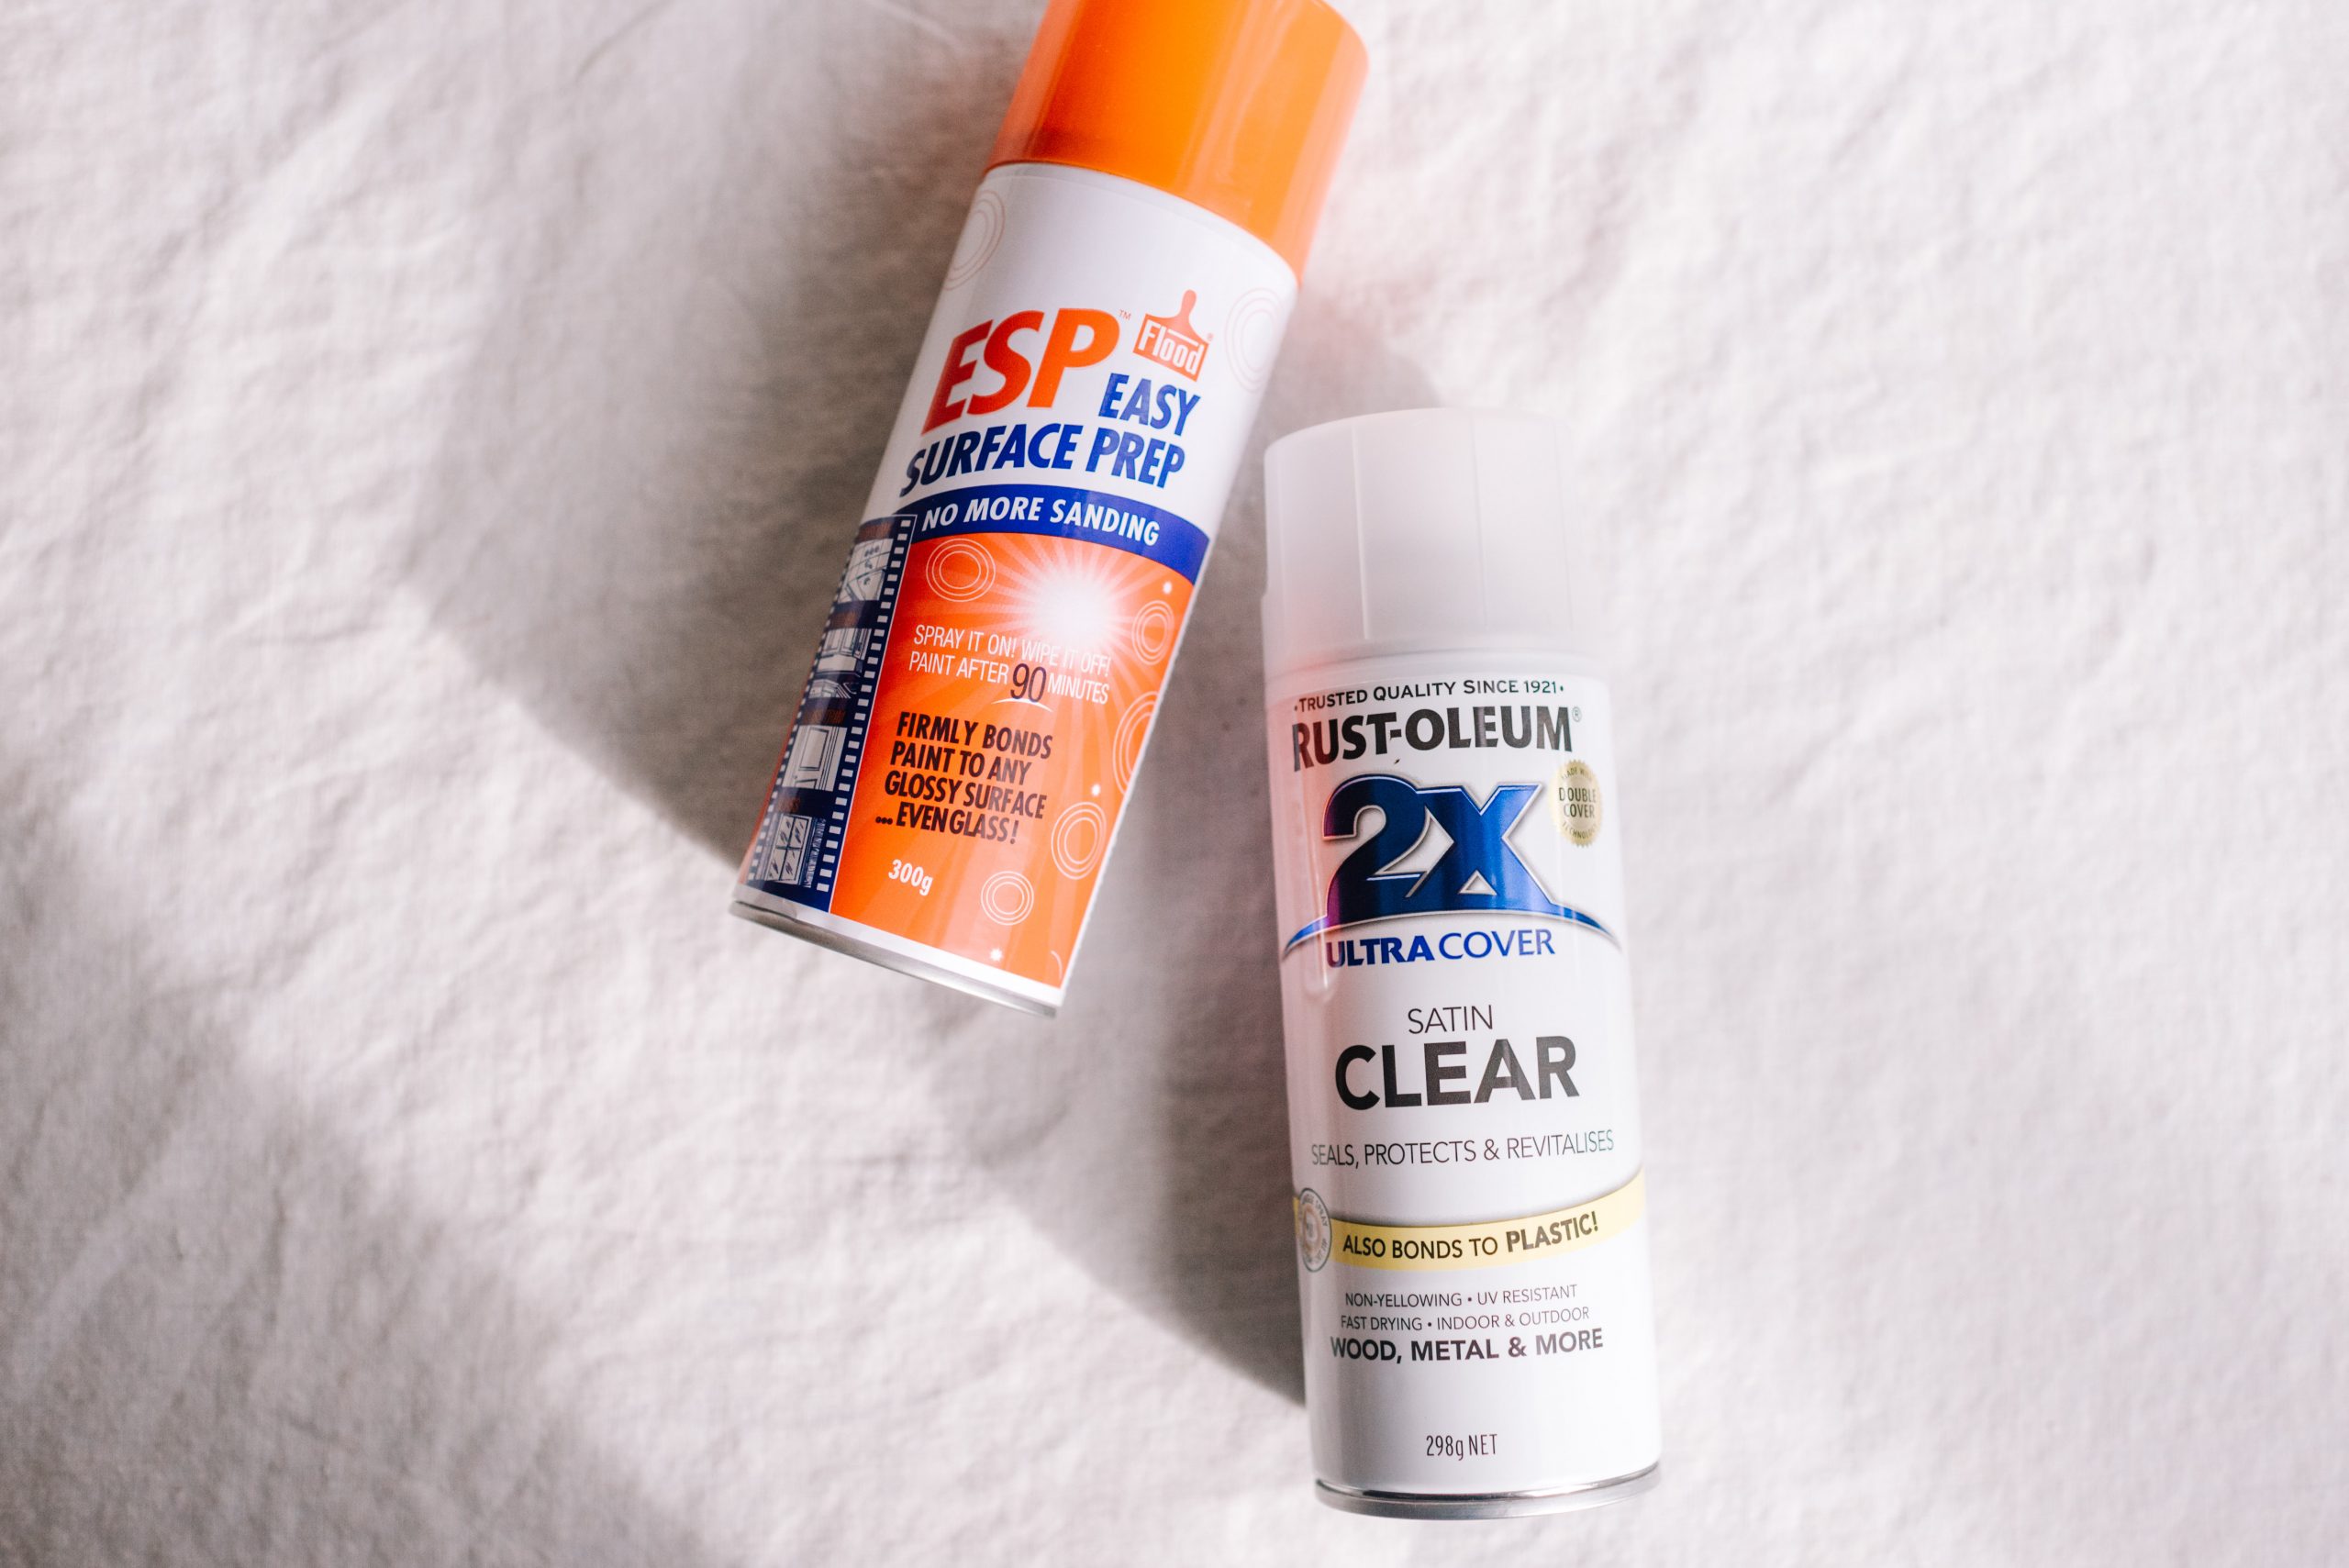
- Acrylic paint primer (I used this product called ESP Primer)
- Acrylic interior paint. I used Taubmans Pale Russet, and also Megatreat Liquid Terracotta.
- Foam Paint Brushes
- Painters Tape (opt)
Watch the Video
How To Hand Paint Tiles
- First, lay out your tiles in a ventilated area such as outdoors. Clean them well to remove any dust or dirt. You can use alcohol to do this but I just used soap and water.
- Then, spray or brush on your primer. This step is optional, and you can risk it without a primer, but using it will make the paint stick much better (although if you use the liquid terracotta it doesn’t need a primer). Leave your primer to dry according to the instructions on your product label.
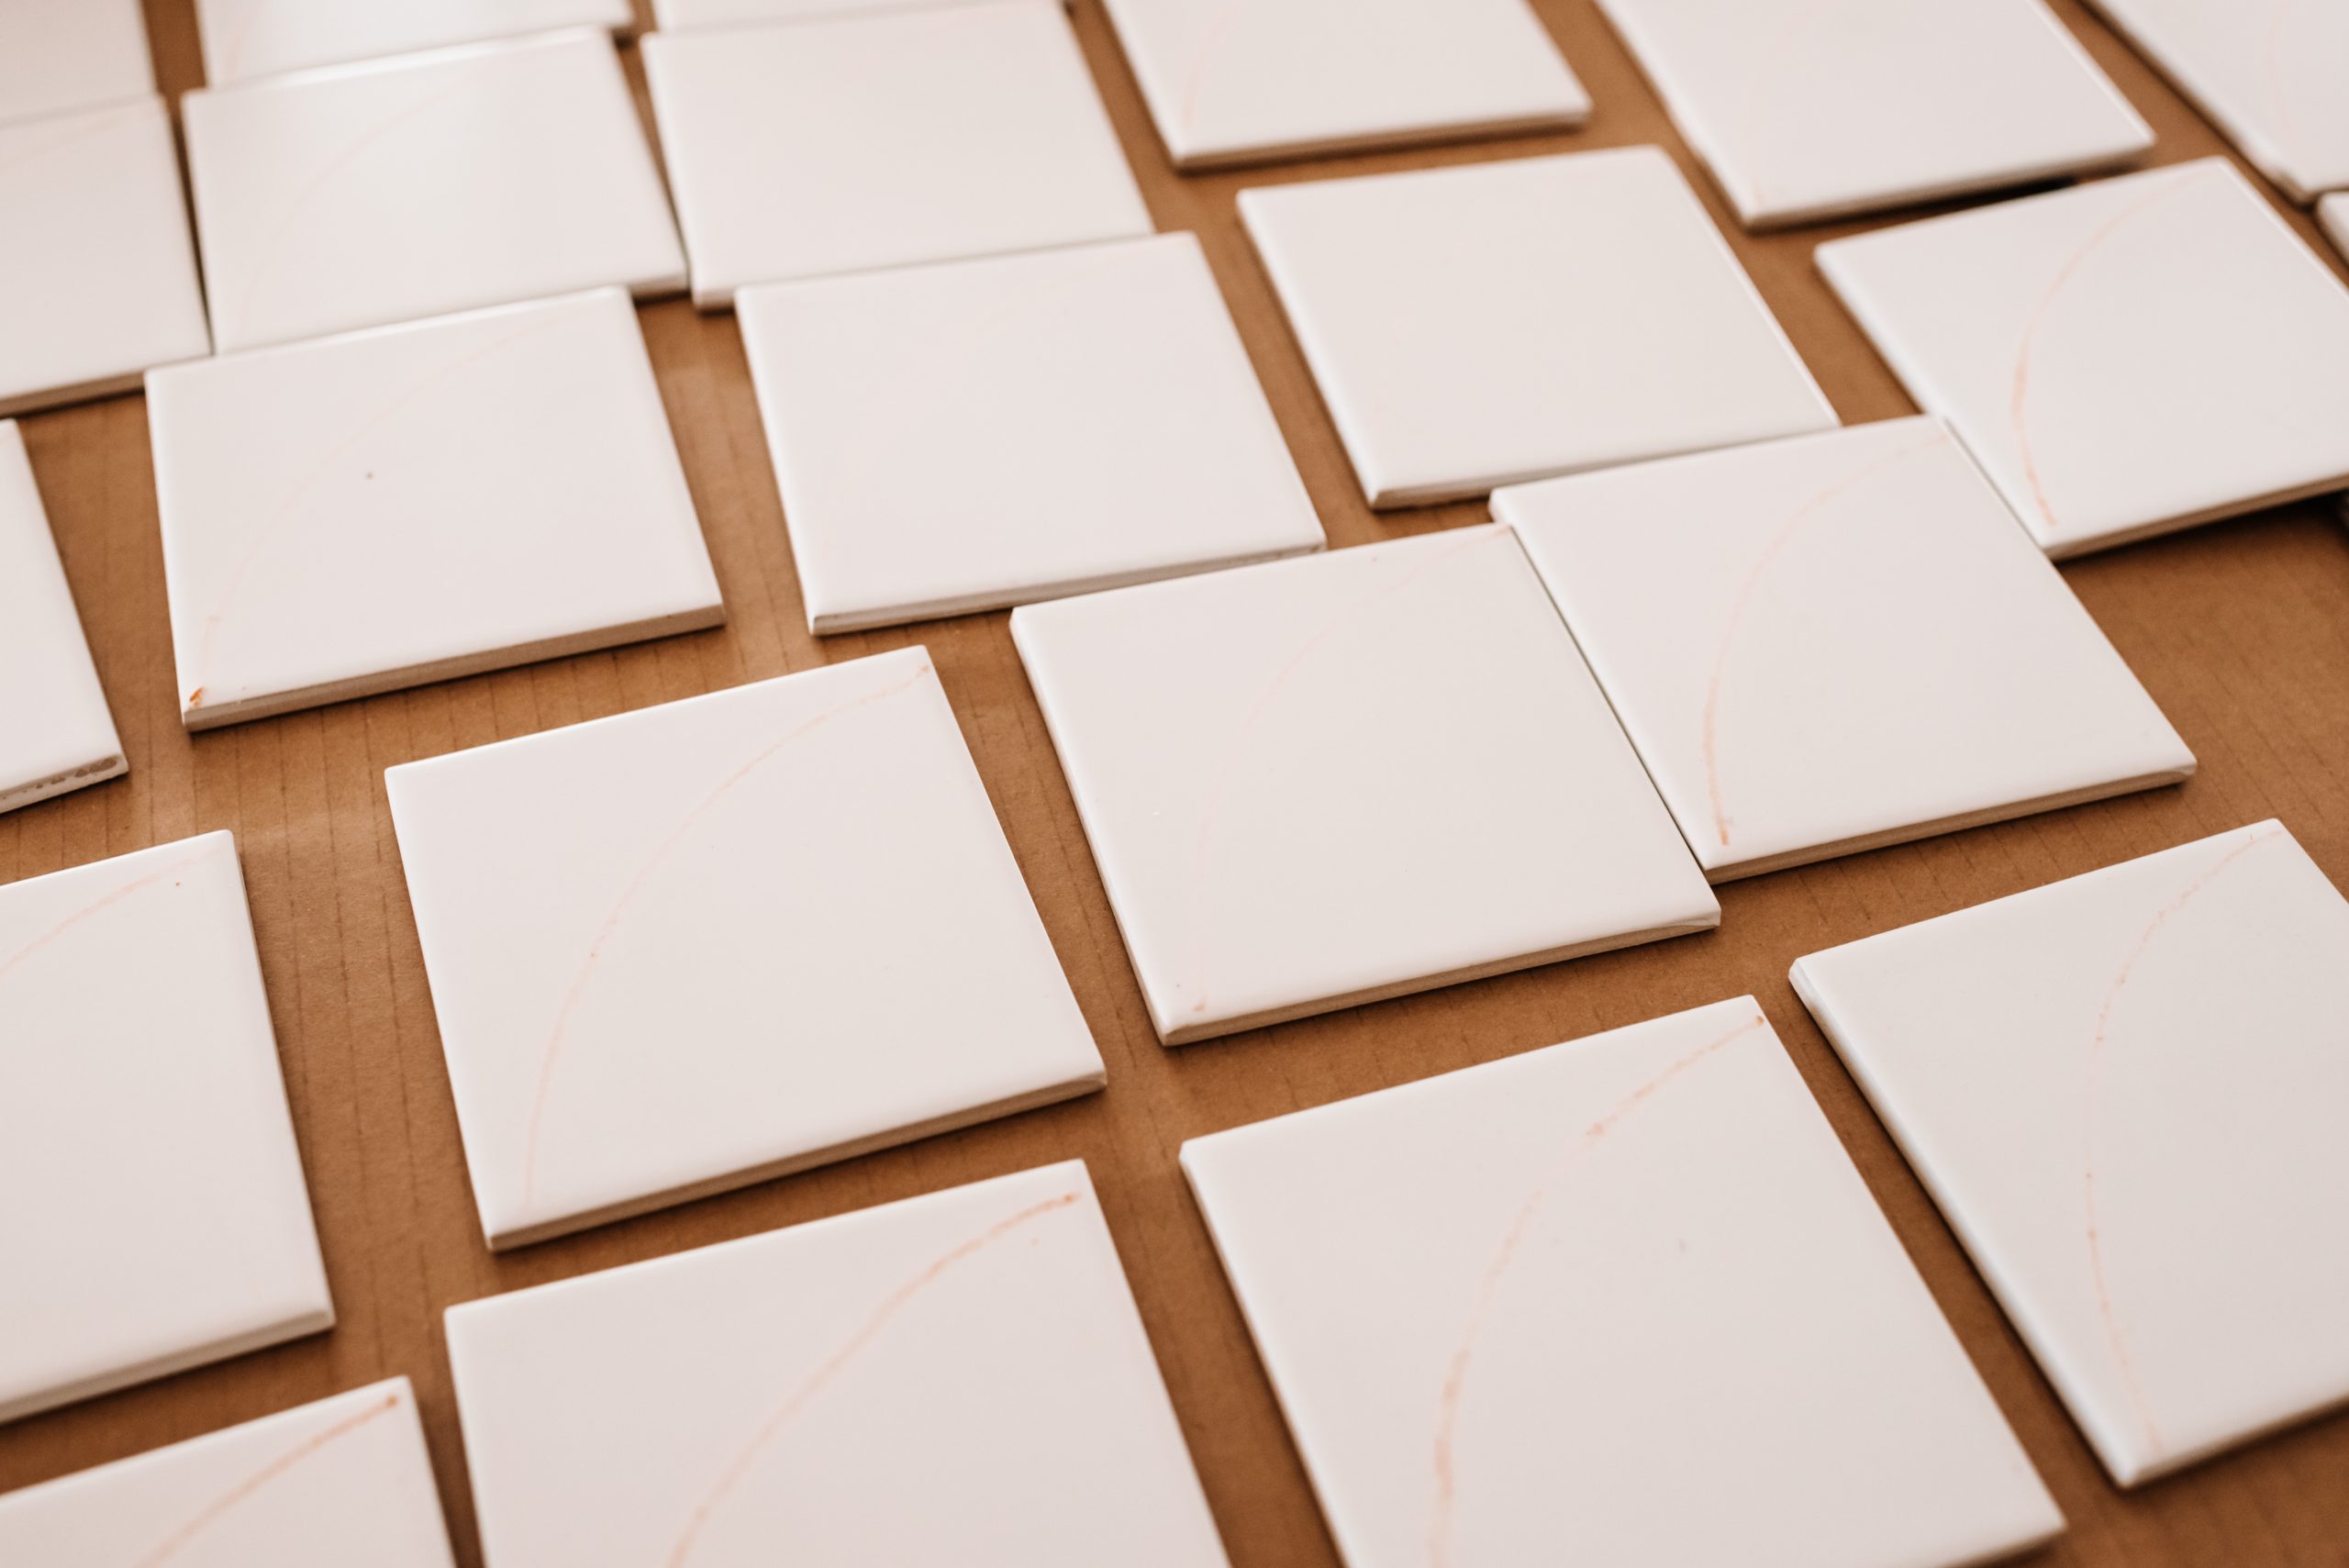
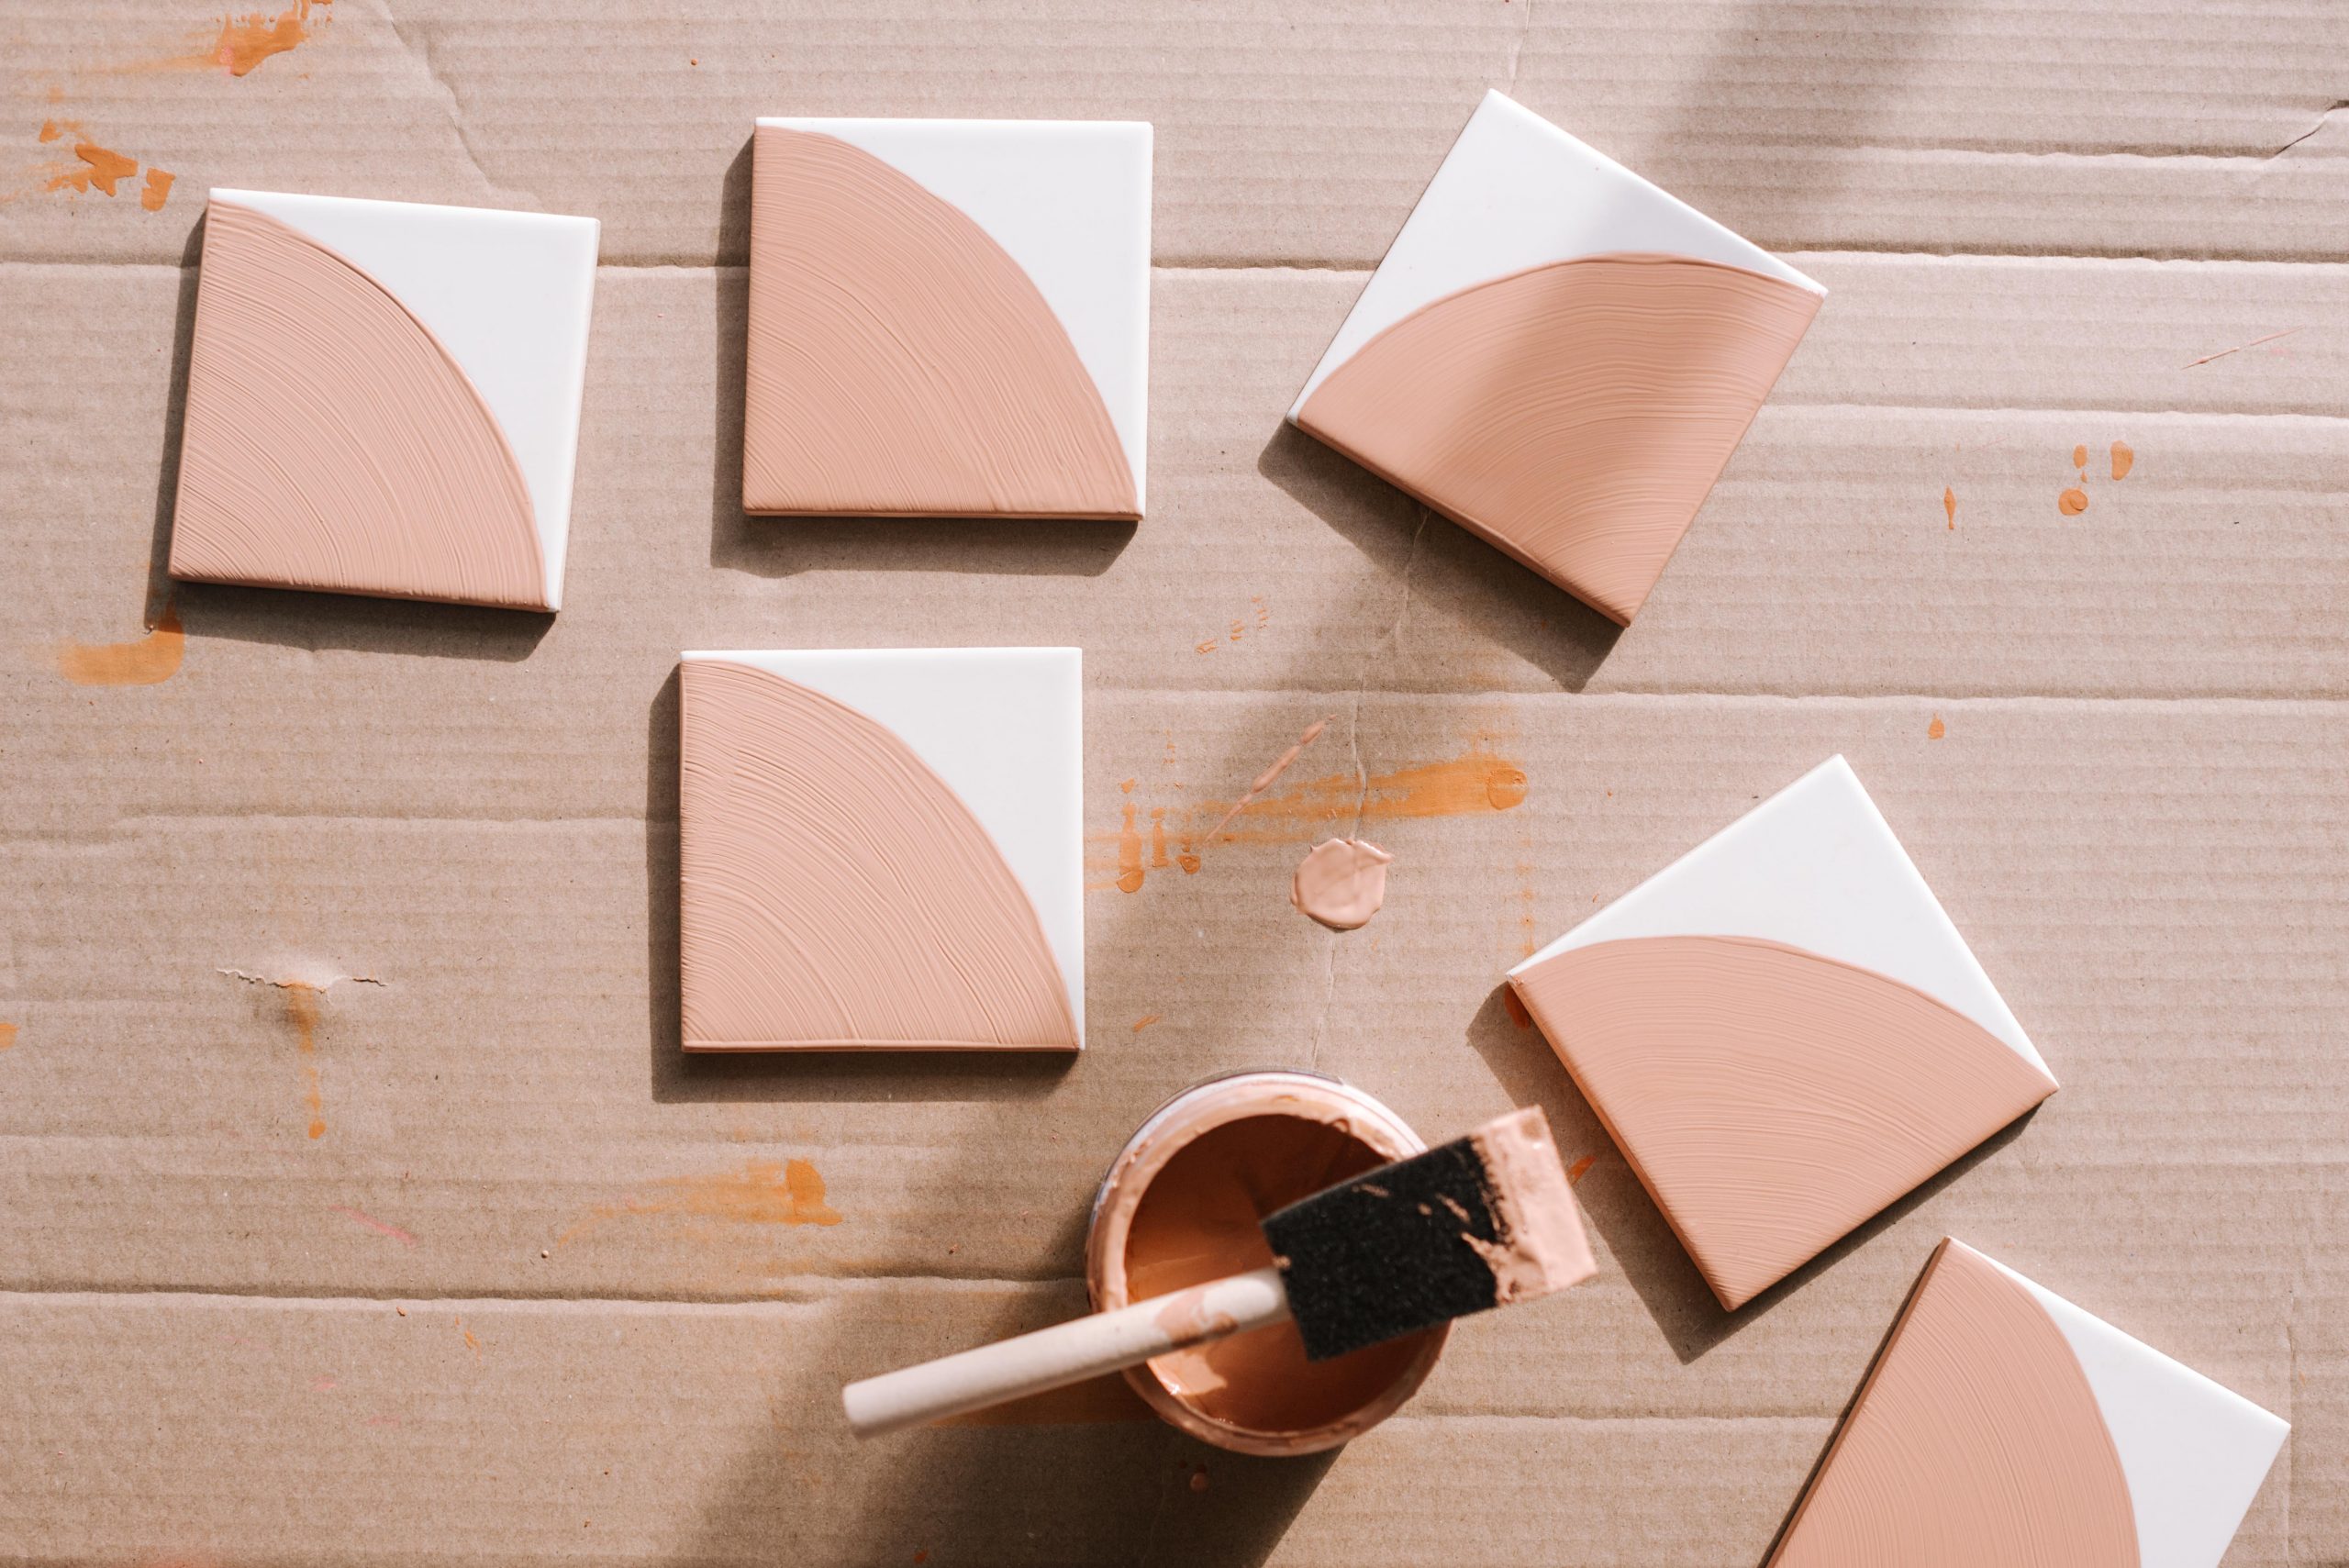
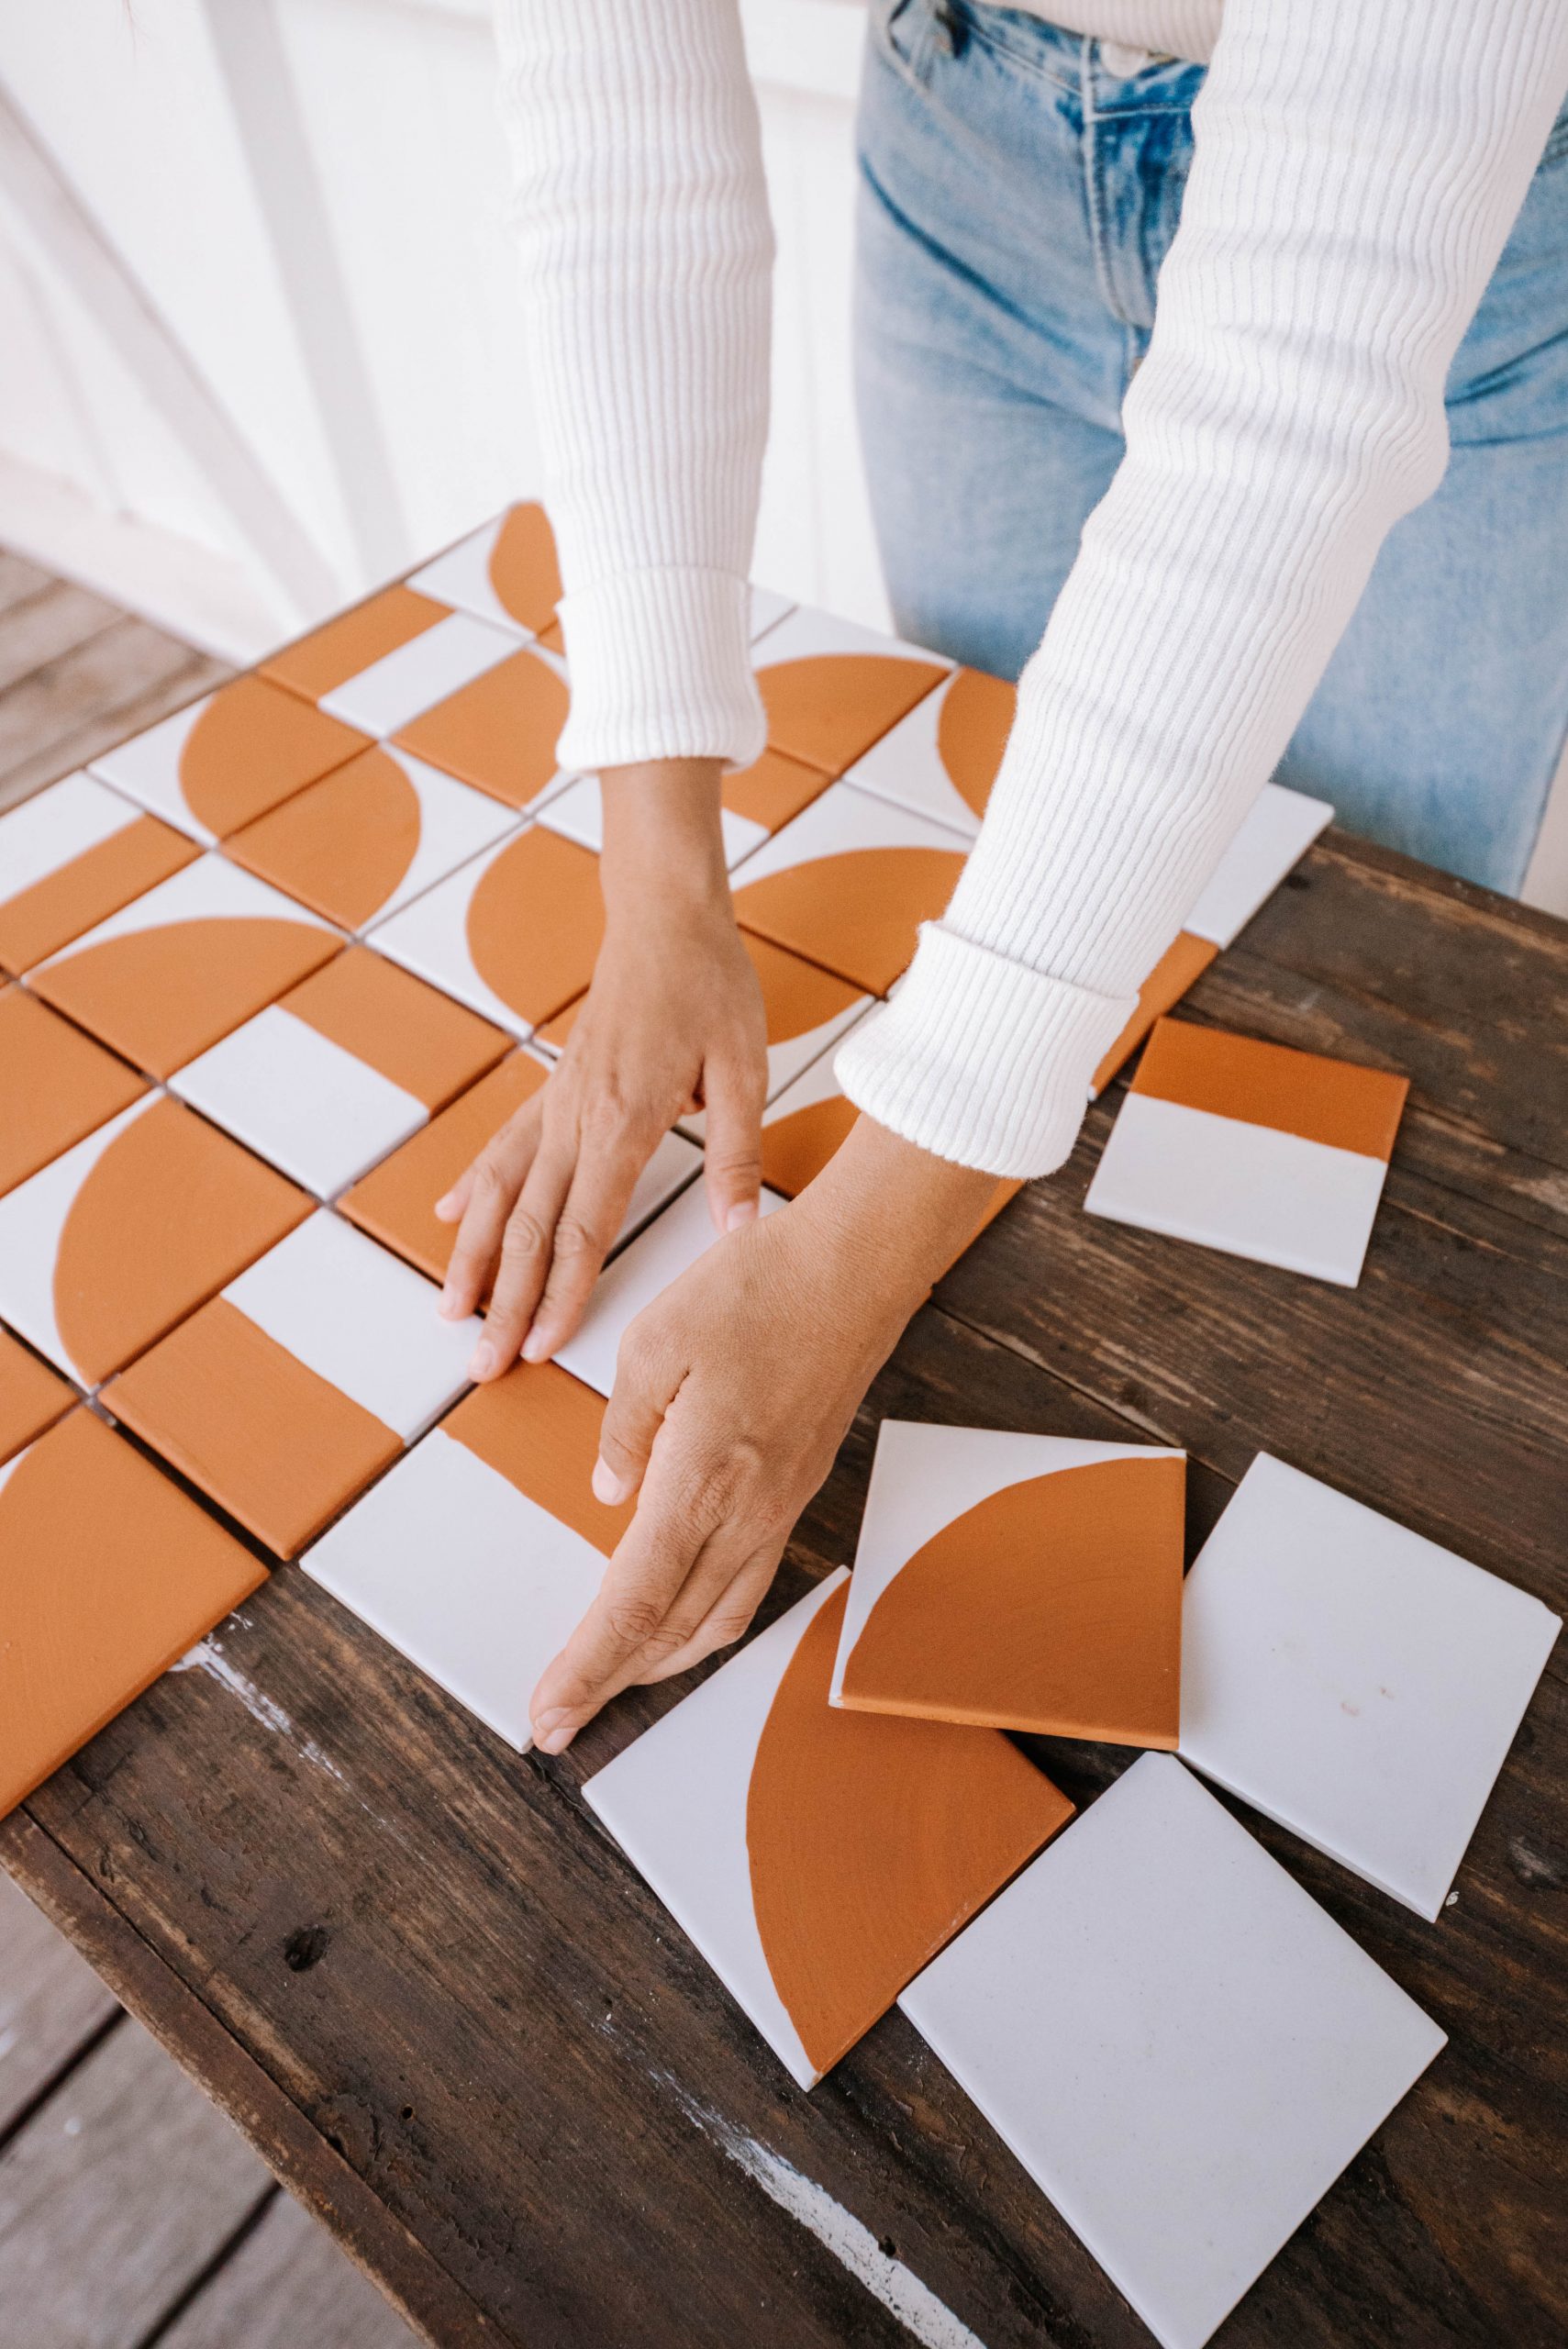
- Next it’s time to work out what patterns you want on your tiles. Consider how you want to lay them out and what design you’re going for. You can do stripes, curves or diagonal lines. You can use painters tape to tape any straight designs, or a plate and chalk (or a crayon) to drawn on any rounded designs.
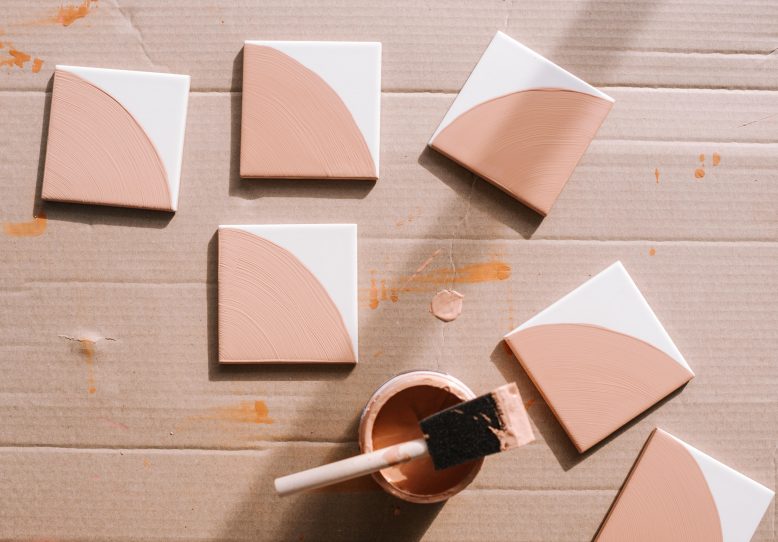
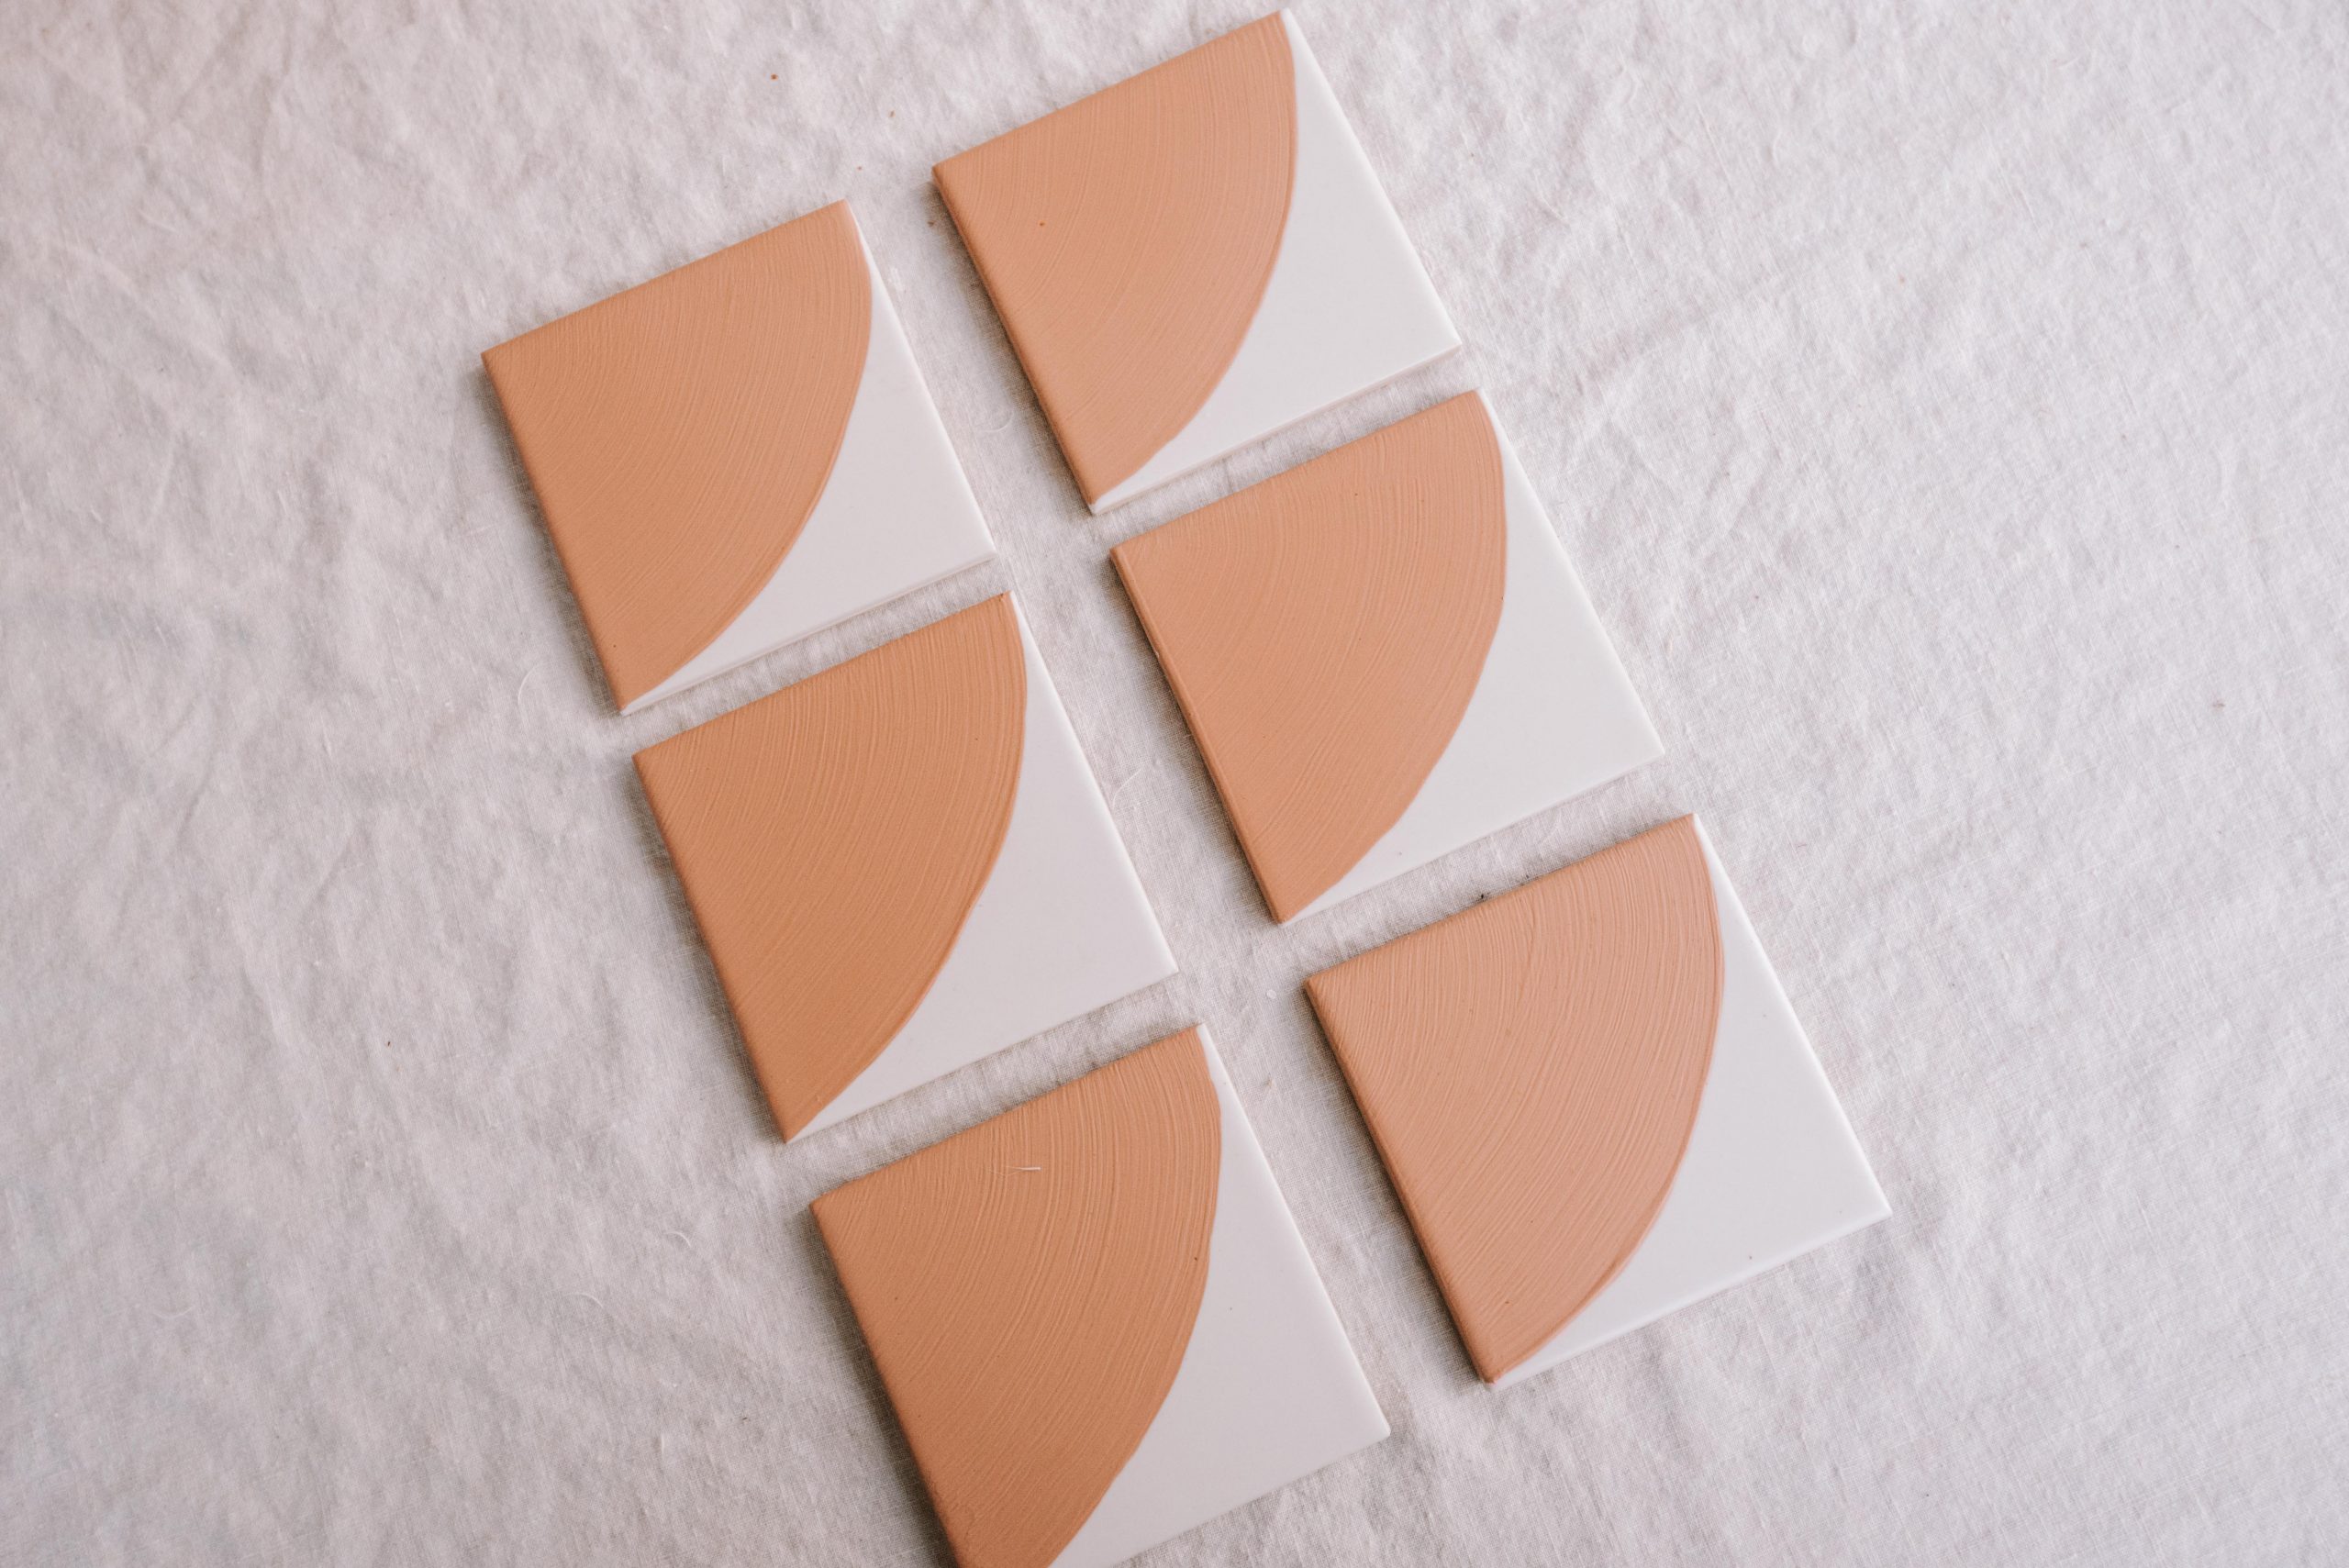
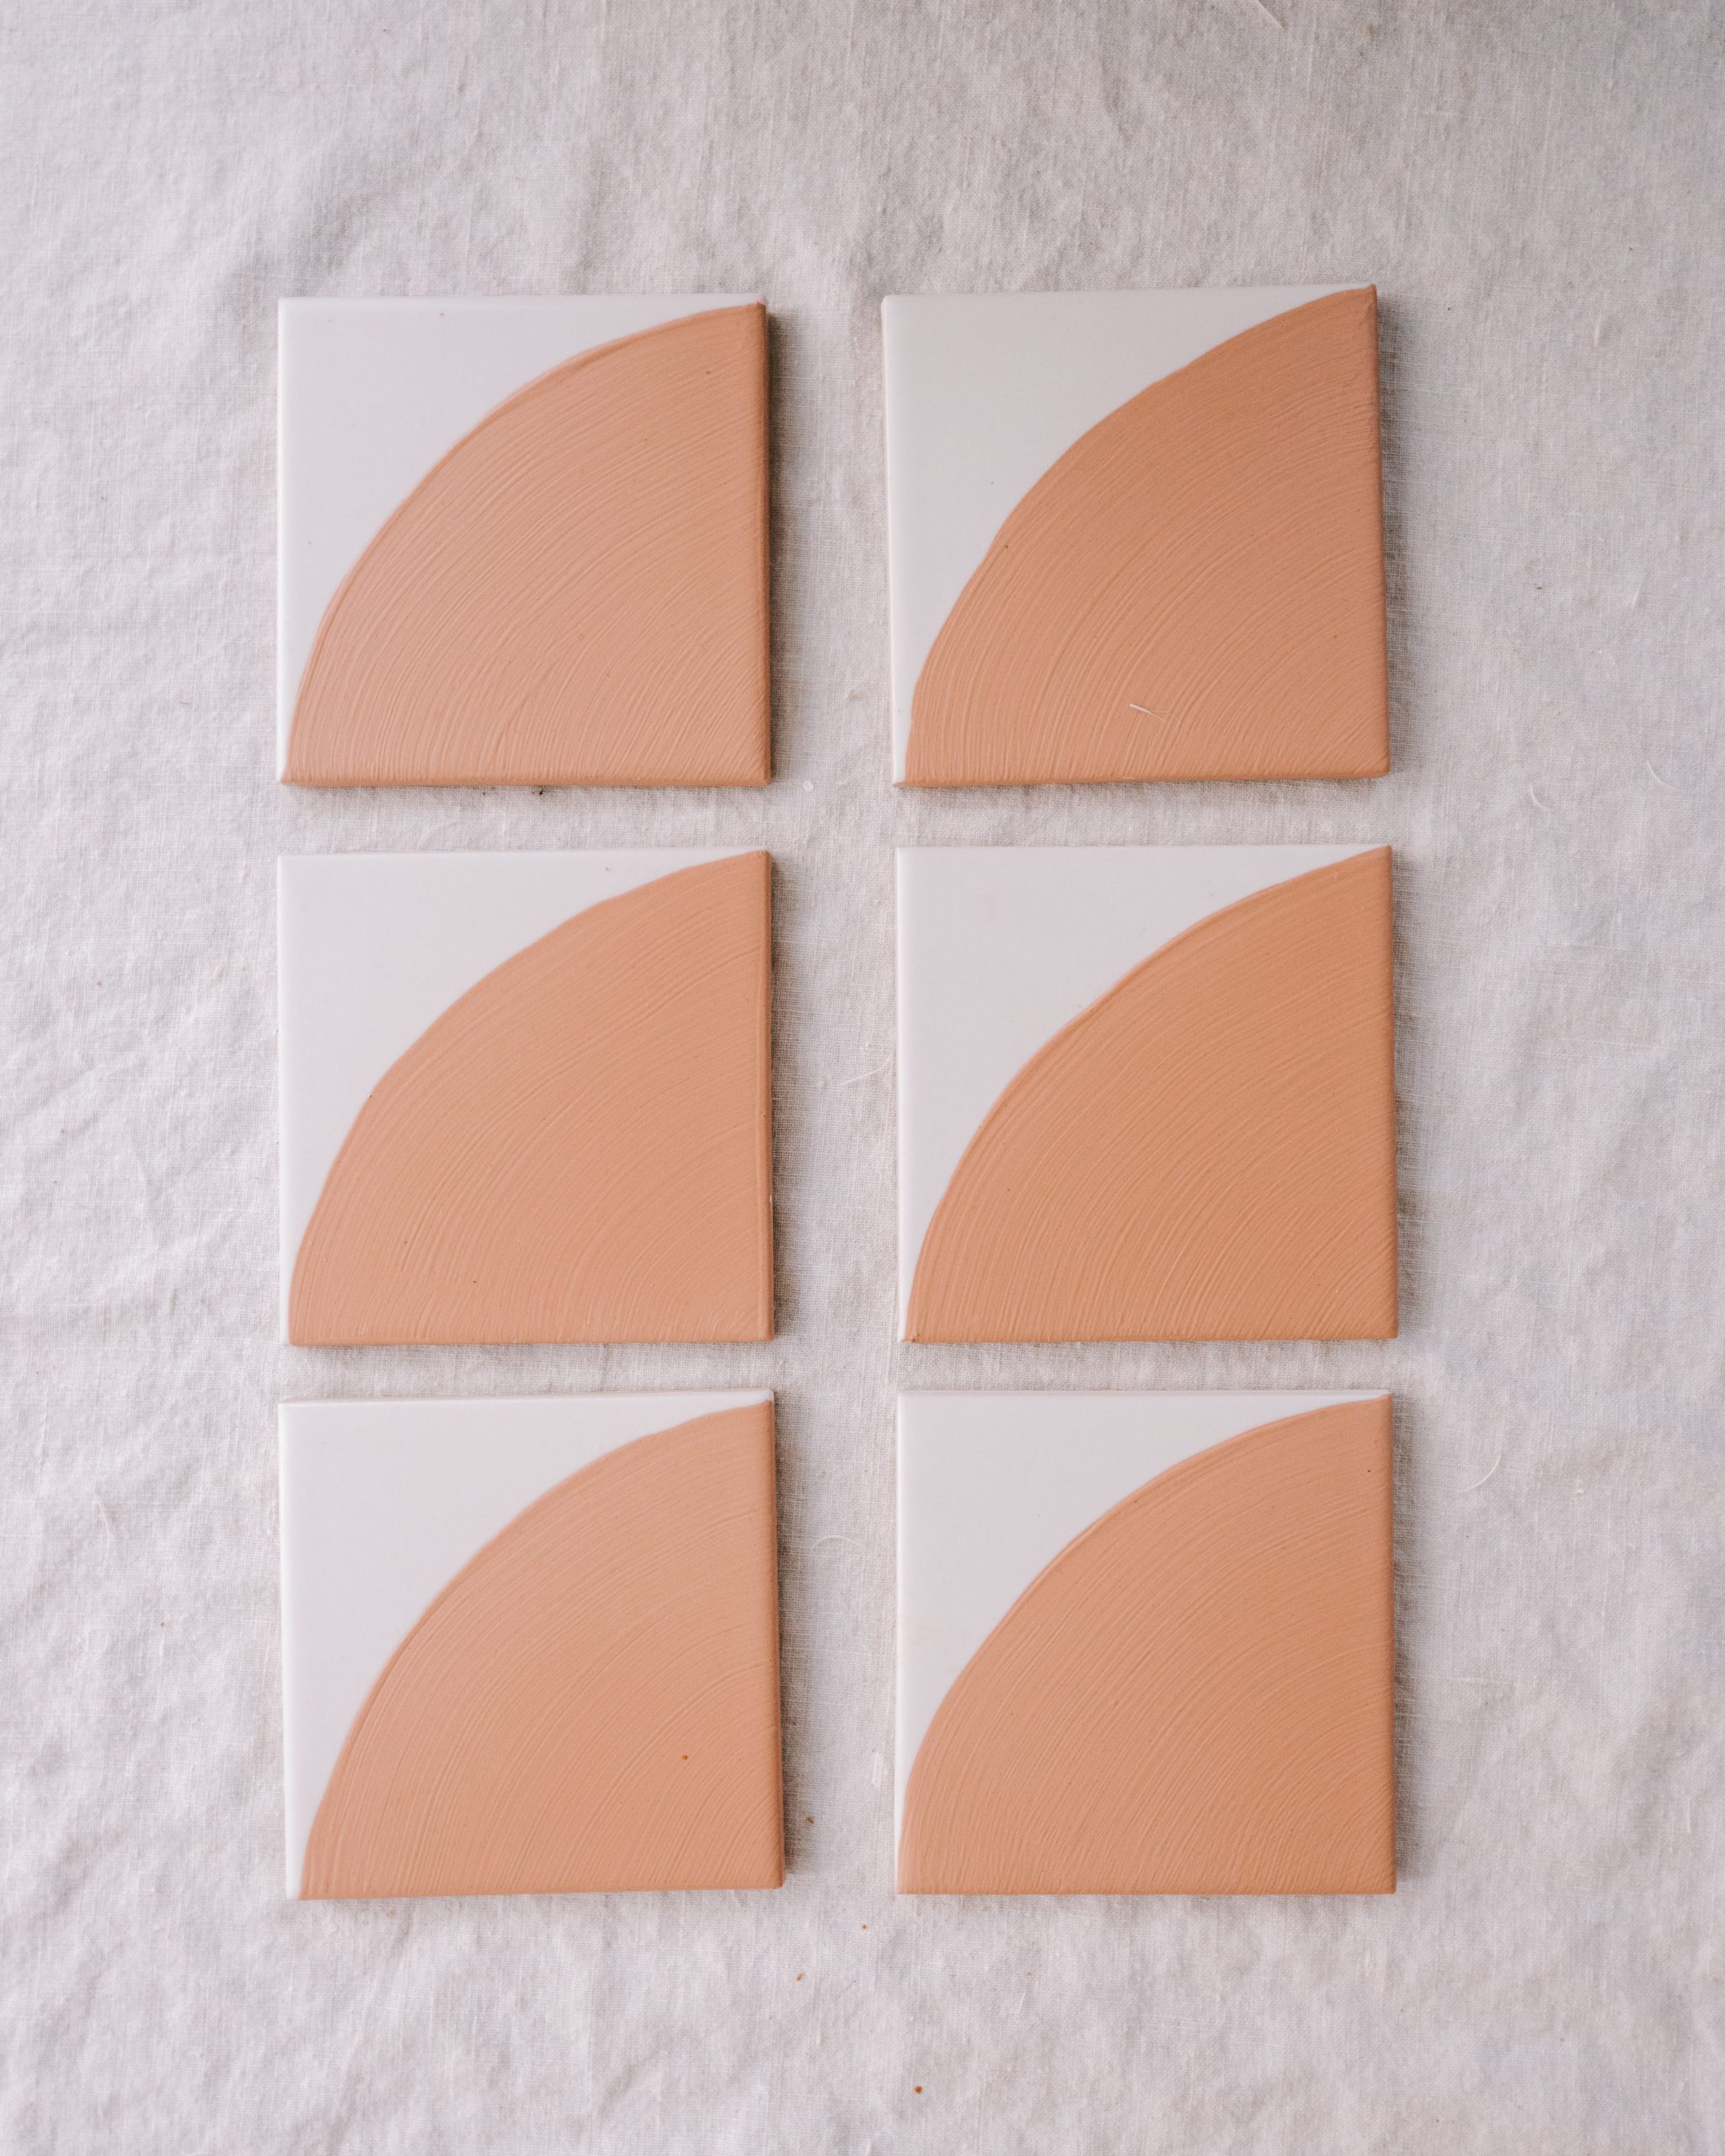
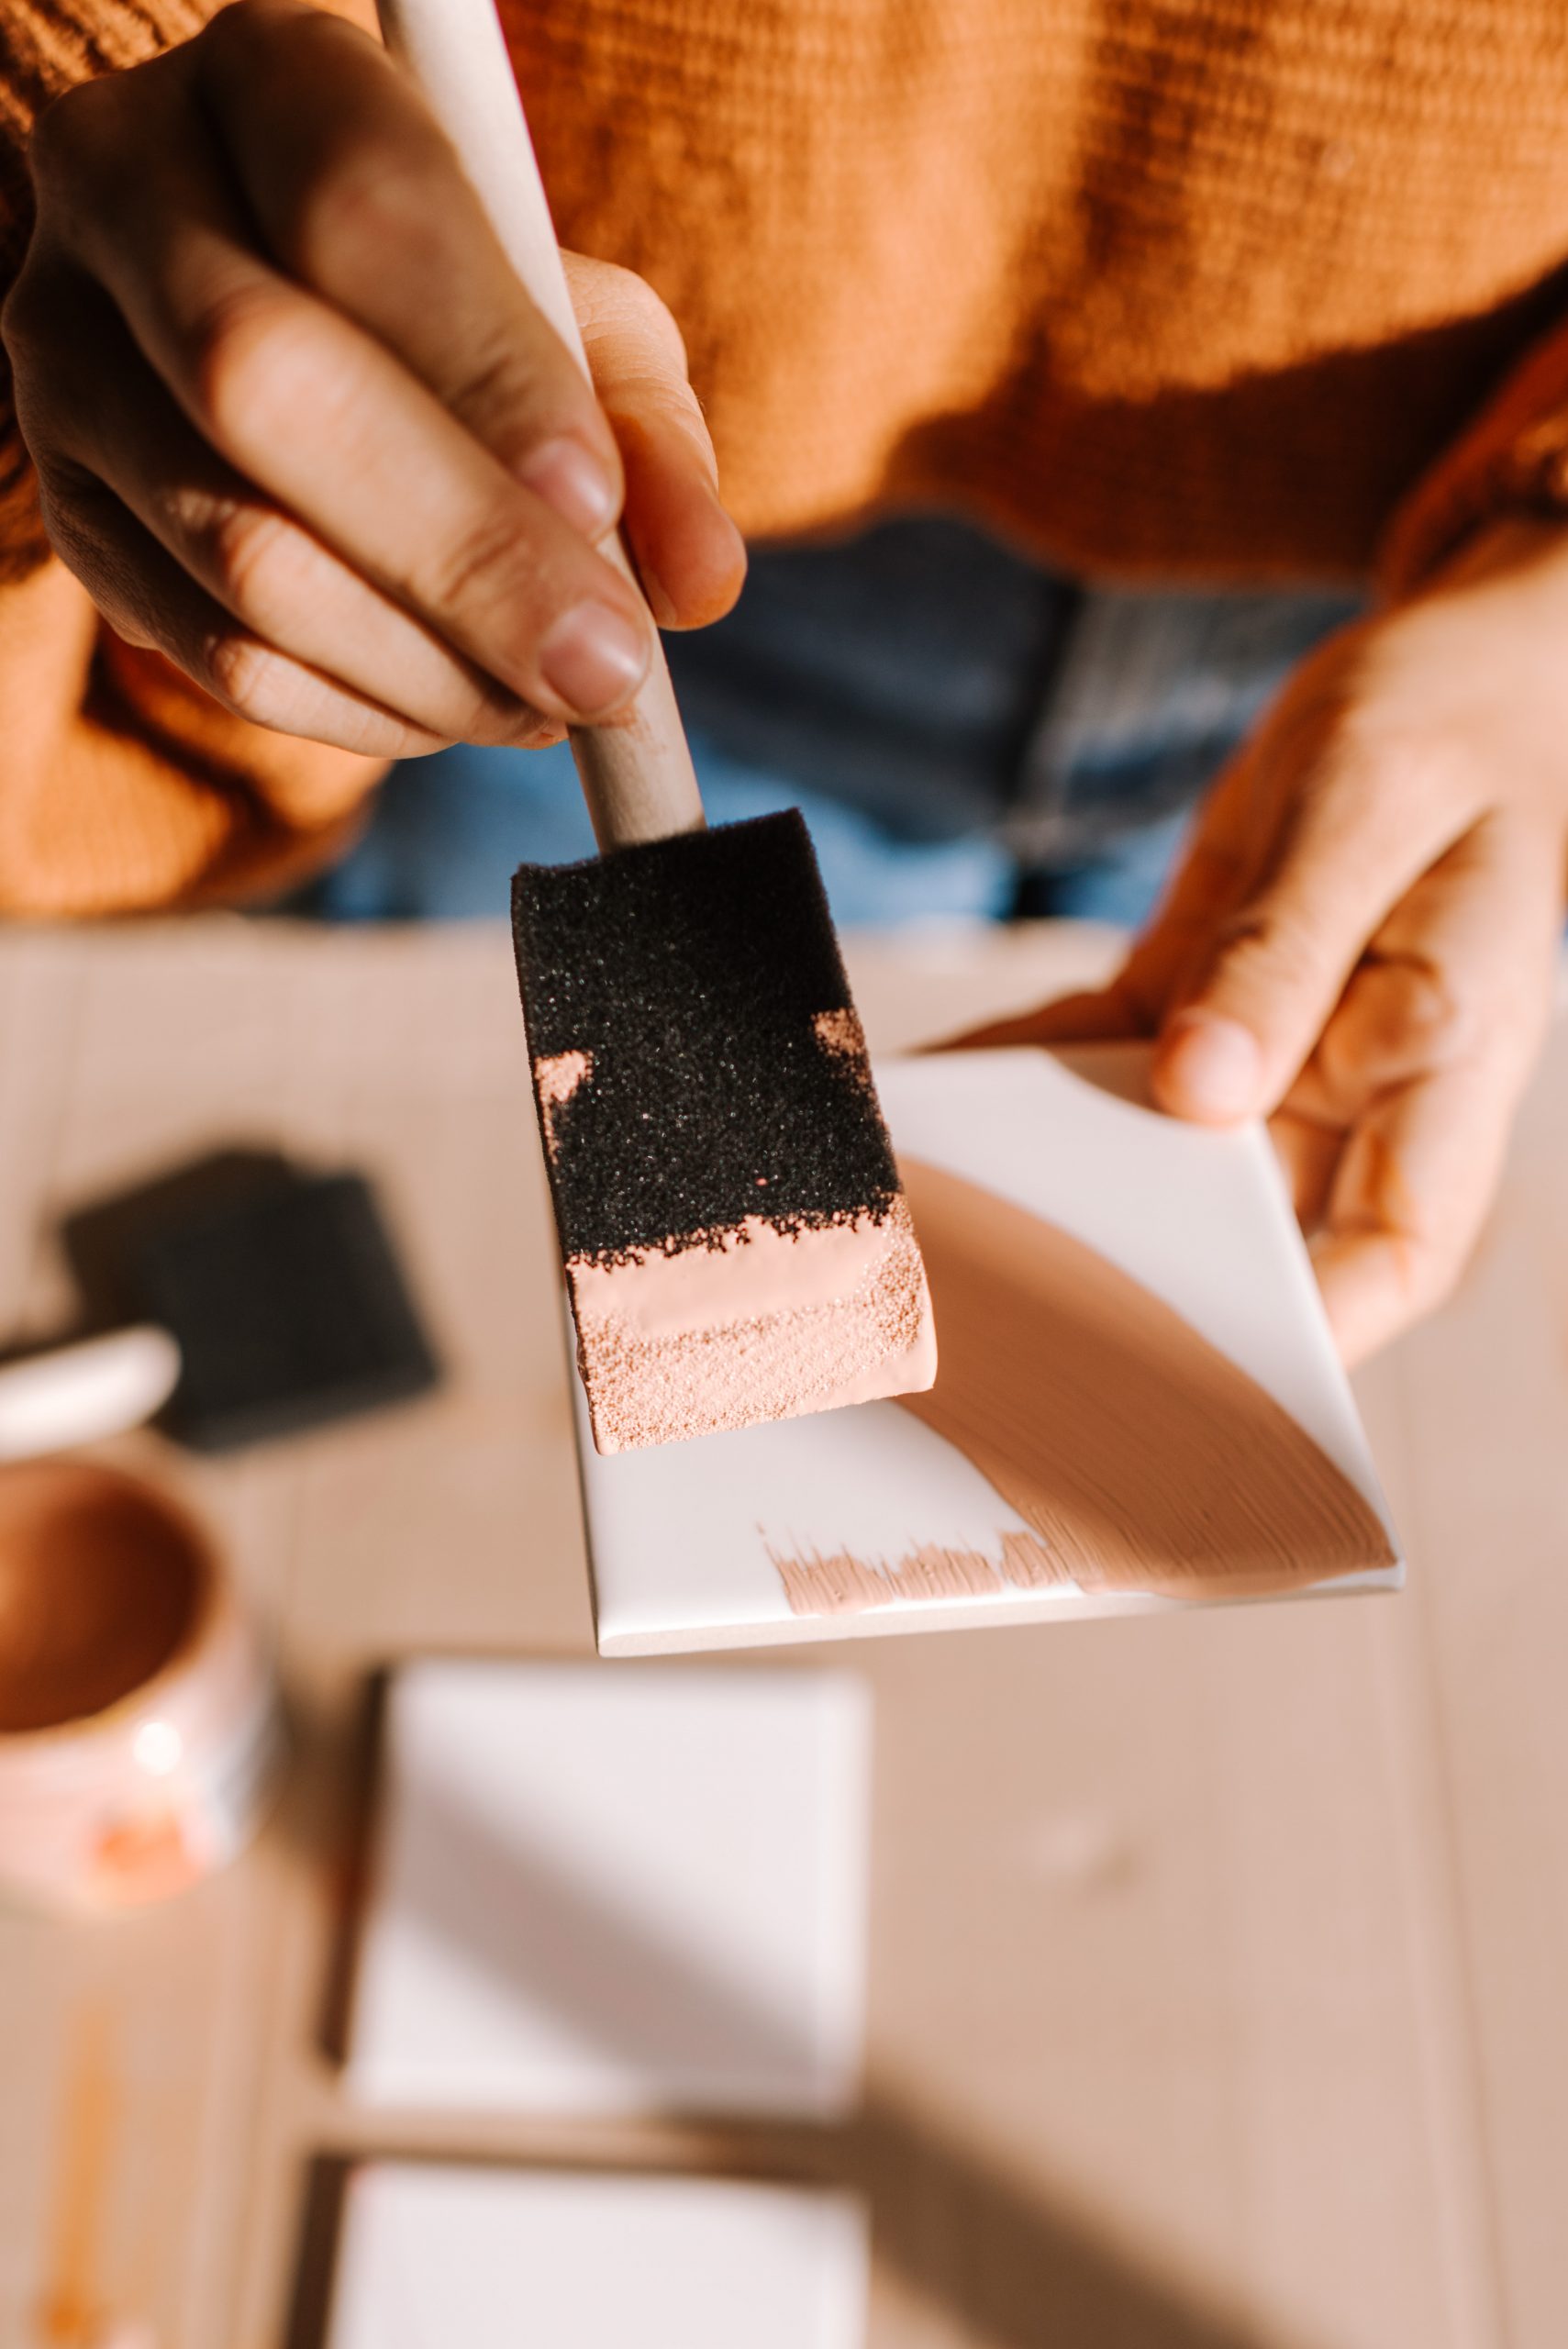
- Now it’s time to paint! Take your time to apply smooth strokes and make sure the paint isn’t too clumpy. Let them dry and then do another coat if required. Leave them to dry for at least 24 hours.
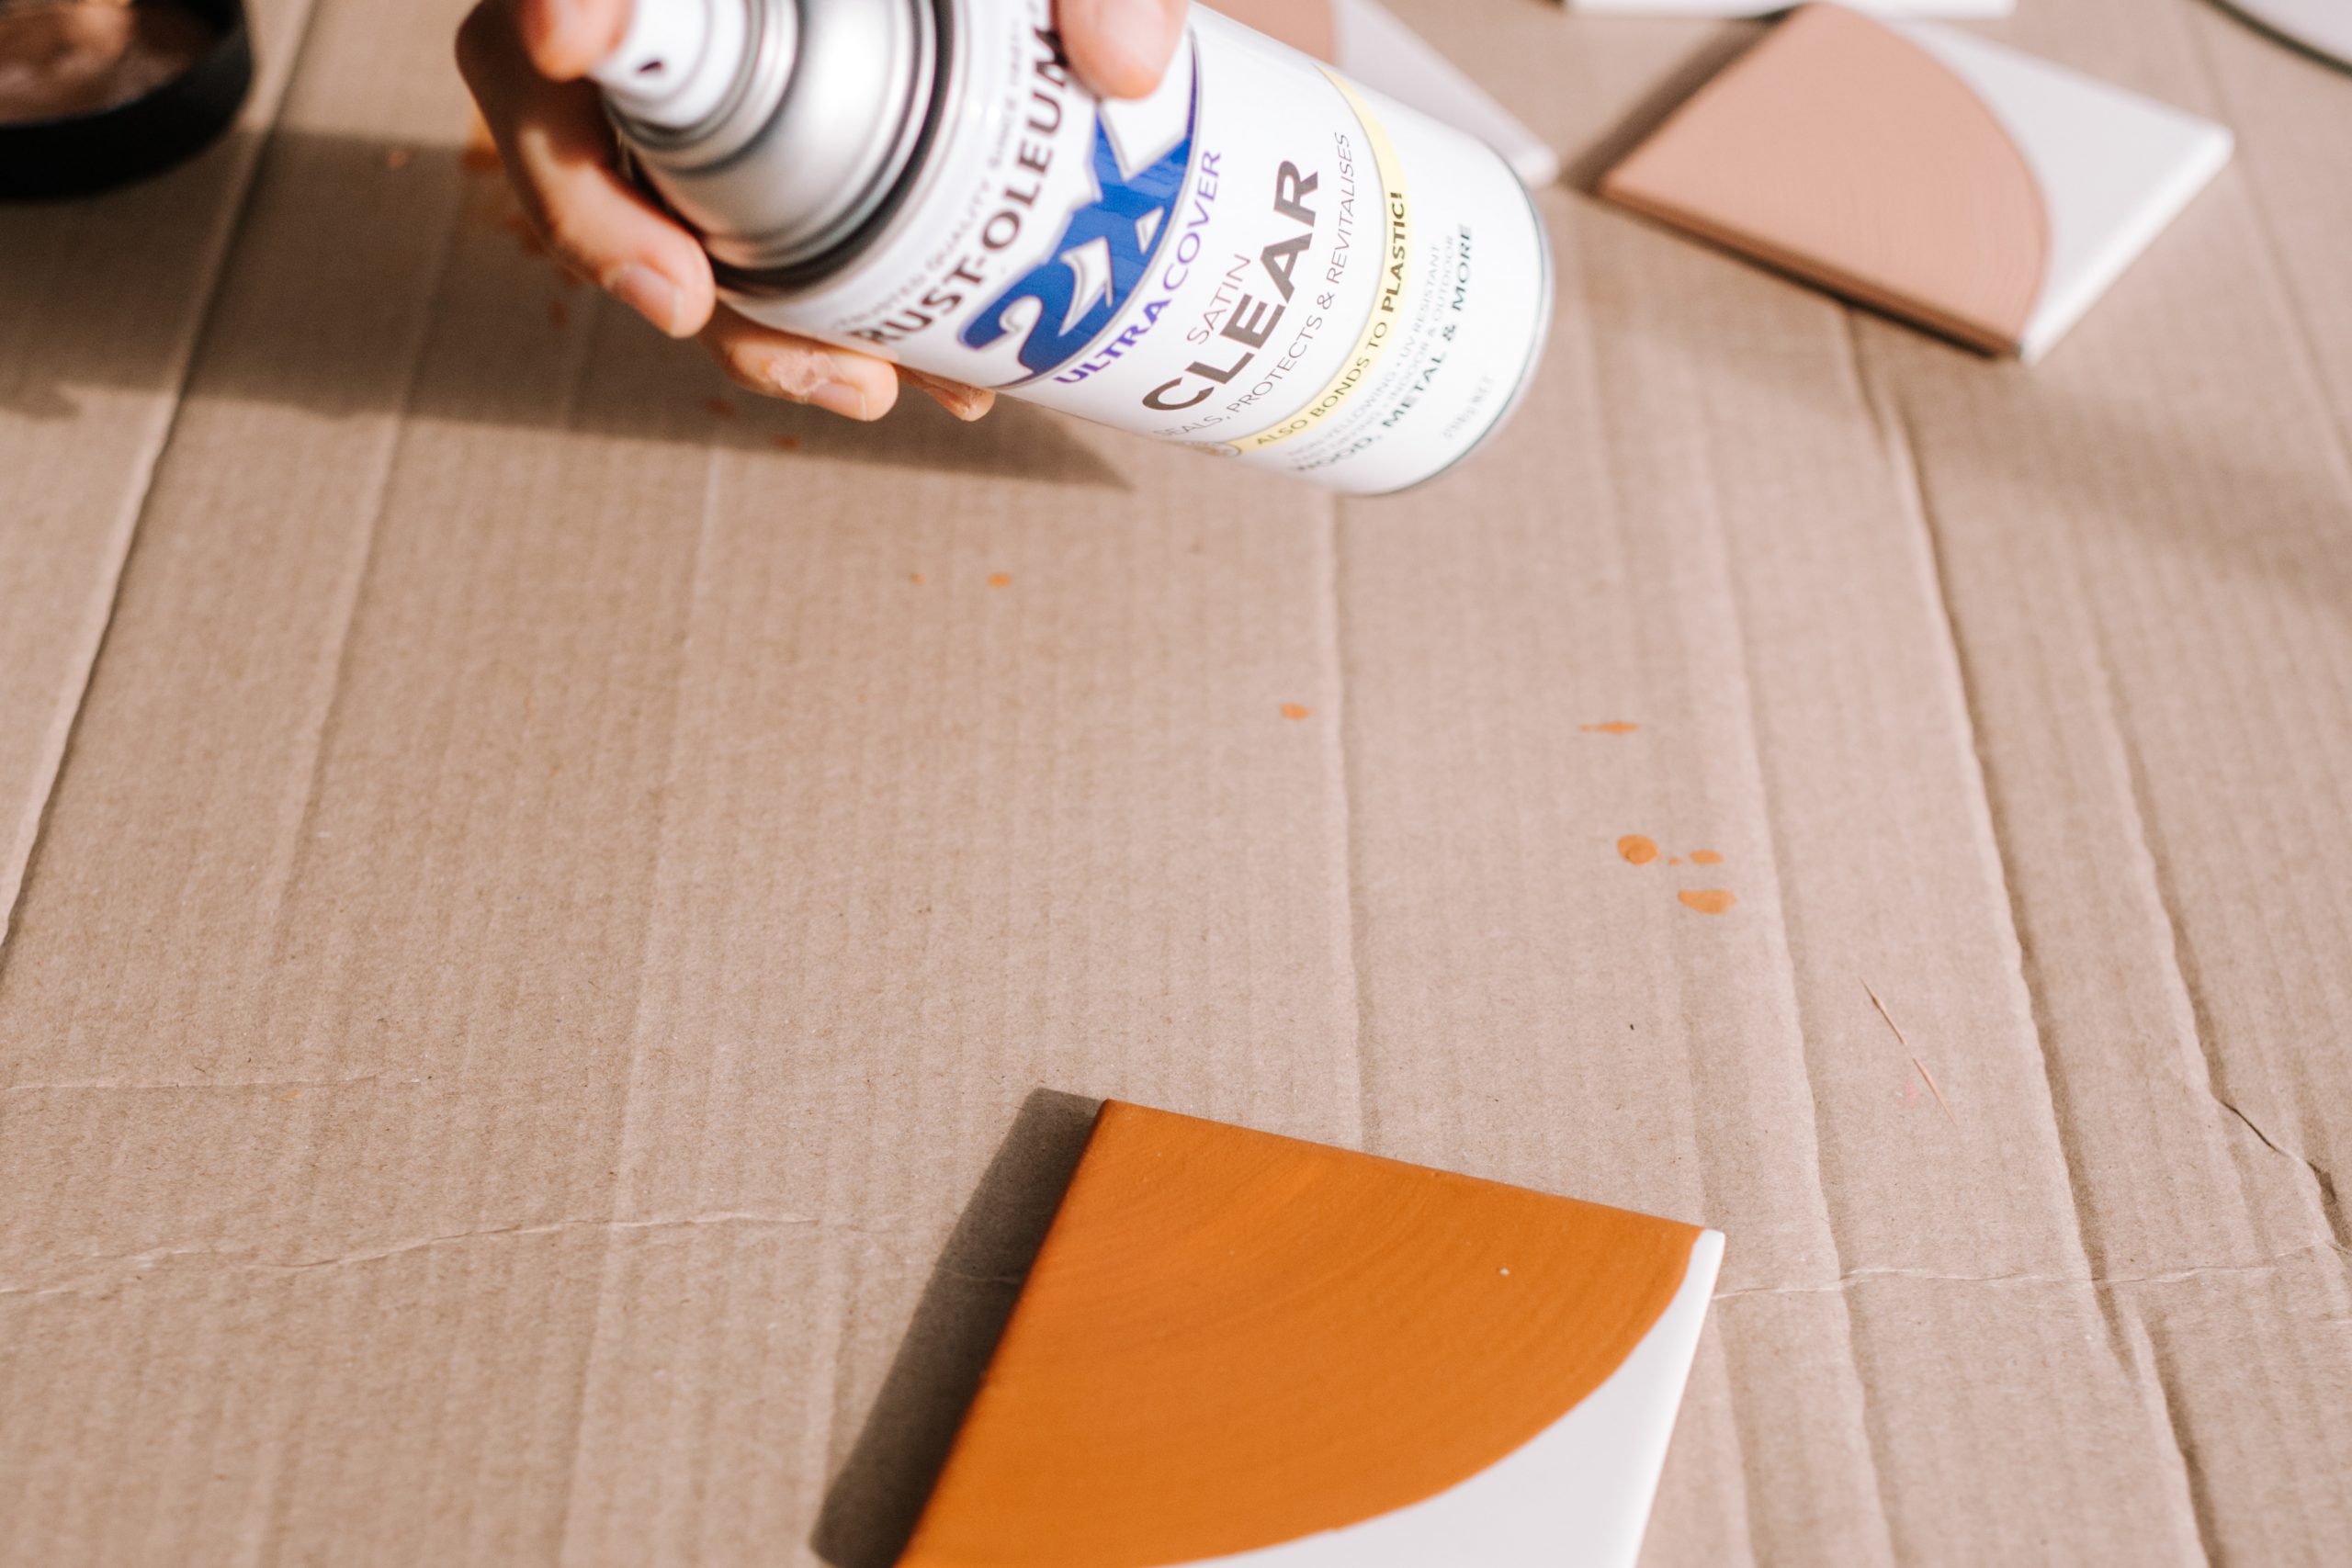
- The final step is to seal your tiles. This is a very important step and not one I would skip if I were you. However, the process is a little counter intuitive. I used a spray on seal but instead of doing multiple light coats as you would usually do with spray paint, I found that one thick coat worked the best. So spray a thick coat onto each tile, so you can see that the whole thing is well covered, and then let them dry for a week so they completely harden and cure. Make sure not to stack up your tiles together during this time or they may stick together. In fact, to store at all it’s a good idea to layer with paper.
What Can Hand Painted Tiles Be Used For?
The sealant should do a good job of reducing chipping, but I would still be mindful that they are delicate when you choose where to install them. A wall or backsplash is better than a floor. Although, I did a table which is likely to get a decent amount of wear, but I am just mindful when I am using it.


