This was honestly one of my favourite projects from 2023, so I thought I would share a recap!
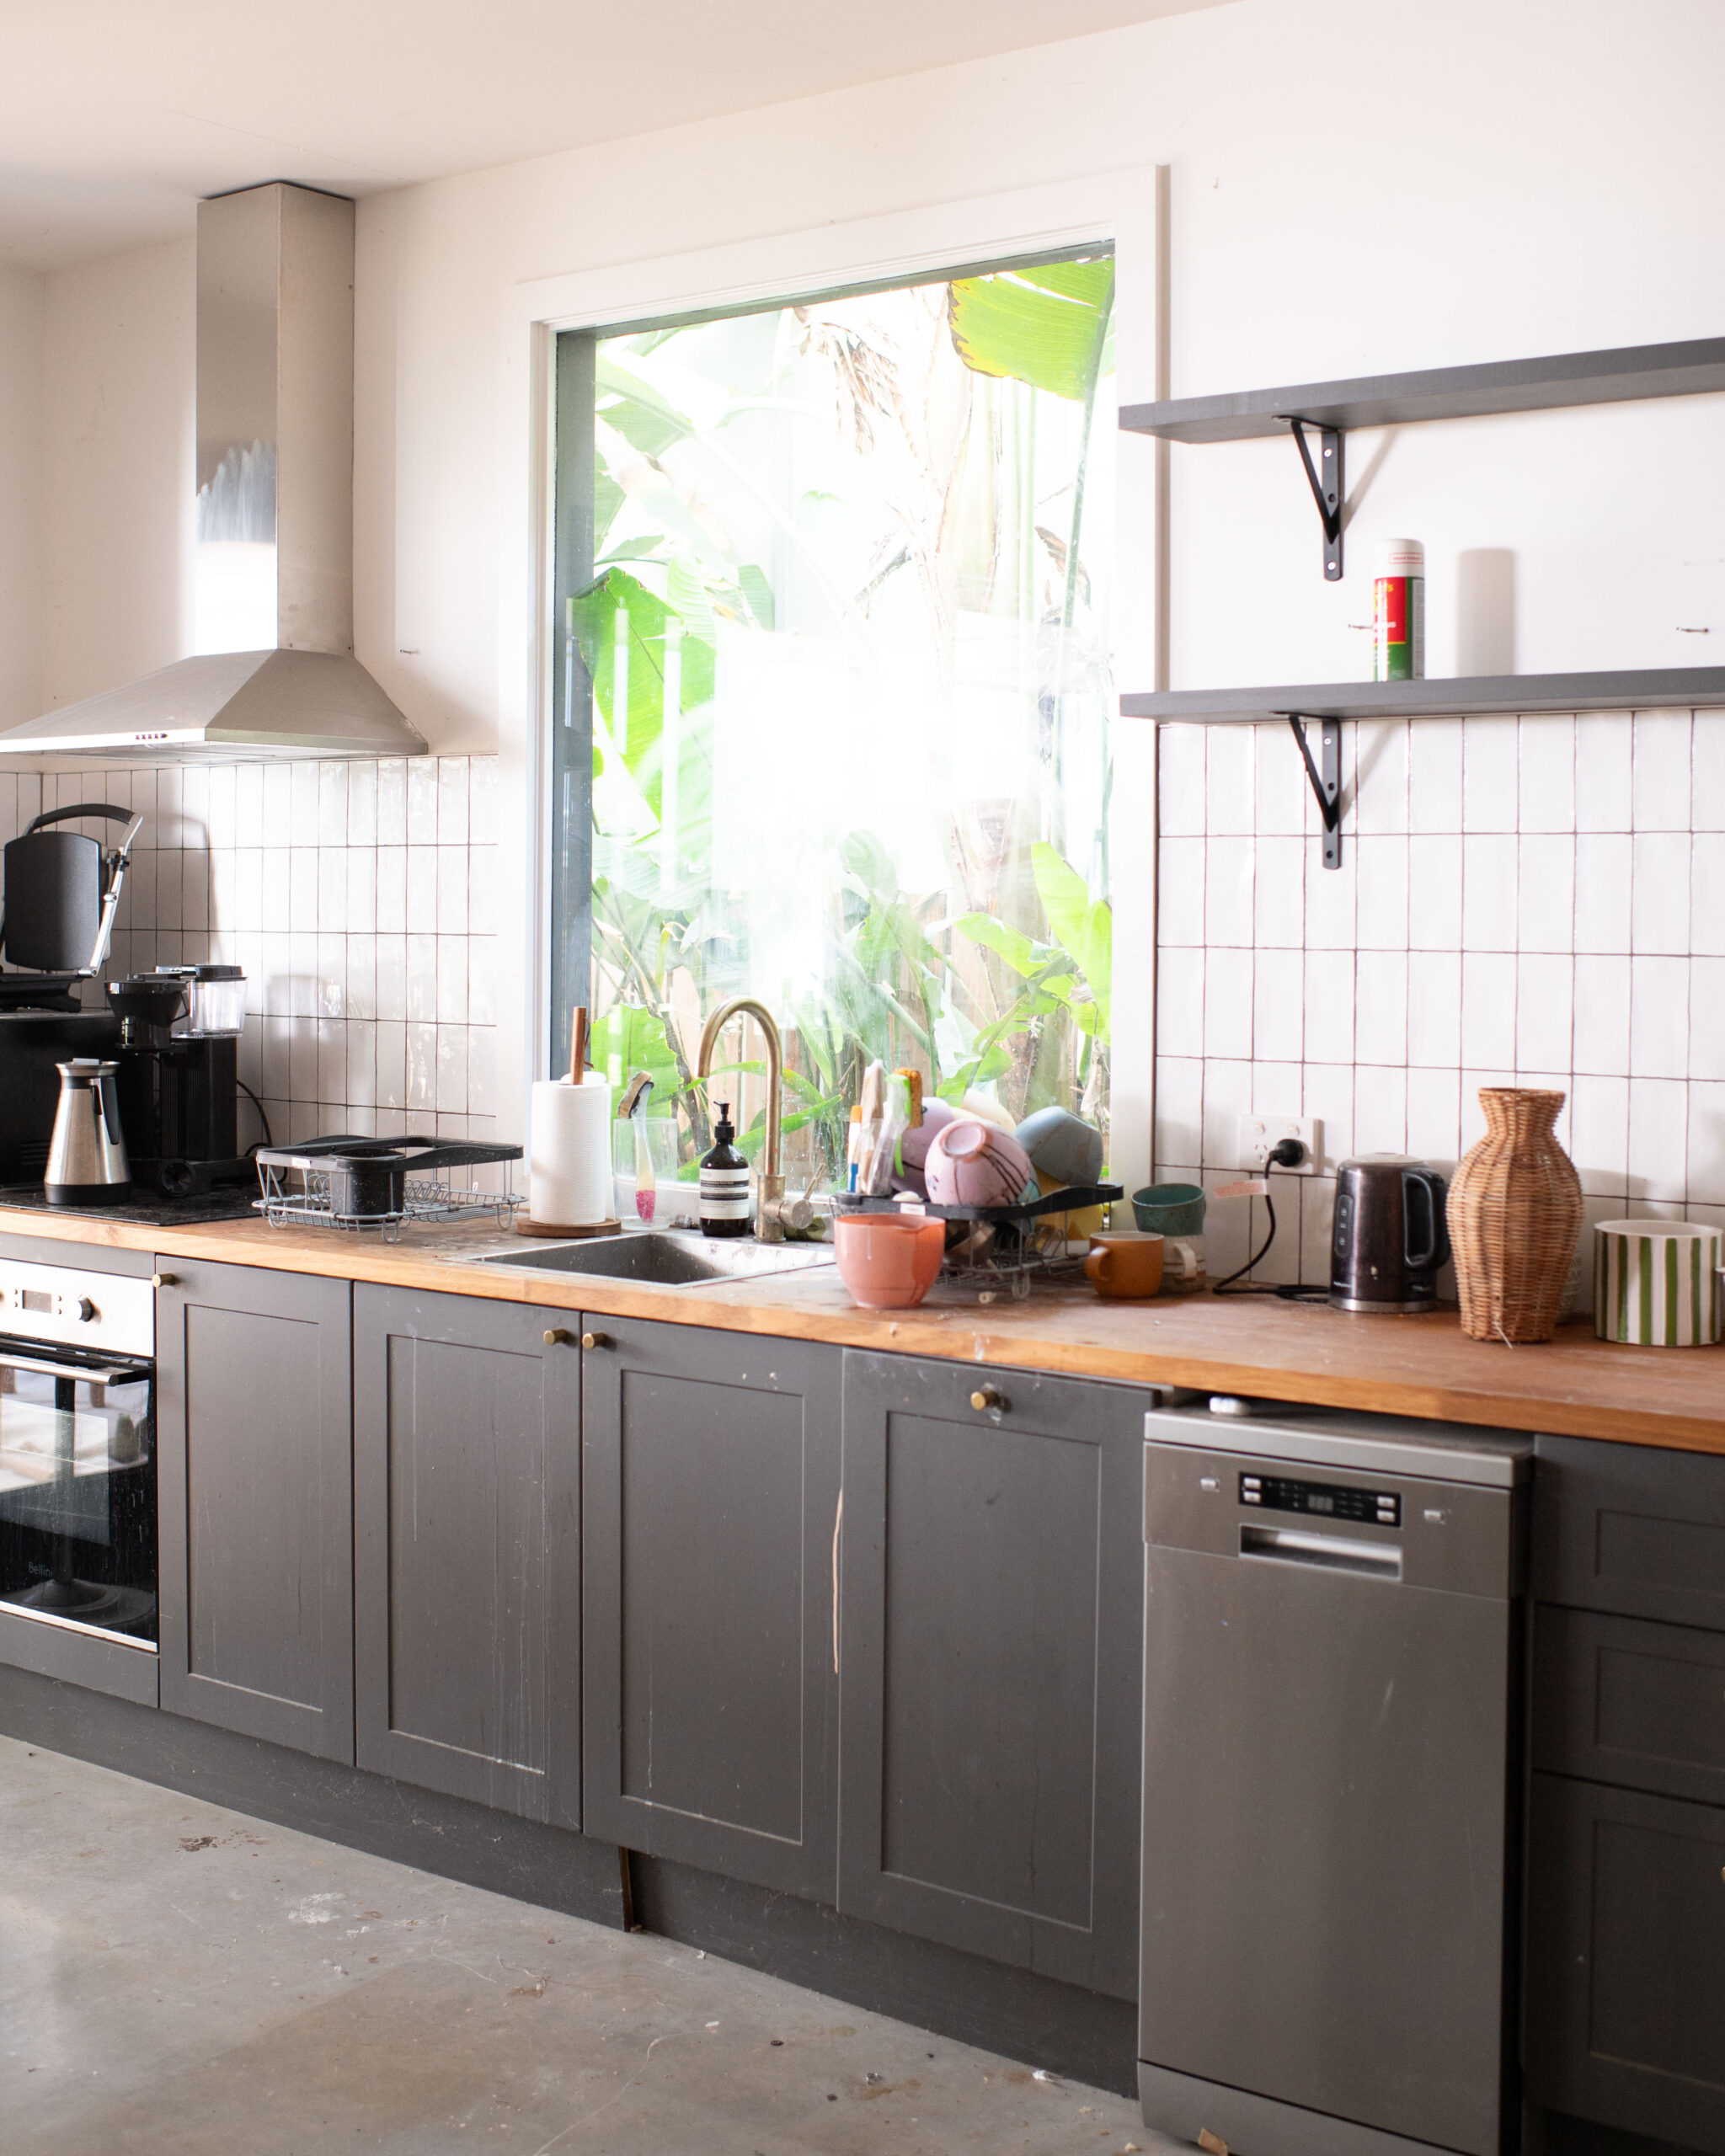
For the last few years we’ve been using the kitchen here in the studio for craft and clean up and in the process it’s got completely wrecked (Think; your high school art room sink!). But the team is growing so I felt like it was time to make it more of a functional kitchen that we can actually use for things like, you know, food and such. After getting a quote to replace it for $10,000, I knew it was time to embark on a DIY kitchen reno.
Before
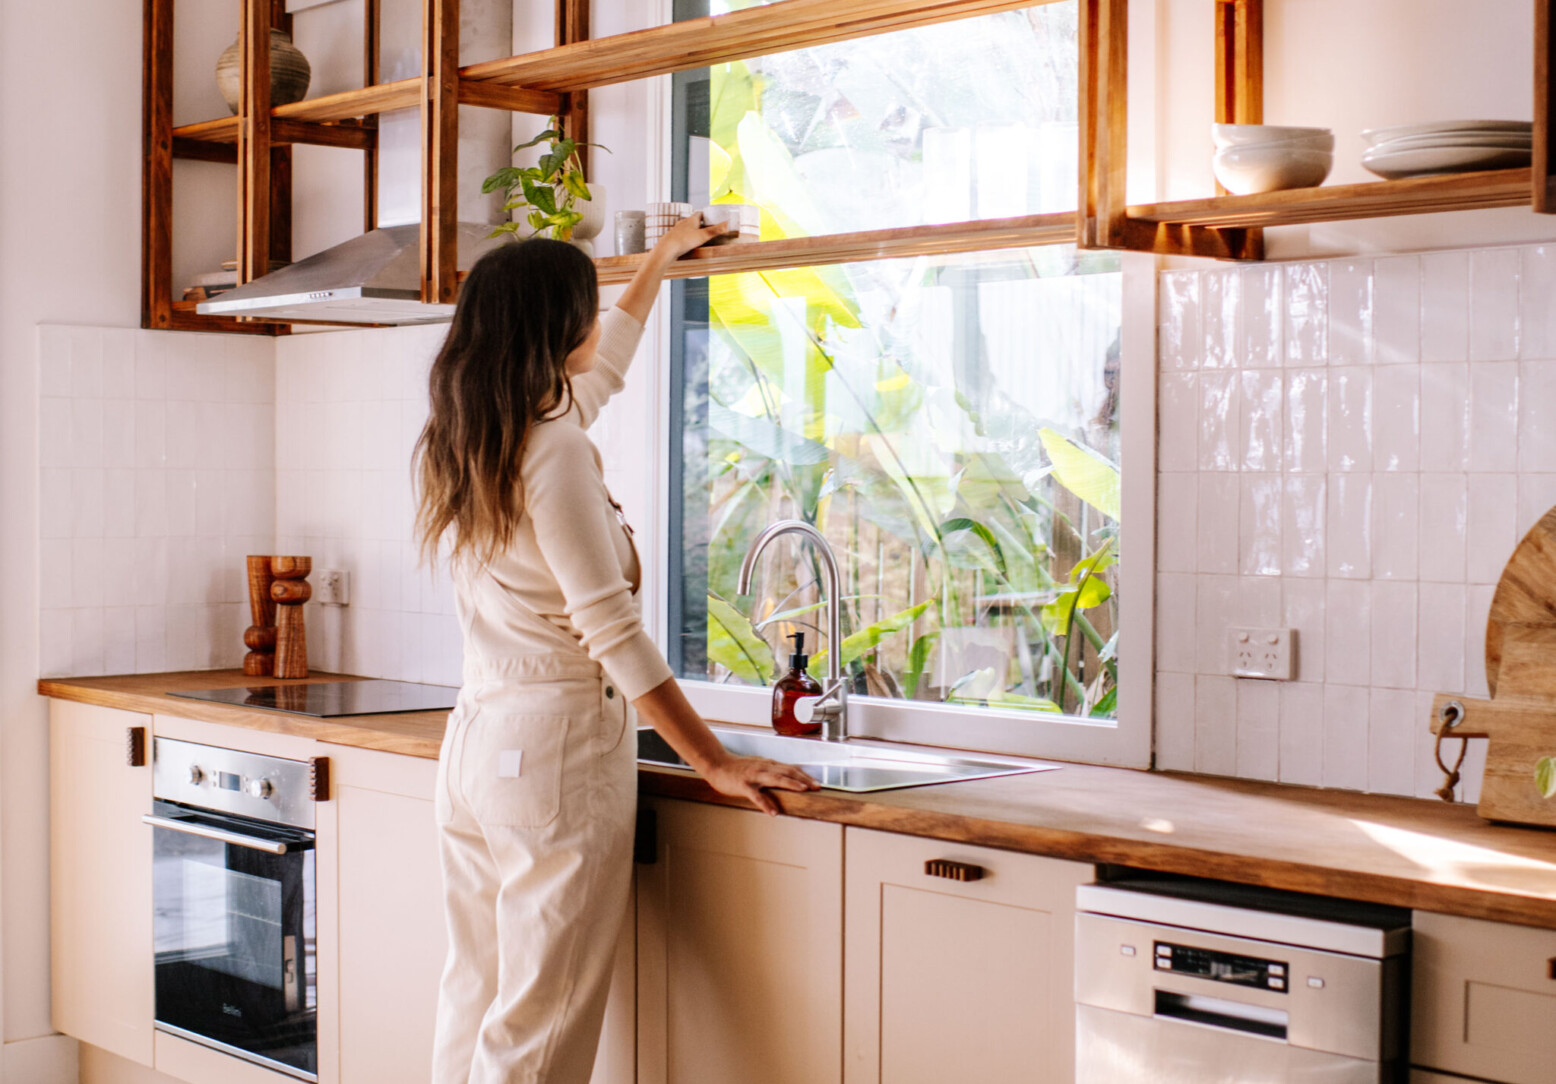
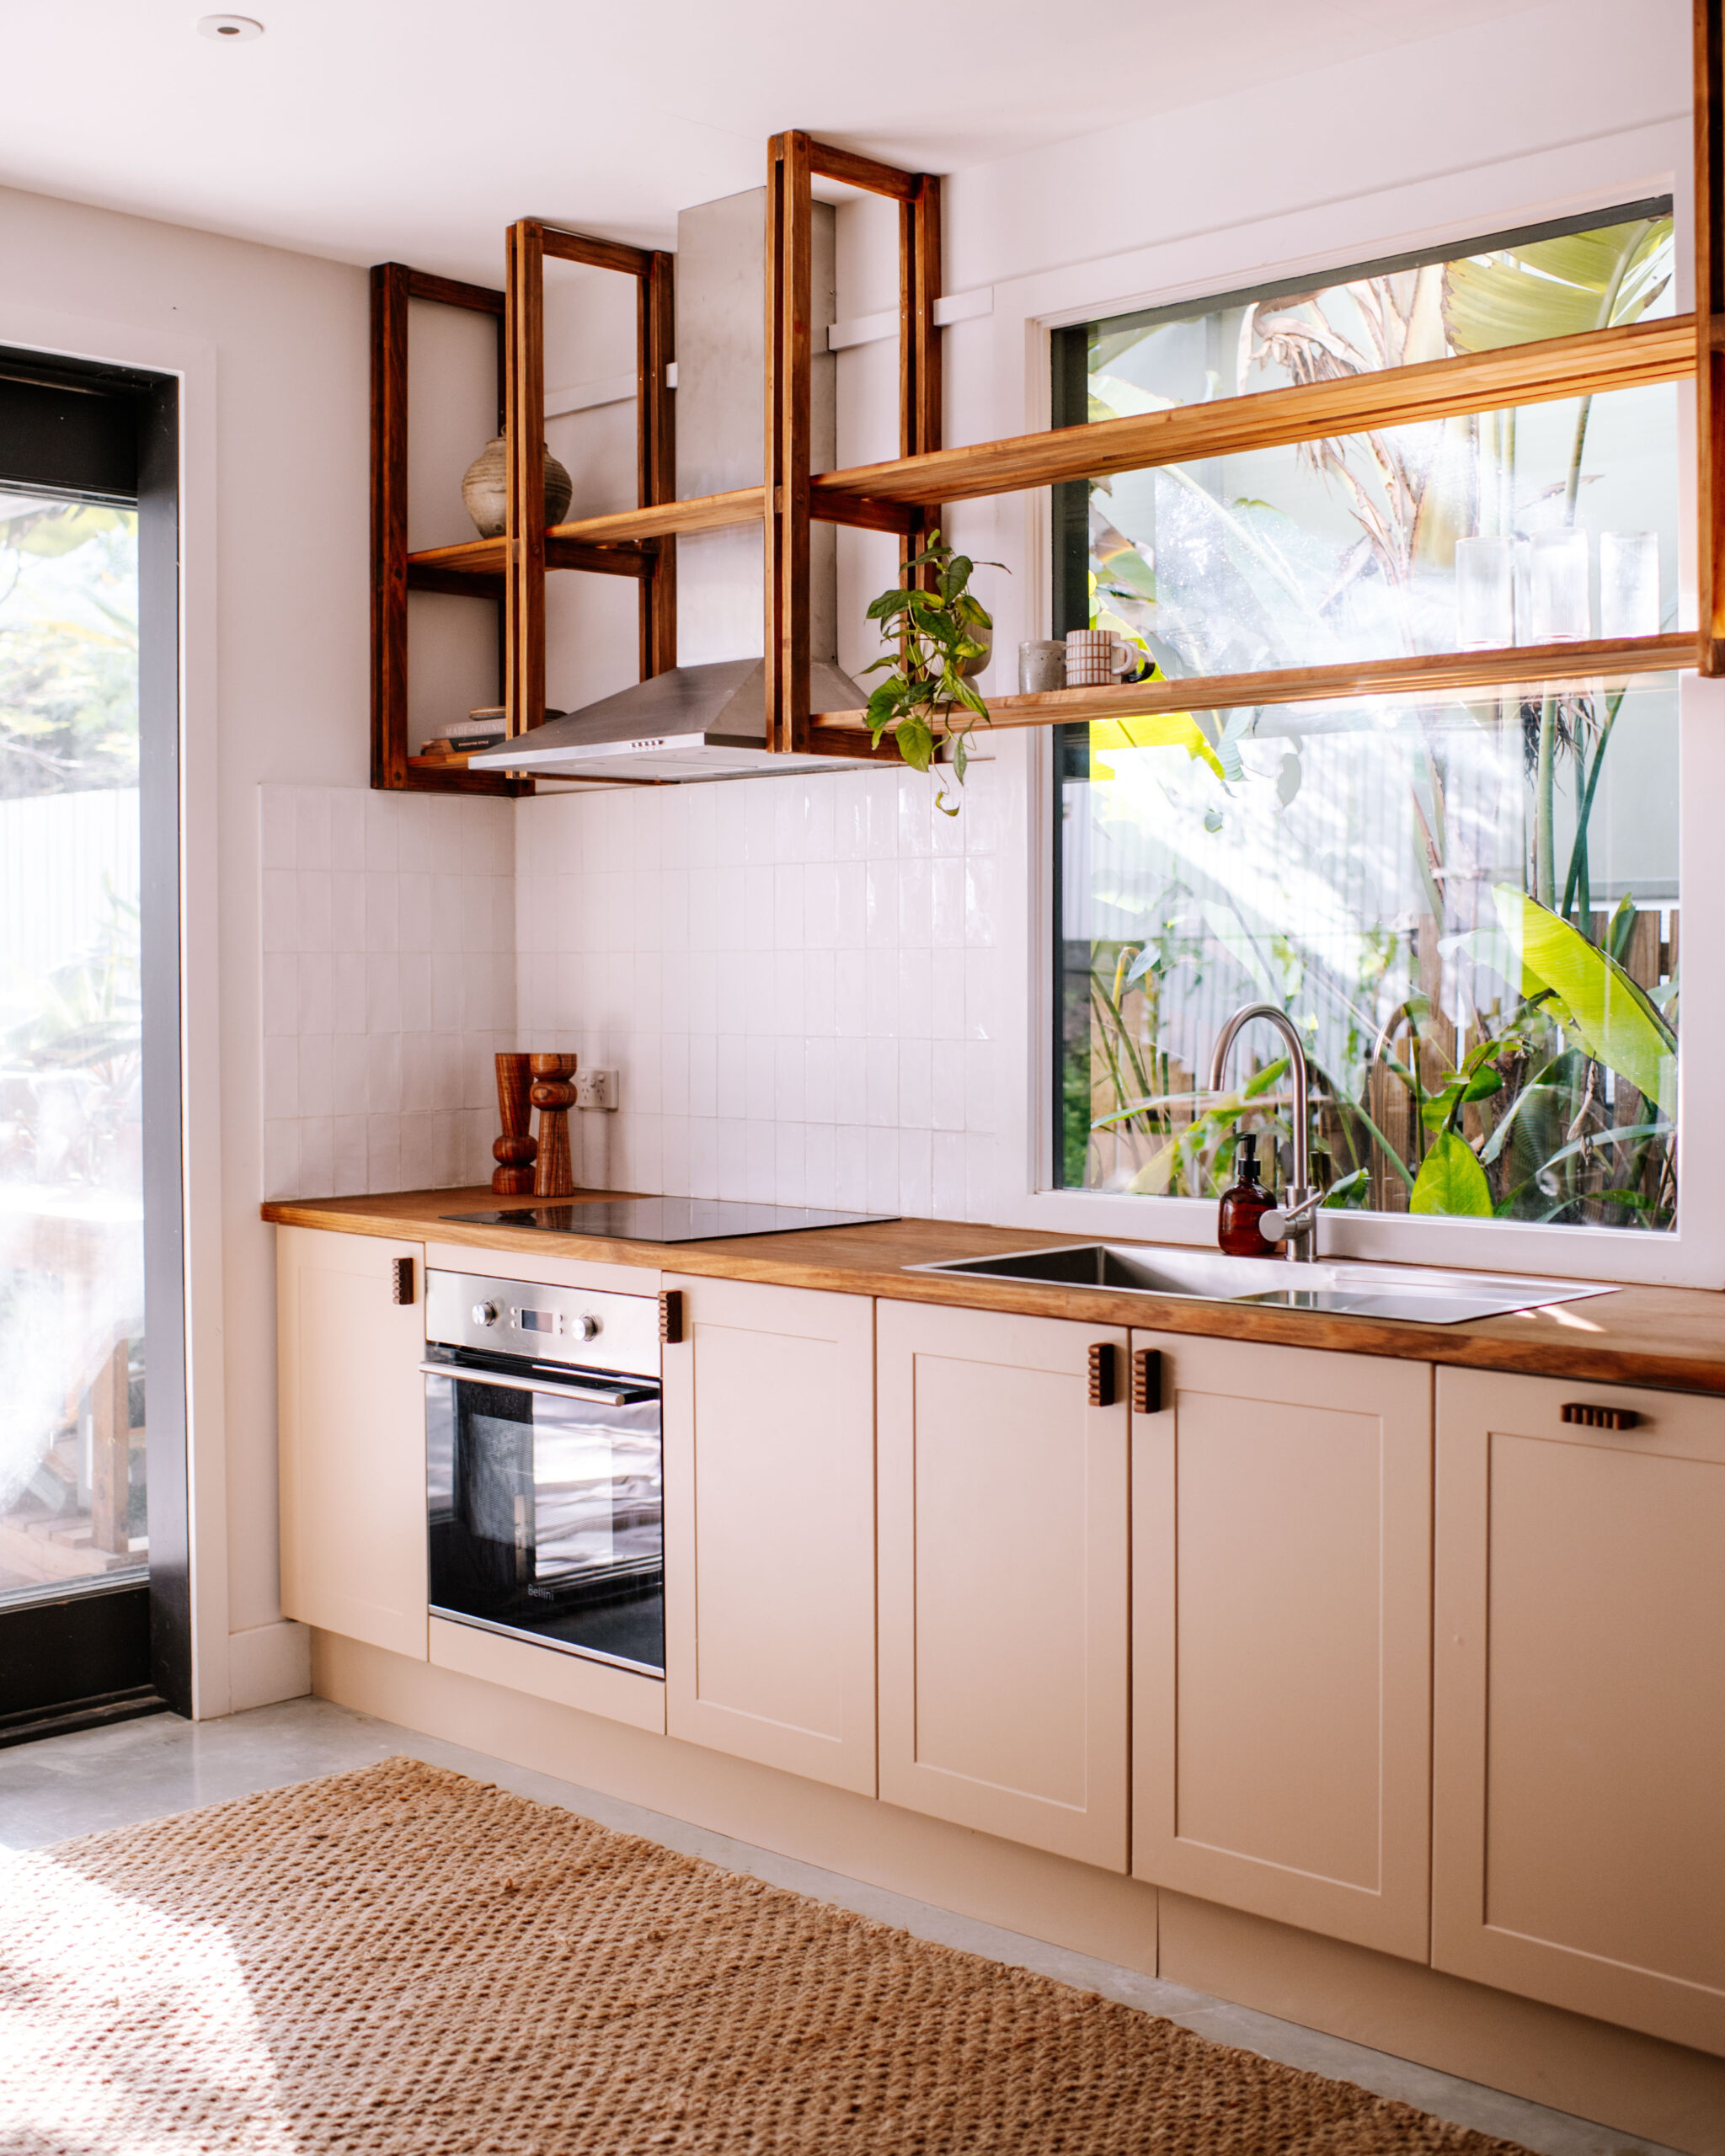
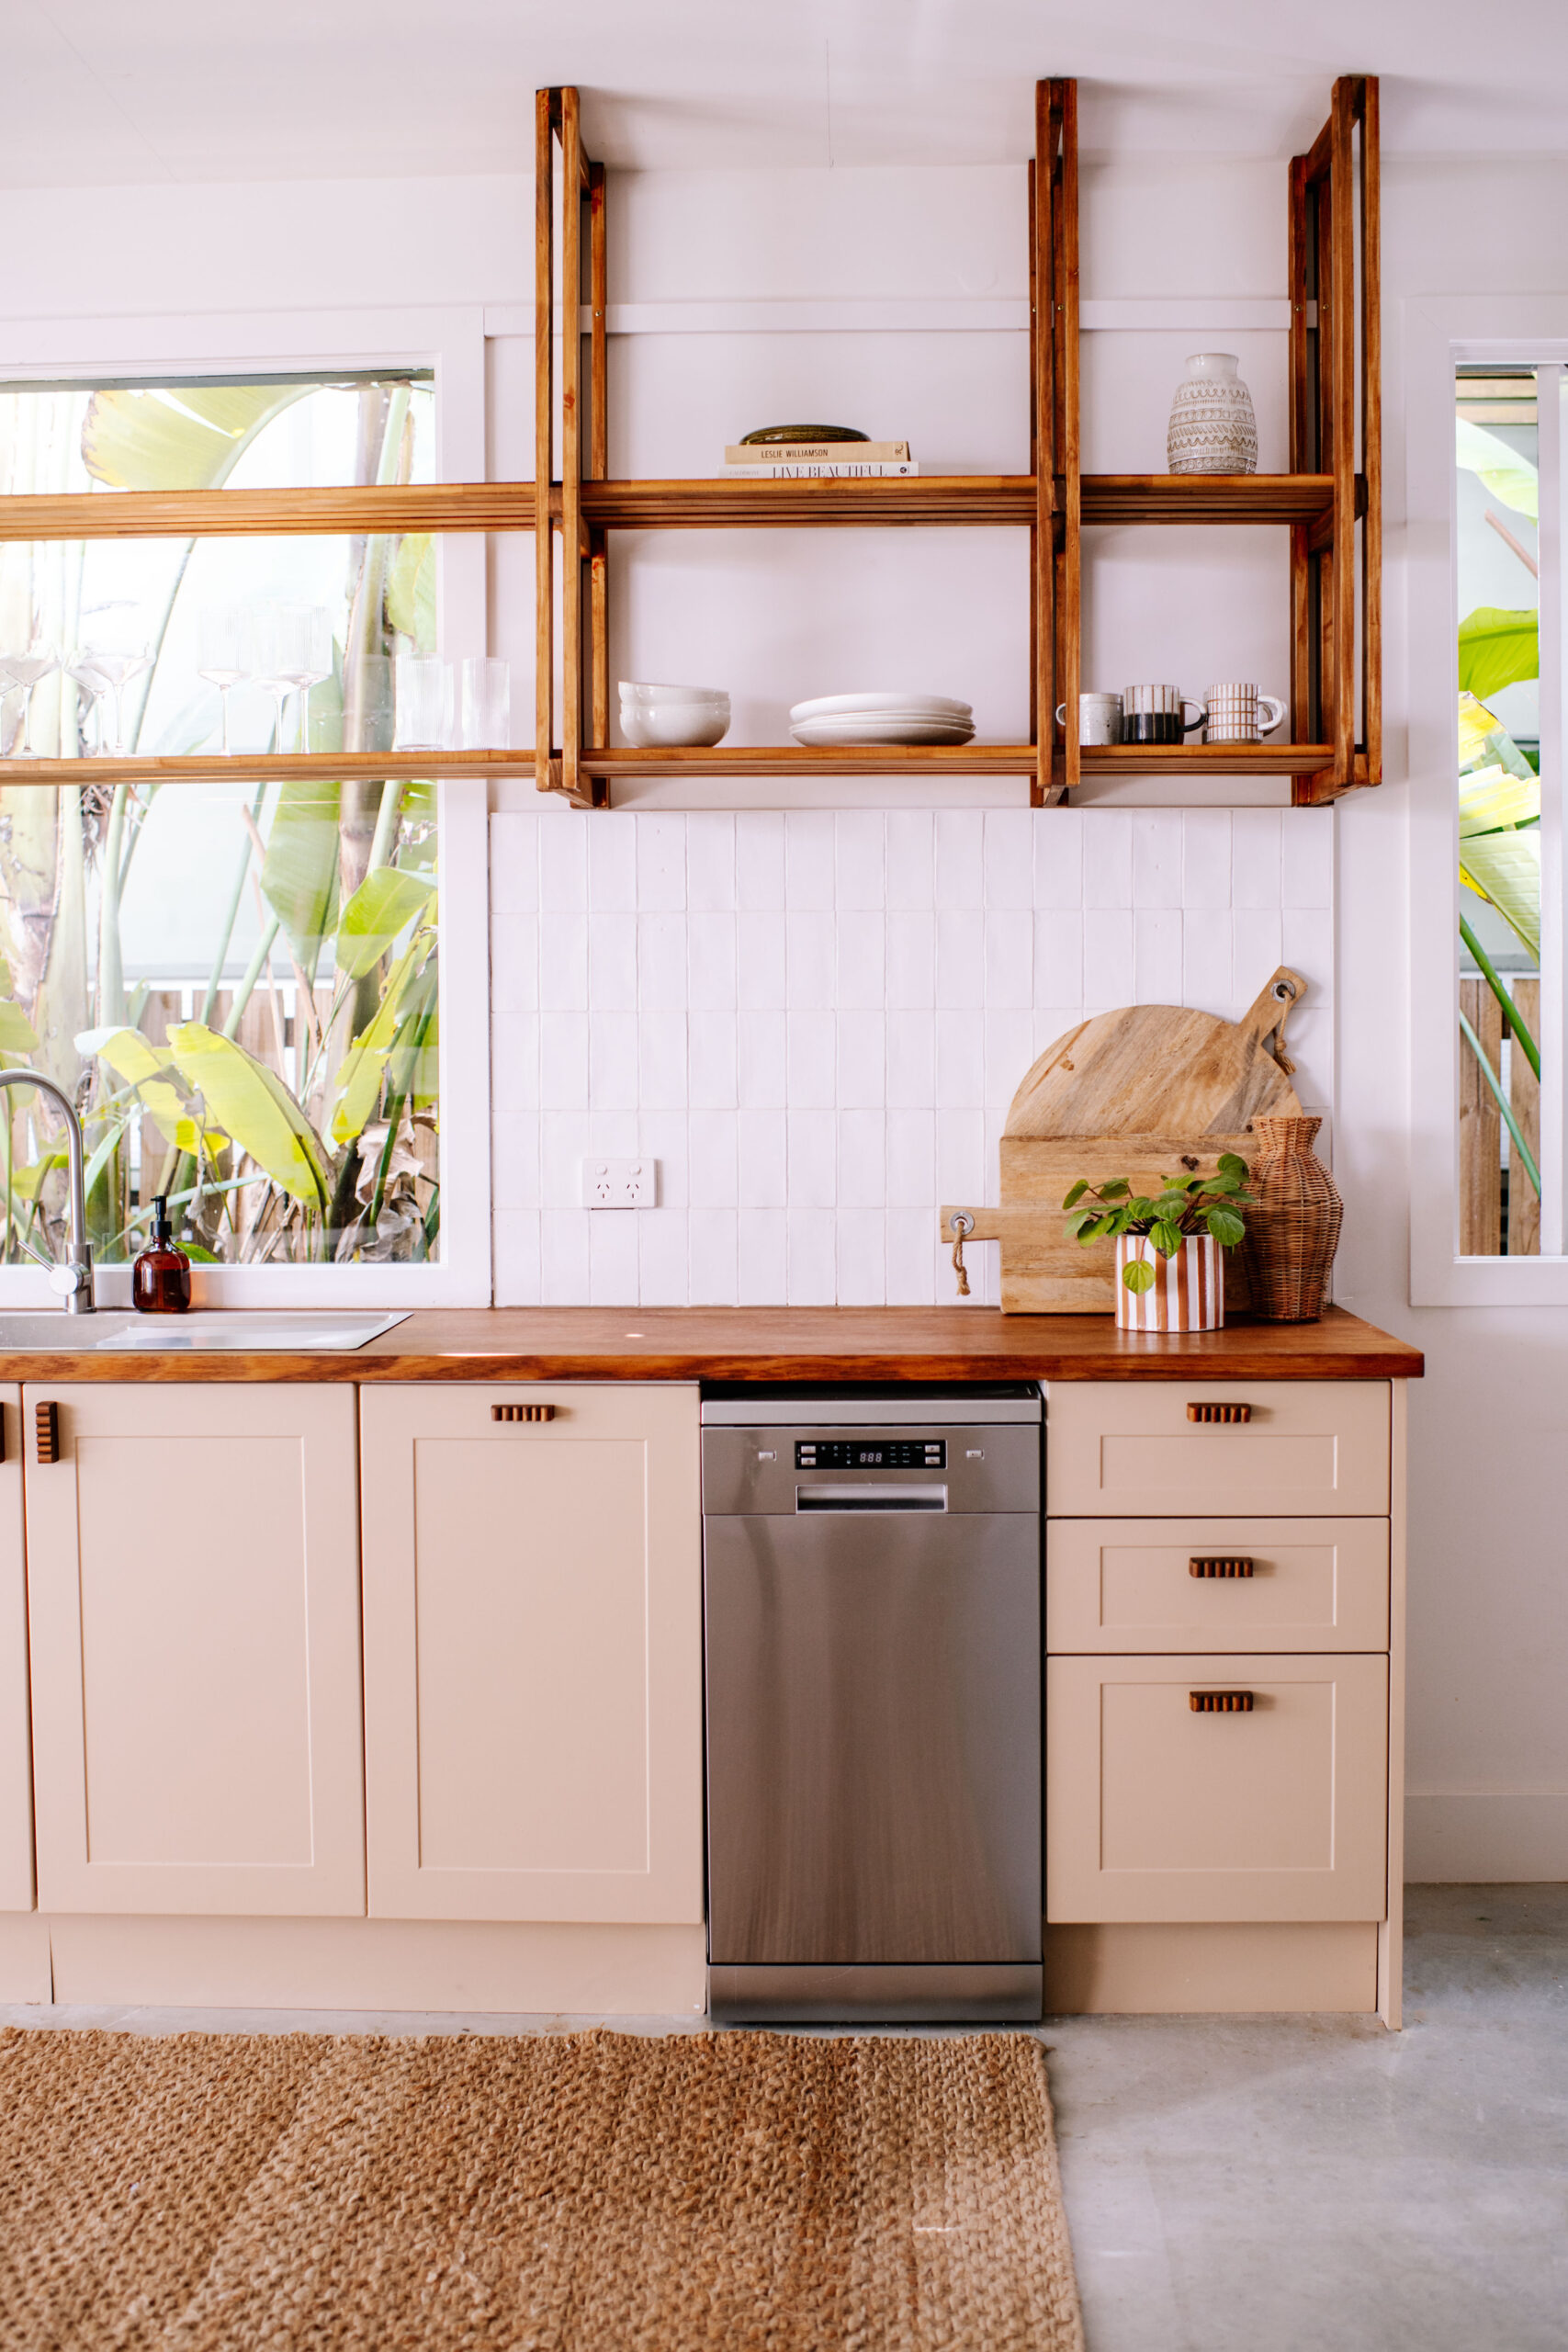
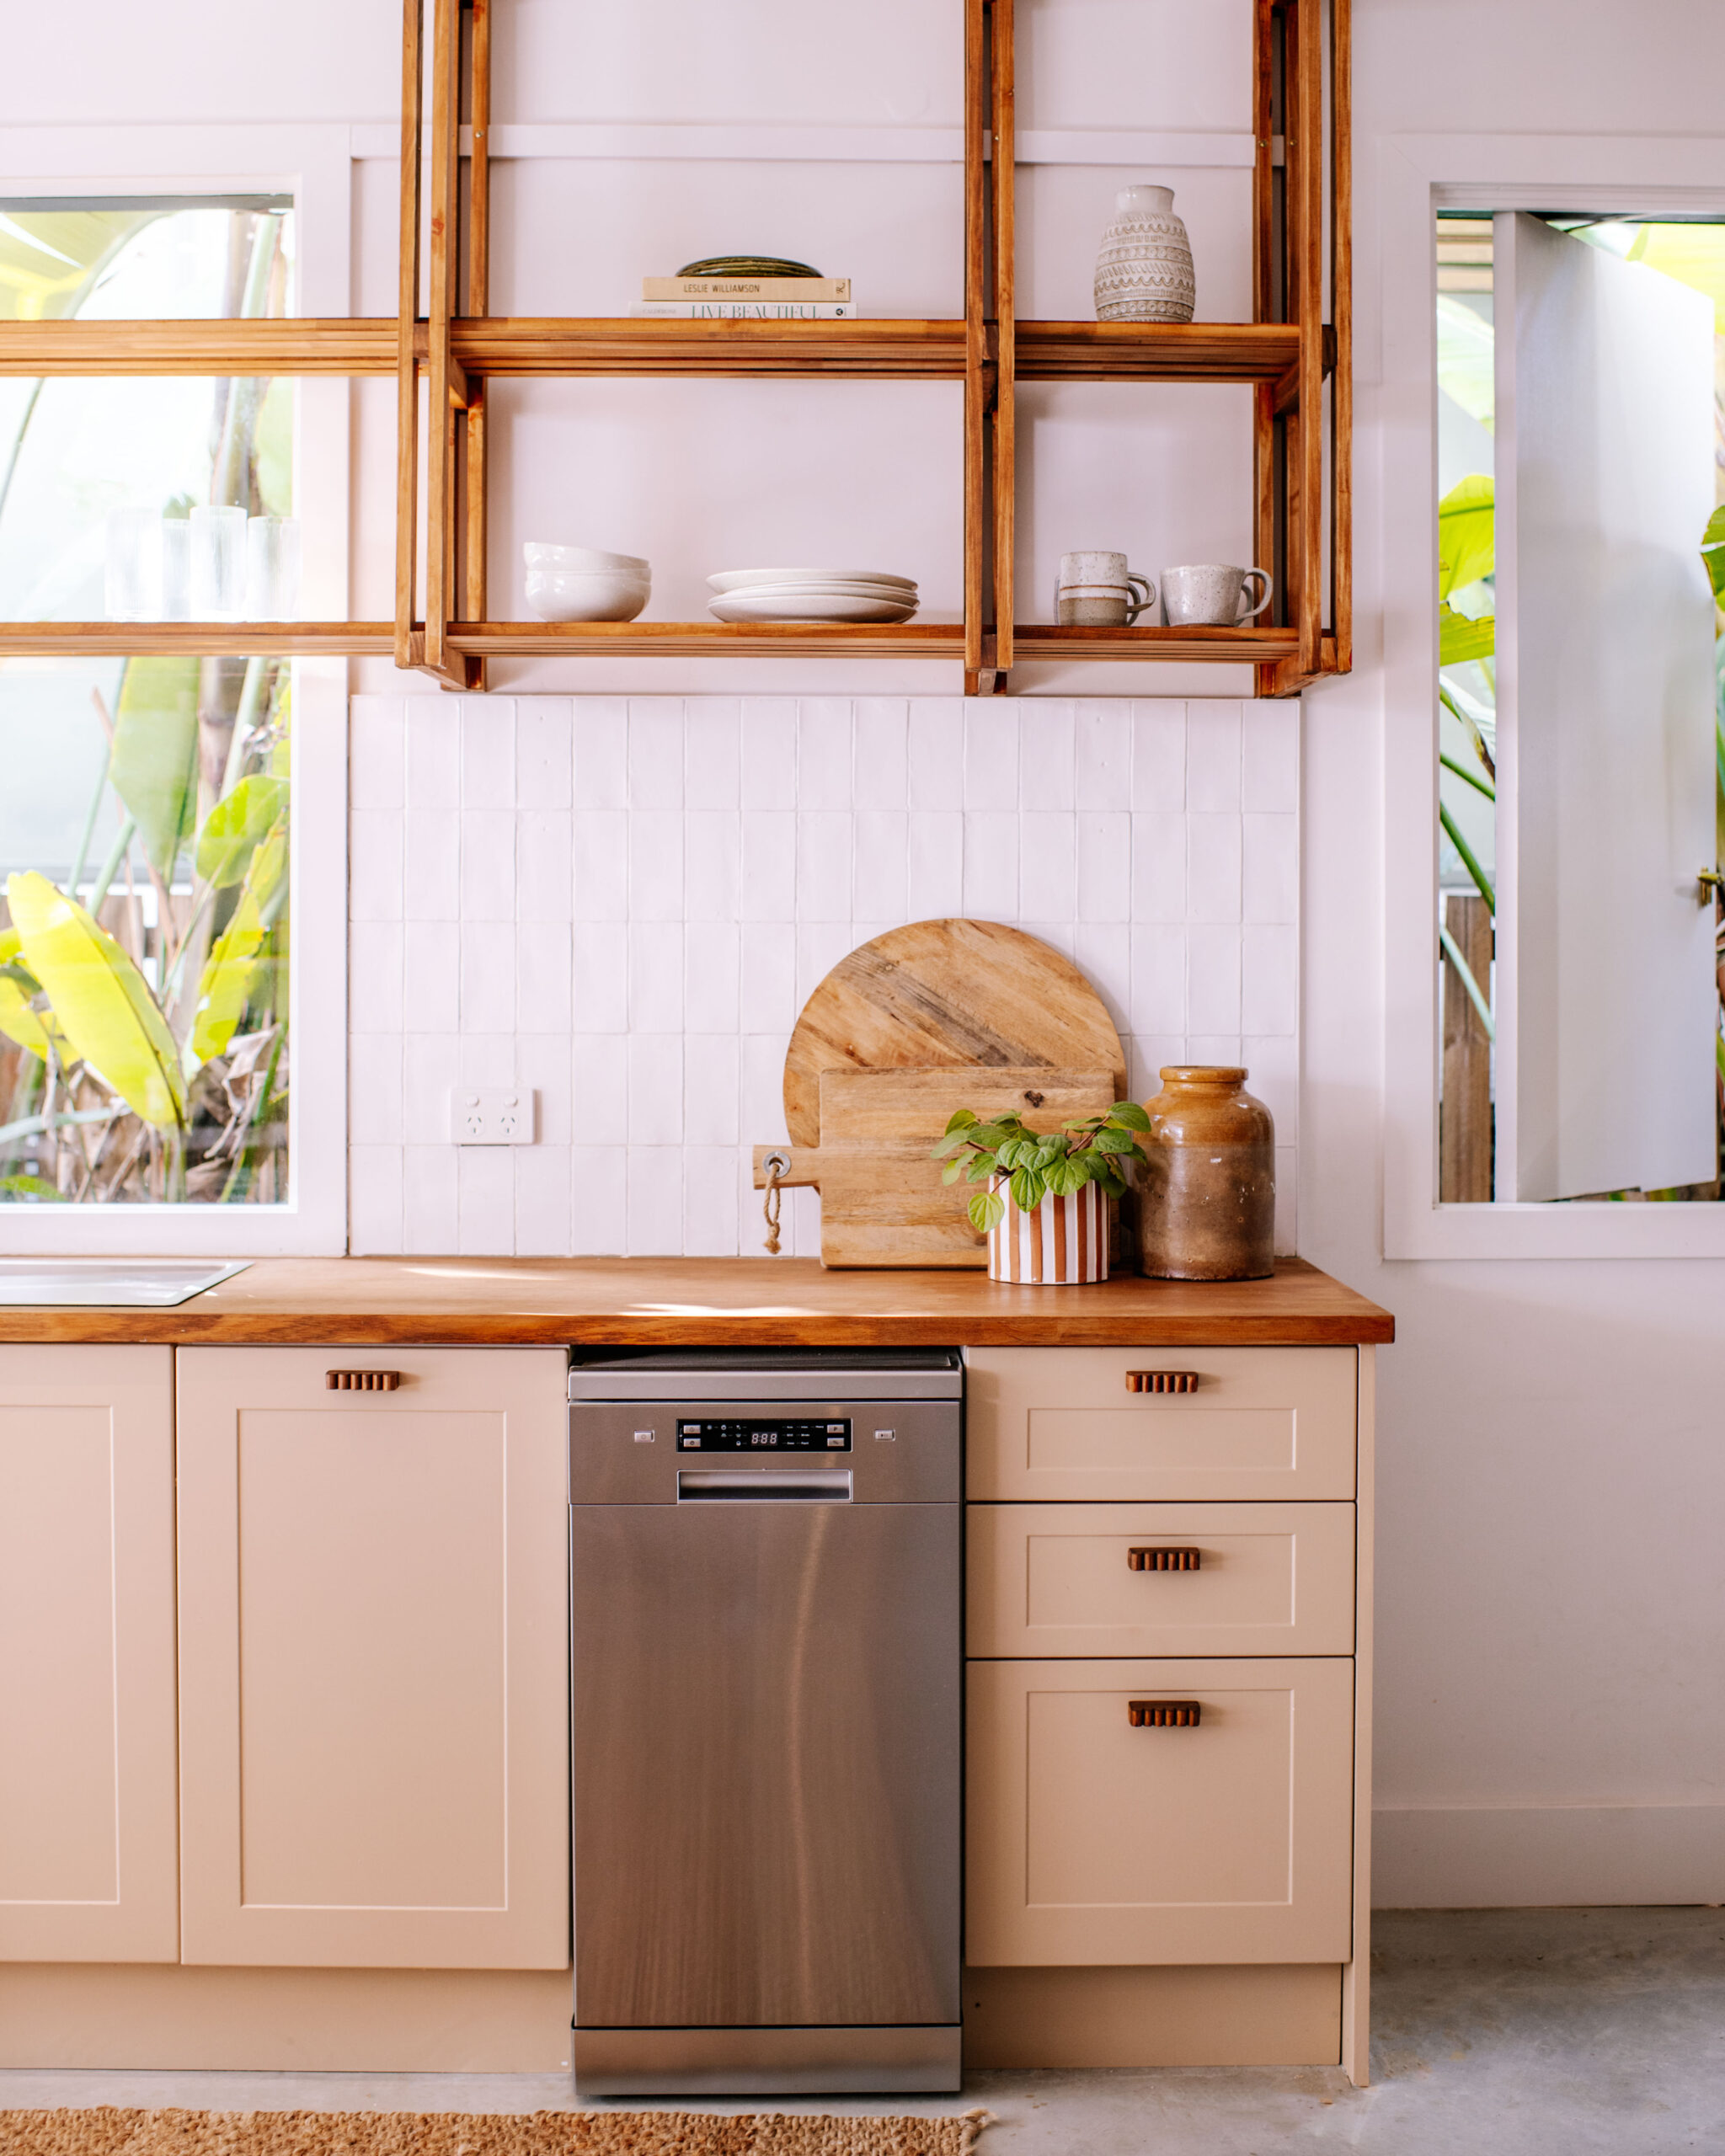
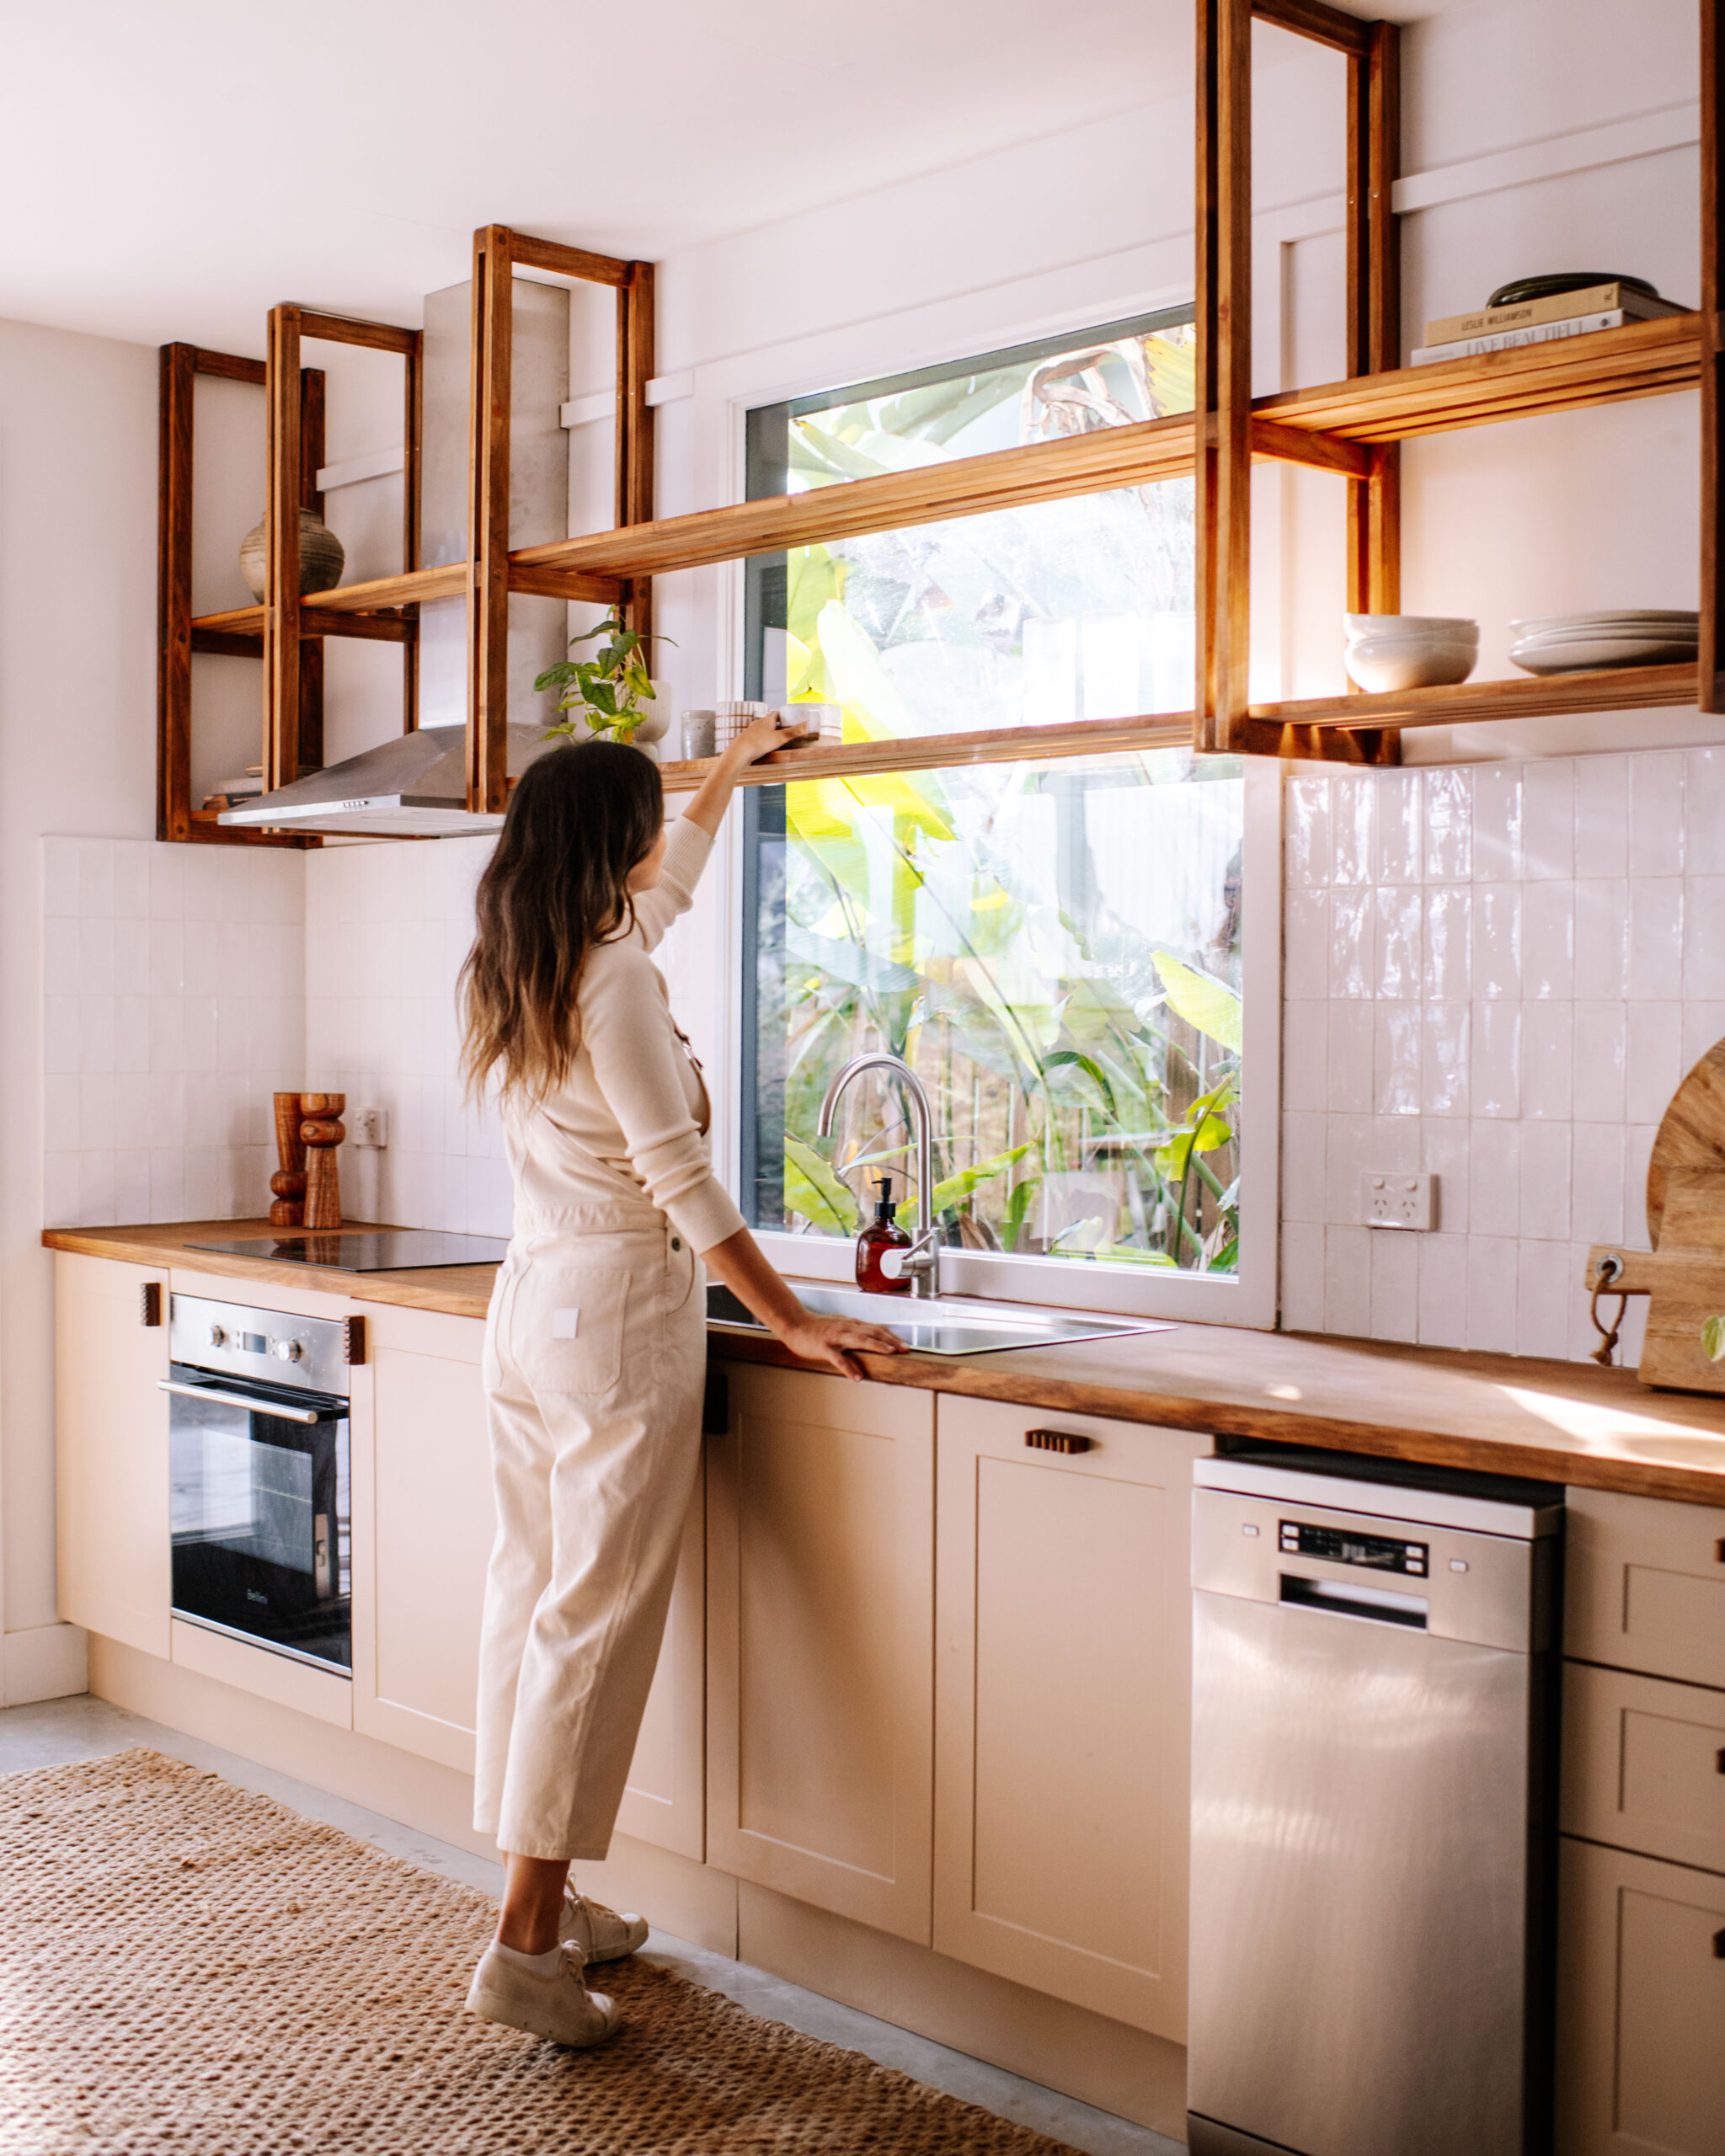
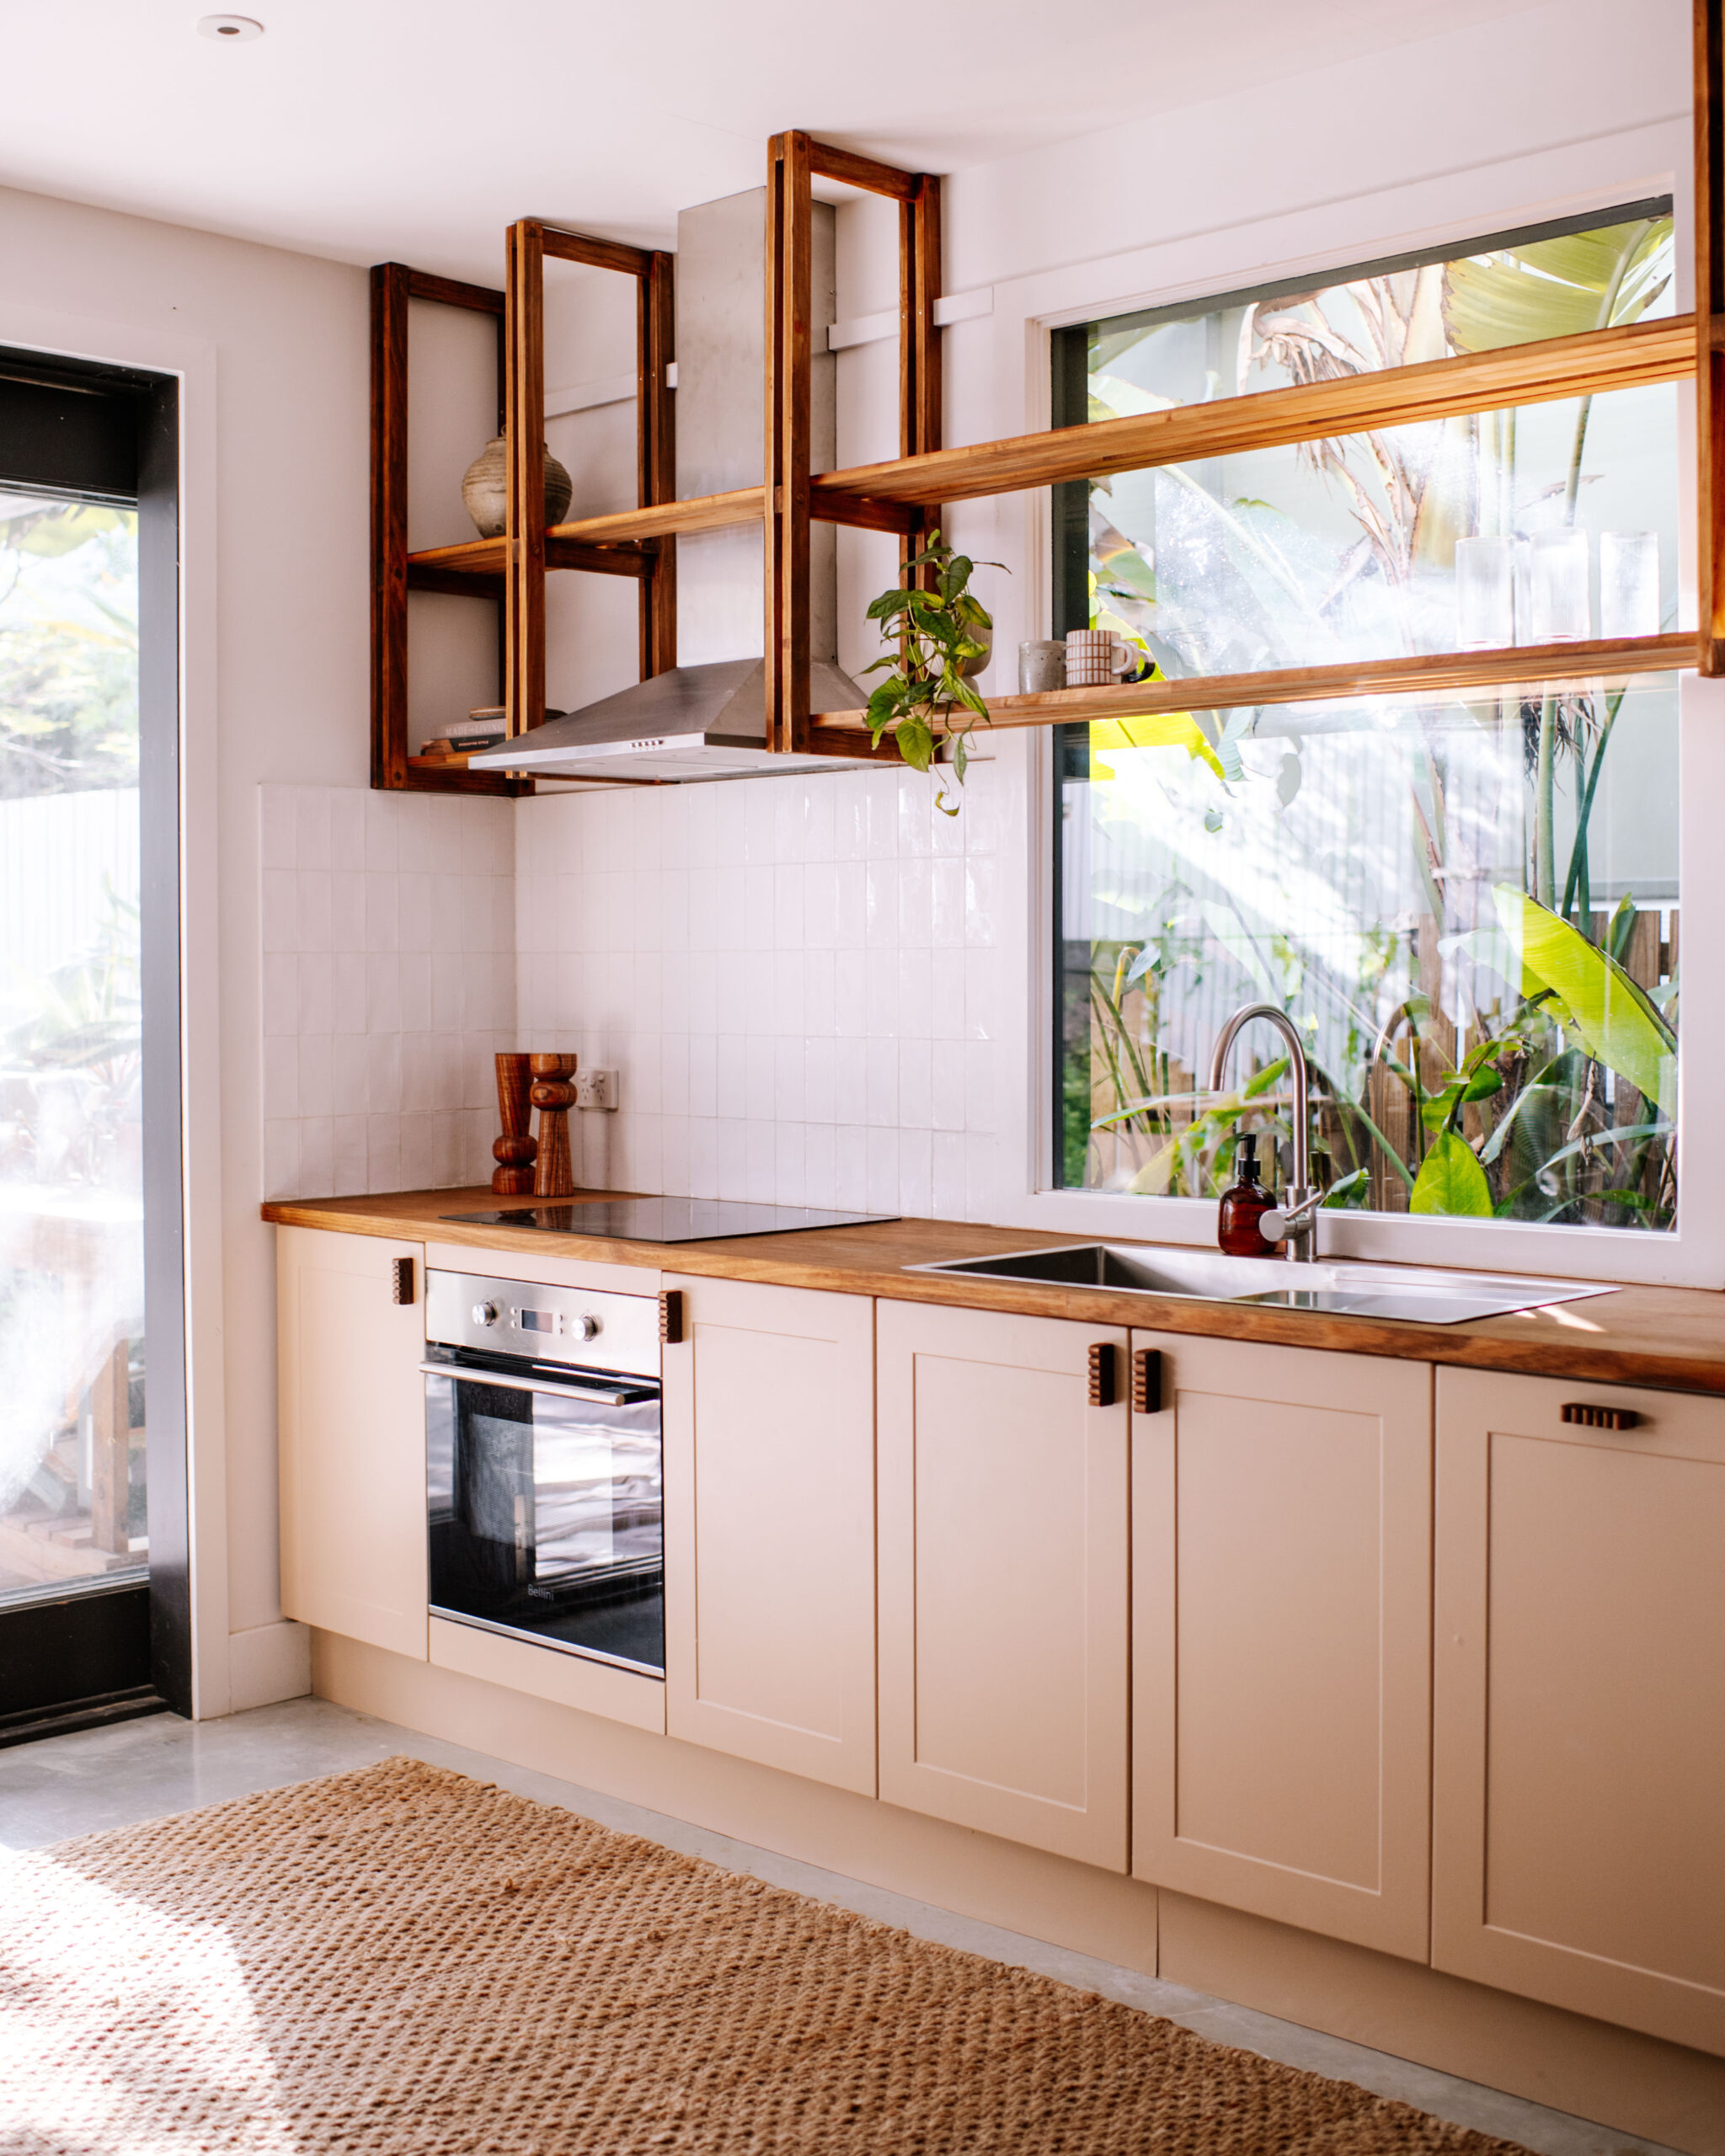
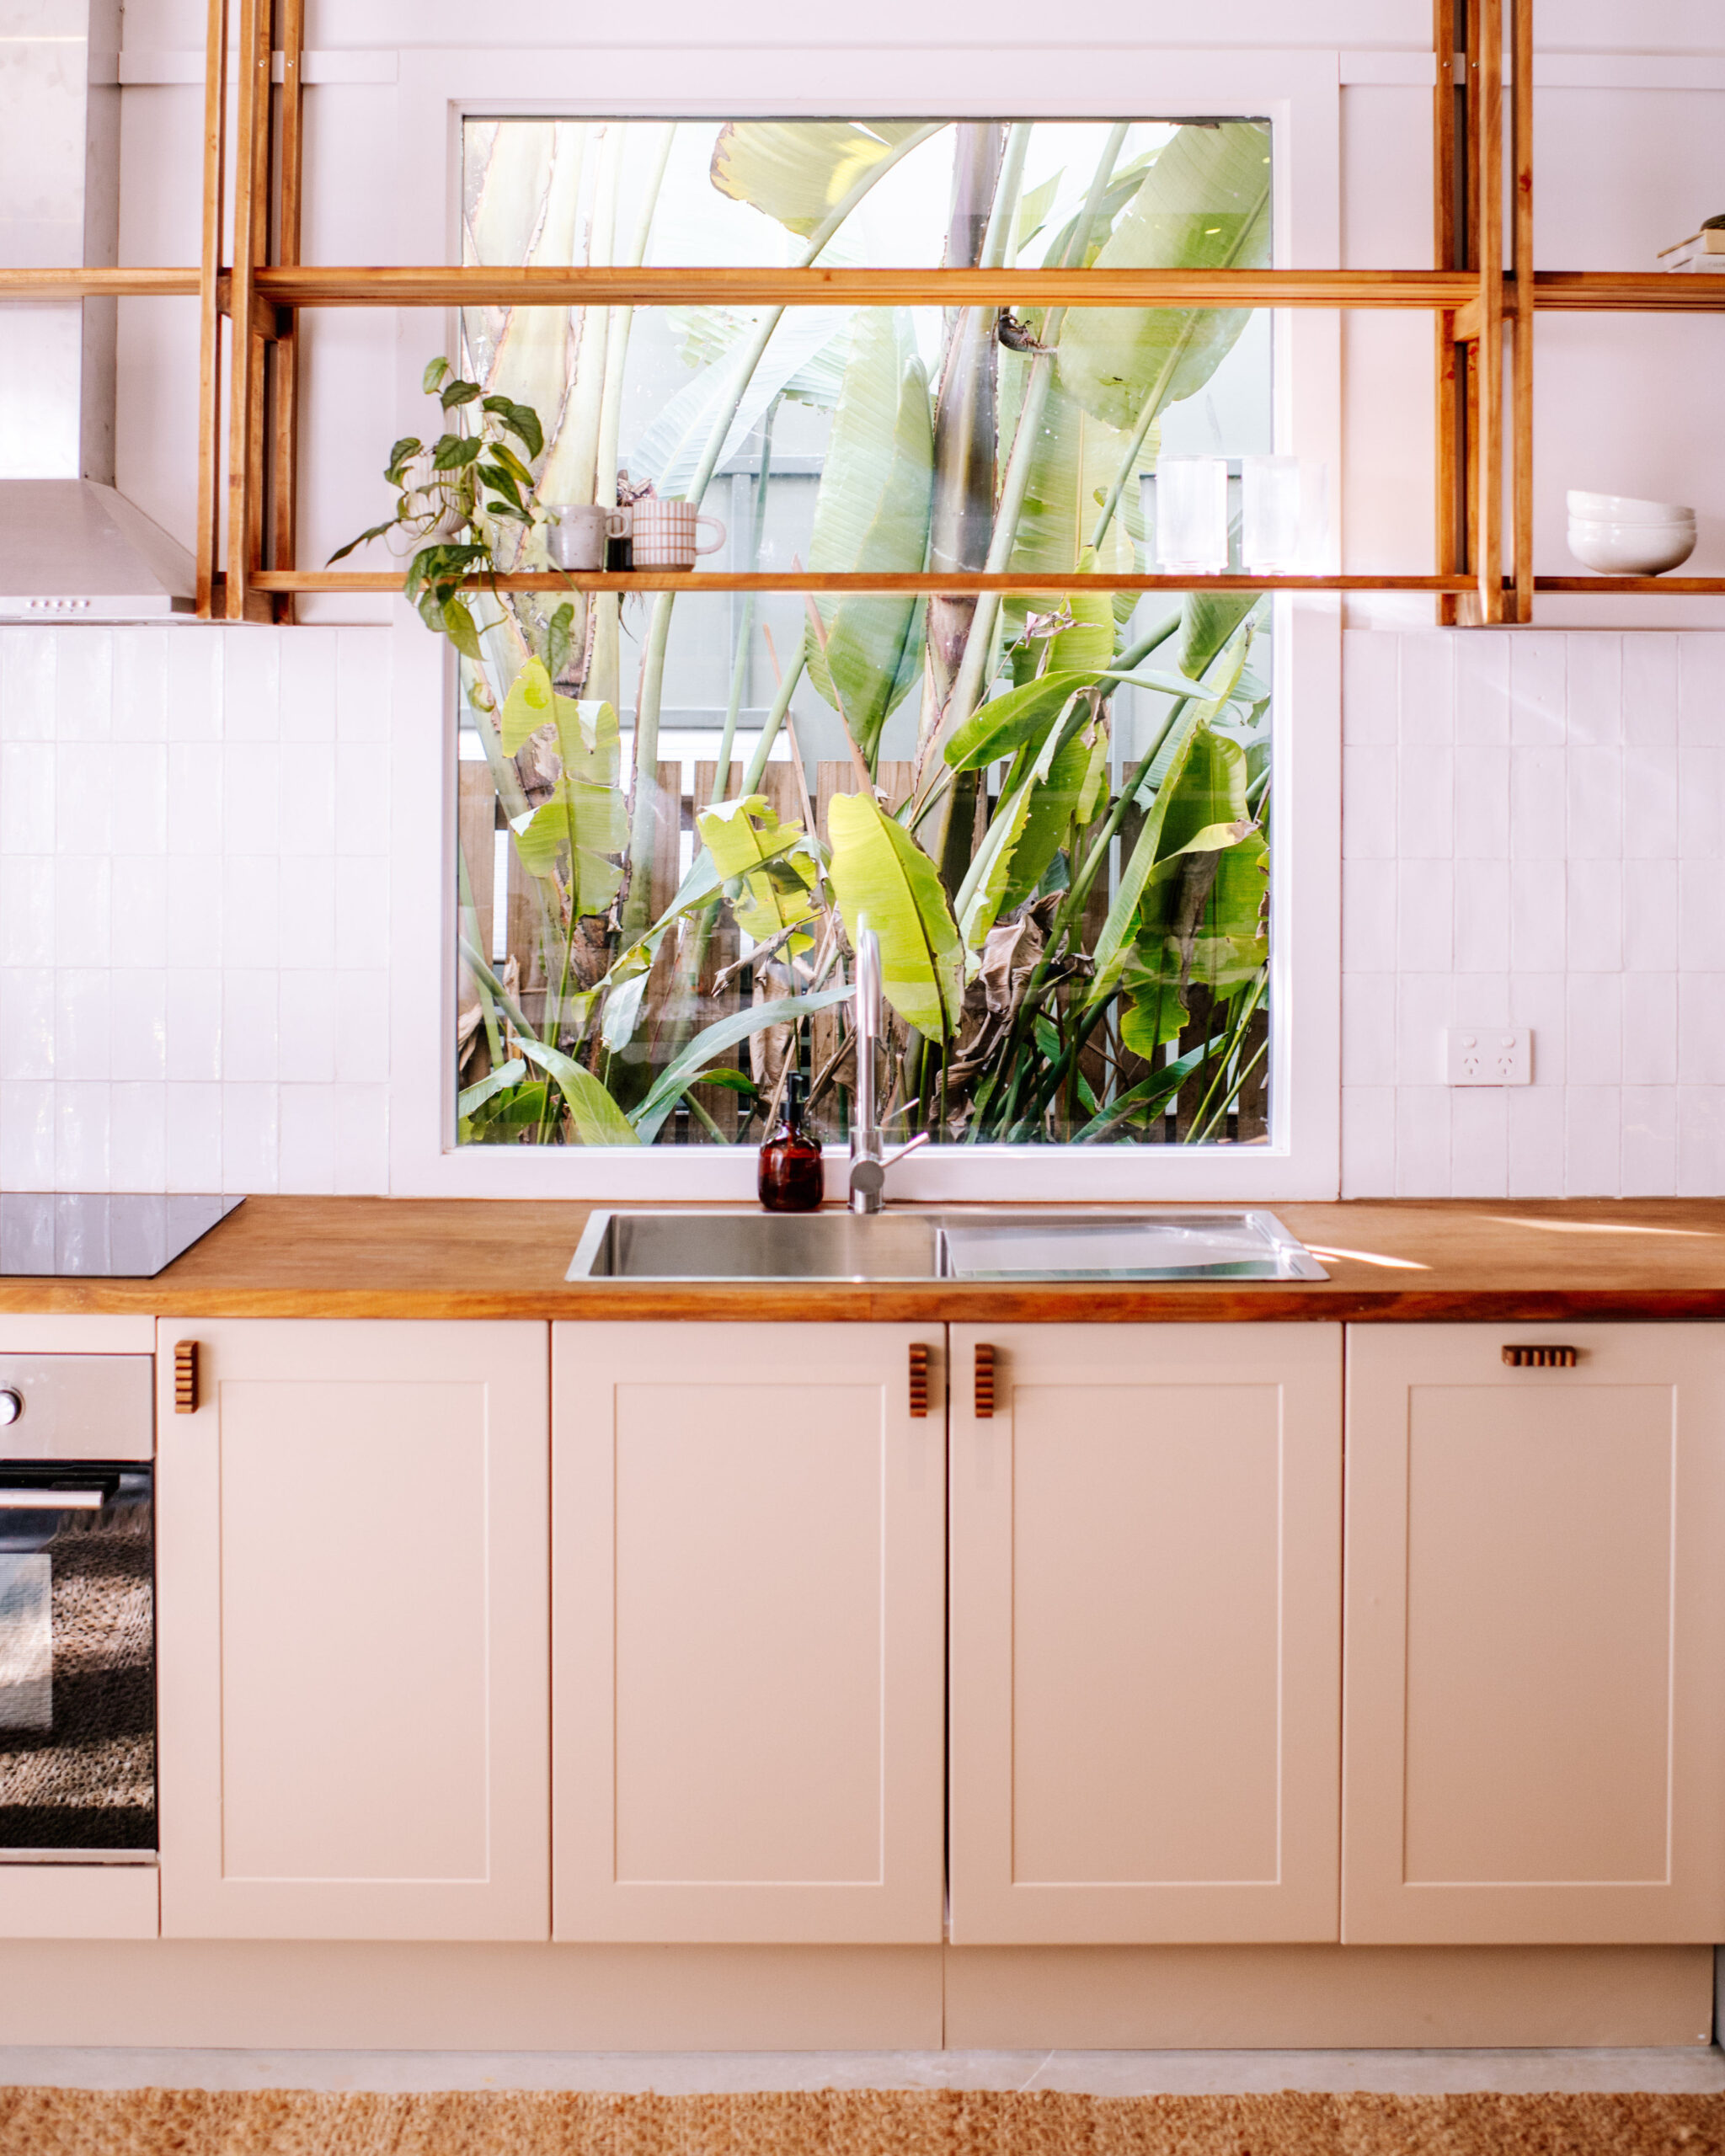
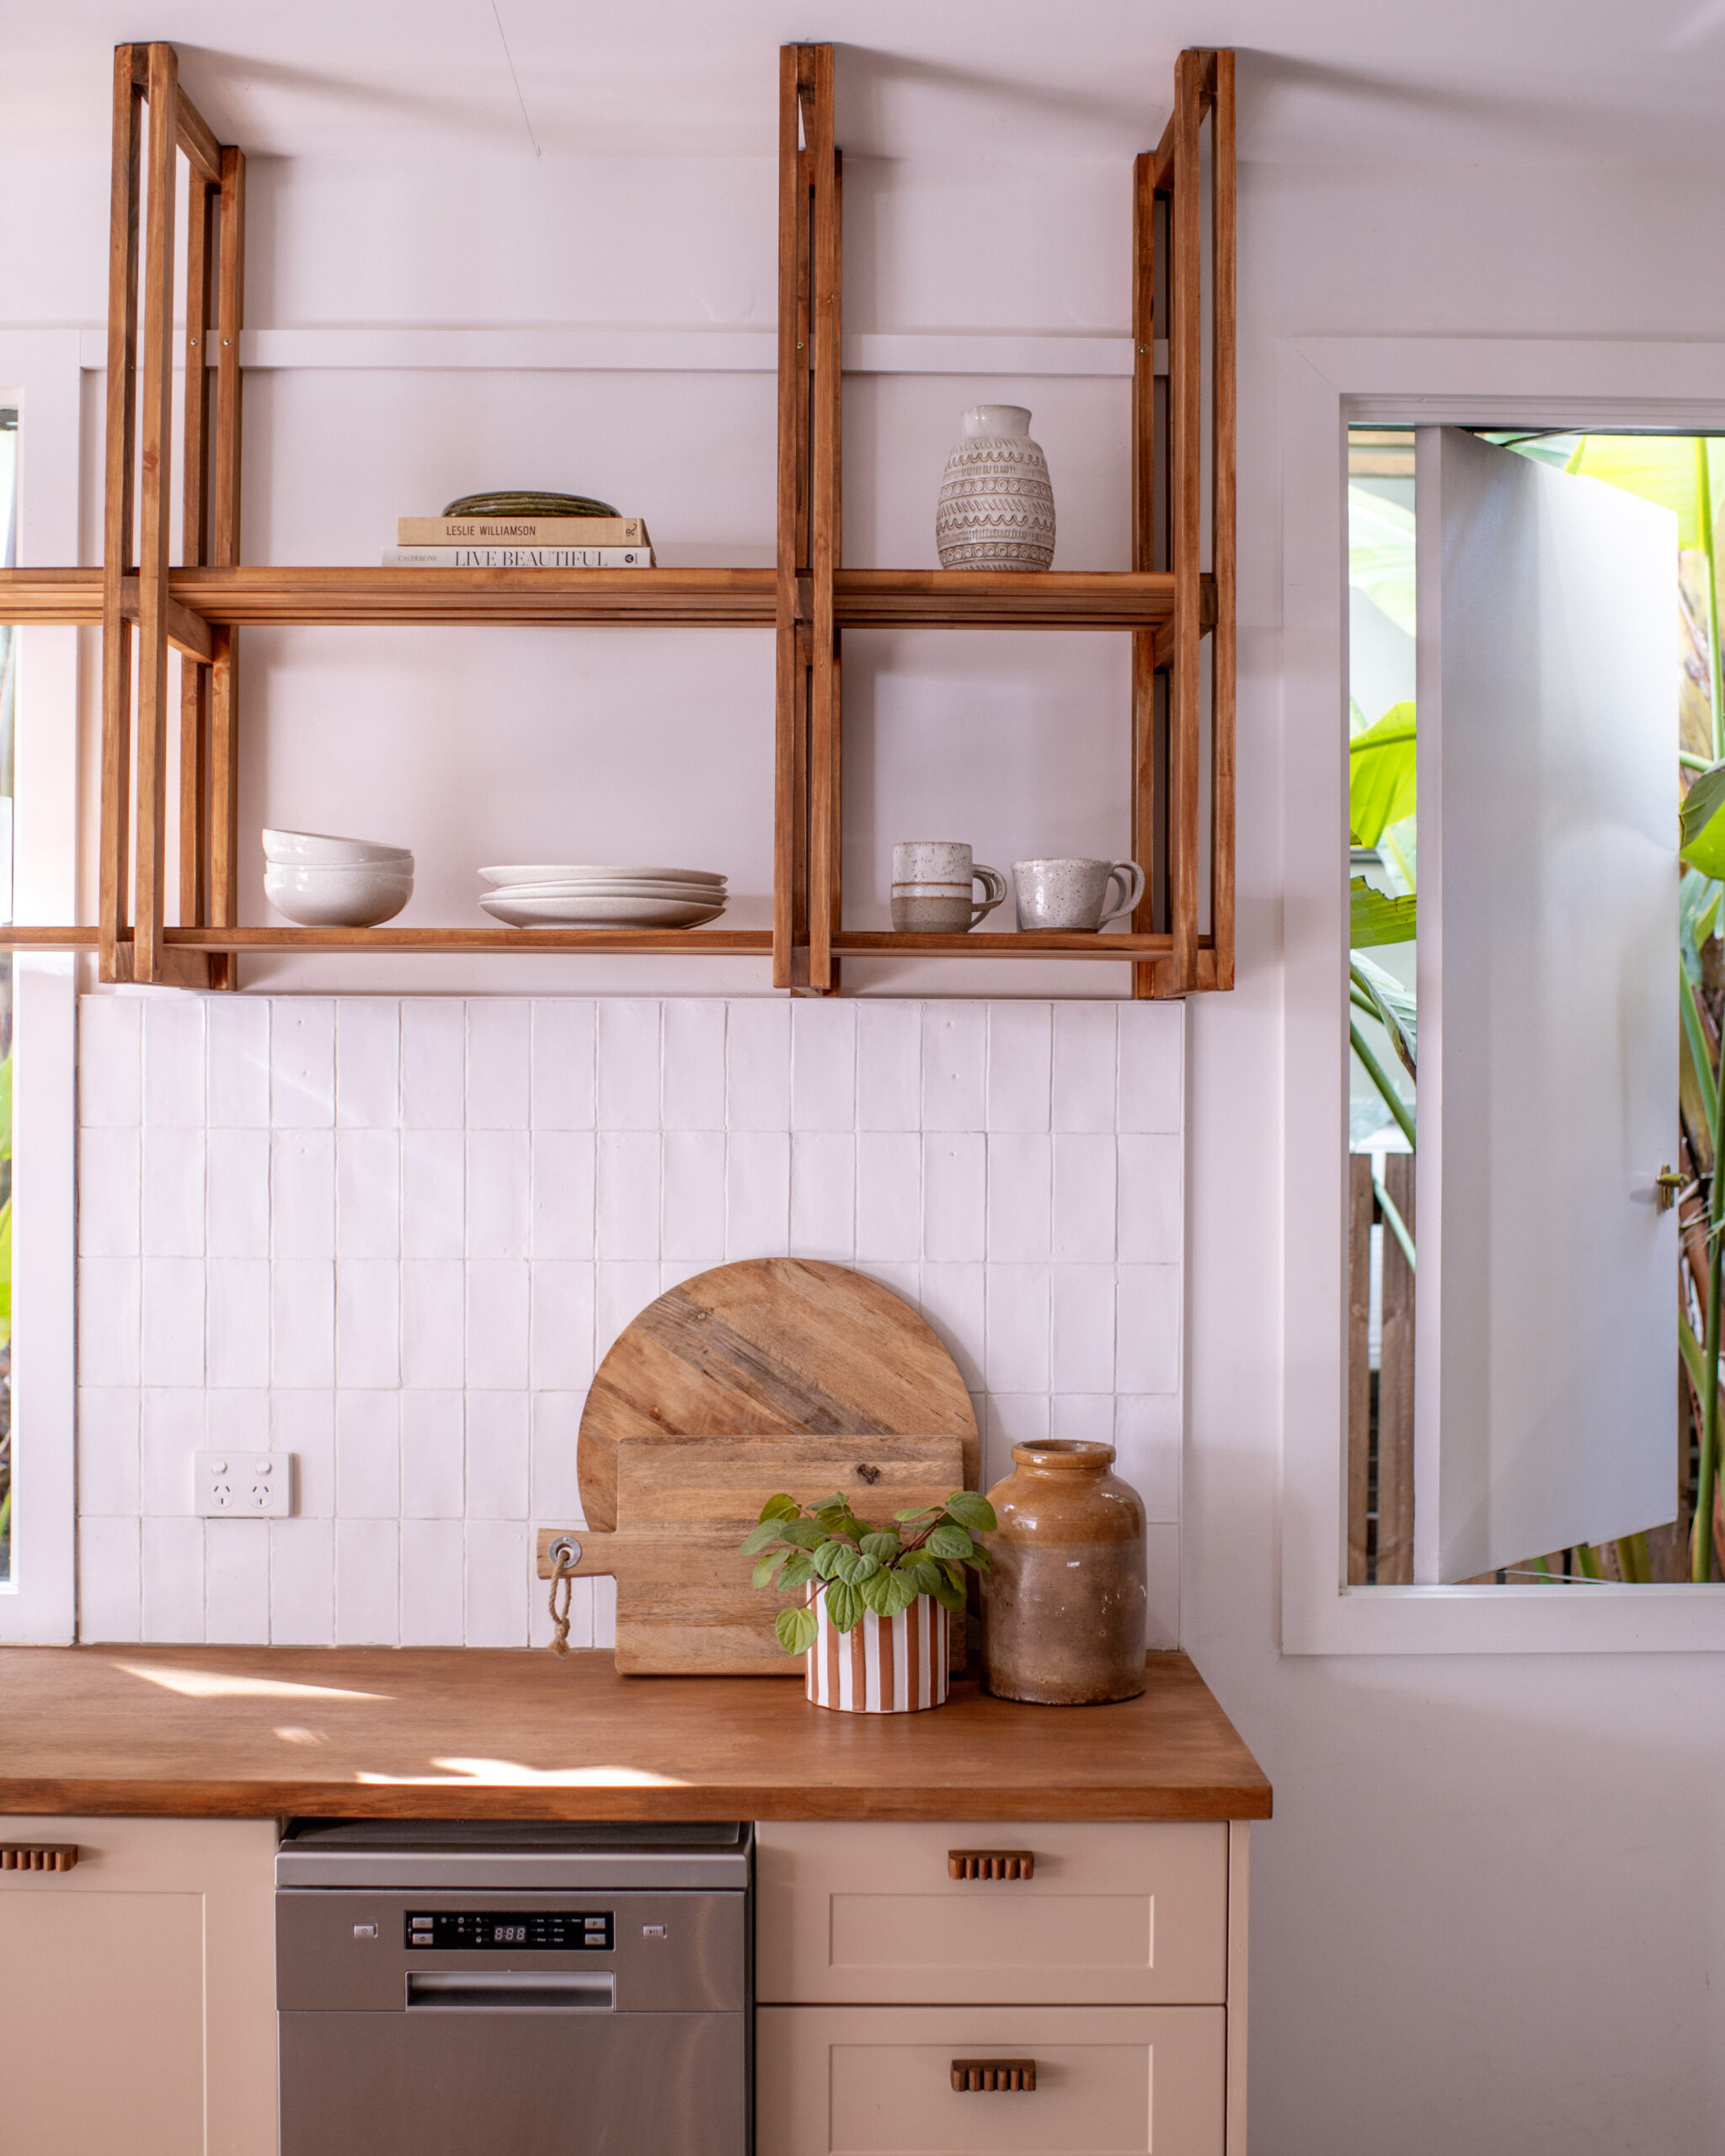
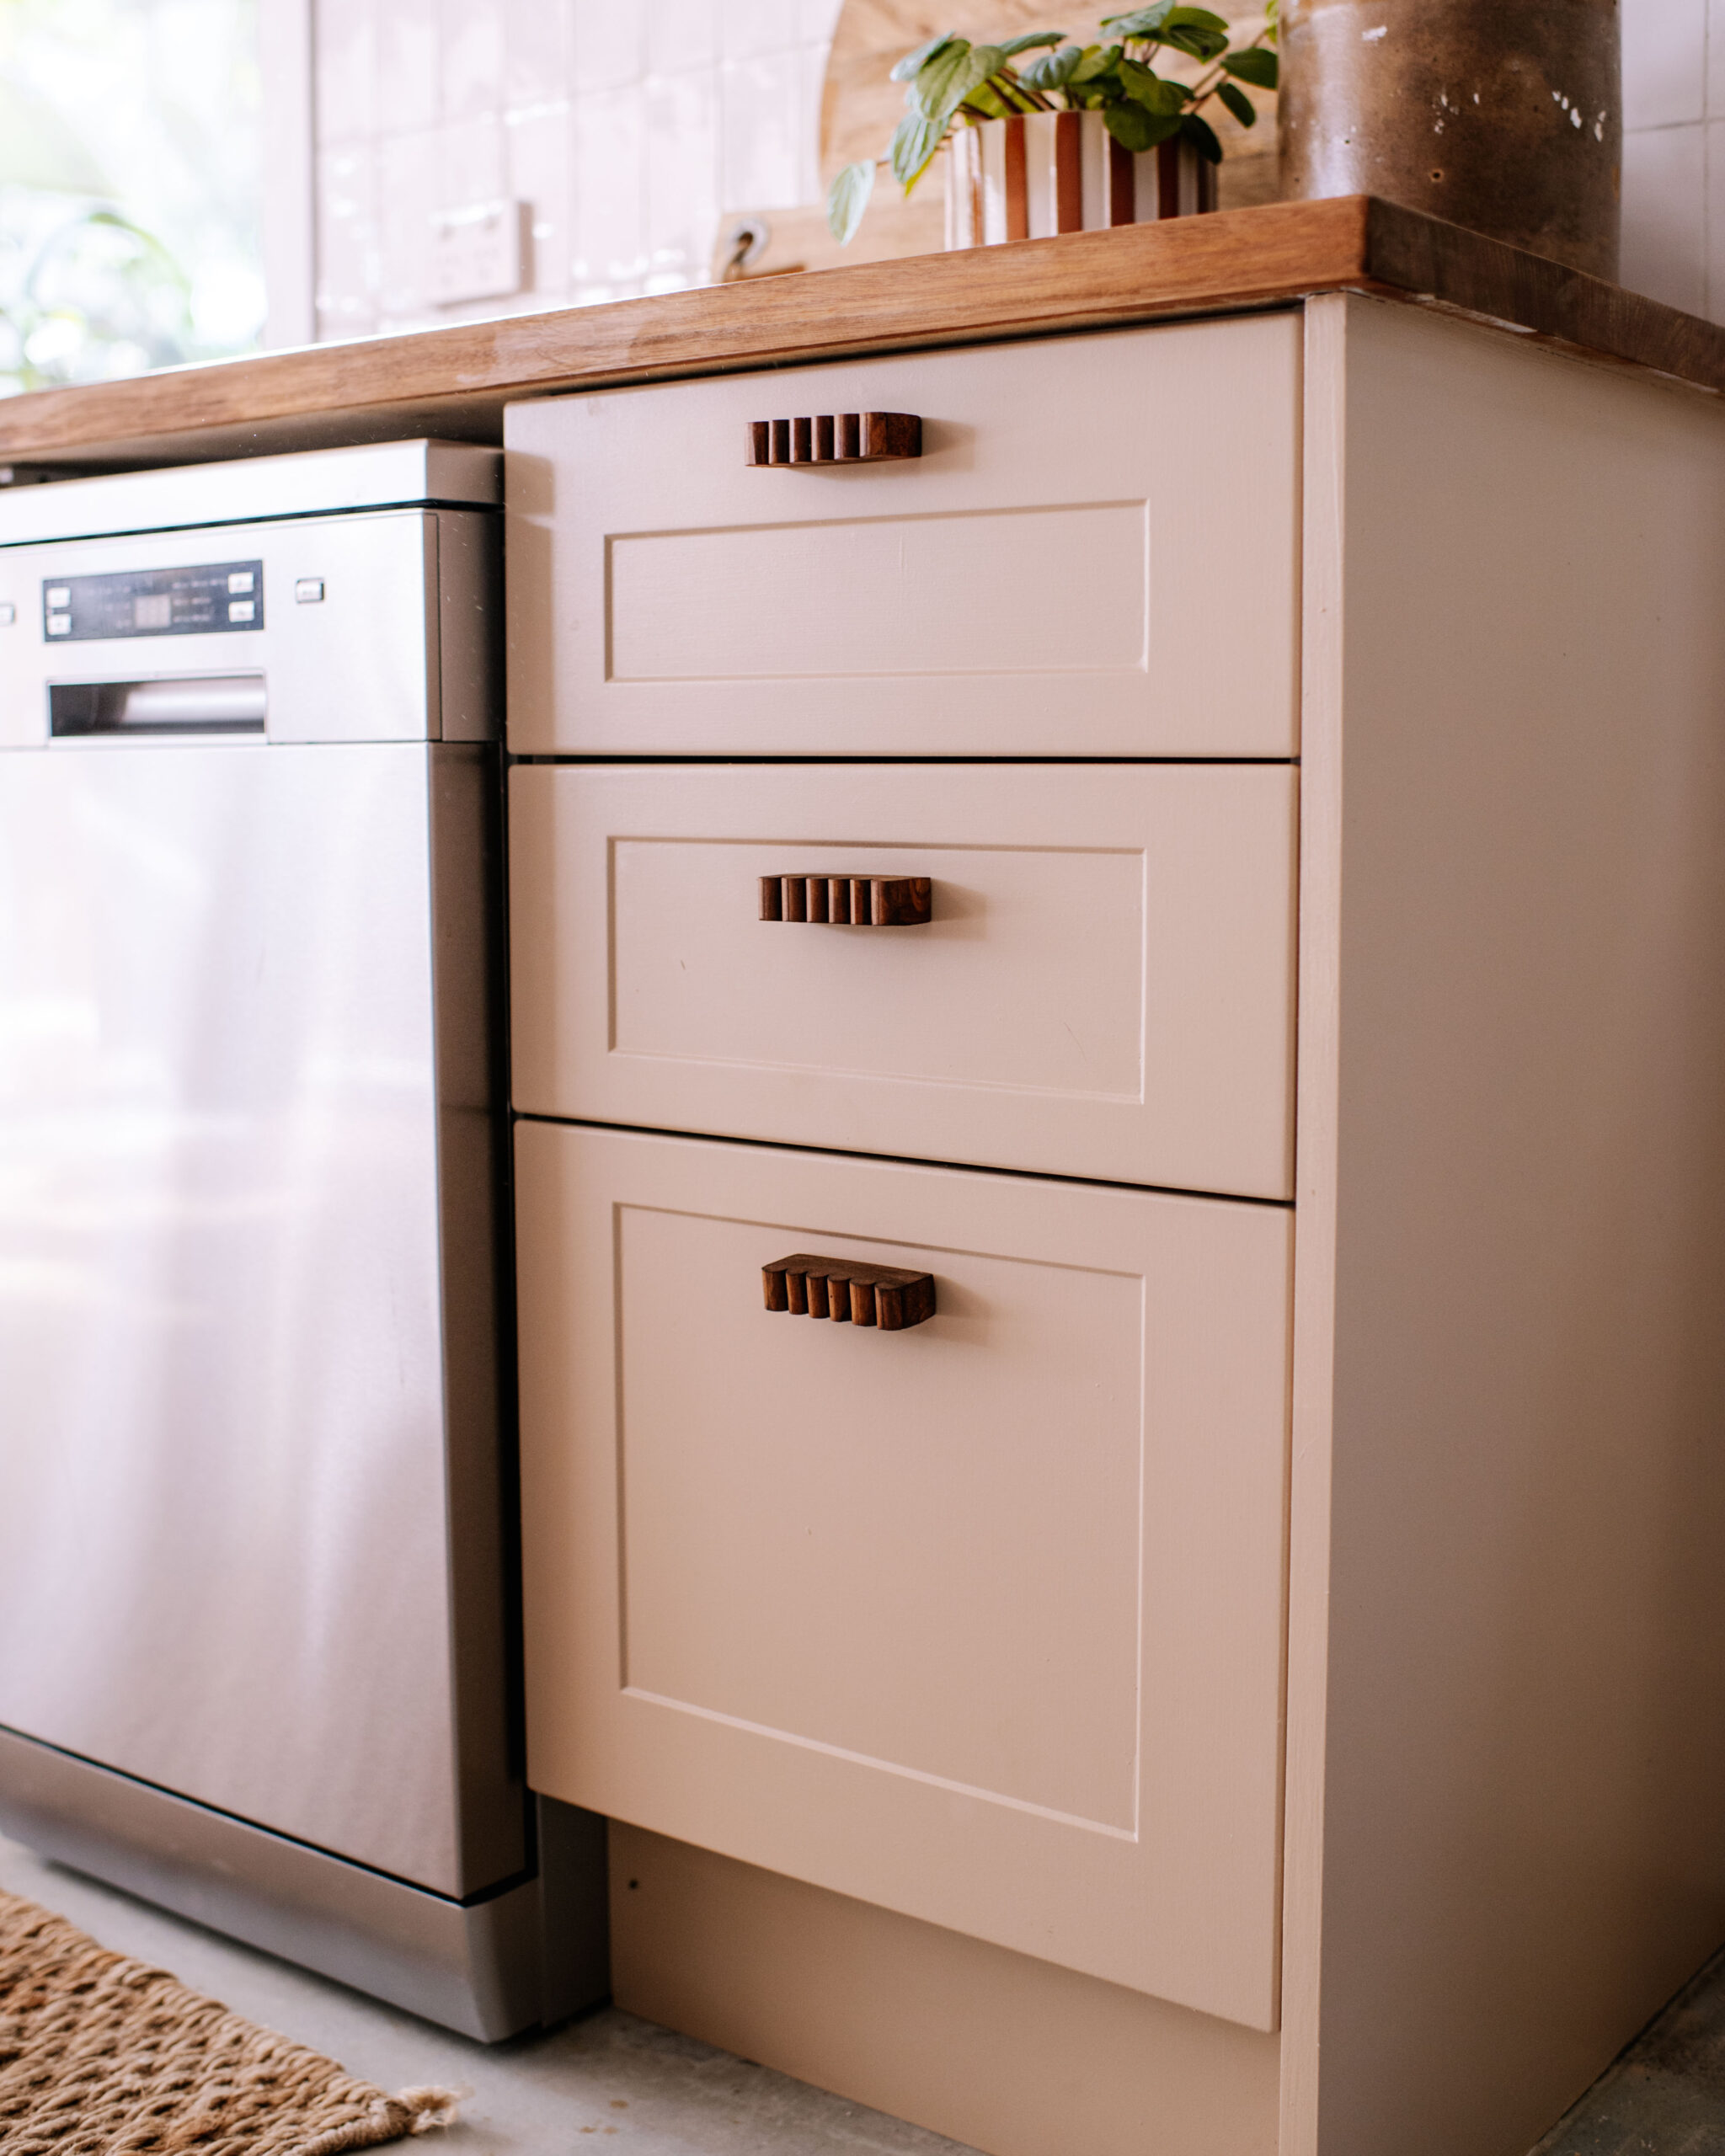
After
I wanted to give the space a really nice freshen up and I wanted to see how creative I could be on a small budget. So I decided my game plan would be to do a new coat of paint on the cabinets (with new DIY handles, naturally!), some new shelving above and I wanted to see if I could breathe new life into the poor old butchers block bench top. Over the course of a week I painted the cabinets, made new handles, restored the bench top and (with Ben’s help) made new shelves.
Materials I used for this project
- Gently by British Paints
- Dulux Clear Top Coat
- Mondella Sink
- Mondella Tap
- Feast Watson Prooftint in Oak
- Feast Watson Kitchen Bench Oil
- Shellac Primer
- Kaboodle Paint Your Own Door (this is what we had originally in this space)
- Timber
Painting the Cabinets
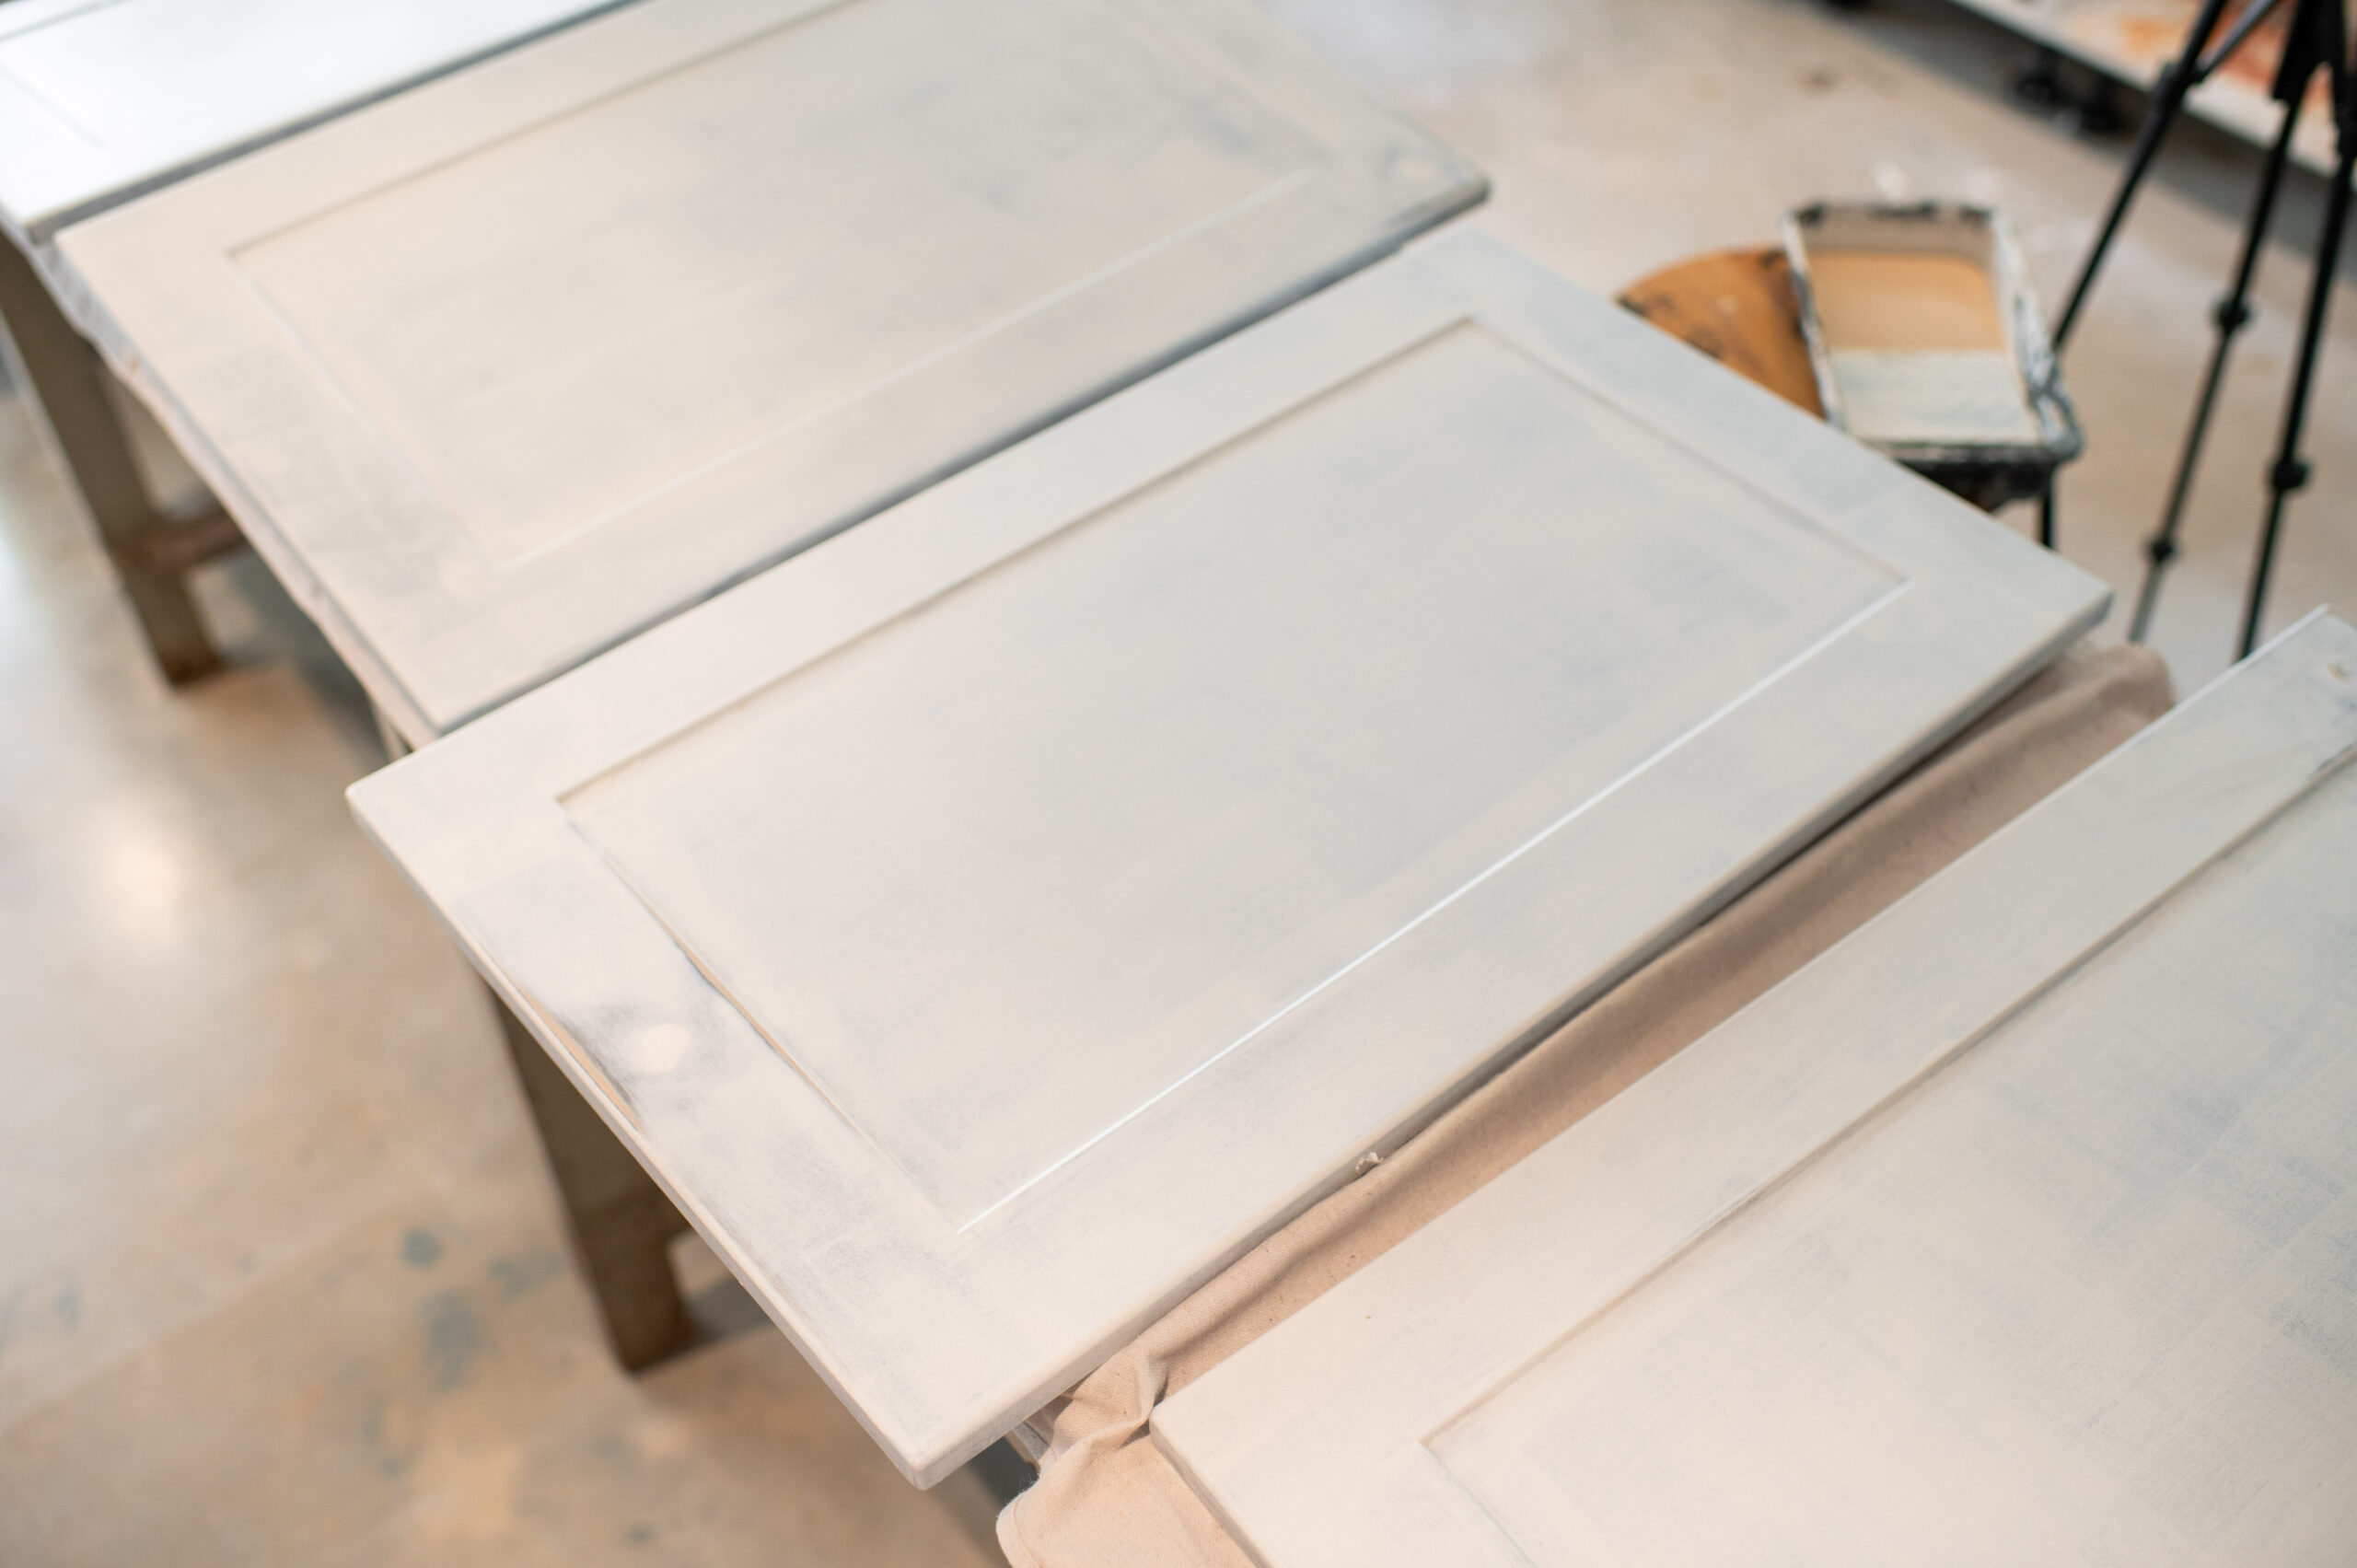
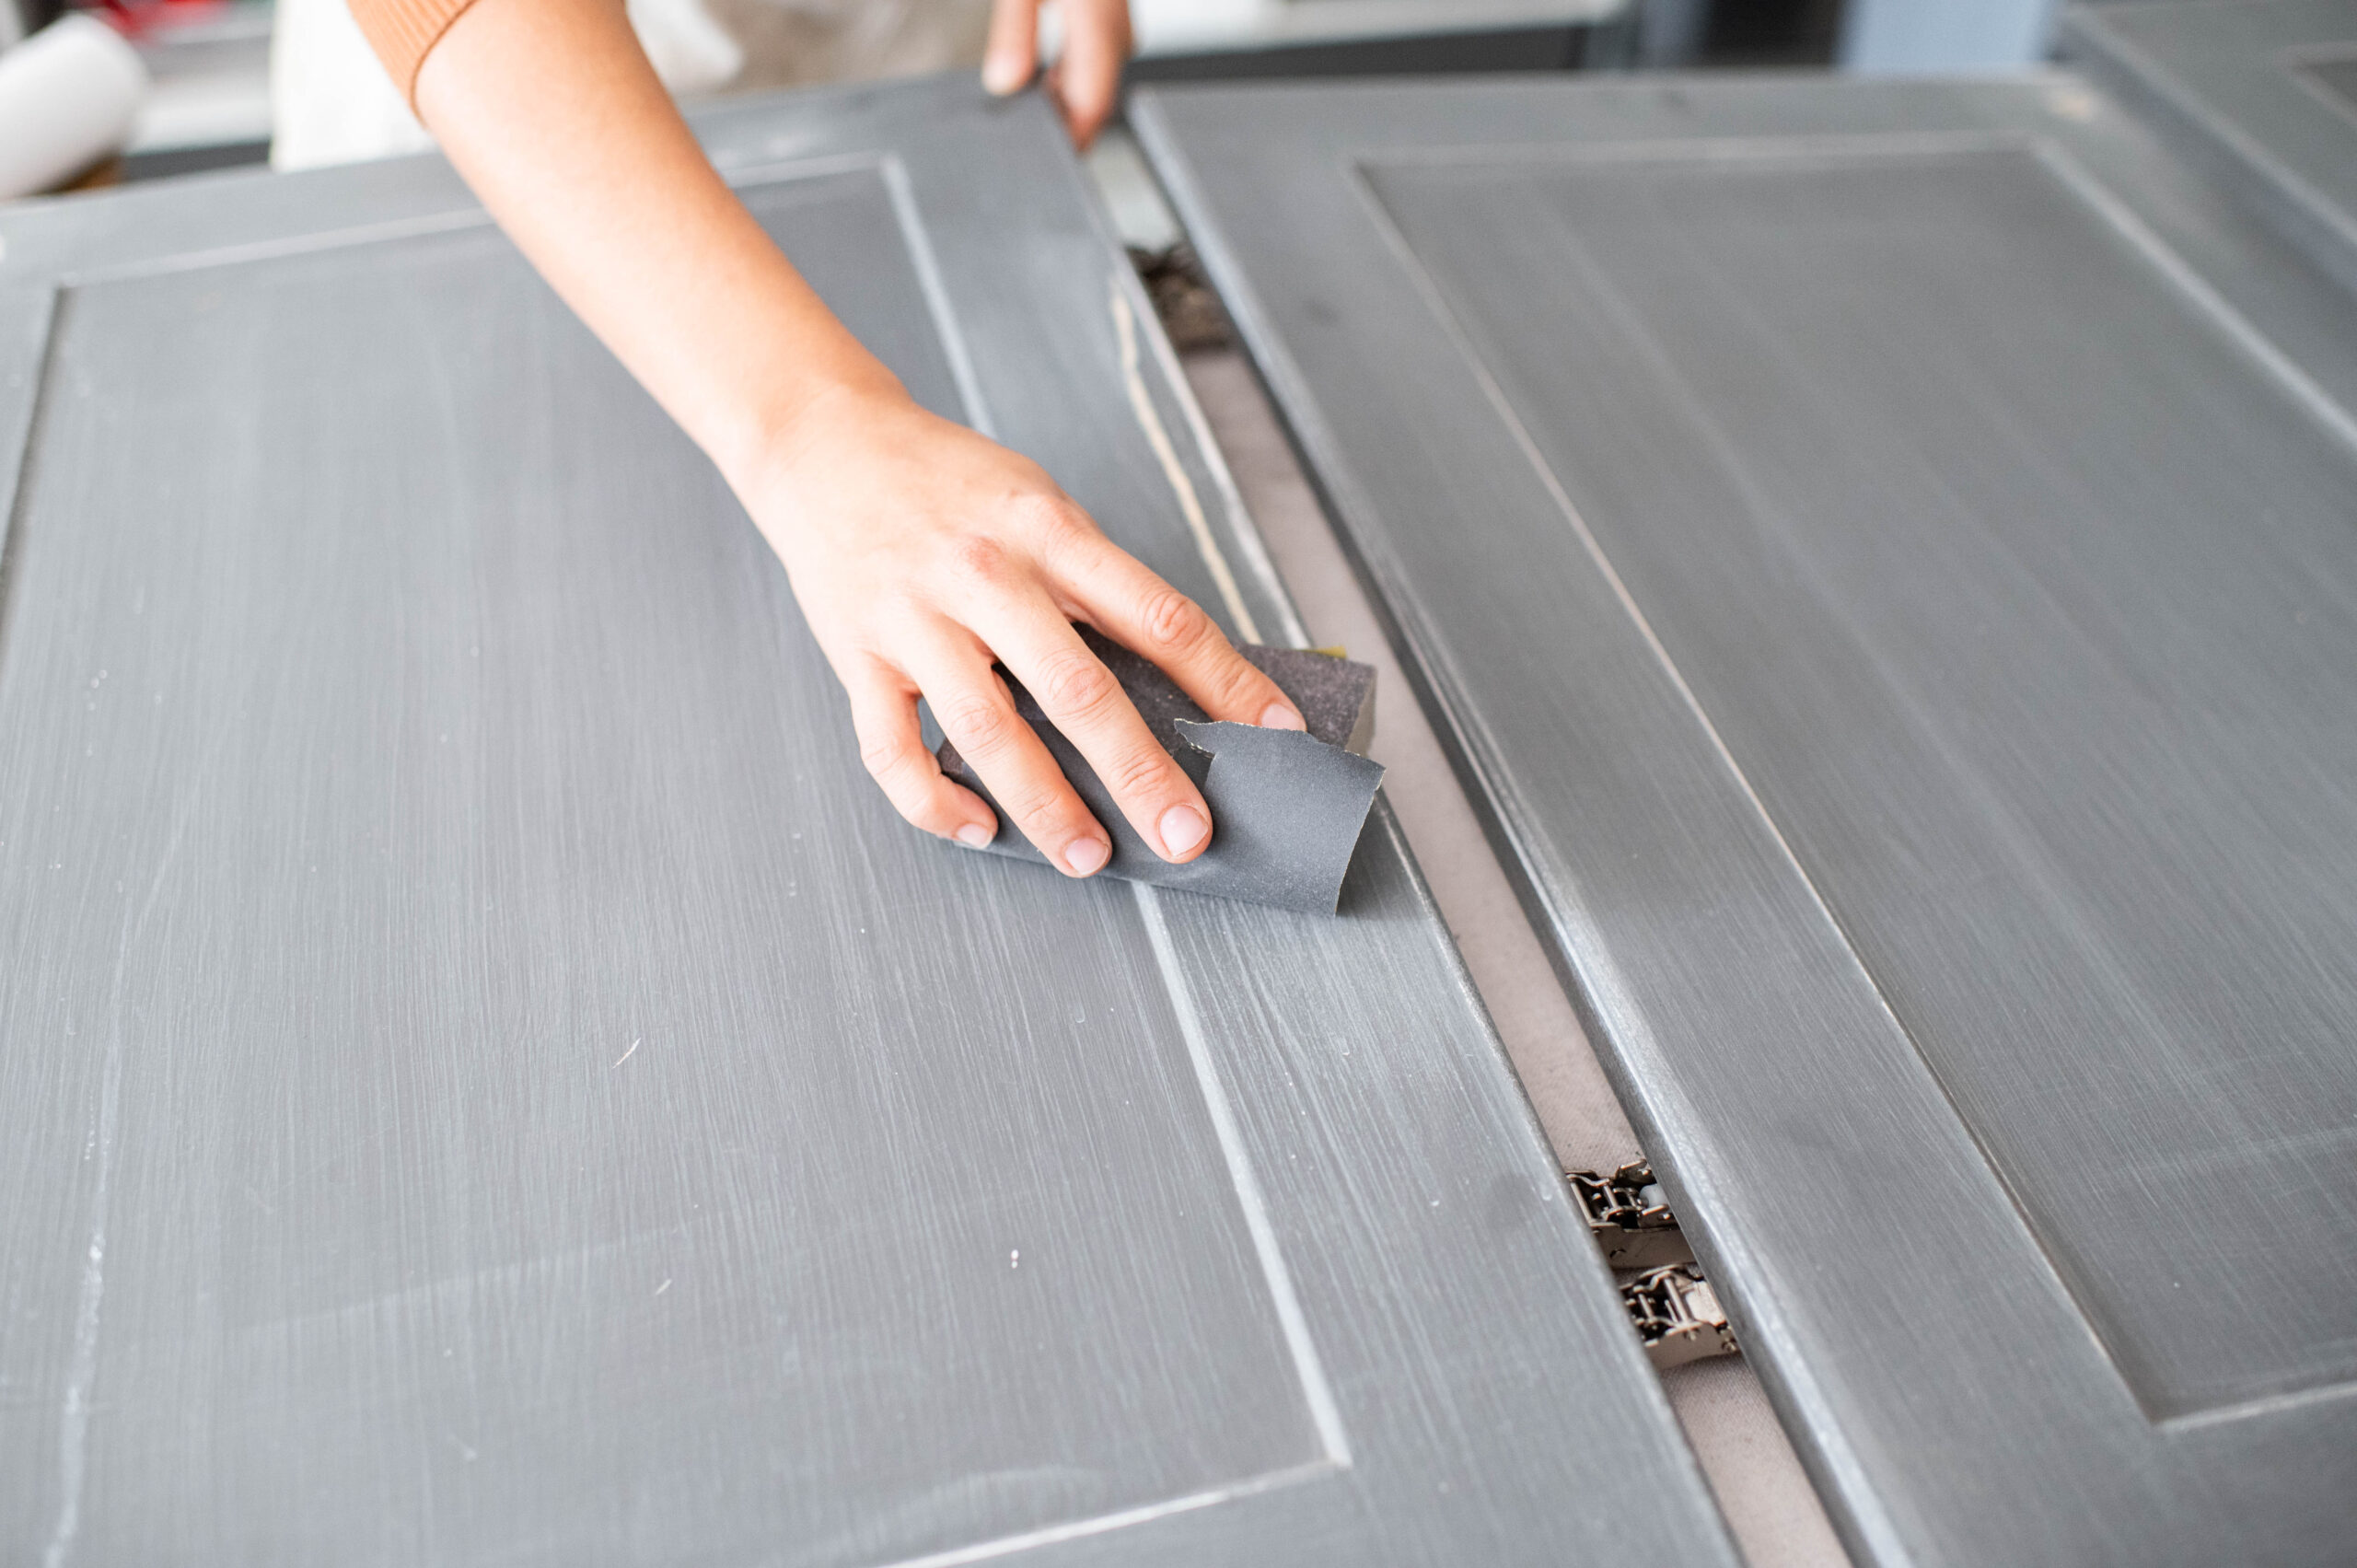
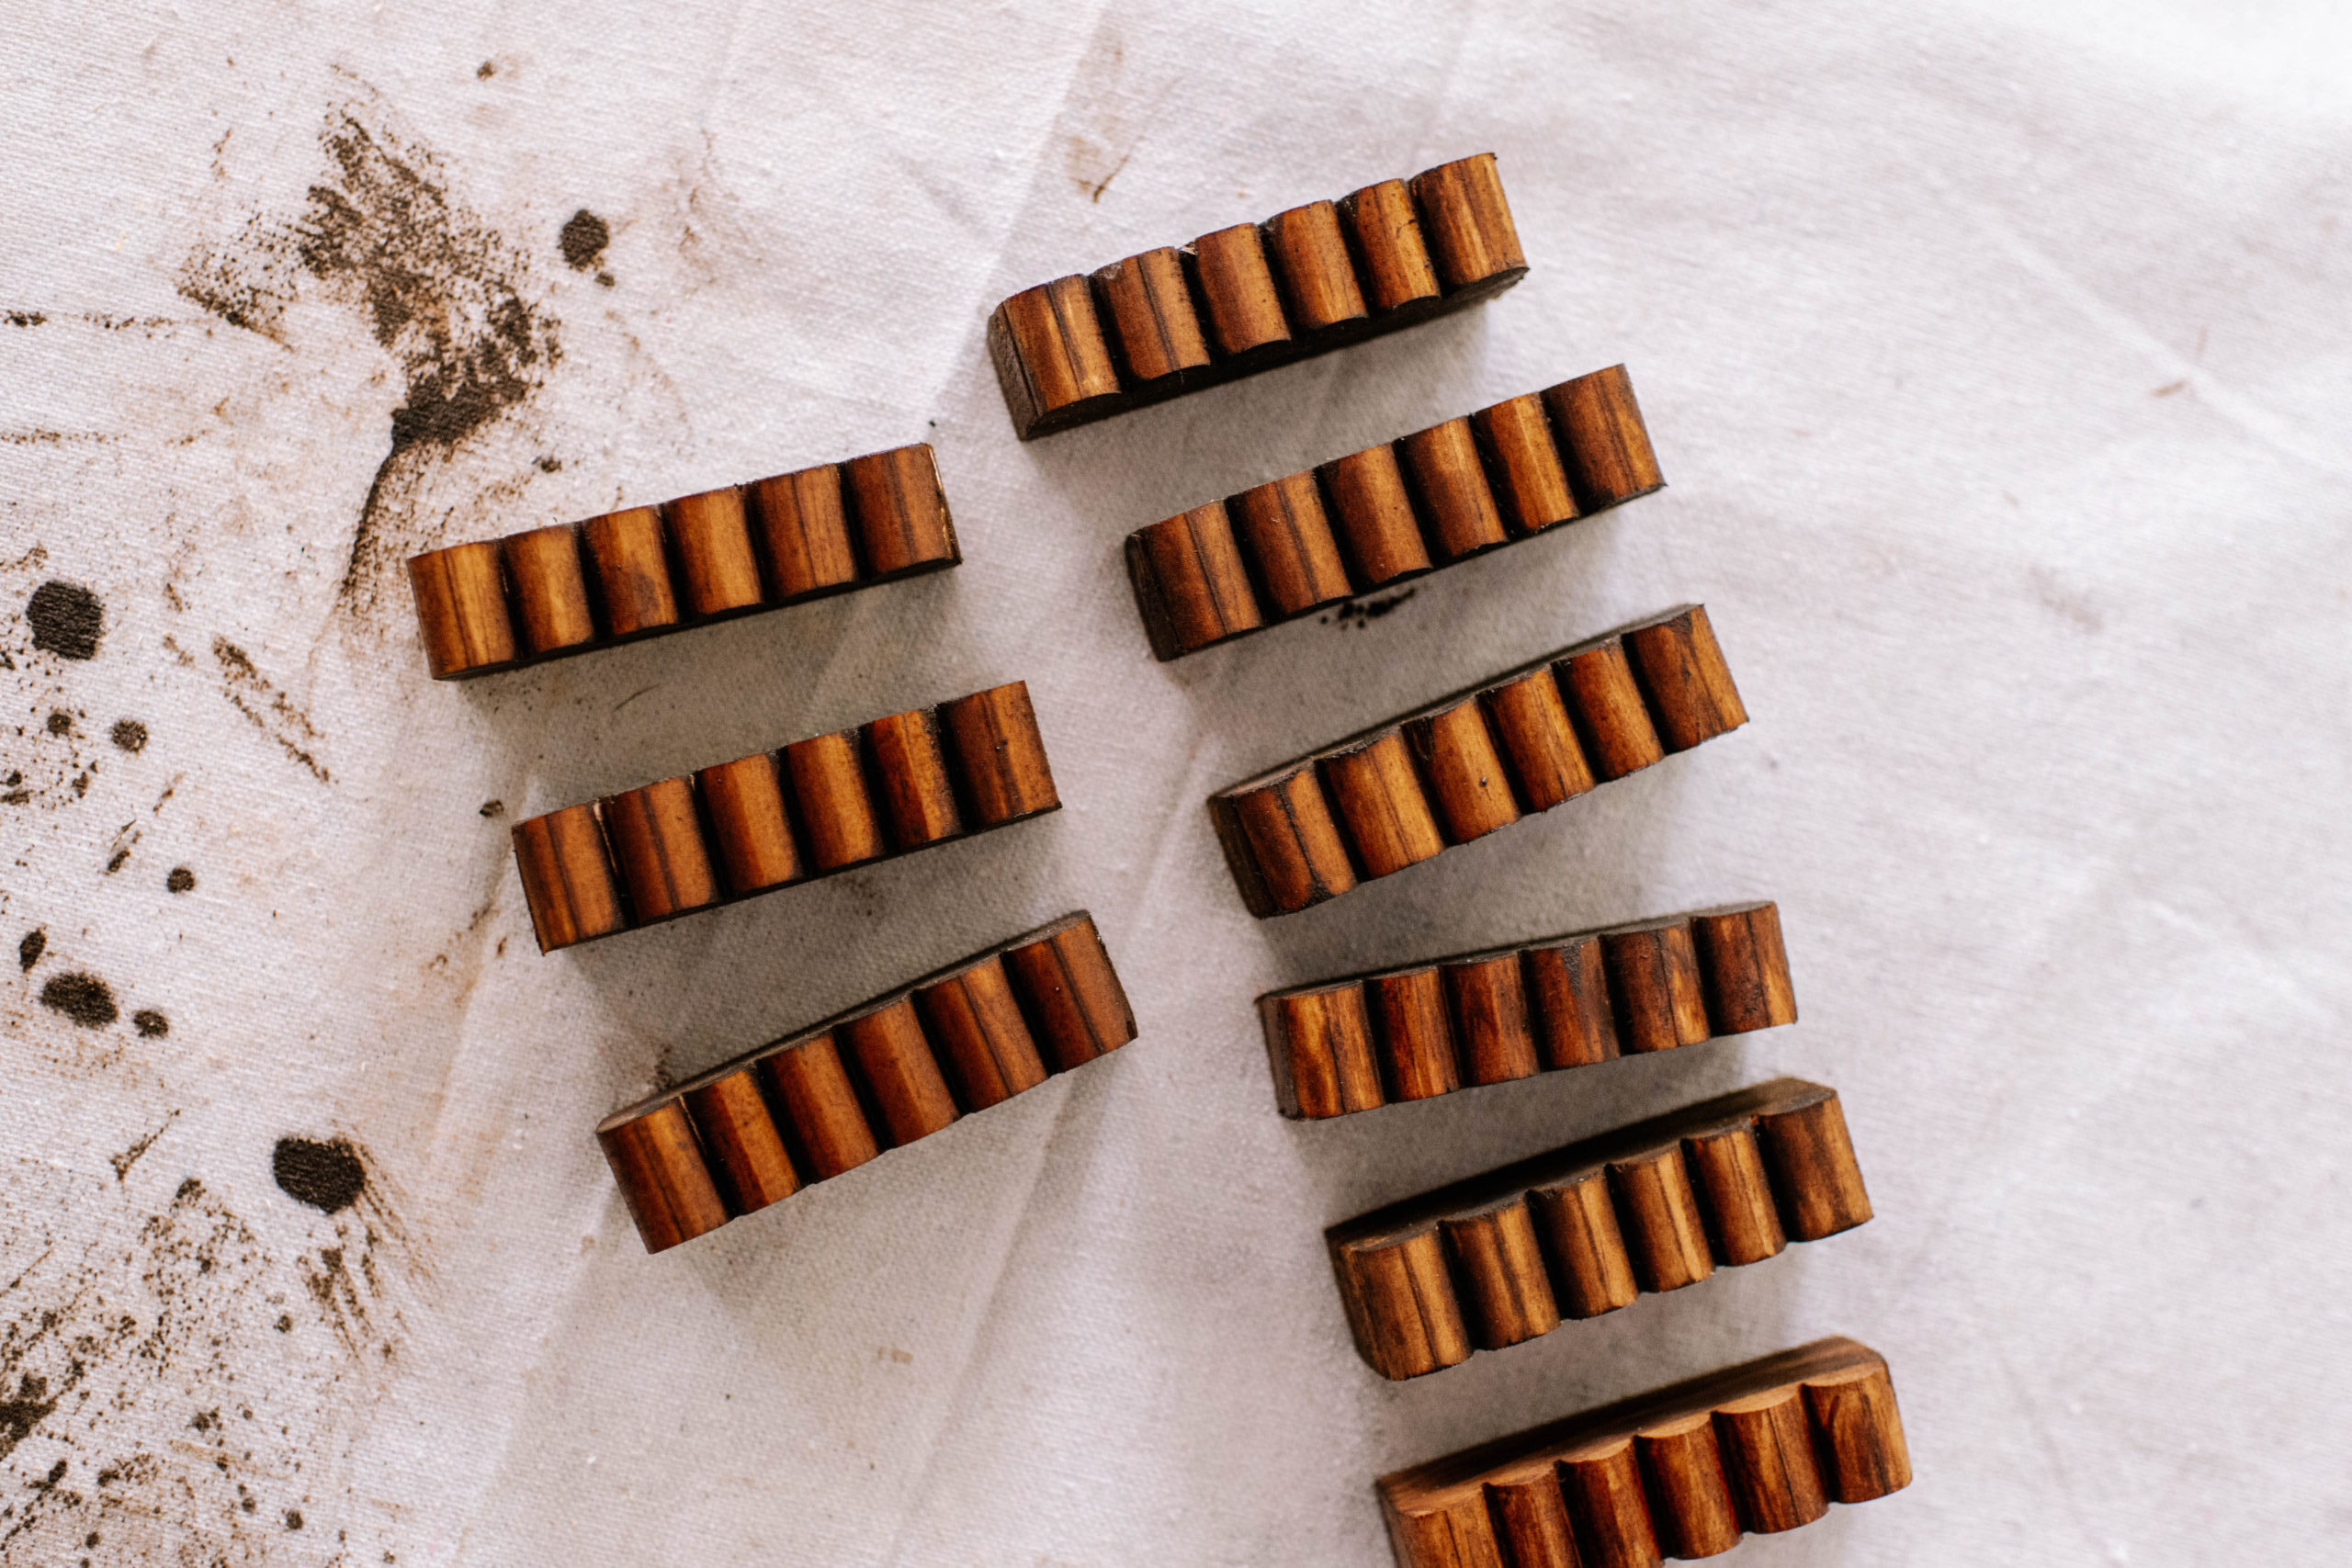
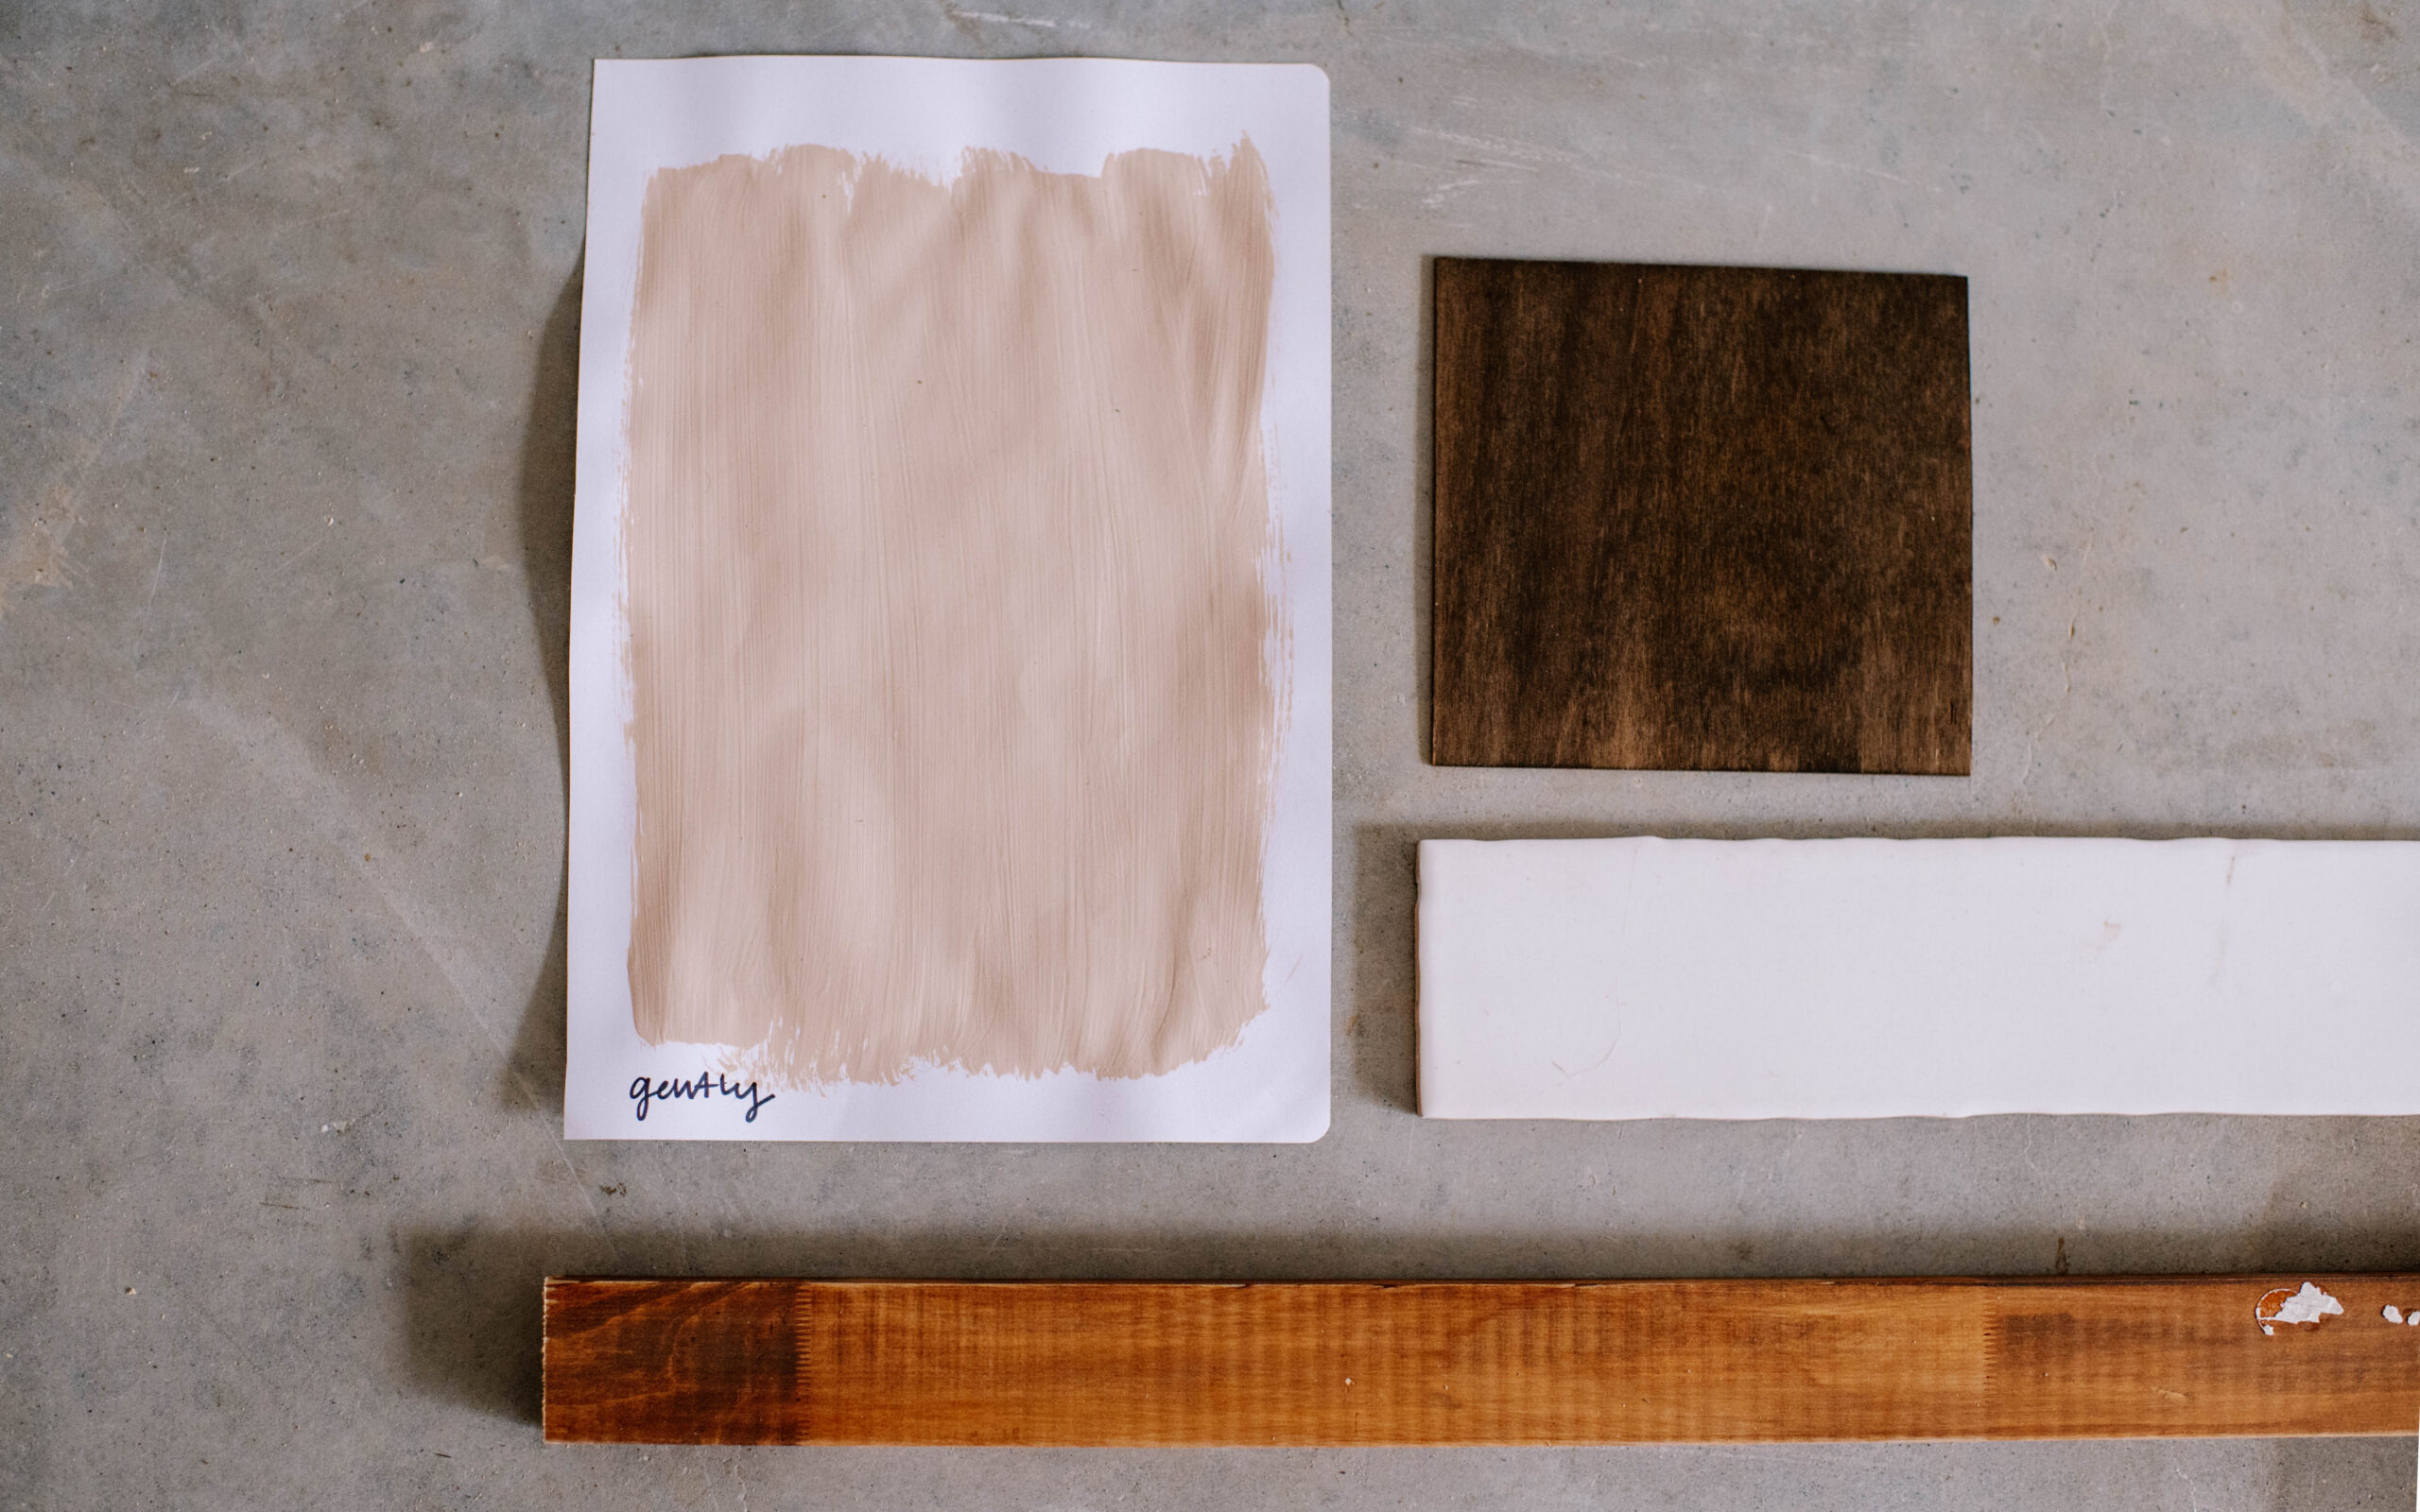
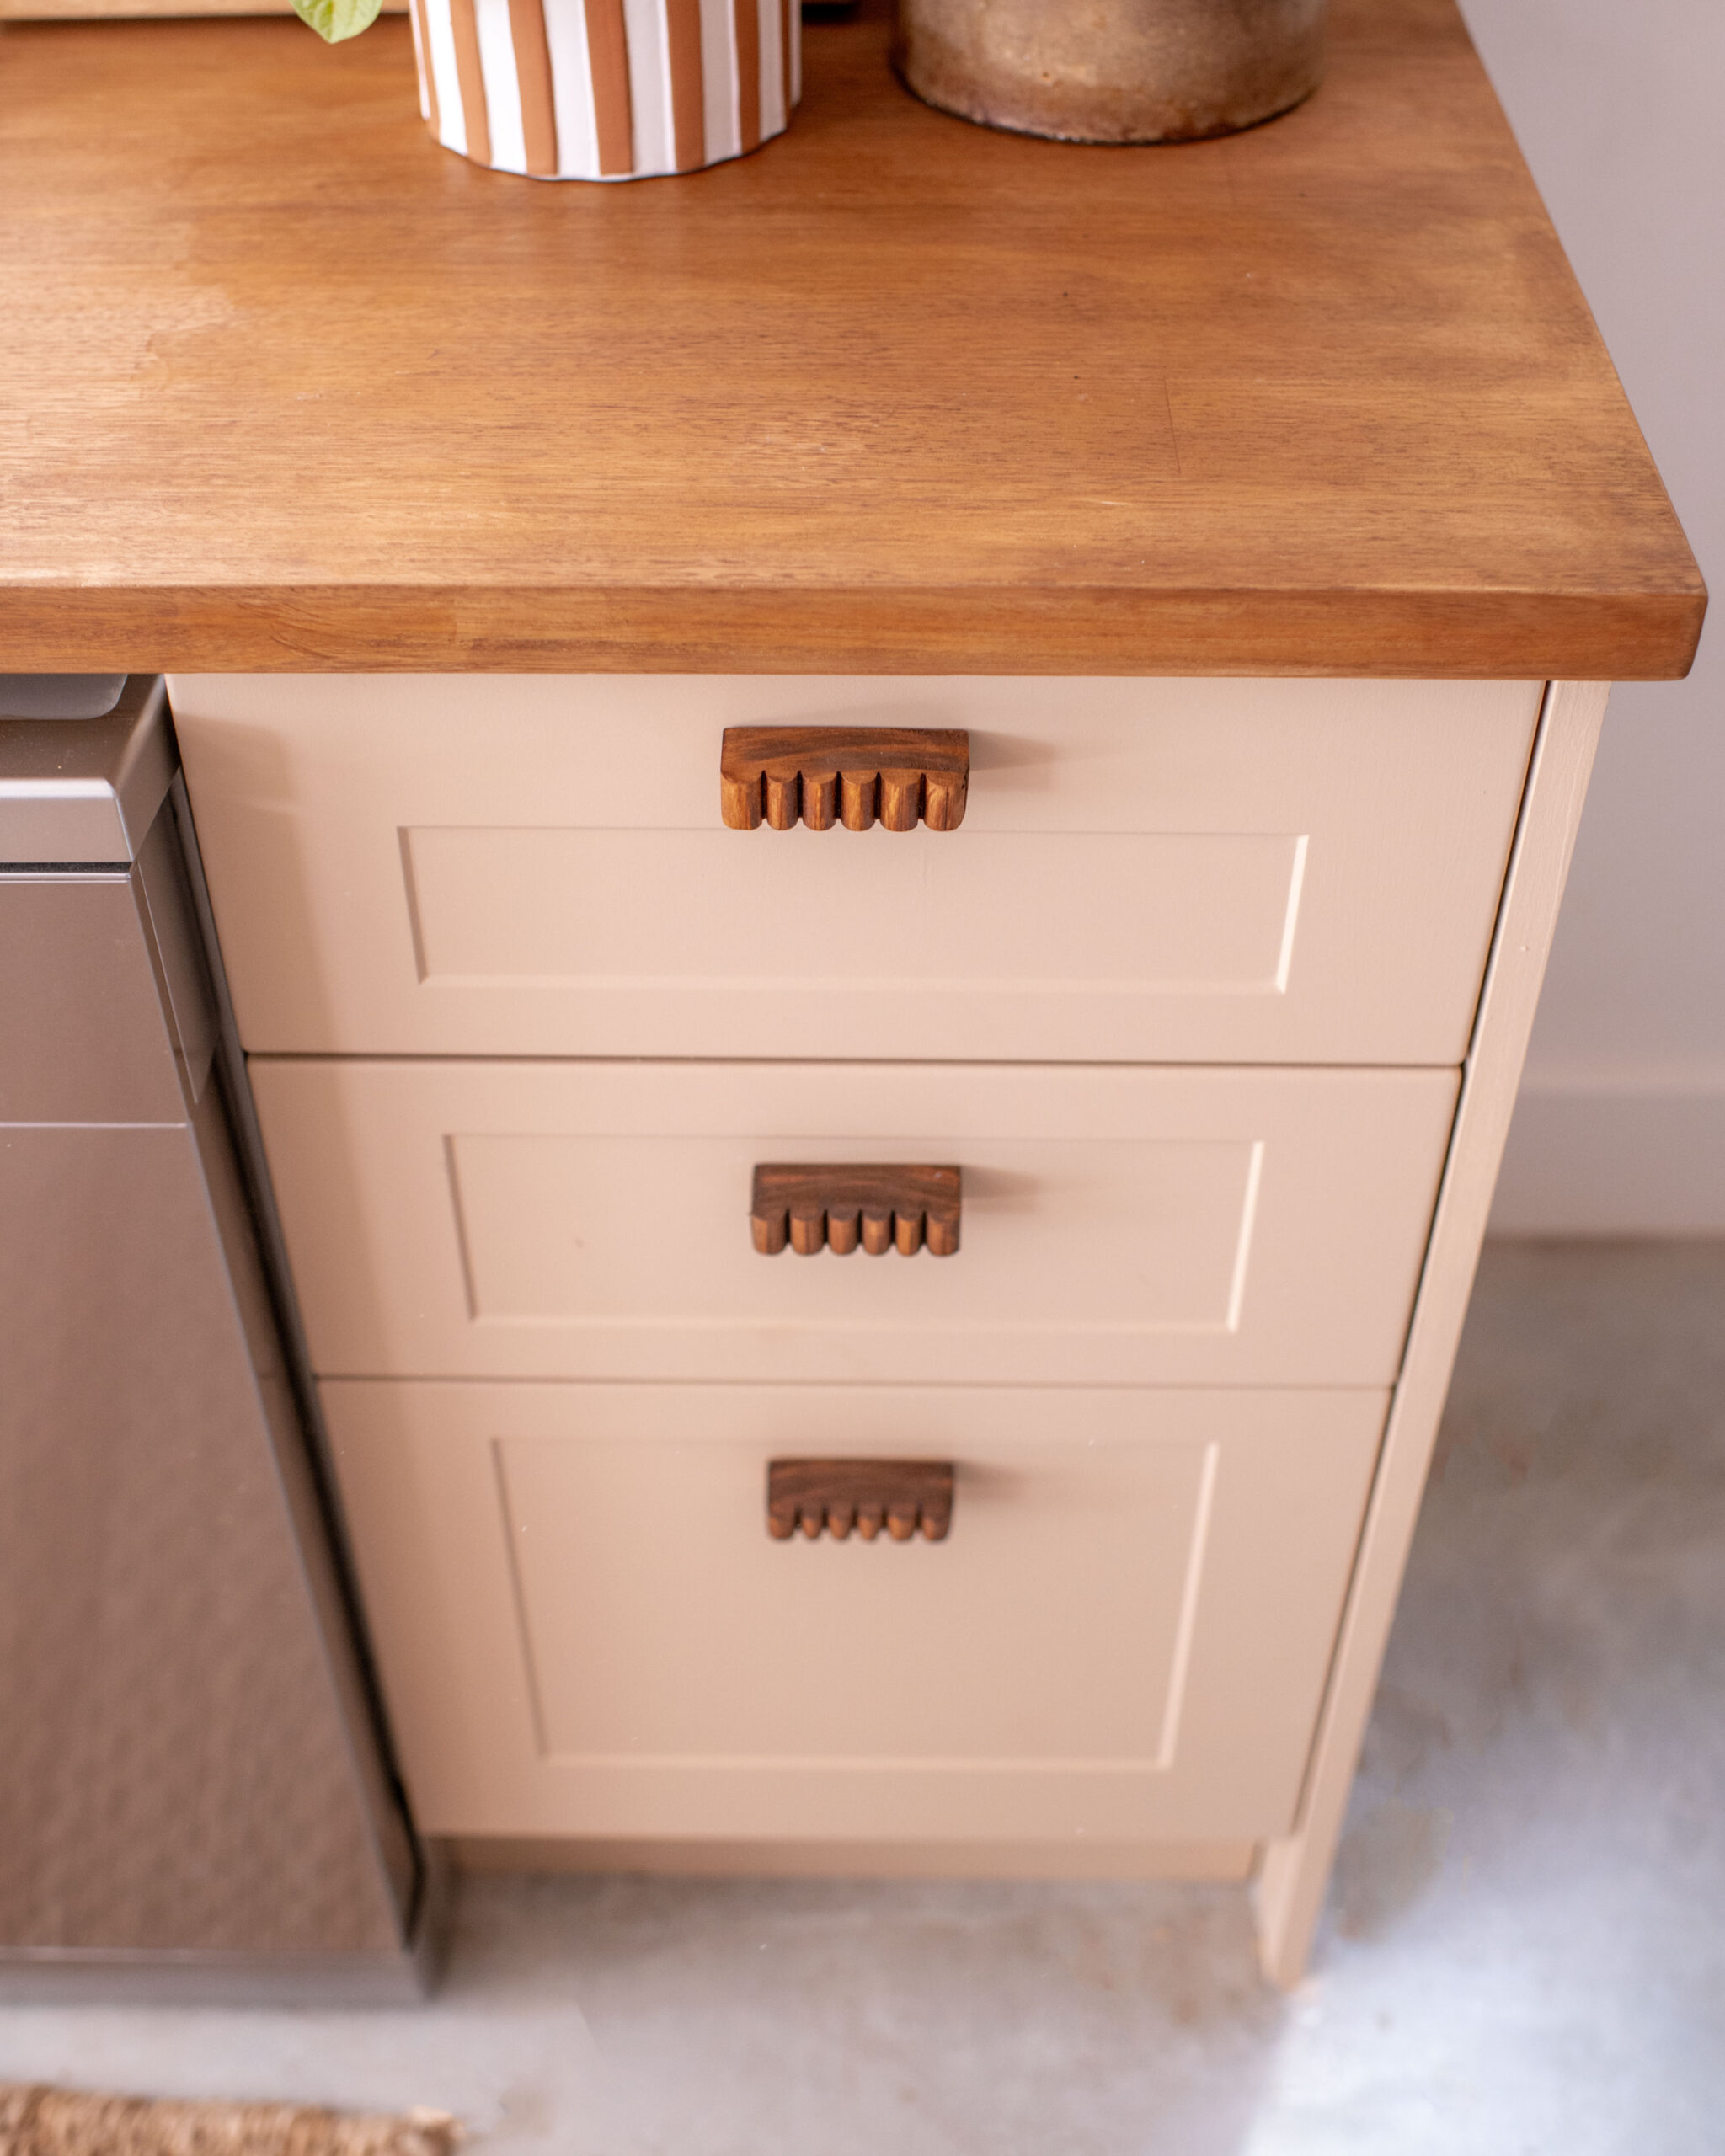
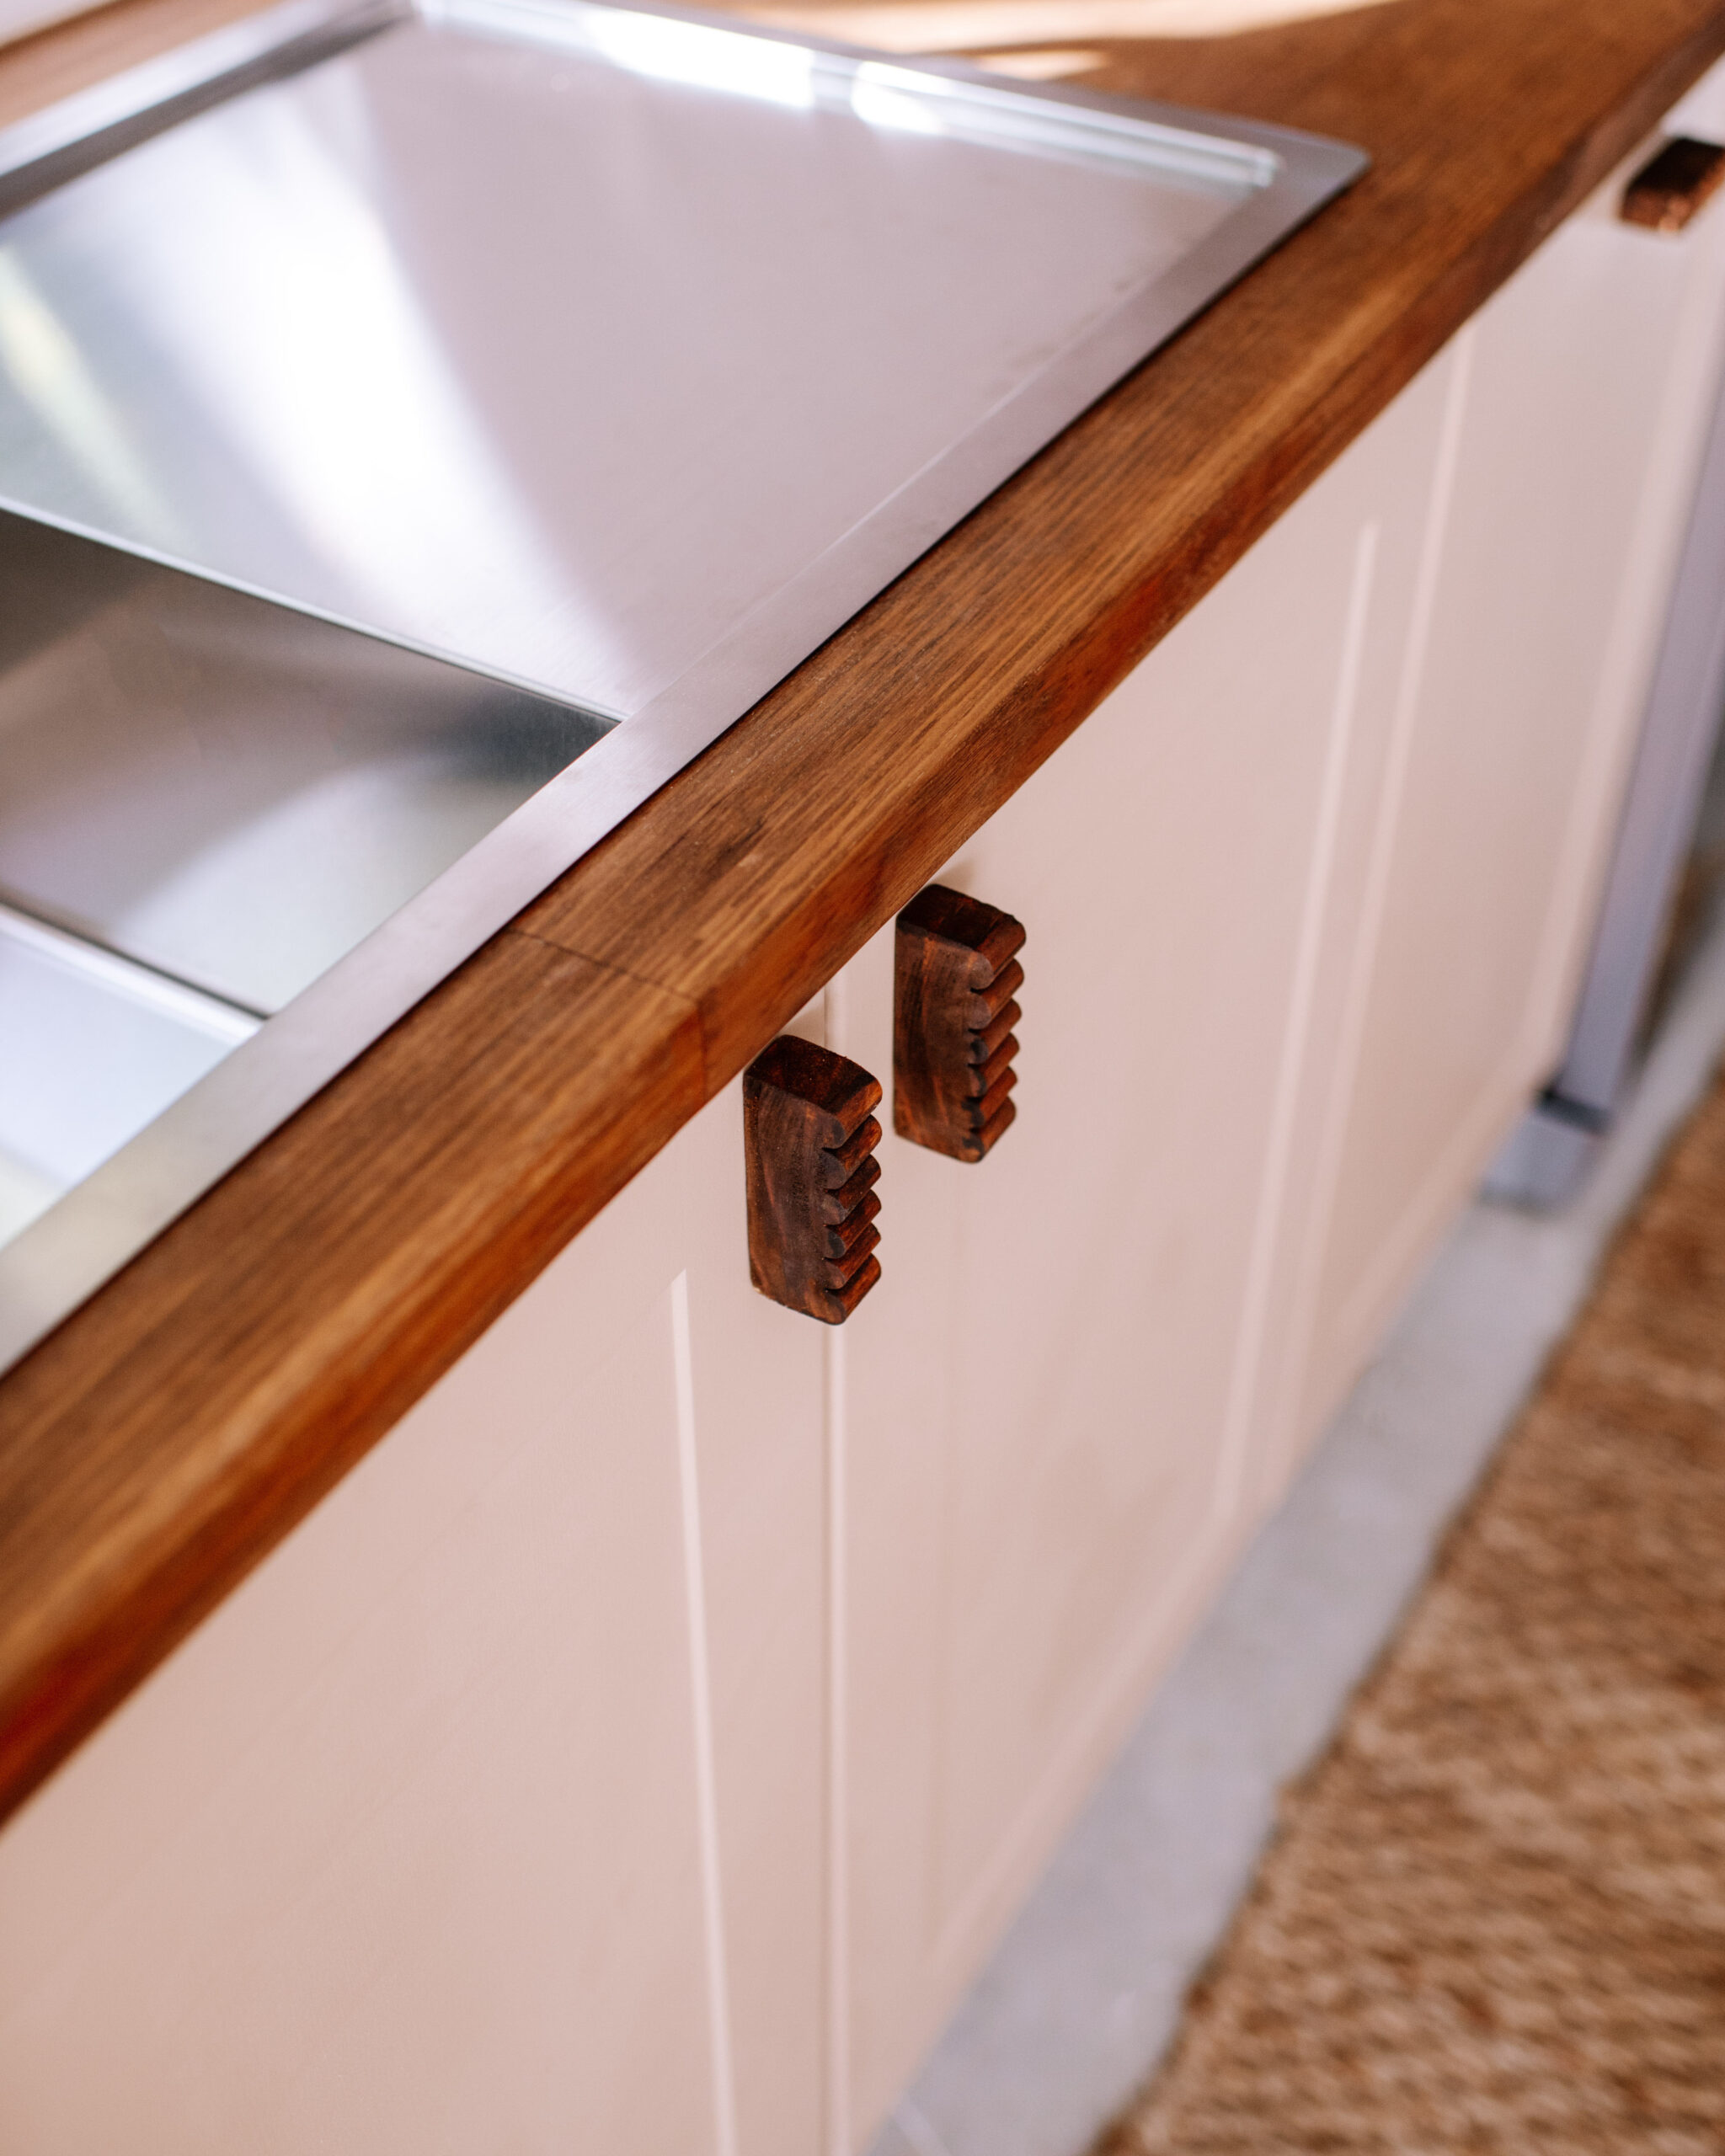
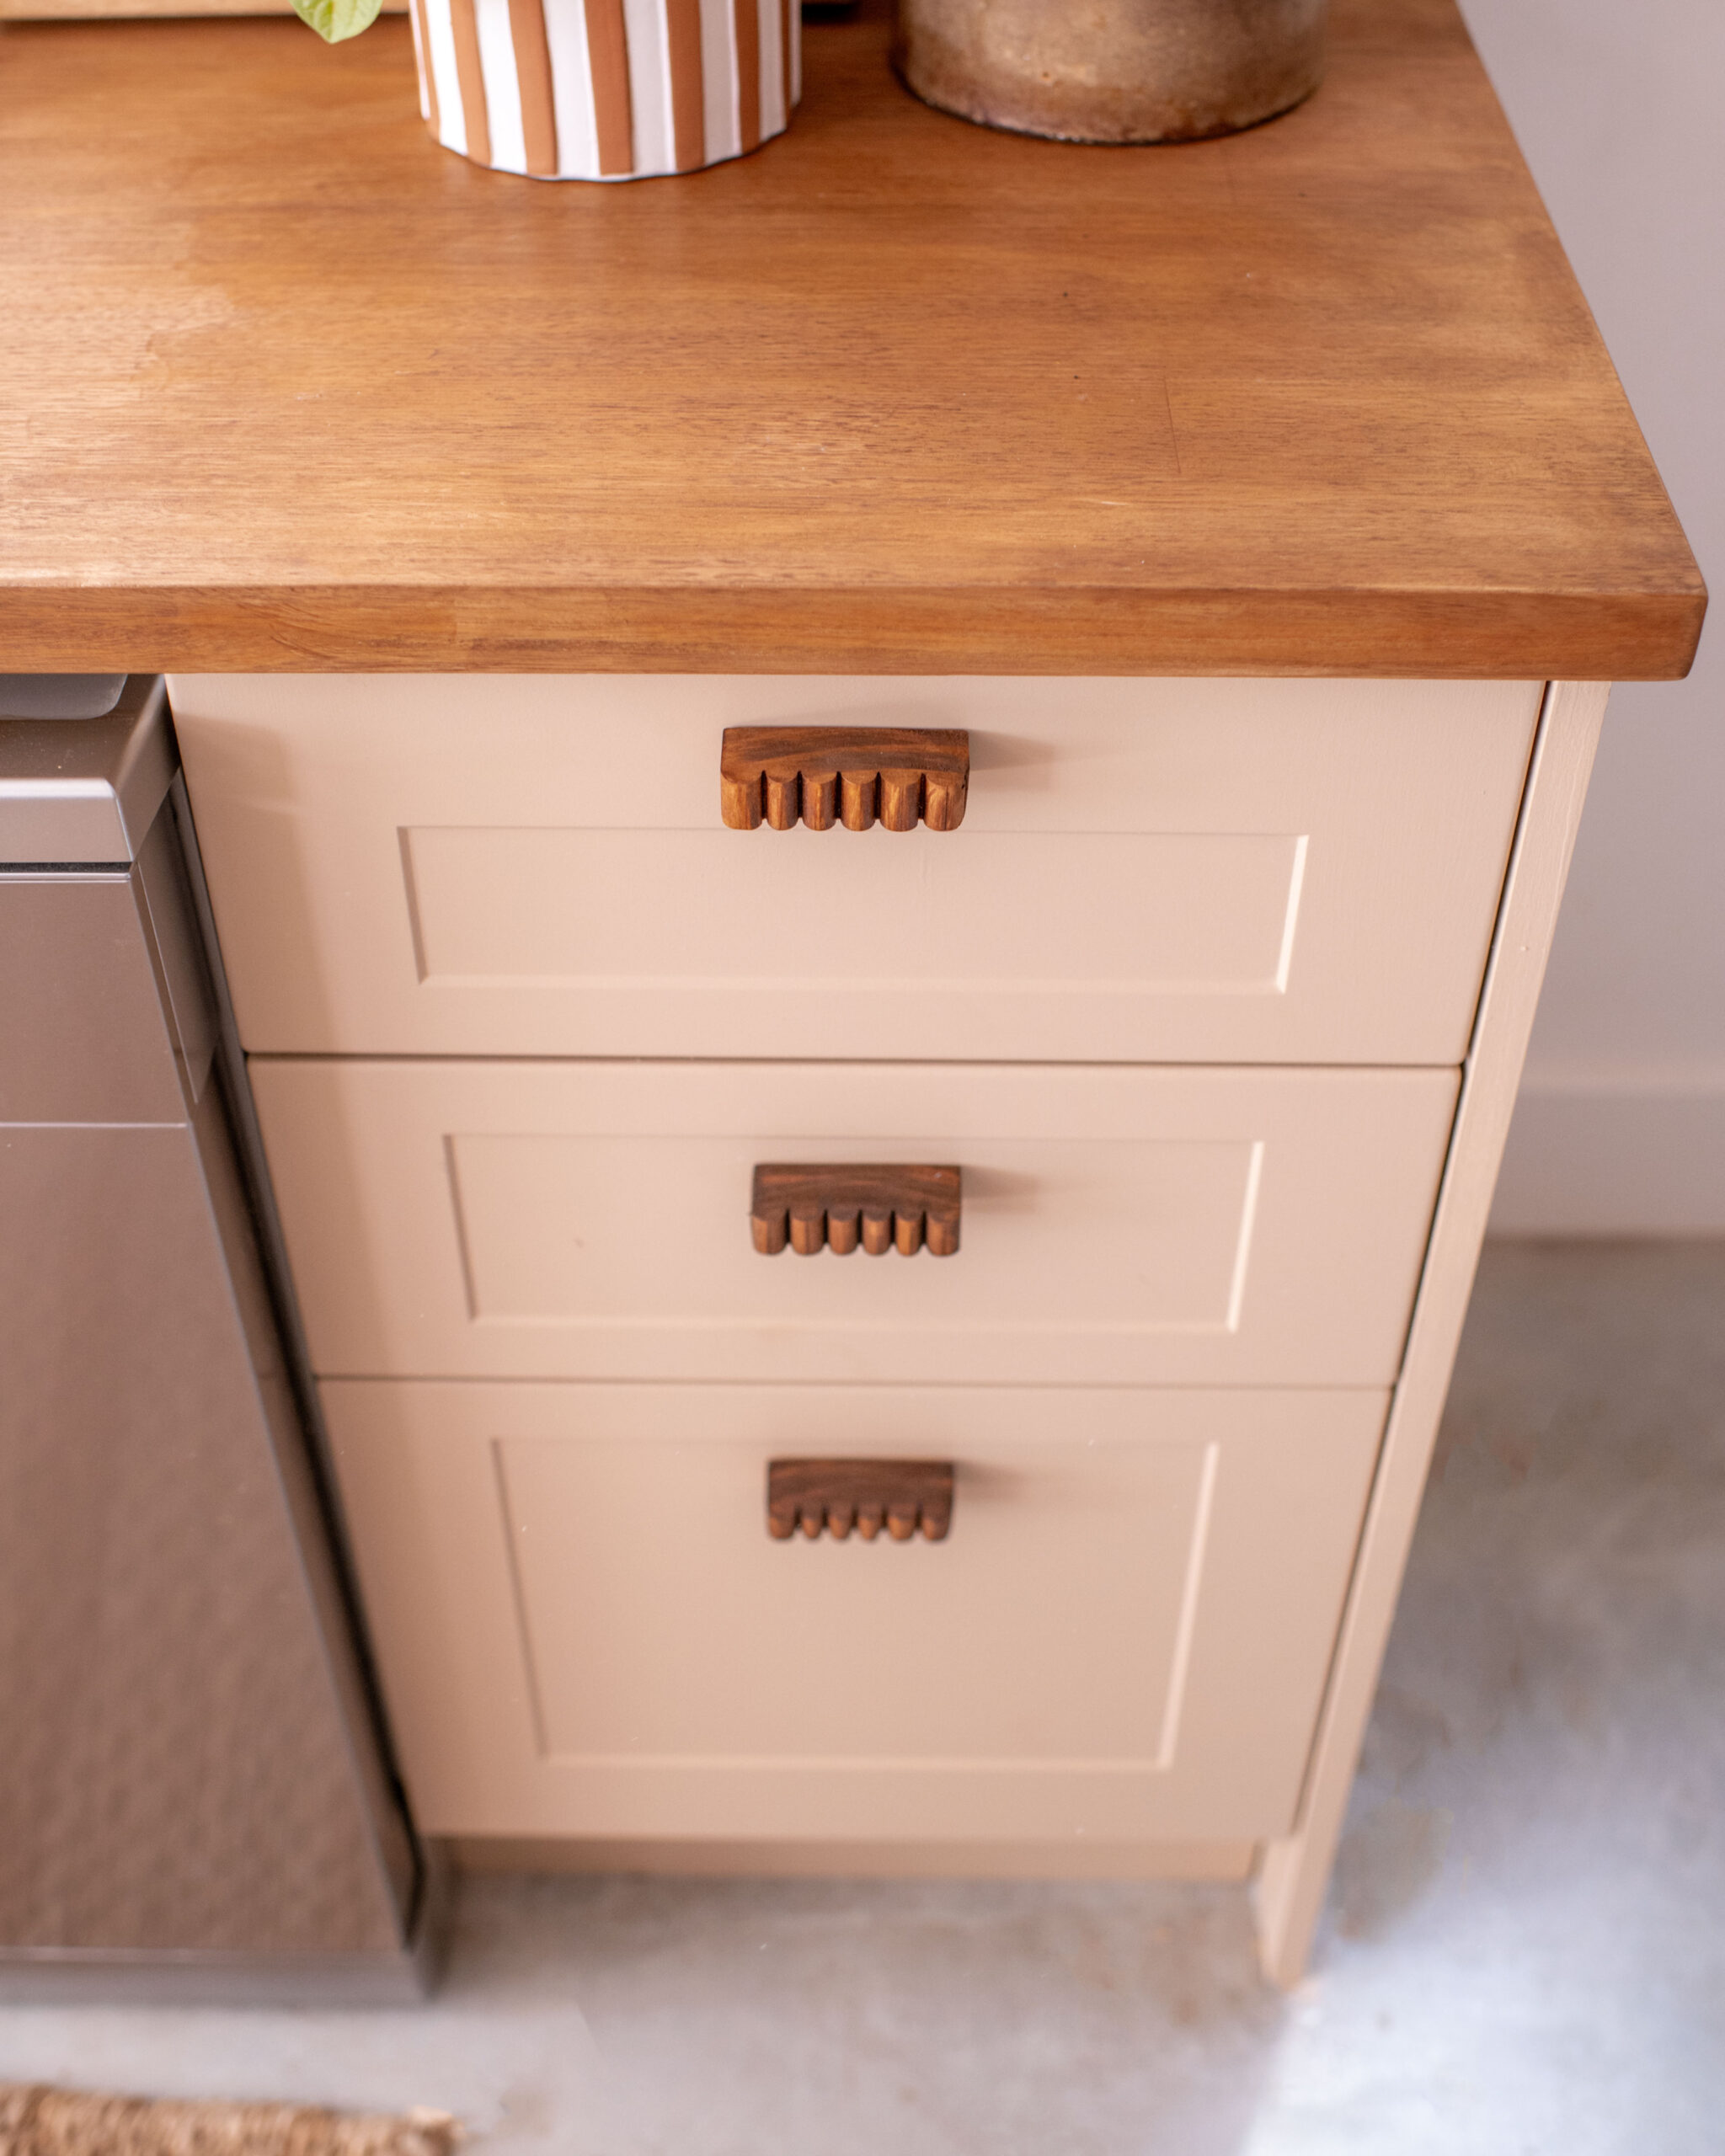
The cabinet doors were a little scratched up, with a few paint splatters but otherwise in great condition so I knew painting them would be the way to go. These were the paint your own door by Kaboodle so they’re really easy to change up whenever you want. First I gave them a good sand to take off any lumps and bumps and also to give the paint a nice scuffed surface to stick to. Next I used a shellac primer (my personal fav) to make sure the colour sticks well and lasts a long time. Finally, the hardest part, choosing a colour. I tried a few but in the end went with ‘Gently’ by British Paints. A coat of varnish over the top and some cute handmade handles and the cabinet doors were done. I just love how they look and the best part is, the whole process cost under $100.
Restoring the Bench Top
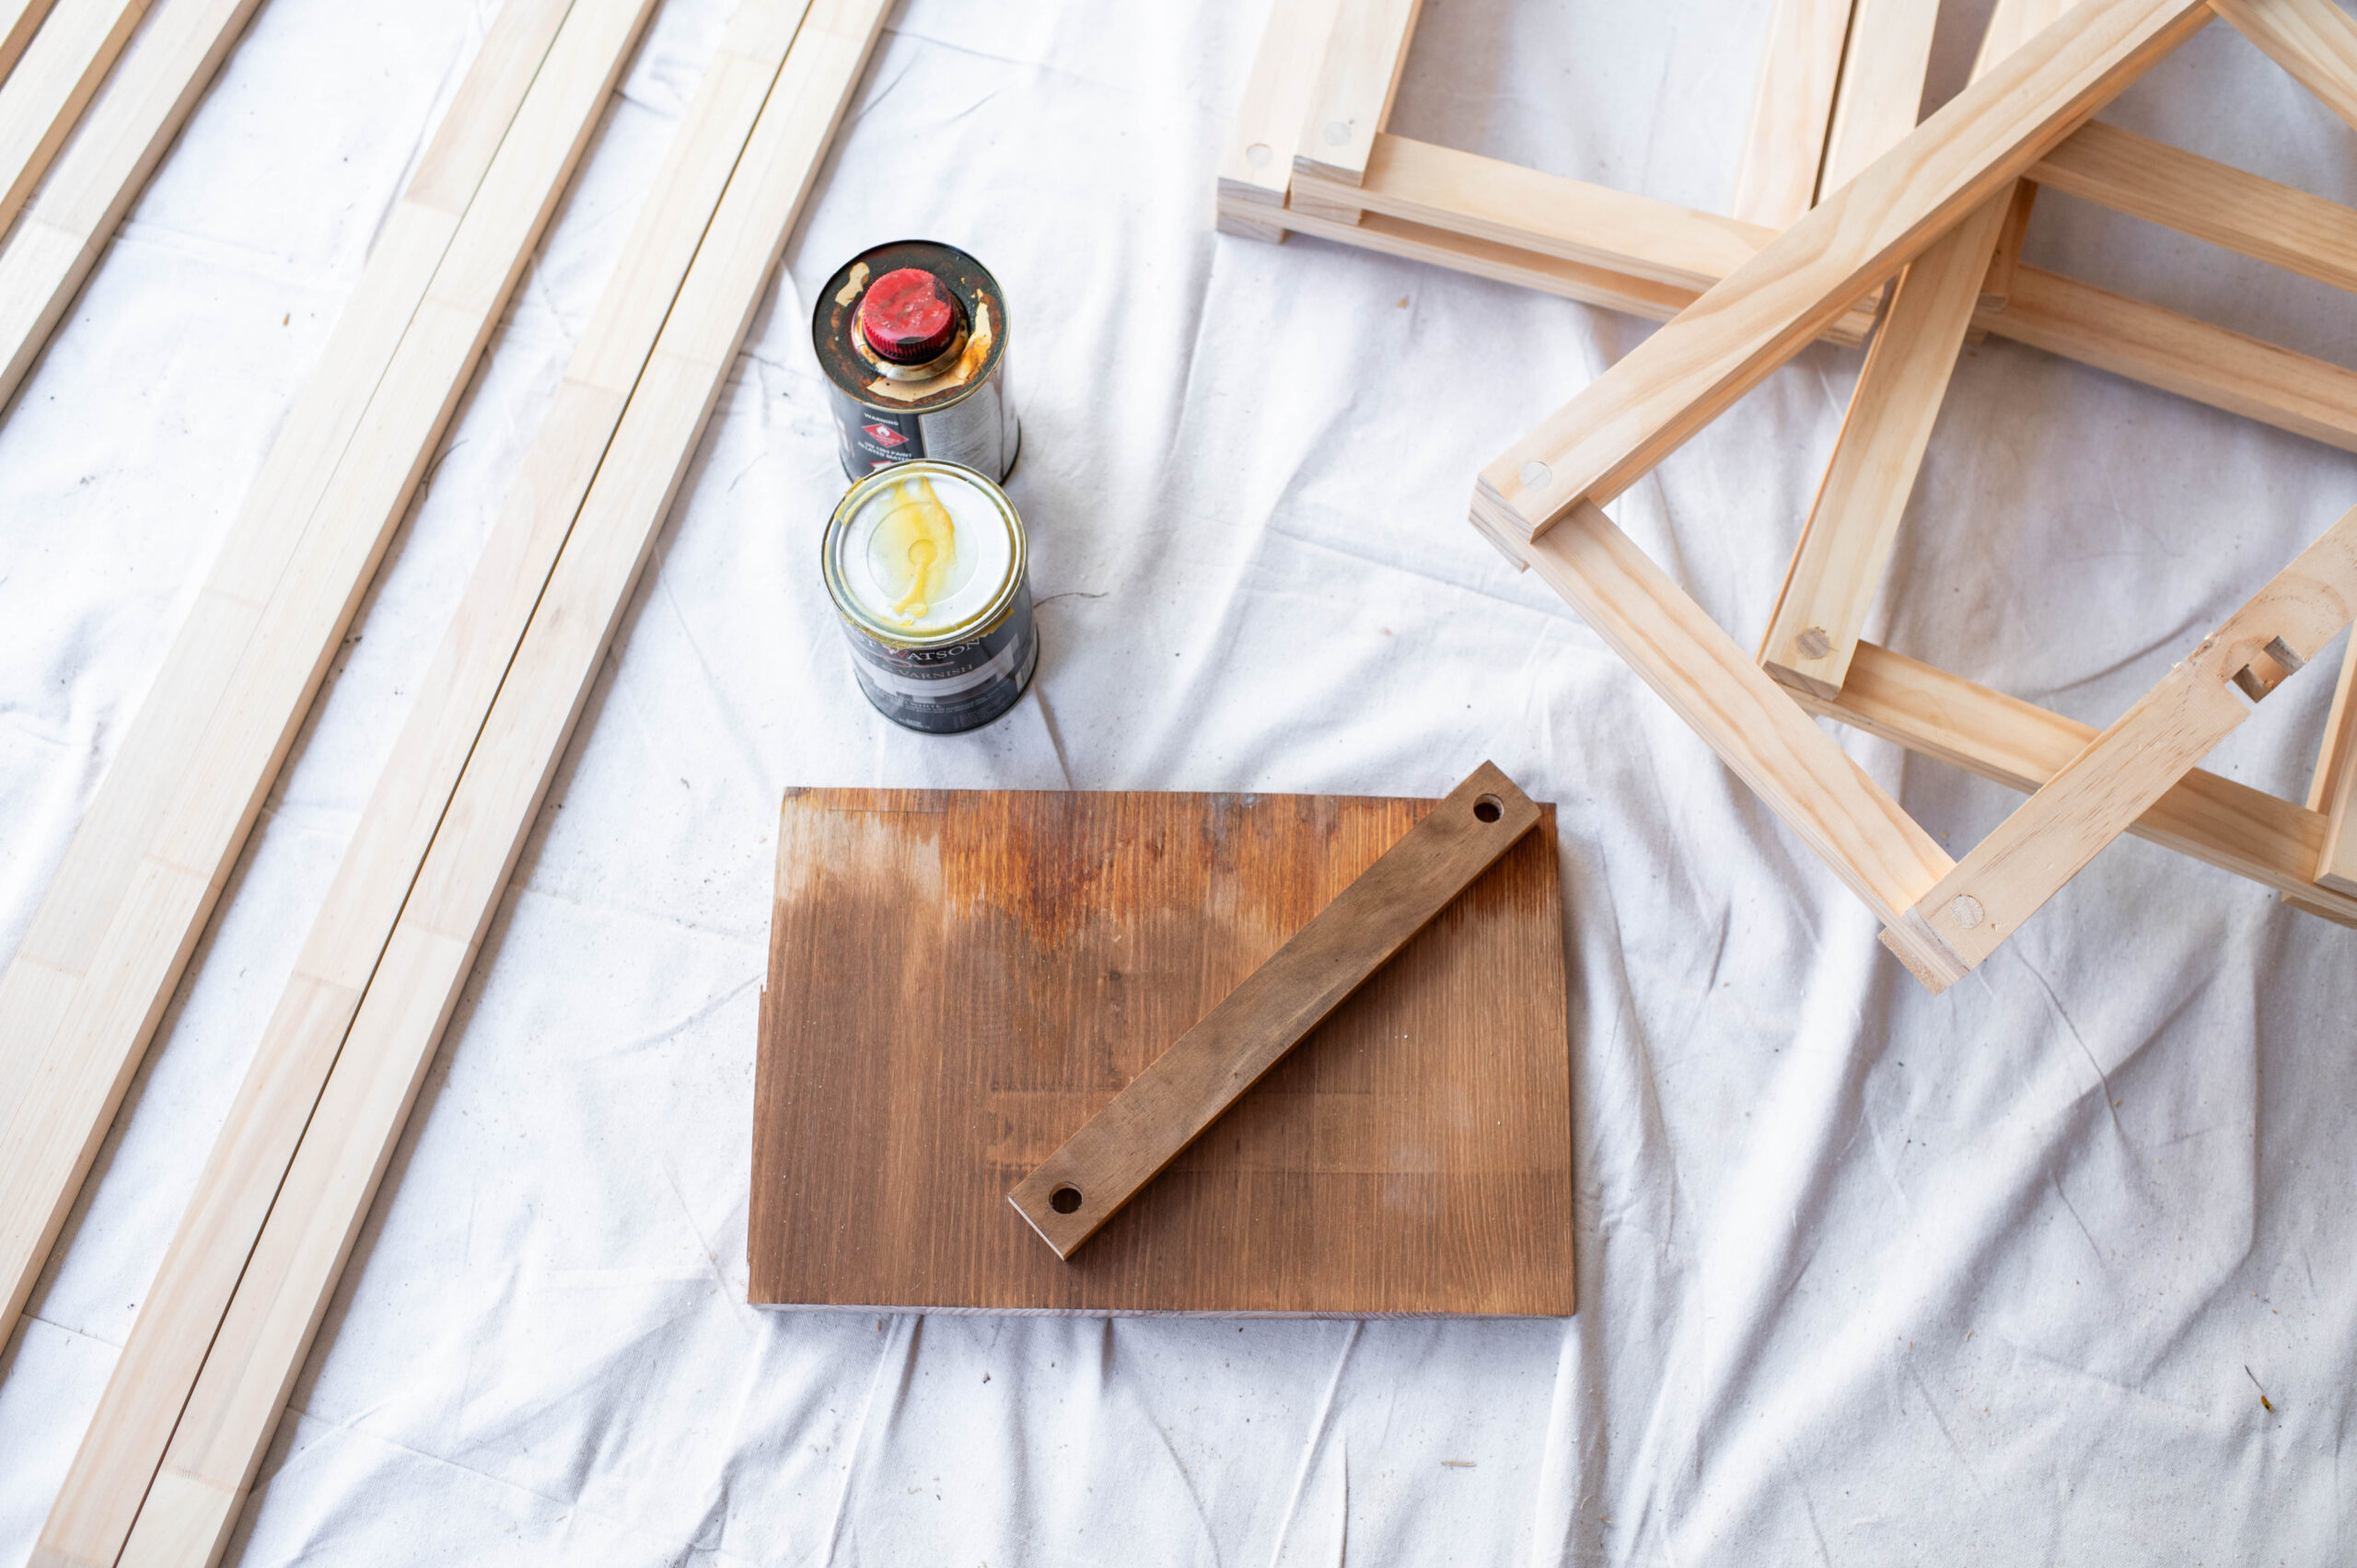
I love butchers block but after using it for a few years it was stained and watermarked and I thought I’d need to replace it with engineered stone. To my surprise after sanding it for only a few minutes I managed to completely remove all the rotten wood and bring it back to clean and lovely. Can you believe it? I wanted to make it look really different to the original look so opted for Feast Watson Prooftint in Oak, along with two coats of kitchen bench oil to finish it off. I LOVE it soooo much and can’t believe that I was able to restore this when replacing it would have cost thousands!
Regrouting The Tiles
As you can probably see, the tiles themselves were in good condition so in an effort to reuse what I already had, I decided to try and change the grout. I bought a grout pen but quickly realised it wasn’t really changing the colour as well as I hoped, and it was going to be a very slow process. After a bit of googling (and a few questions of Ben) I found out that tilers just do different coloured grout over the top… WHAT?! I grabbed a bucket of white grout and got to work. I was so blown away when it worked so well. I used a little grout float to apply it, then let it dry for half an hour before using a damp sponge to remove any excess grout.
Building The Shelves
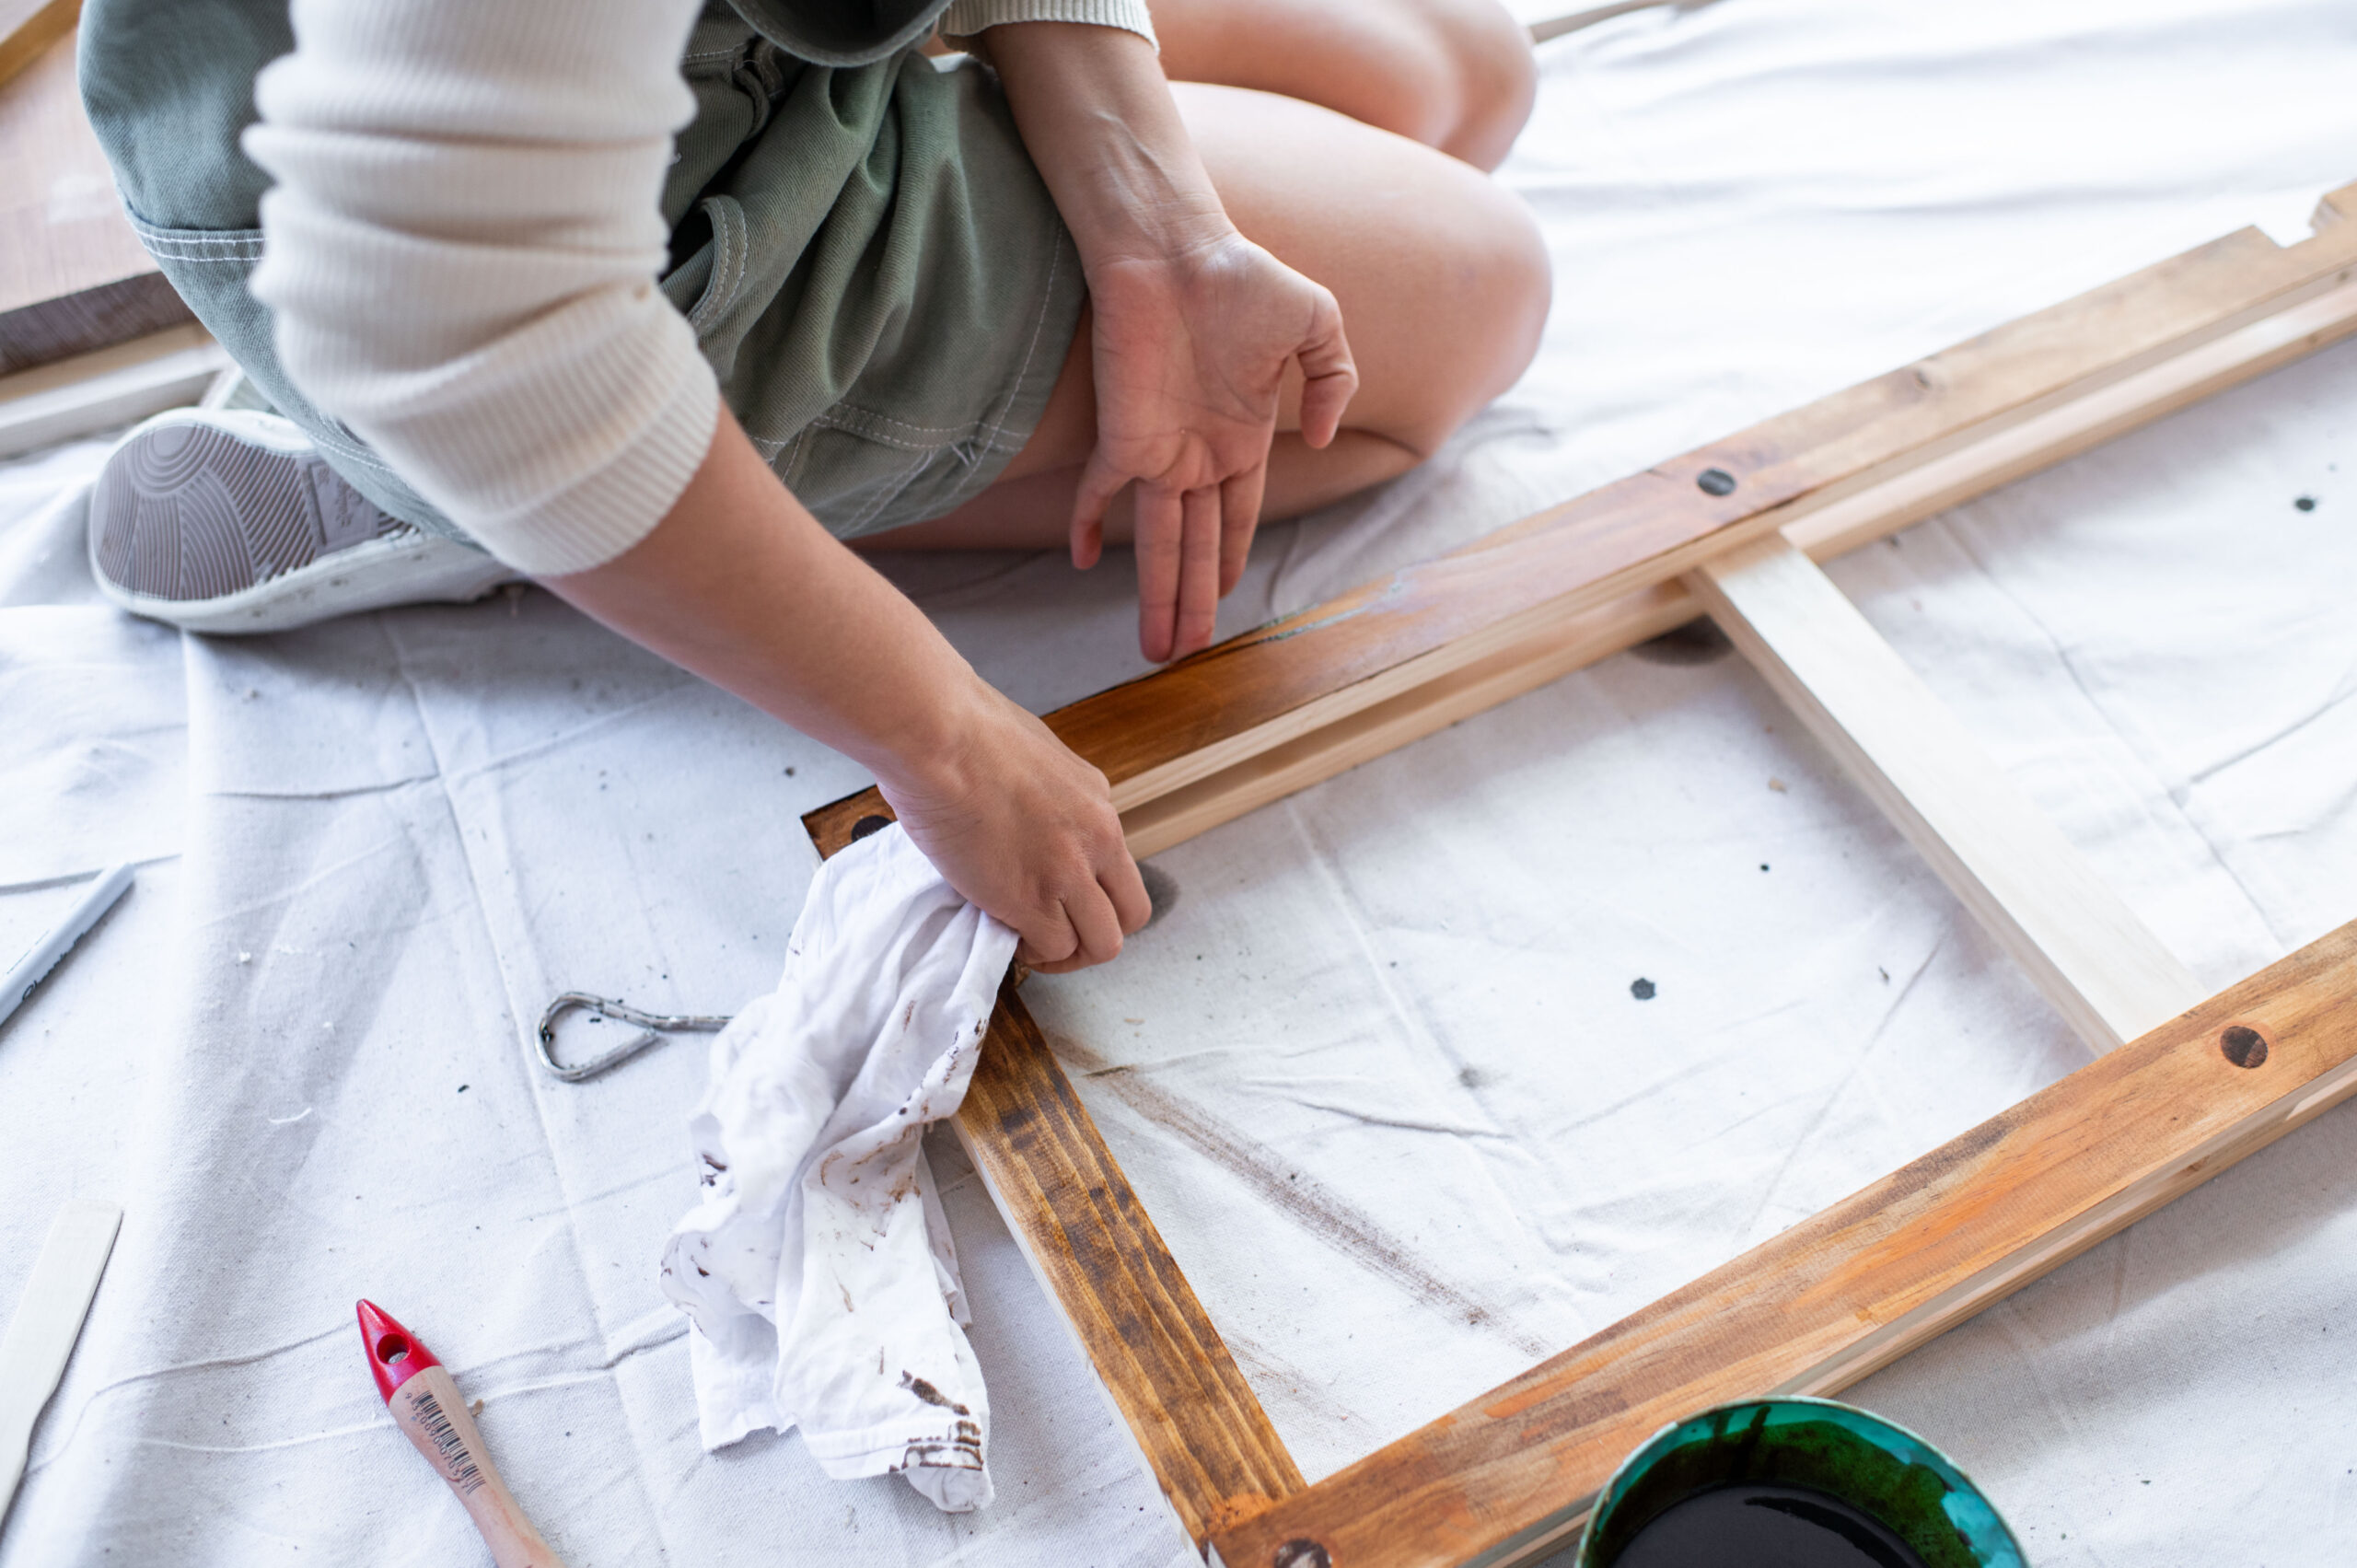
Ben offered to help me design a shelving system for the space that would be cute and add heaps of storage, and he came up with a hanging frame system. After grabbing all the wood we needed from Bunnings we made the frames using timber, 6 in total. First we cut the wood to size then made a frame using a dowel and peg. I decided to stain the wood using Oak again to match the bench top, and then I stained the larger pieces of timber that would be used as shelves. We screwed a piece of timber into the studs in the wall and then painted it so it blended with the wall. We then used that as a batten to hang the shelf frames off. Once they were all up we simply inserted the timber shelves in and nailed them down.
This is one of the biggest transformations I’ve done to date and all for about $700, can you believe it? I’m so proud of this space and the team and I have been absolutely loving using this kitchen now. We just have one new rule, no paint near the new sink!
Voila!
This project is in collaboration with Bunnings.


