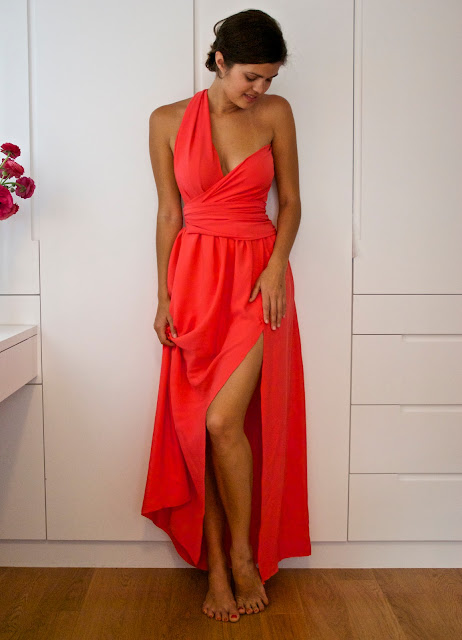
Thanks for all your lovely feedback on my DIY side split dress. This is the tutorial a lot of you have been asking for – the side split dress with wrapped bodice. It’s so incredibly easy. While you’re here make sure to check out all my other DIY projects here.
The first thing to do is to make a maxi skirt using the tutorial I gave here. Create the split by only sewing the top 30cm (or so) of the long seam together. To make the bodice you will need around 2m of fabric – preferably silk, with a width of between 50cm and 1m. In this tutorial I have a crop top on (admittedly not very sexy at all) but when you make yours you won’t be wearing a top of any sort underneath.
Here goes!
It may take you a few tries to get the wrapping and gathering exactly as you like it – but just play around with it until it suits your style and your frame. Make sure you cover the top of the waistband of the skirt with the wrapped fabric for a more streamlined look – you can stitch these together if you want but I didn’t bother. You can even throw a belt or sash around the waist too. How nice is the side view and the back with the twisted fabric?
For those of you concerned about bursting out of the dress, if you wrap tightly enough and stitch down properly you should be able to do a whole night of dancing without any trouble. Women in South East Asia have been wearing saris for thousands of years using techniques like this so I promise you’ll be fine. Be sure to have a pair of scissors on your bedside table for when you get home – and cut the stitched thread and not the fabric.


