Because of travelling quite a lot recently I haven’t had the chance to hit my favourite thrift store as much as I would like, but a little while ago I got a chance to do a full afternoon wandering the racks and was rewarded with loads of cool pieces – and some not so cool things I thought might make great fodder for before & after projects. Once such item was this denim shift dress – long, unshapely and generally not something you’d catch me wearing. However, given the summer season I thought it might be fun to make myself a summer pleated dress, a little bit 90’s, and little bit Balmain and a whole lot of satisfaction when it was done. This was my first experience with pleating and let’s just say it was an eye opener!
Wearing: J Crew Bag, DIY dress, Daniel Wellington Watch, Zara heels, Thierry Lasry Sunglasses
This is said shift dress and what I did to it:
You need:
- A shift dress
- Scissors
- A sewing machine
- Needle and thread
How to:
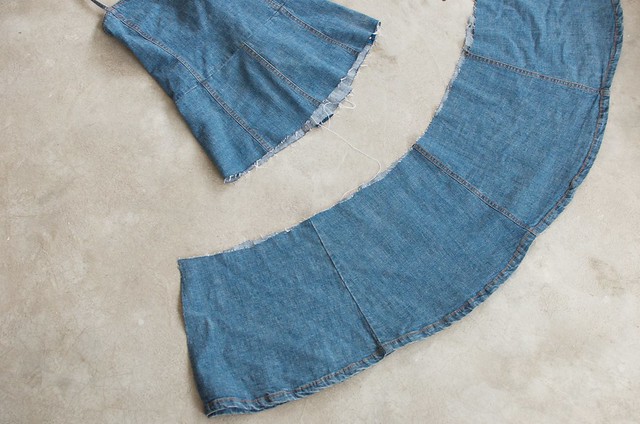
1. I started by chopping the dress off at the point at which I wanted the pleats to start.
2. Because the shift dress was very long I was able to create two panels for the skirt part, allowing me to create much more volume with the pleats.
3. I then trimmed those panels to the same length and sewed them together so I had one long panel, then sewed the hem of the part of the panel that had originally sat in the middle of the dress.
4. I then took in the top so it was fitting on my body.
5. Now it’s time to create the pleats. I decided I wanted to create box pleats so they had a one over one under look (rather than side pleats like a netball skirt where they all face the same direction. What I did to do this was to measure both the bodice and the skirt panel, and decide on a pleat size that would divide perfectly (or approximately in my case) – thus allowing the panel piece of the skirt to fit together with the bodice. I worked out a pleat of 4cm wide (approx 1.5 in) would work well.
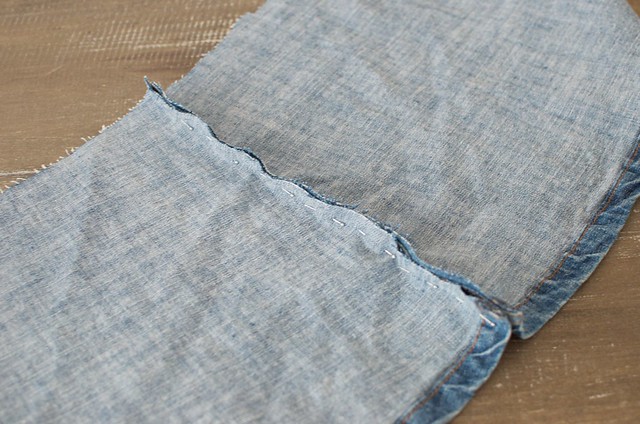
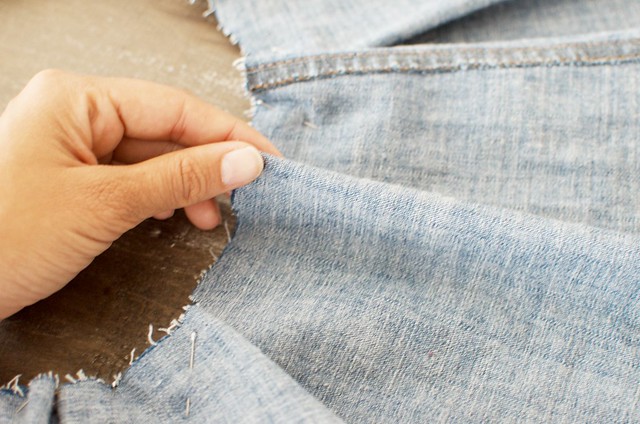
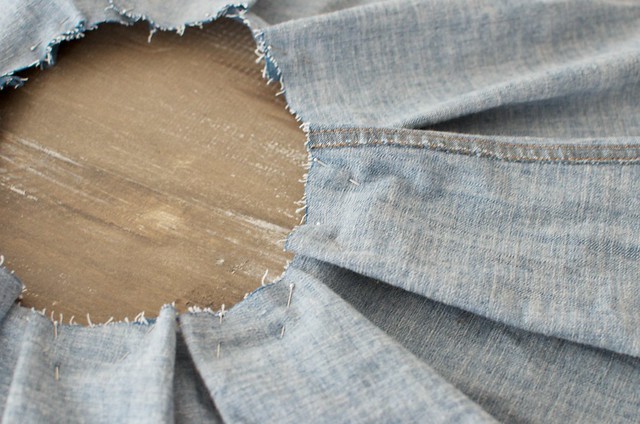
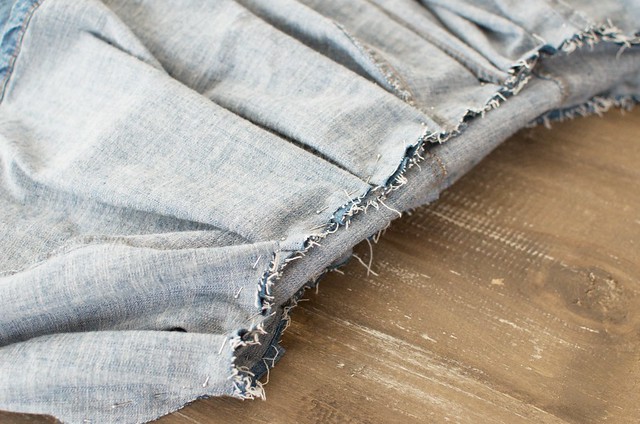
6. To create the box pleats I turned the fabric over to the wrong side and did two side pleats (that’s two folds) facing each other, turning over to make sure the resulting box pleat was around 4cm wide. At times it was approximate but I didn’t really mind!
7. I pinned as I went, but found when I got to the end the last pleat was a little short so I had to go along and redistribute a bit so I could finish the last pleat – very much a case of working it out as I went along!
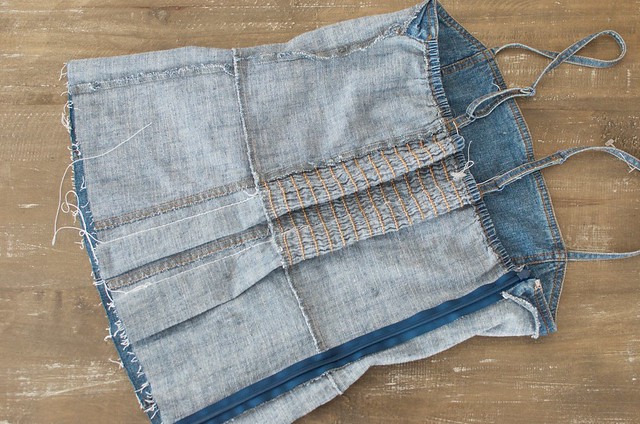
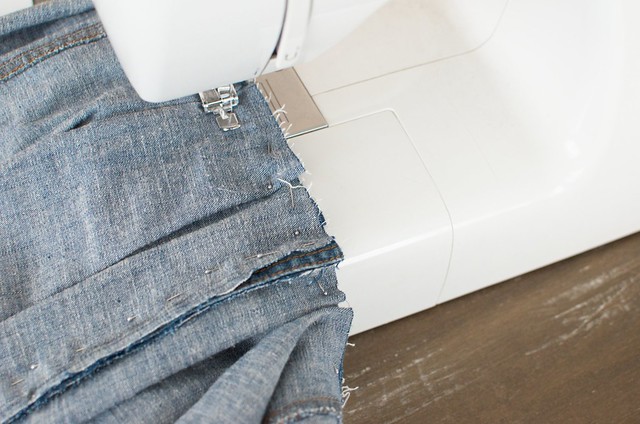
8. I then pinned the pleats to the underside of the bodice.
9. Using the sewing machine, I secured the pleats to the bodice.
Voila!
Outfit photos by Marion Tessier


