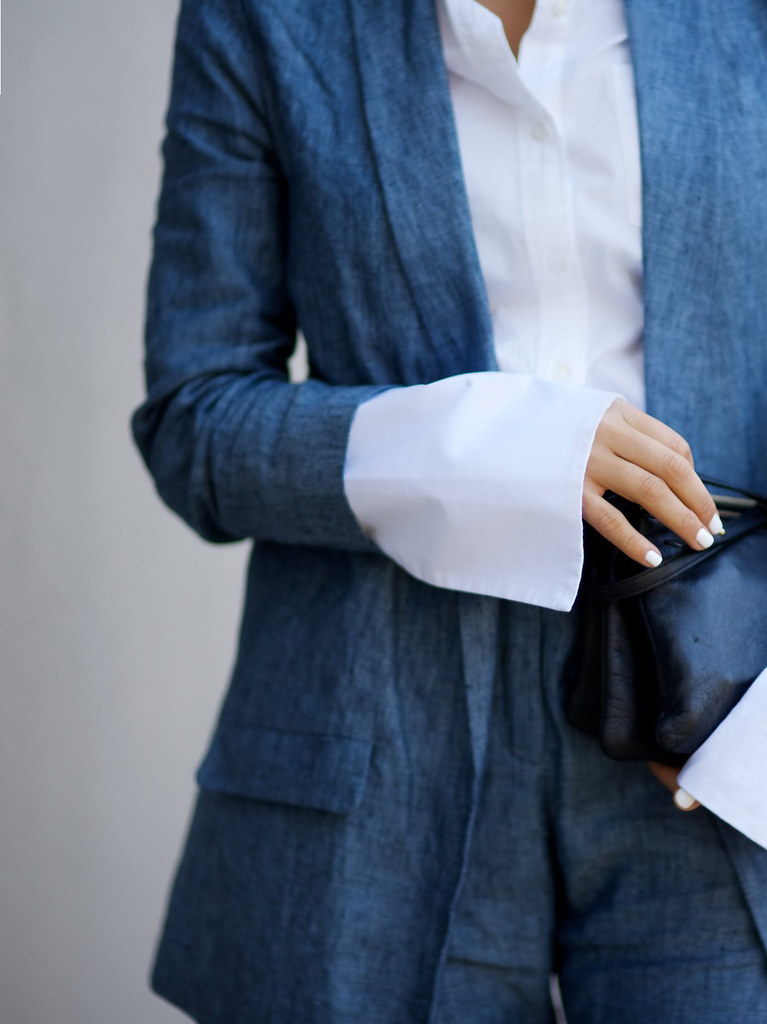
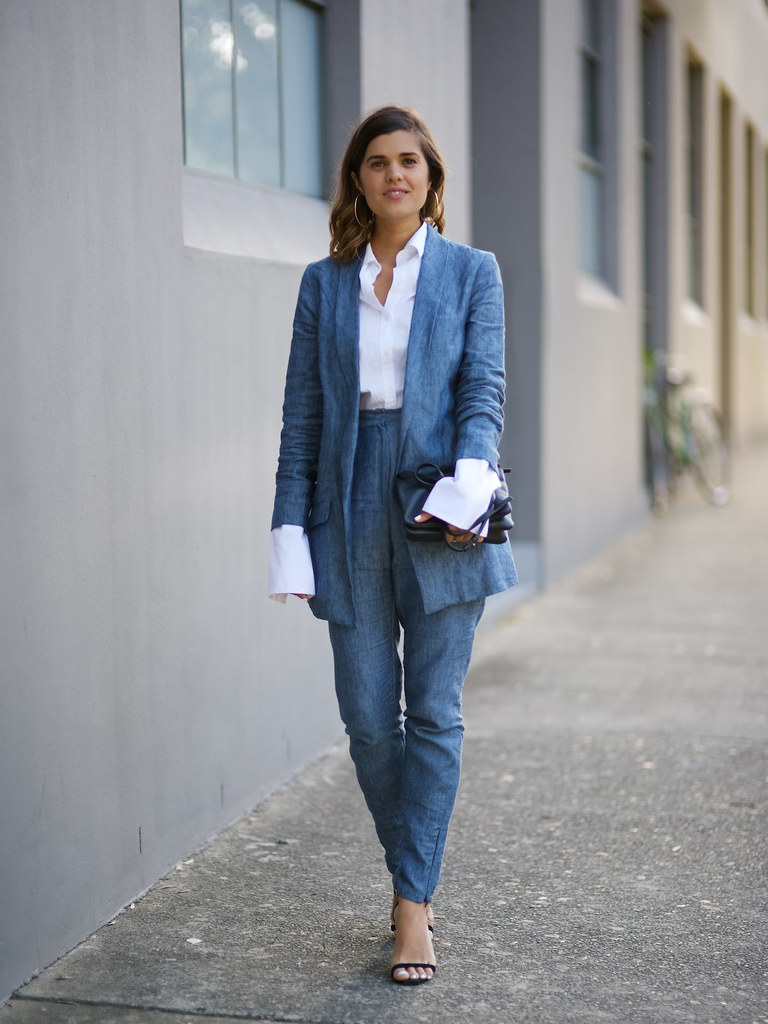
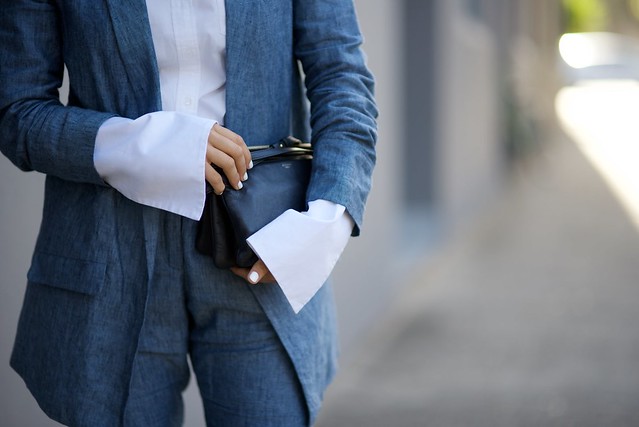
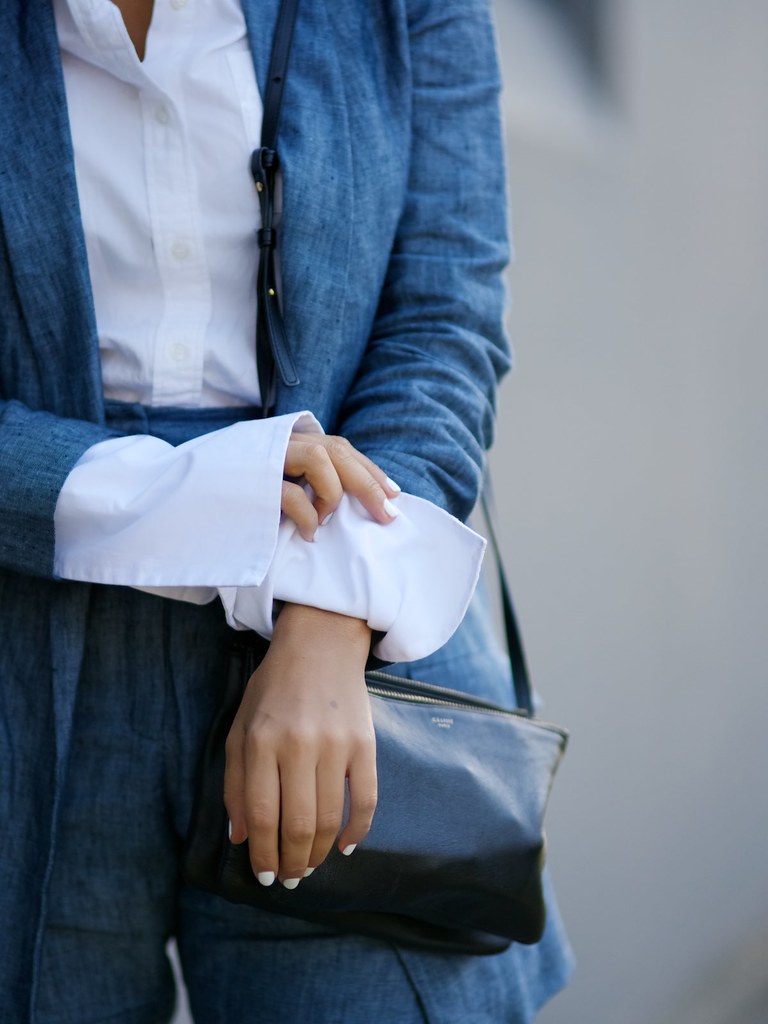
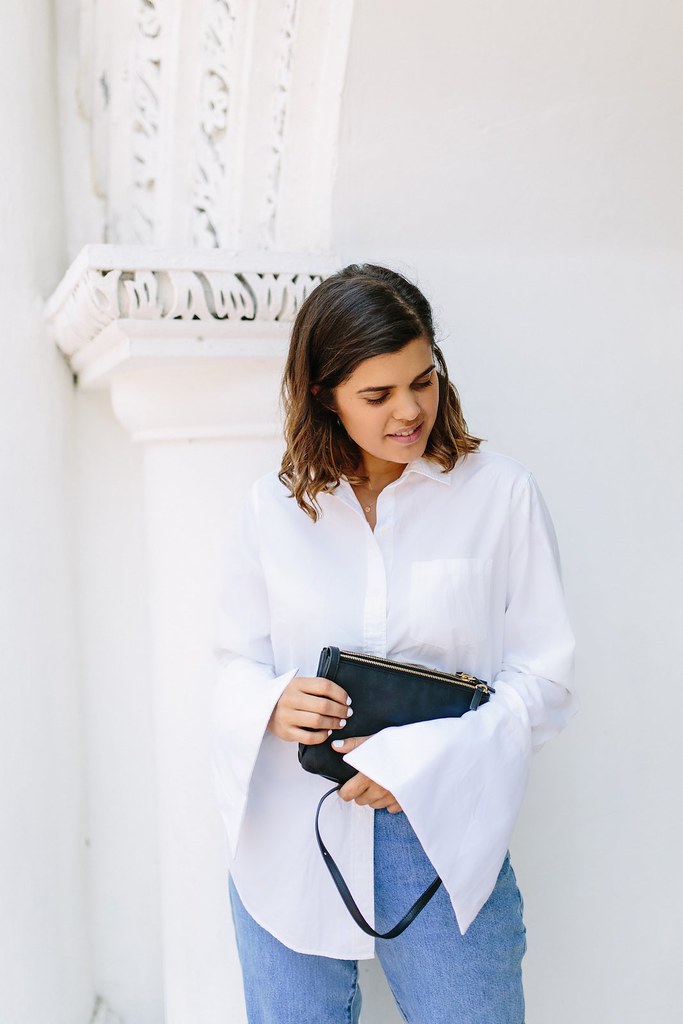
Hey guys! Welcome to day one of Fashion Week Made. If you’ve had your eyes on the street style and blogs of late you’ll know that oversized sleeves in all forms have been a hit. And something only a fashion girl could get behind because they make eating or doing anything vaguely technical near impossible… but they look so. dam. good. We decided to put our hands (literally) to this style in the studio, with the result working out so well I had to wear them on Day 1 down under. If you’re not following along make sure you do via instagram and snapchat (username: apair_andaspare) to catch DIYs happening IRL before they hit the blog (and a few special features too!).
Wearing: Yasmin Raquel jacket and pants, DIY oversized cuff shirt, Mode Collective Heels and Celine Bag.
DIY Oversized Cuffs
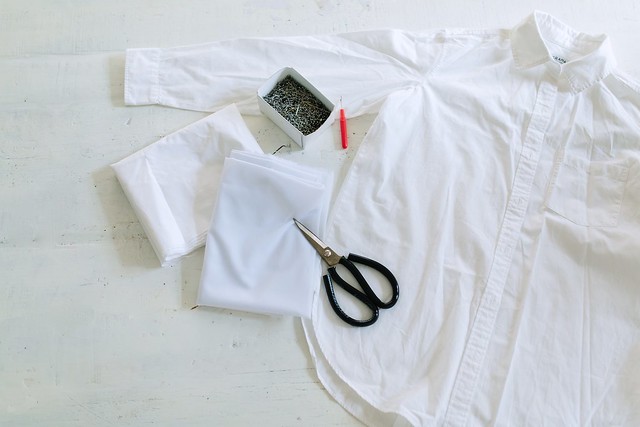
You need:
- A white shirt
- Cotton fabric (we used white to match the shirt)
- Iron-on interfacing
- Scissors
- Pins
- Sewing machine and thread
How to:
- Cut or unpick the cuffs from the sleeves.
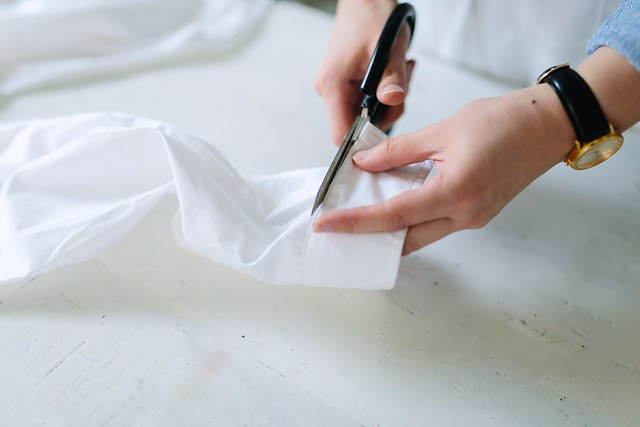
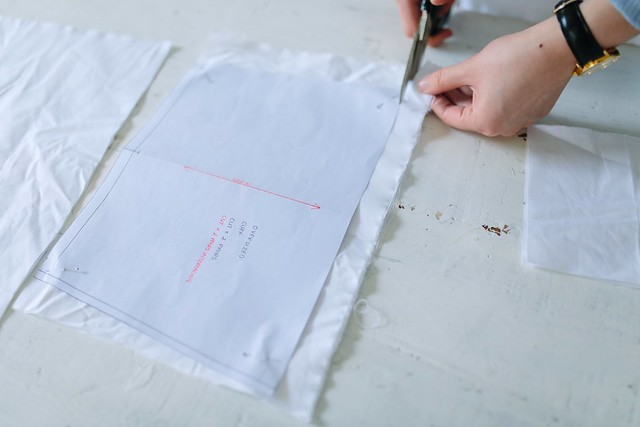
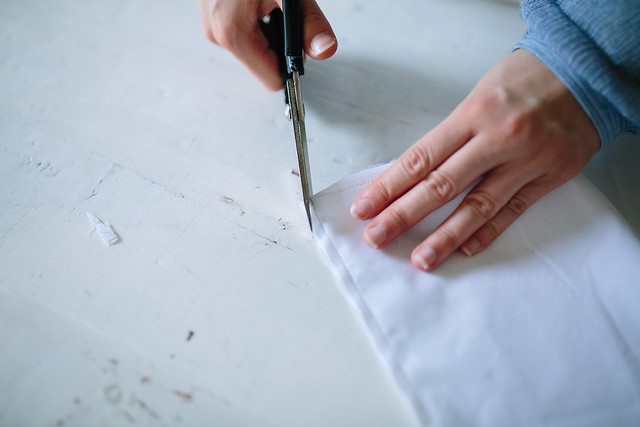
2. Now you’re going to cut out 2 pairs of the new cuff from the cotton fabric and interfacing. You can see we used pattern below but the pattern you use will depend on the shape of your cuff (hence why we haven’t given you a downloadable pattern). Instead, draw yours up by simple measuring the cuff size and creating a rectangle using that size as one of the song edges. We make the length around 20 cm (8 inches) and tapered the edges out in a slight trapezium shape to give some bell shape.
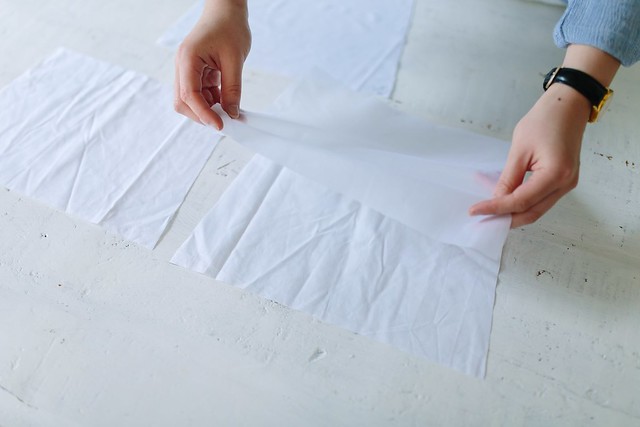
3. Match the interfacing to the cotton fabric laying the bumpy side face down on the fabric (this is the side that will stick to the fabric)
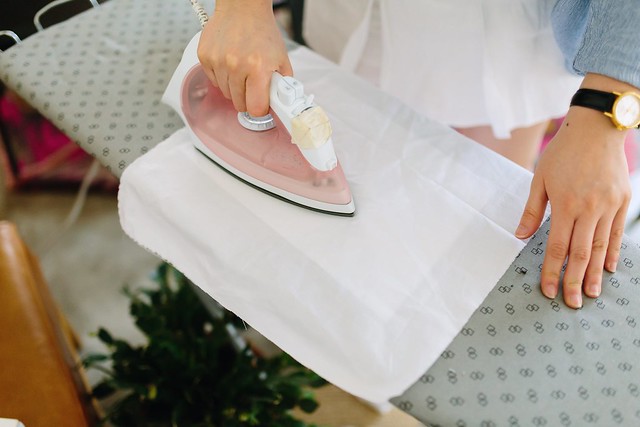
4. Iron the interfacing and fabric together. Lay a scrap piece over the top to prevent the interfacing from sticking to your iron instead!
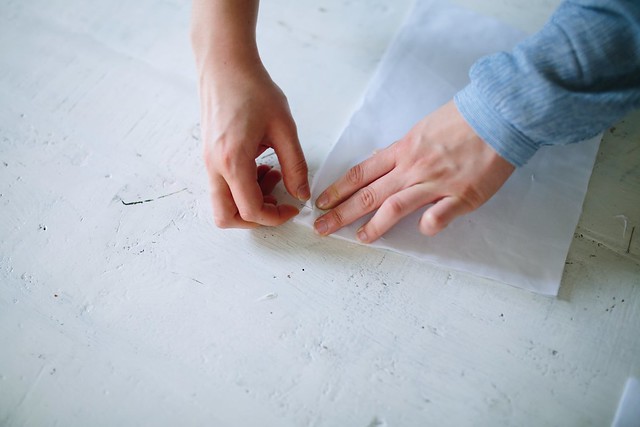
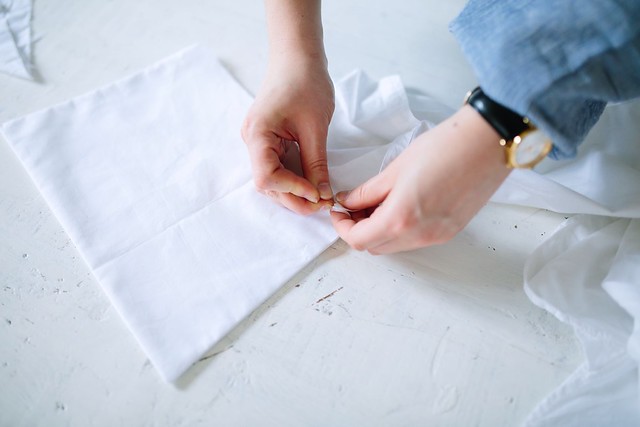
5. Pin the cuff pairs together, leaving the bottom side open.
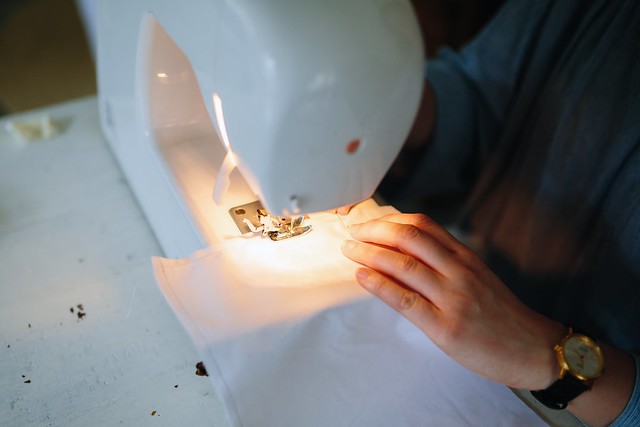
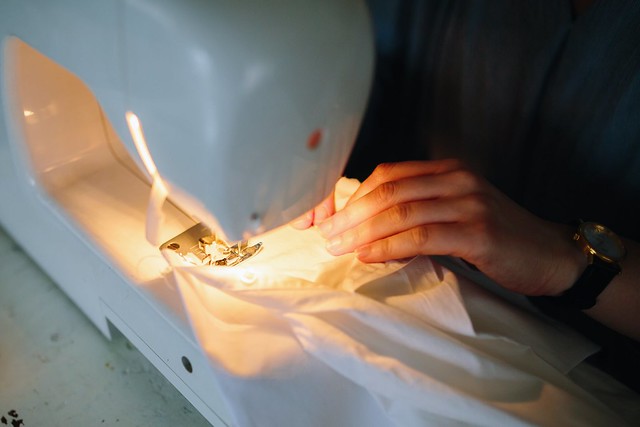
6. Sew the cuff on the sides that you have pinned together.
7. Snip the excess fabric off the corners. This will make the corners sharper and neater.
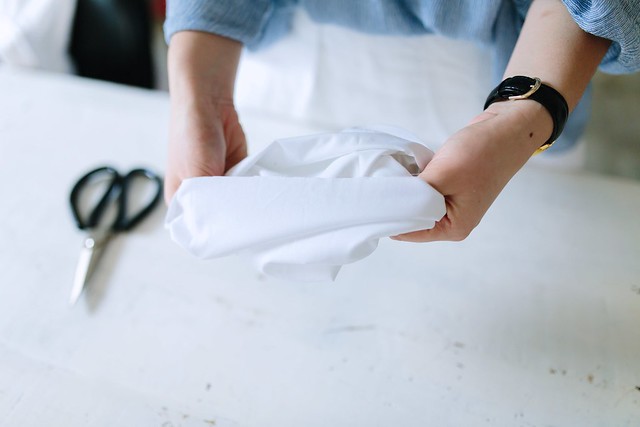
8. Turn the cuff inside out and iron flat.
9. Pin the cuff to the sleeve.
10. Sew the cuff onto the sleeve.
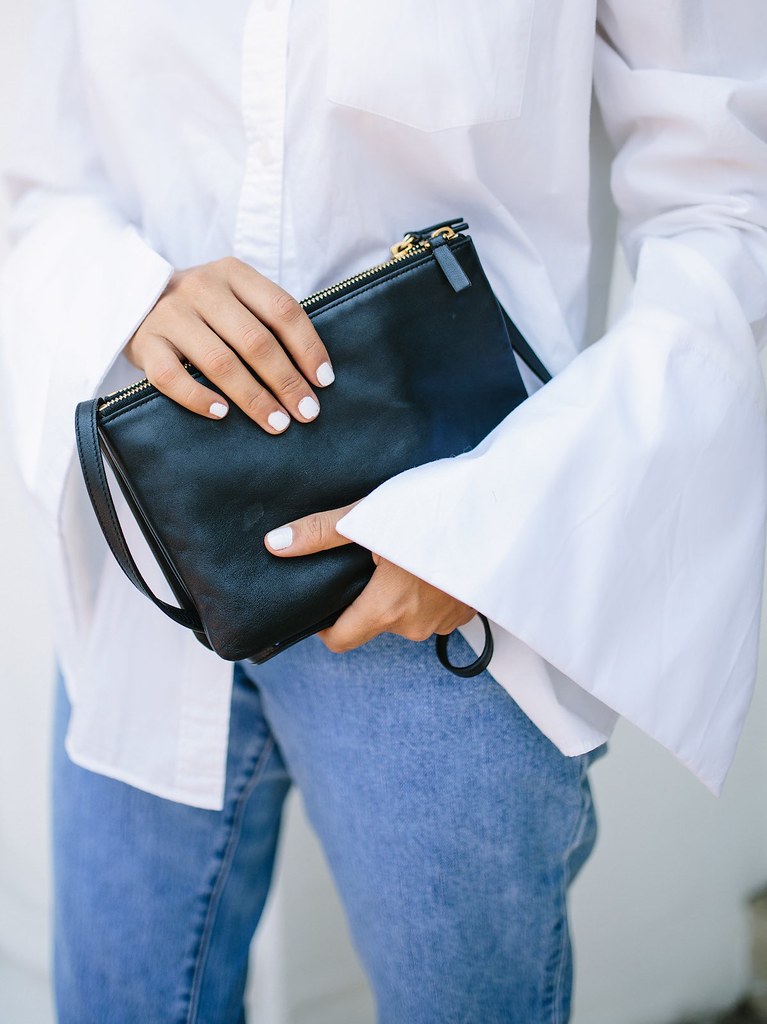
Voila!
Here’s a few snaps of them without the jacket:
Photos by Nicola Lemmon and Badlands Studio


