I’m a shorts girl through and through.
But if you’ve been around these parts for long enough (or even just a few clicks) you’ll know that already. With Summer in full swing and hopefully a few vacation days on the horizon, chances are you’re trawling the net looking for a) a new holiday outfit or b) inspiration for your next sewing project. Same same really. And whilst we’re not attempting to reinvent the wheel (or in these case the summer ensemble) here, these simple shorts – the second in the closet staples series – are sure to take you to the beach, bar or… the sofa. Pretty much anywhere worth going this summer. Promise!
They build on the scarf shorts that I made oh so long ago, but we’ve stepped it up by swapping the gathered waistband out for a clean edge and a zip at the back. Enjoy!
DIY Summer Shorts
Watch the super quick video below, and read on for more details
For the fabric, I used 1m (1.1 yards) of a yellow linen.
1
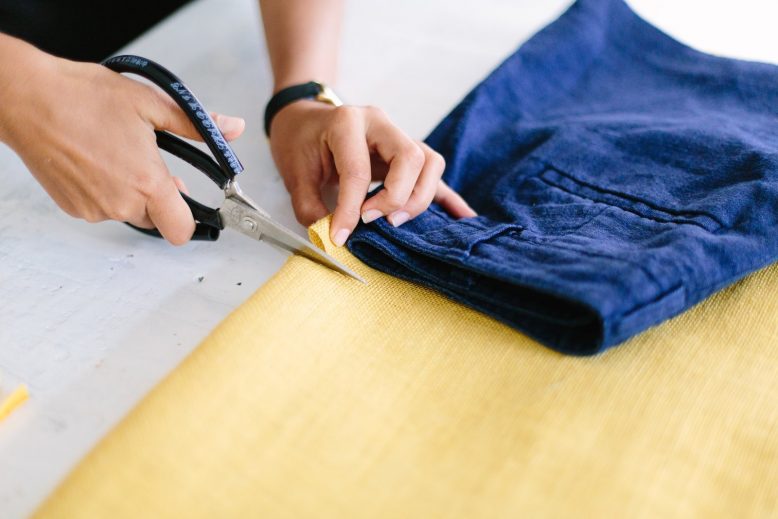
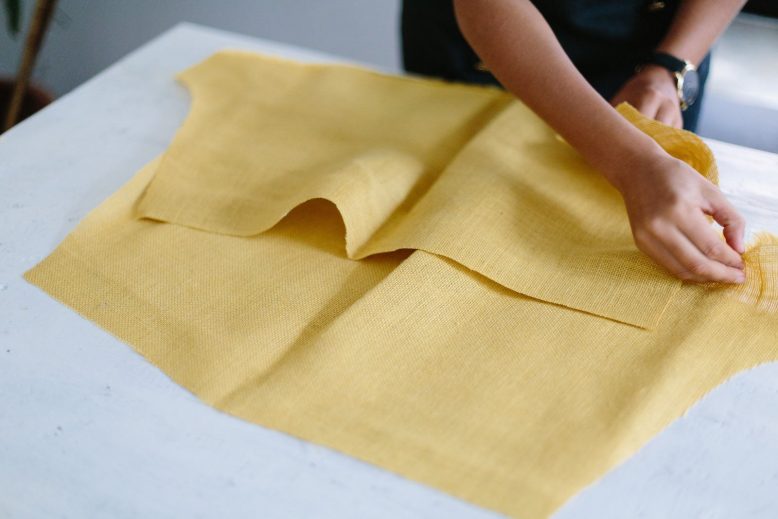
Grab a pair of shorts your size and fold them in half. We are going to use this as the pattern. Fold the fabric length wise and place the outside leg of the shorts on this fold.
2
Cut out around the shorts leaving a 2.5cm (1inch) margin for seam allowance and hem.
6
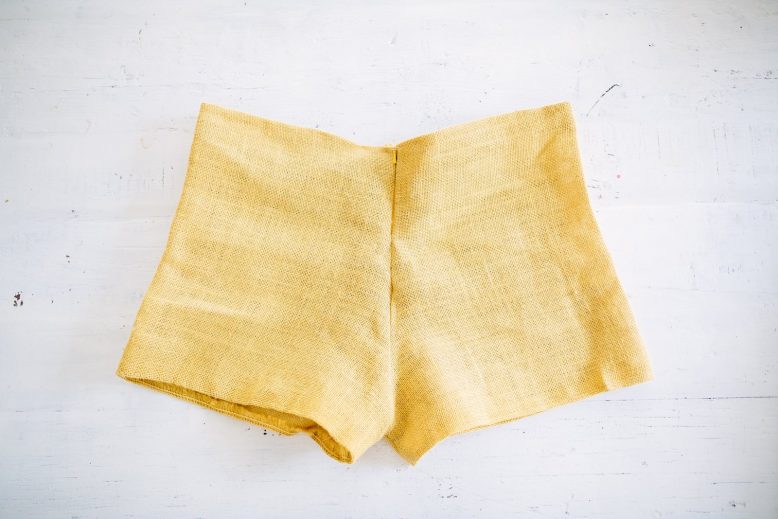
Sew the inside leg seam and the front crotch seam through to the back, leaving about 12.5cm (5 inch) of the back seam open where the zipper will go.
7
With the shorts turned inside out, lay the shorts flat on the table with the back seam facing up towards you.
8
Open the invisible zipper and match the zipper edge with the seam edge. Pin into place and sew in the groove close to the zipper teeth using the zipper foot attachment for the sewing machine. While you're at it, try the shorts on and see how they fit at the back, if they gape a little in the waistband, put some darts on each side.
9
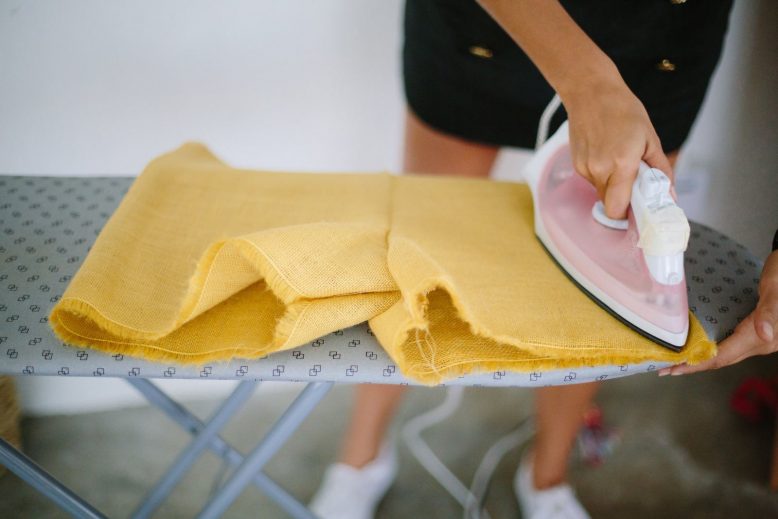
Iron the shorts then fold the waist seam down 1.5cm and the hem up 1.5cm and sew to create a clean edge on the top and bottom.
If you want to mix this style up a bit, they would be great made in a simple black or white, or a warmer fabric for the between seasons. Enjoy!
Photos by Nicola Lemmon.
Like this Summer DIY? Pin it on Pinterest!


