


Chances are, you’ve got a sad little corner in your house that needs some love…
And a corner gallery is definitely the answer! This might seem a bit daunting at first but I promise you it isn’t. I recently shared the whole process of freshening up this little corner of the house over on my IG stories, so I thought it was only right to put the full post up here so that you can refer to it in the future. It was soooo fun brainstorming with you guys about what to do in this spot and going back and forth throughout the whole process. Read on for how to create your own corner gallery wall along with some tips and tricks.

Wearing: Madewell jeans and Mango linen top.
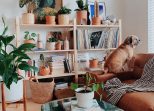
Below is the before and after. Most of you initially wanted me to fill this spot with plants, but sadly it’s a bit too dark to support any major plant life, so I wanted to try something else instead.


How to create a corner gallery wall
Put together your frames and art To decide what you want to put on the wall, I suggest choosing either a symmetrical/matching style that has similar art and frames, or something a bit more organic (like mine) with a mix of frames and art. If you go with something more organic, keeping it in a simple colour palette will give it a cohesive feel.
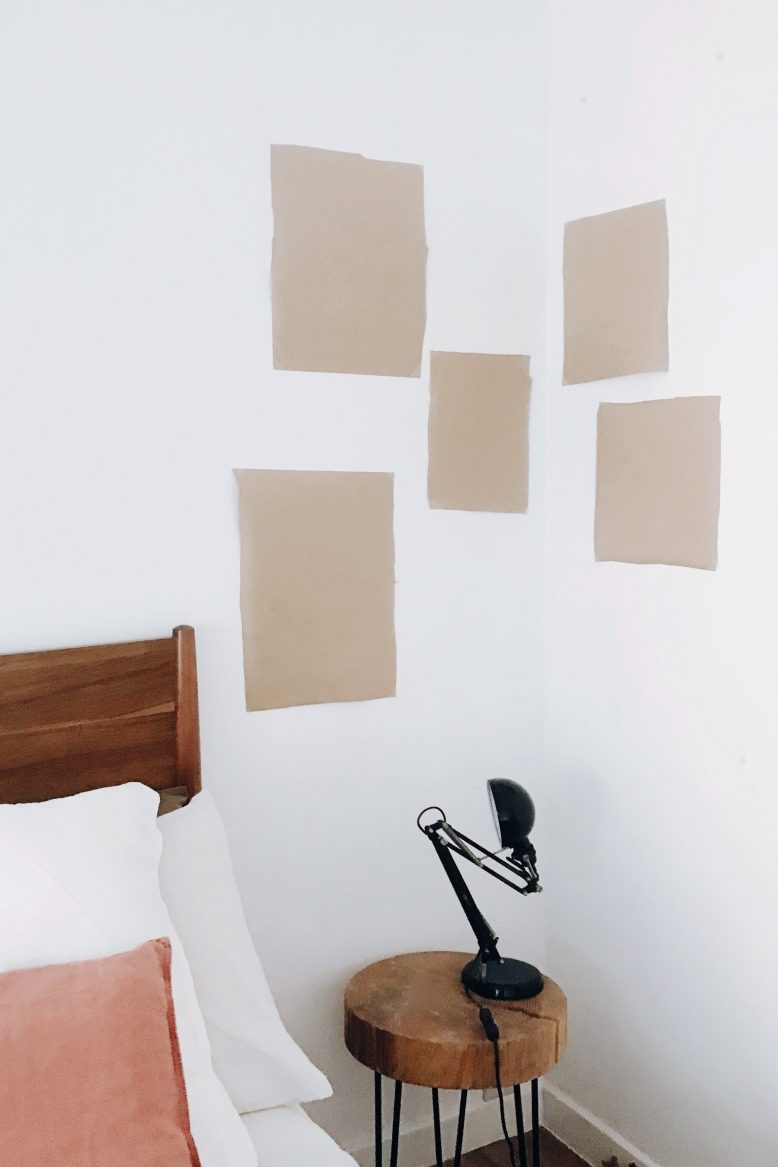
Make paper templates Using newspaper or brown paper, trace your frames and then cut these rectangles out, which you will use for experimenting with the lay out. This is a great way of working out the best configuration before you put the gallery up. Using tape, put your rectangles on the wall and move them around until you like the layout.
Tips for your corner layout If you are going with a random layout but still want it to have some structure, a good idea is to line up the sides of the frames with the line of the corner of the wall, then let the the frames work their way out randomly from there. I preferring doing this with one wall rather than both.
Put your frames up. For my gallery walls I use 3M Command Strips, which have a sort of velcro like fastening for the walls. However, make sure you test these out on each wall you intend to use them on first before you apply your whole gallery. To do this, place them somewhere on the wall out of site for a day, and then remove them to make sure they don’t remove any paint. IN my experience they work well but I have noticed on some walls they remove paint.
-
Collecting the art - Collecting the art

-
Cutting out some templates. - Cutting out some templates.

-
Experimenting with the paper templates. - Experimenting with the paper templates.
-
Moving the art around to get it perfect. - Moving the art around to get it perfect.

-
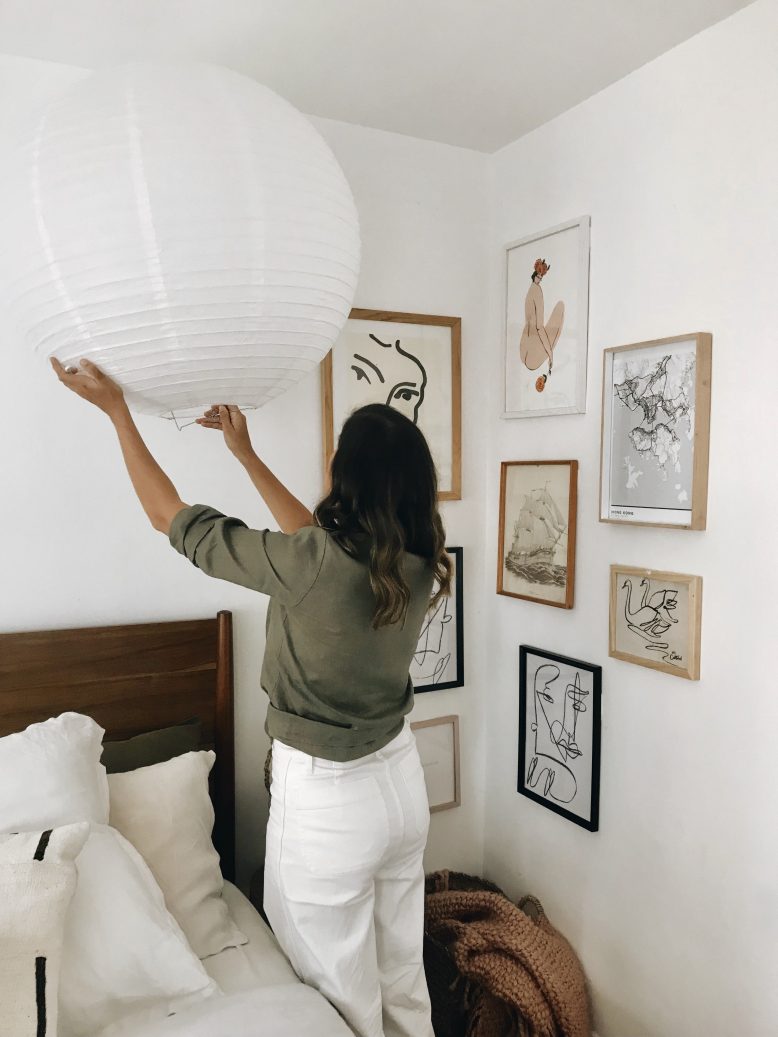
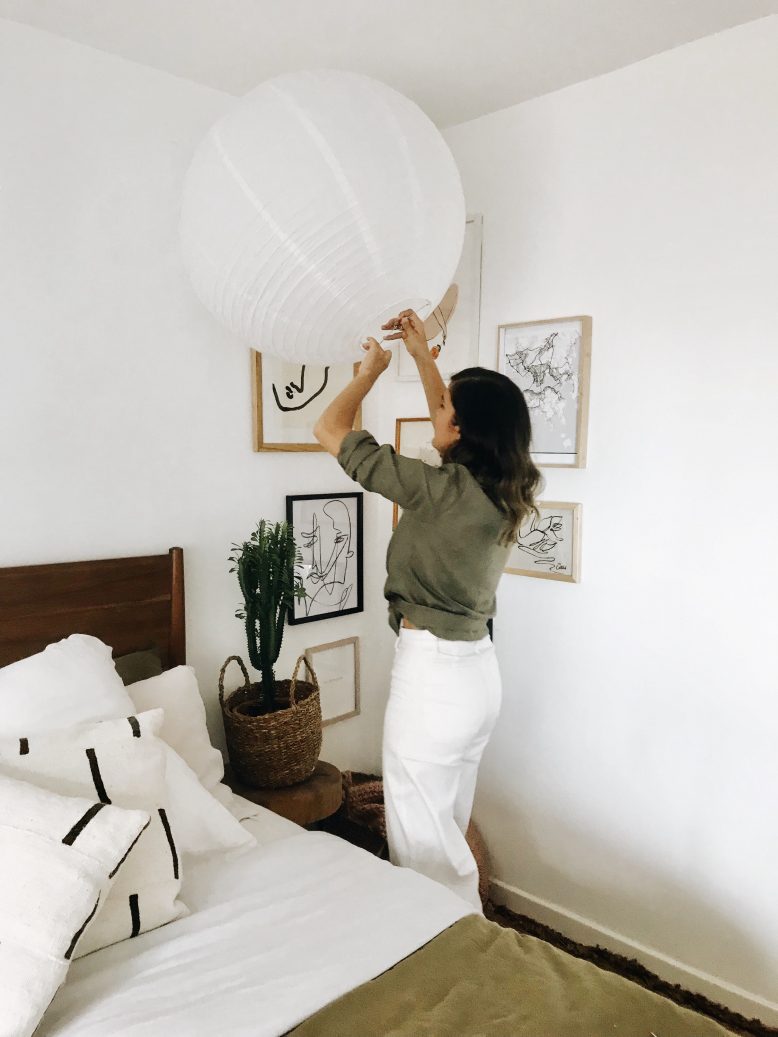
Adding a lantern to finish it off. - Adding a lantern to finish it off.
-
It wasn't that easy to hold up! - It wasn’t that easy to hold up!
Below I have shown you how you can line up the sides of the frames next to the corner and then let them flow out naturally.

Voila!

If you’re looking for some new art to create your gallery with, make sure to check out my post about where I buy affordable art!

Decor used in this post:
DIY cushions and DIY wood slice side table, West Elm bed, throw and bedside lamp, Cultiver linen sheets, Armadillo & Co rug, basket form Spain. I am wearing Madewell jeans and Mango linen top.

