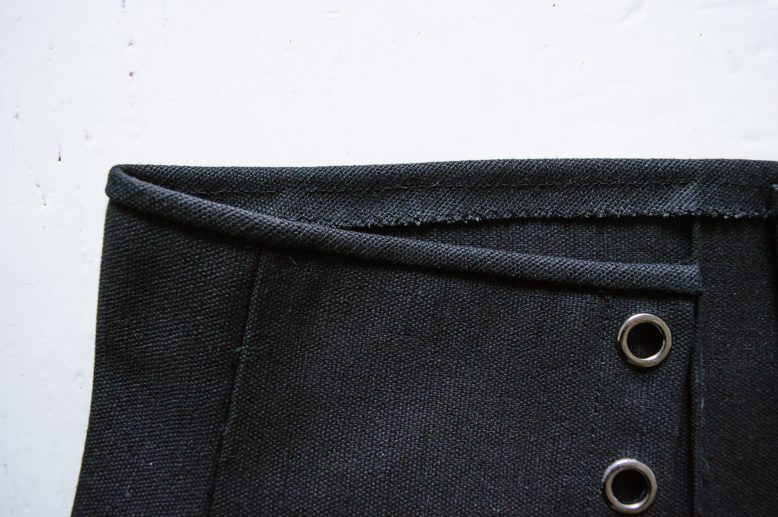
We’re back with another in depth sewing post for all you fashion makers out there! This time, we’re talking bias trims.
There’s only so many folded hems you can do before you’re looking for a bit for variety and style in terms of edge finishings.
So we’re going to talk about creating and sewing custom trims today. The technique is pretty similar to sewing a waistband or cuff, and although the steps involved might be more complicated than usual, it results in a very clean and neat finishing.
While there are ready-made bias trims available for purchase, sometimes you will want a bias trim in the same fabric as the clothing piece you’re making, or if you find a fabric you really like and want to use it as a bias trim, this tutorial will come in handy.
What You'll Need
1
Bias refers to the diagonal grain of the fabric. By cutting your fabric at a bias, a slight stretch will occur due to the direction of the weave, even if the fabric itself has no stretch to begin with. To create a custom bias trim in the same fabric, fold your fabric at a 45 degree angle.
2
Make sure the fold is longer than the edge you want to add a bias trim to. I'll be adding the bias trim to the edges of this corset belt. As you can see, the fold is longer than the edge of the belt.
3
The next step is to then mark the thickness of the bias trim. The thickness you're marking equals to how thick the bias trim will look on one side your corset. I marked mine as 1/8' thick, but again, feel free to mark it as wide as you like depending on your design. Leave extra seam allowance and cut.
4
This is what your bias trim should look like after cutting. The dotted line is the 45 degree fold, with the 1/8' wide bias trim mirrored on both sides of the fold. One of the seam allowances will be hidden in the trim, so it will need to be narrower than the bias trim itself (Here it is shown as the 1/16' allowance); The other seam allowance will be used to secure the trim, and will need to be wider (Shown here as the 1/2' allowance)
5
You should have two bias trims for the top and bottom edges of the corset belt. Remember that the bias trims need to be longer than the edges!
6
Pin your bias trim to the corset belt right sides together, with the narrower seam allowance facing the top, then sew along the marked line.
7
Trim the seam allowances again to make sure it is narrower than the bias trim. Or else it will be too thick to be folded in.
8
Fold the bias trim in to the back of the corset belt, then pin and sew. It might be difficult to ensure that the thickness of the bias trim is even throughout since you won't be able to see the dotted lines, but you can measure the thickness of the trim as you're pinning.
10
This is how the back of the trim would look like after pinning. I usually fold the edges of the trim in and sew them shut for an even neater finish, but this fabric is too thick for that. So I had to serge the edges to avoid fraying.
11
You will be sewing on the right side of the corset. Sew a straight line along the ditch to secure the folded seam allowance in the back.
12
And voila! You now know how to create and sew with your your own custom bias trims!


