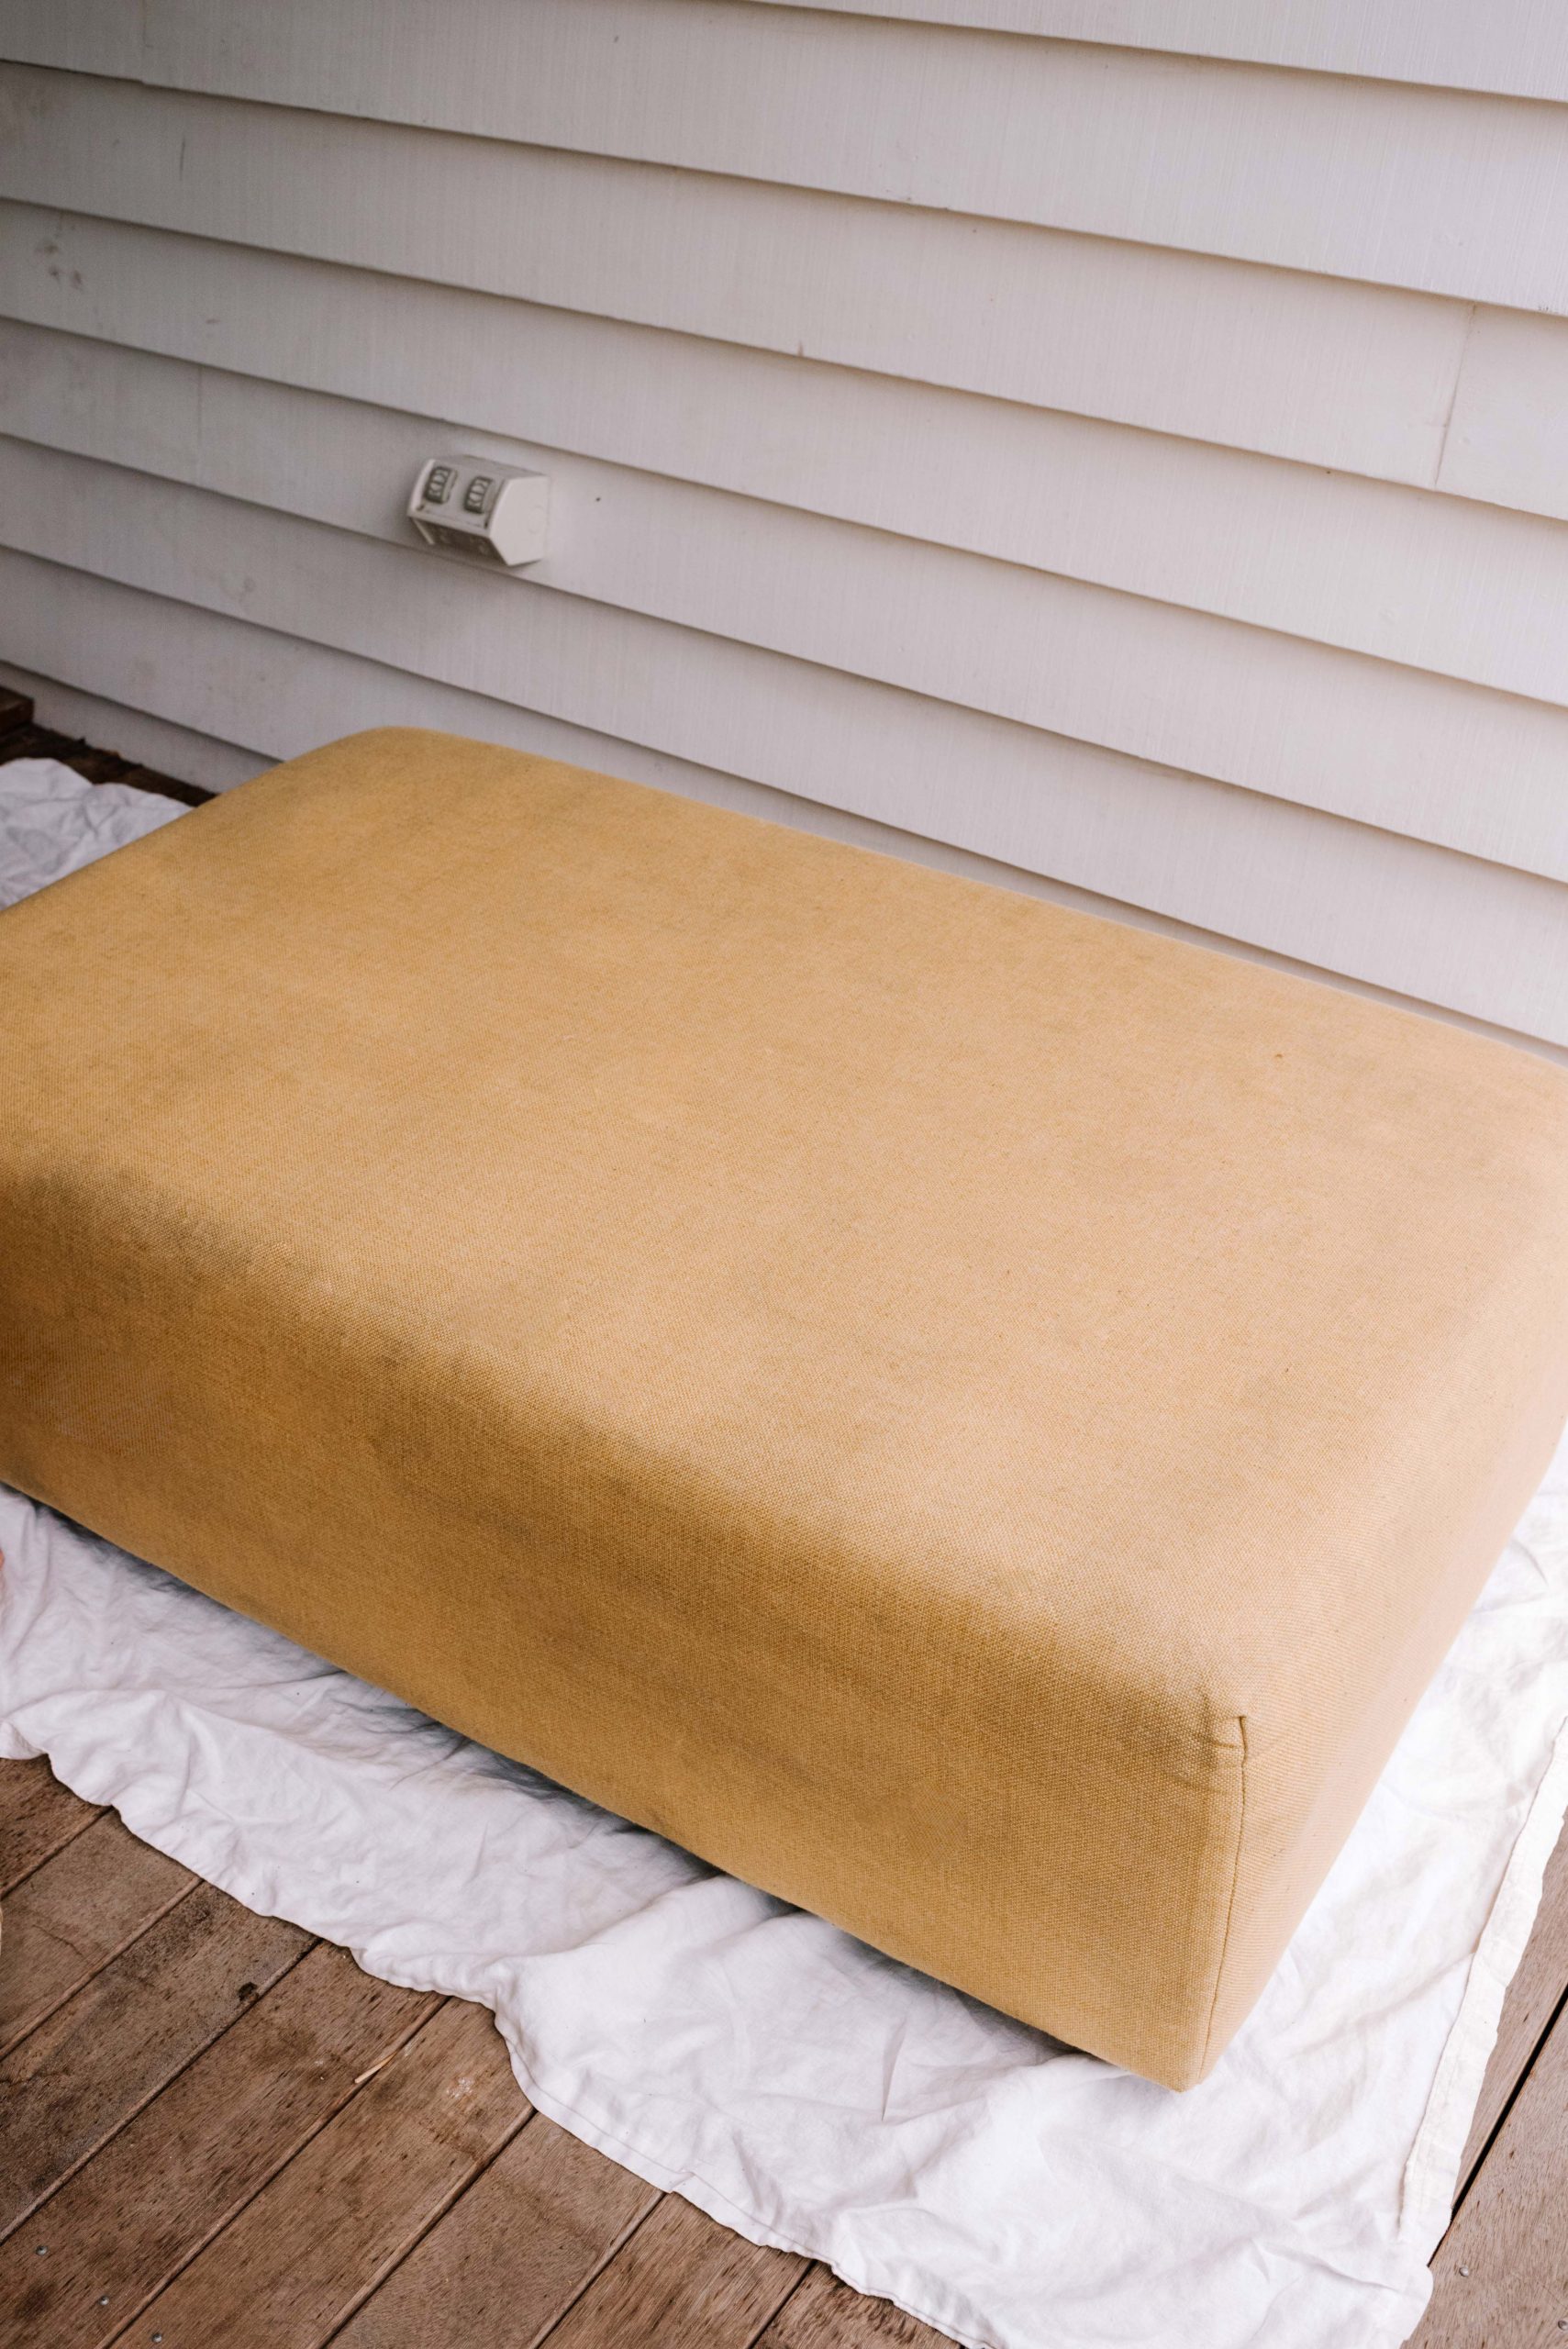
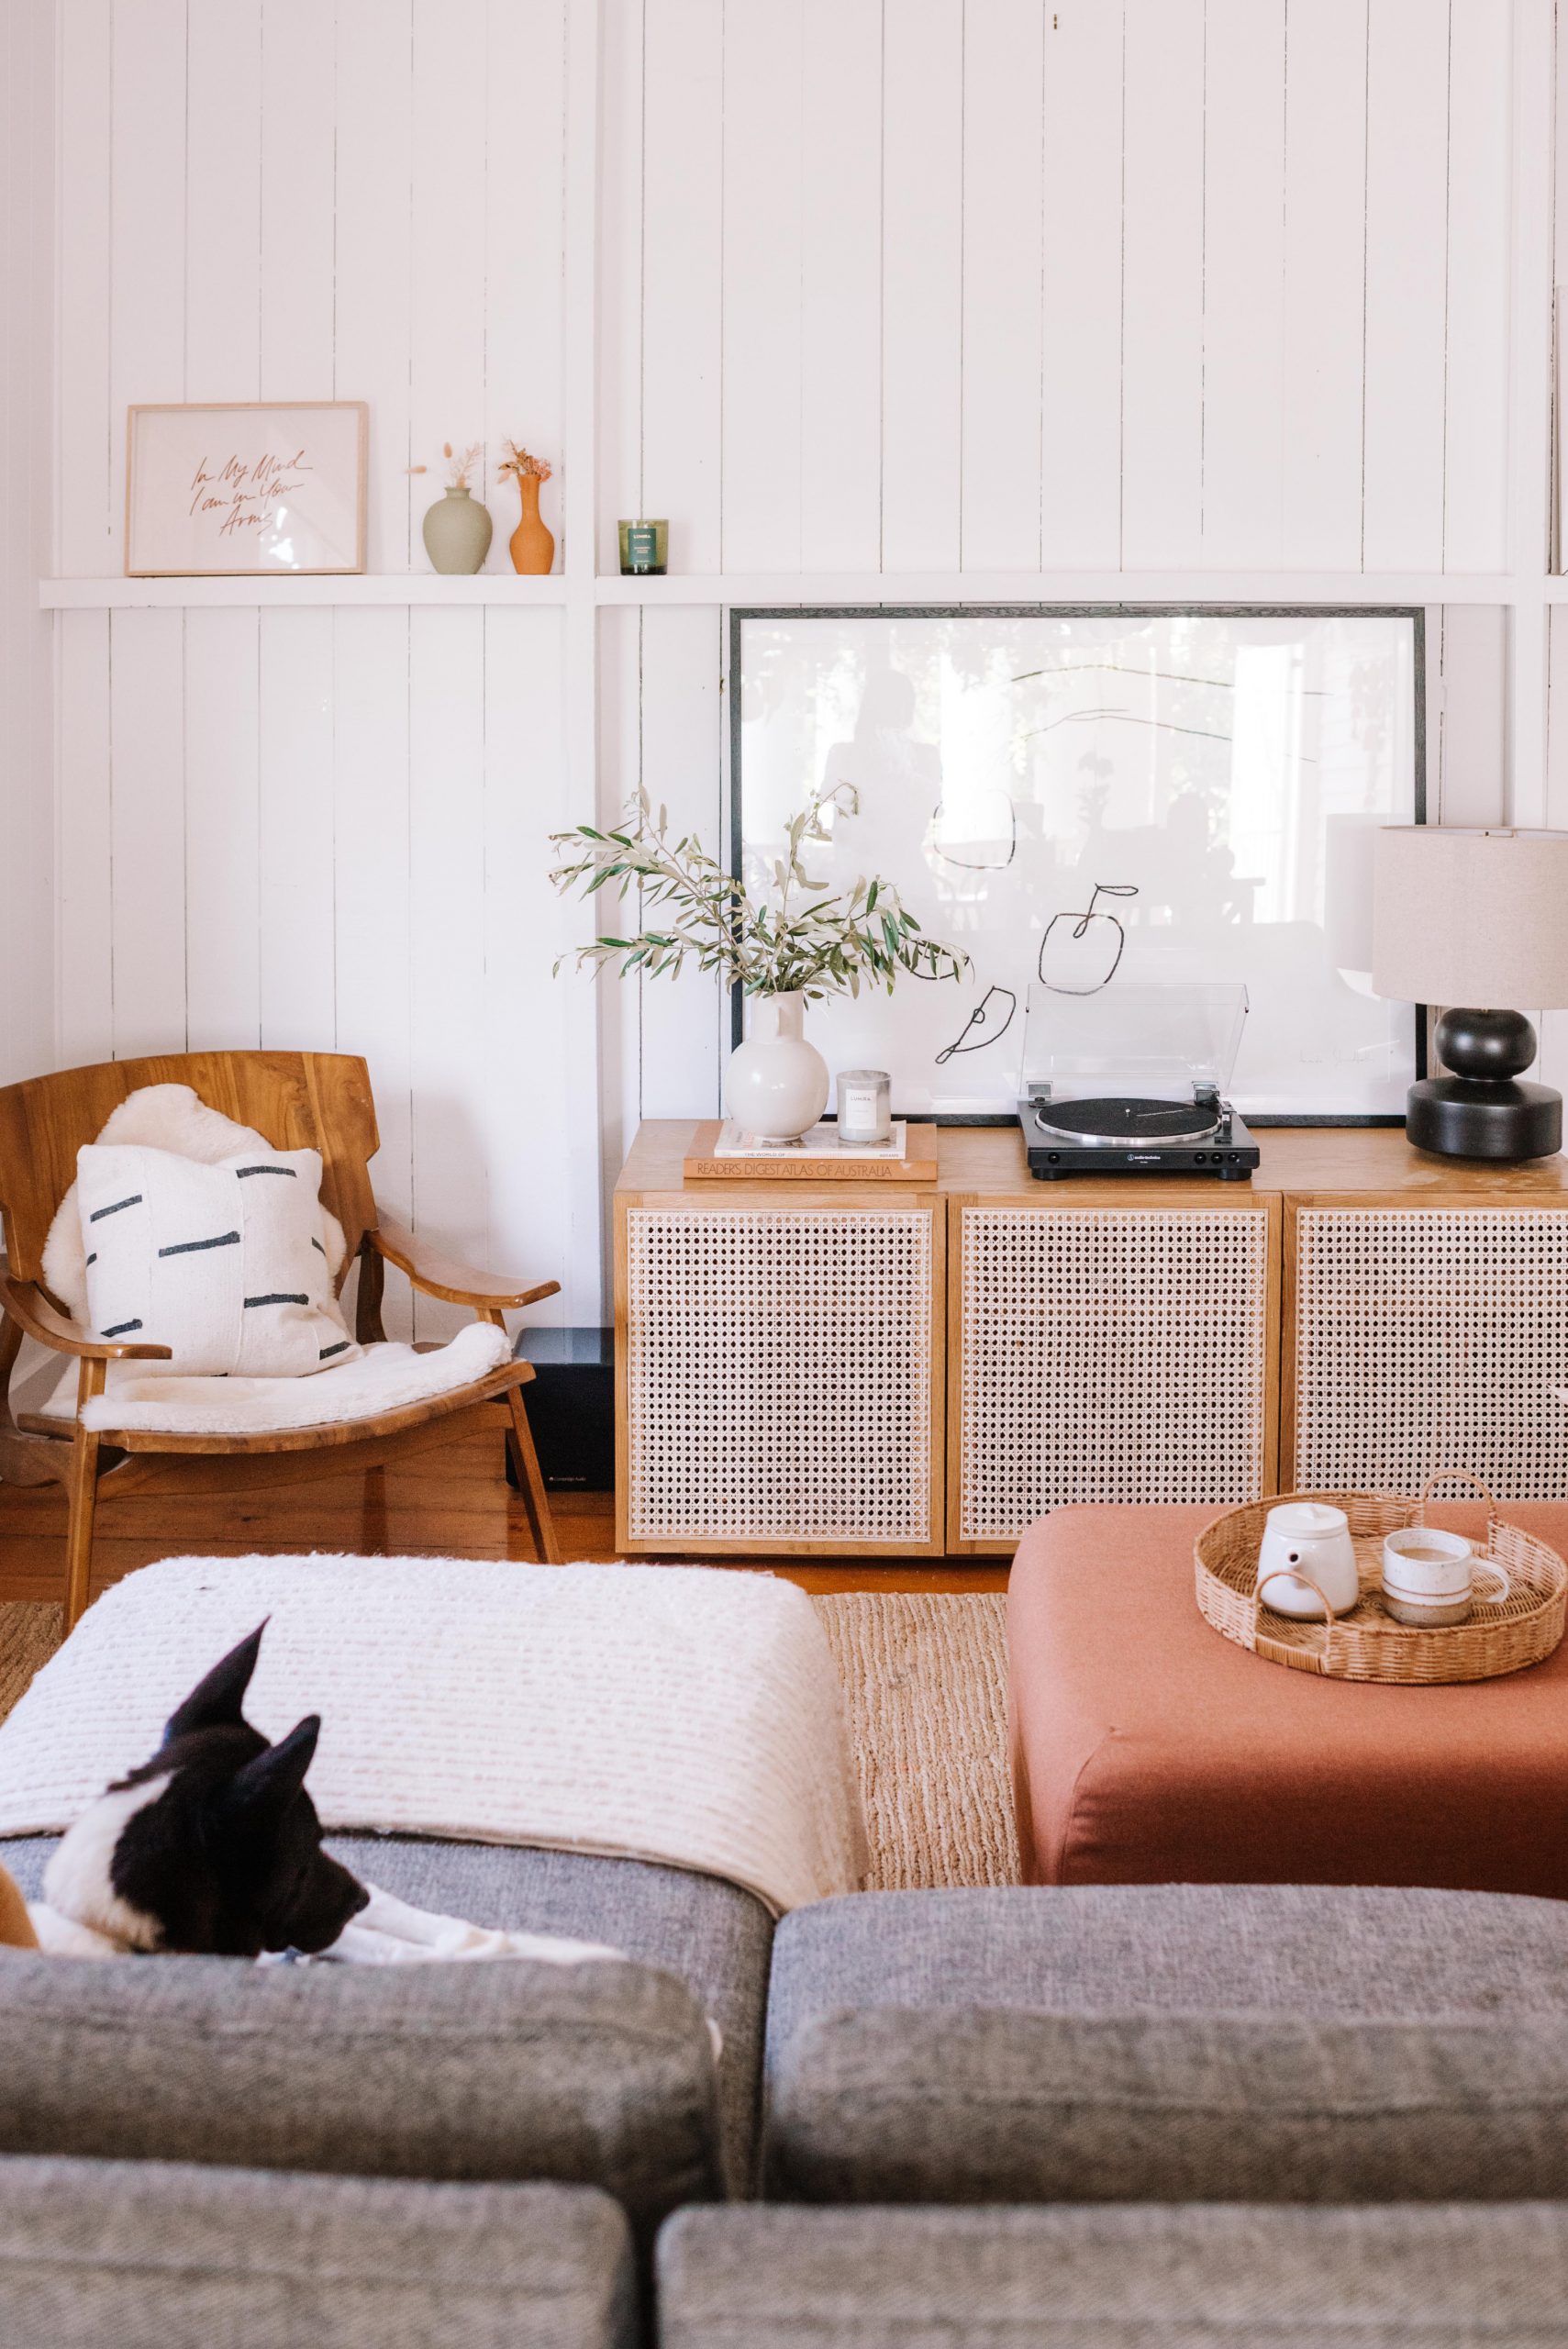
Honestly, if there’s one item in the house that people have the most, it’s ottomans. And more often than not, they’re thinking about getting rid of them!
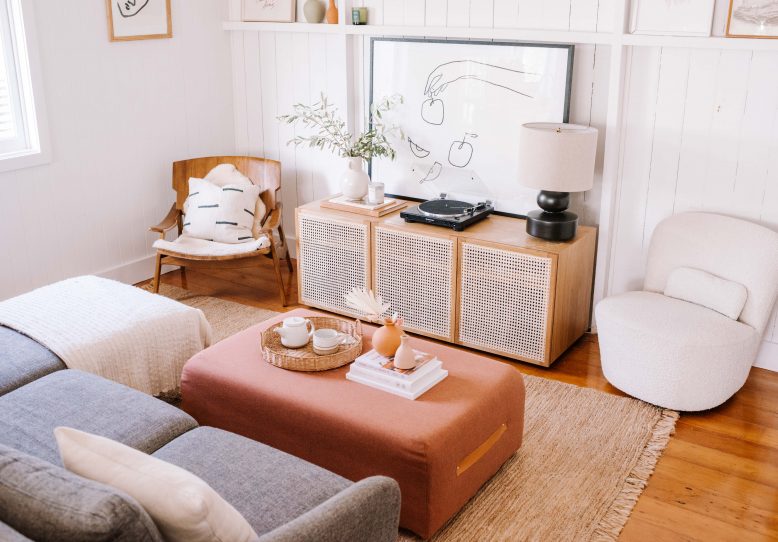
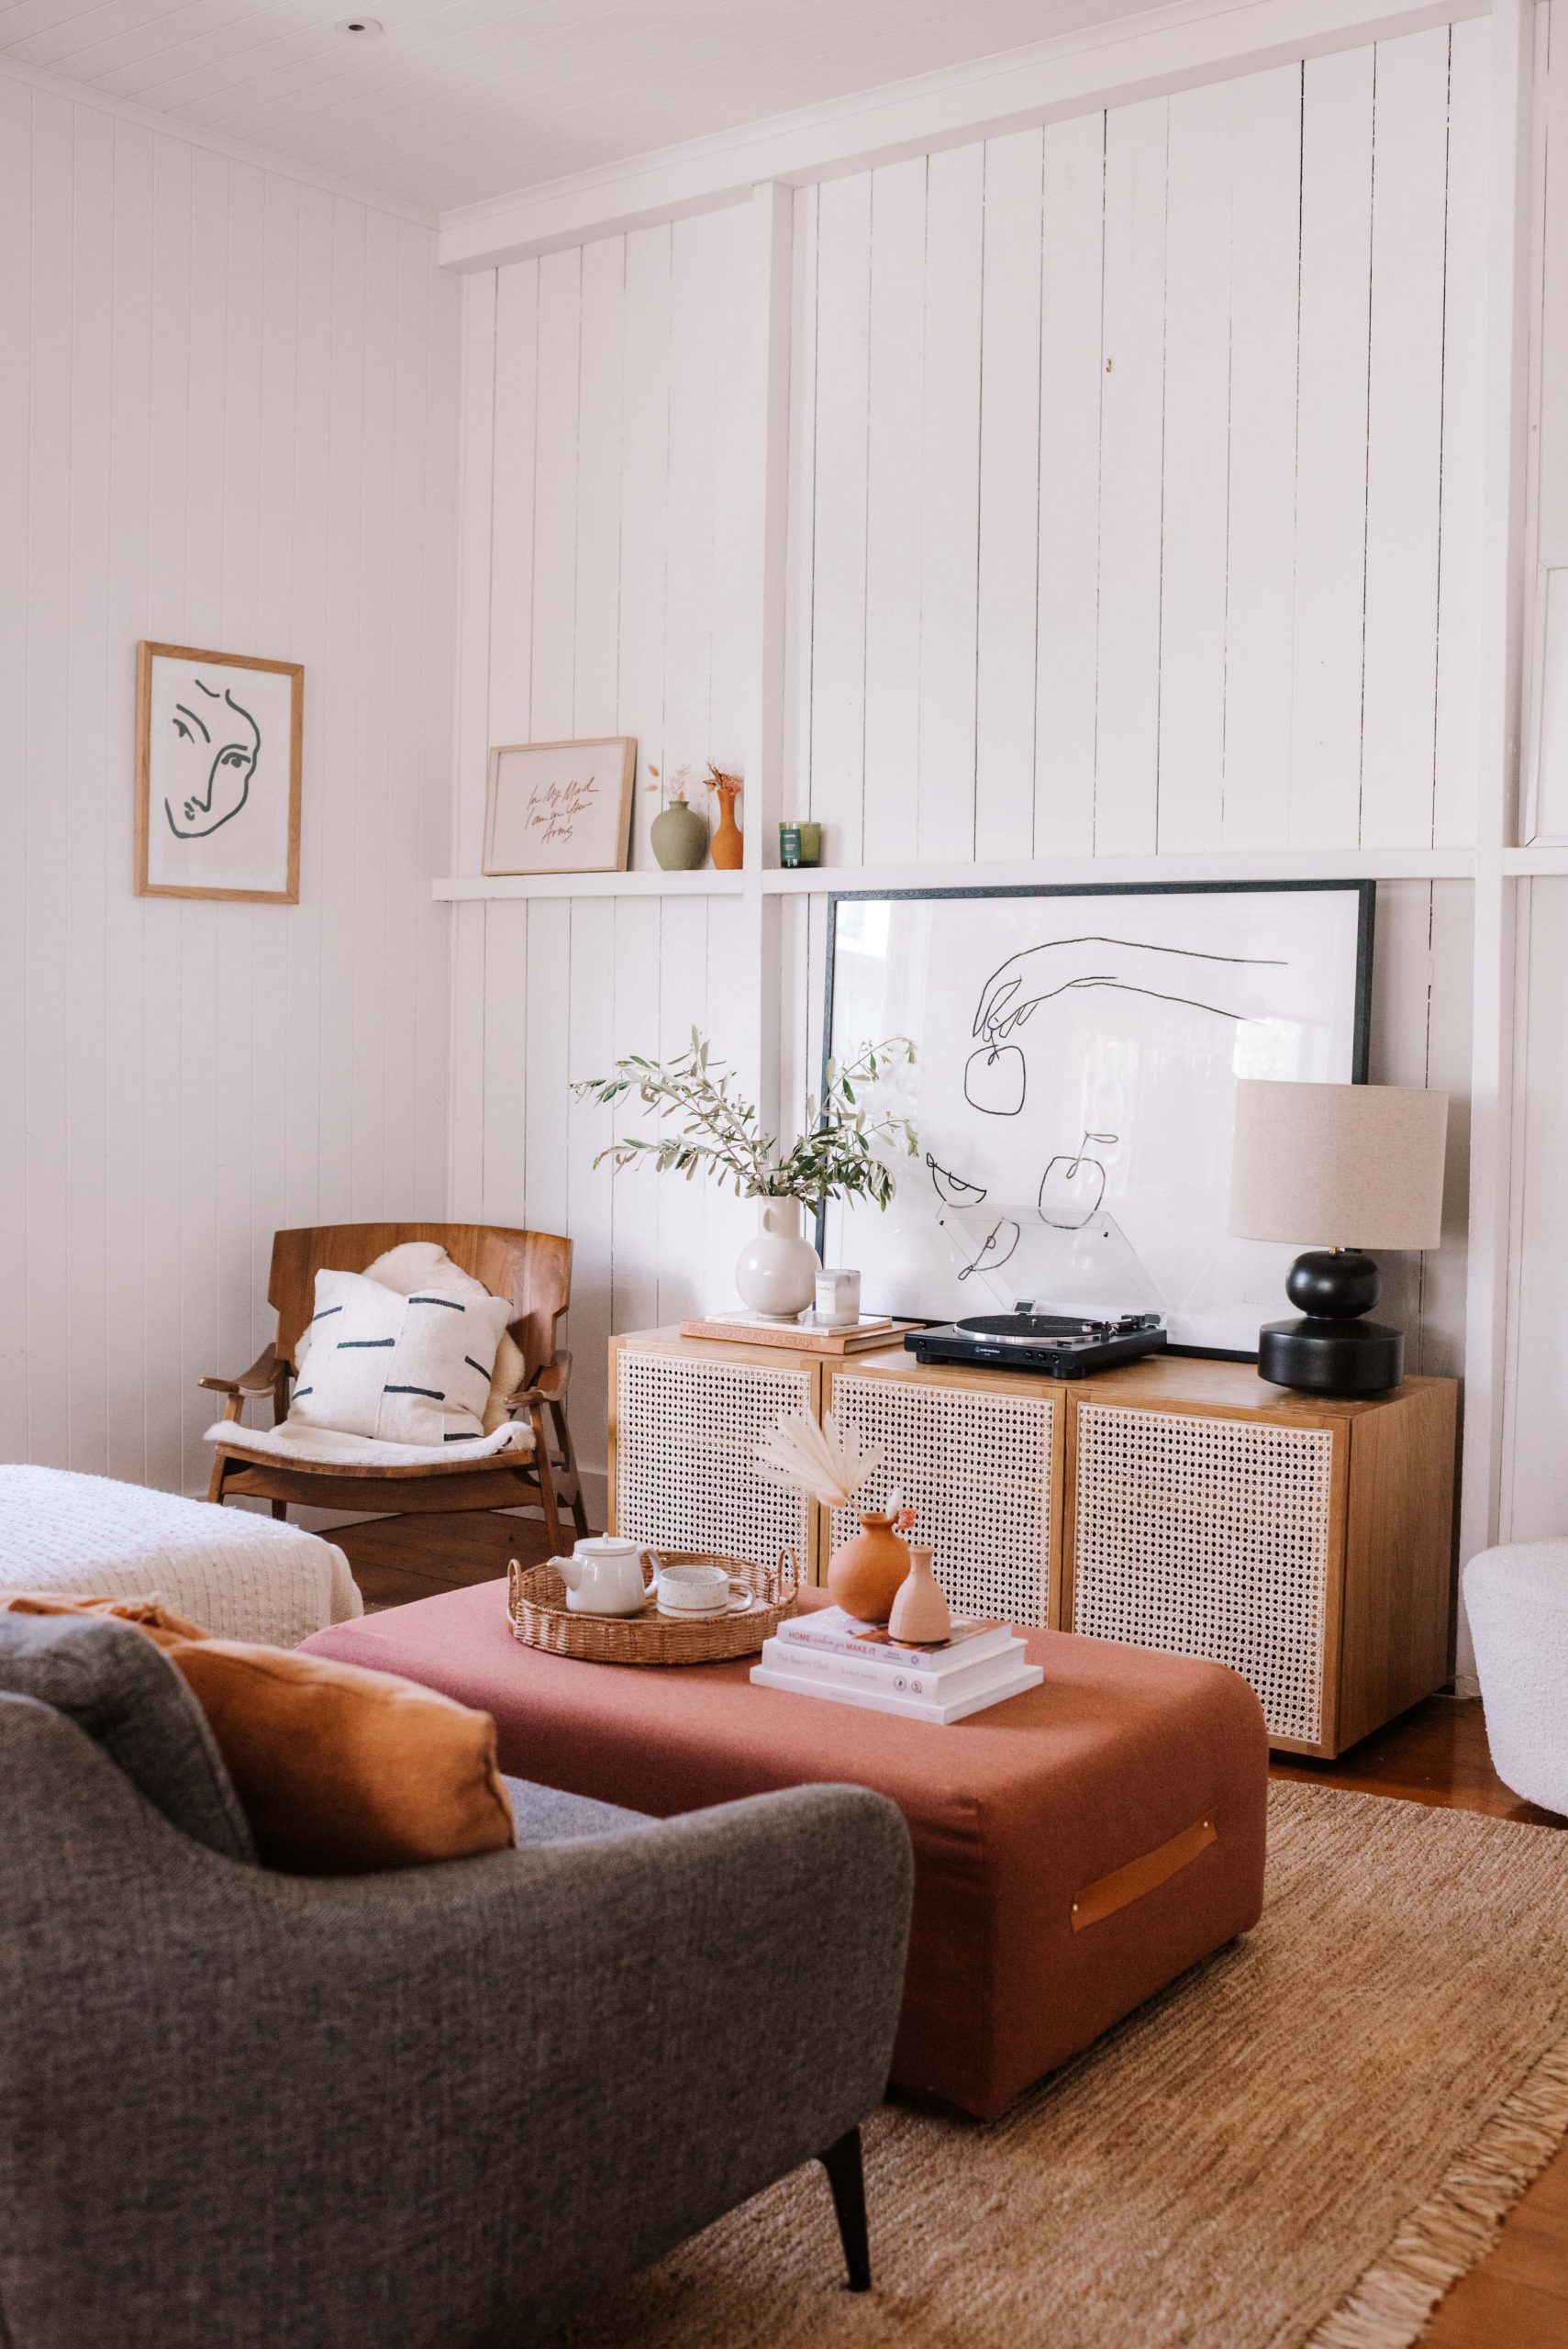
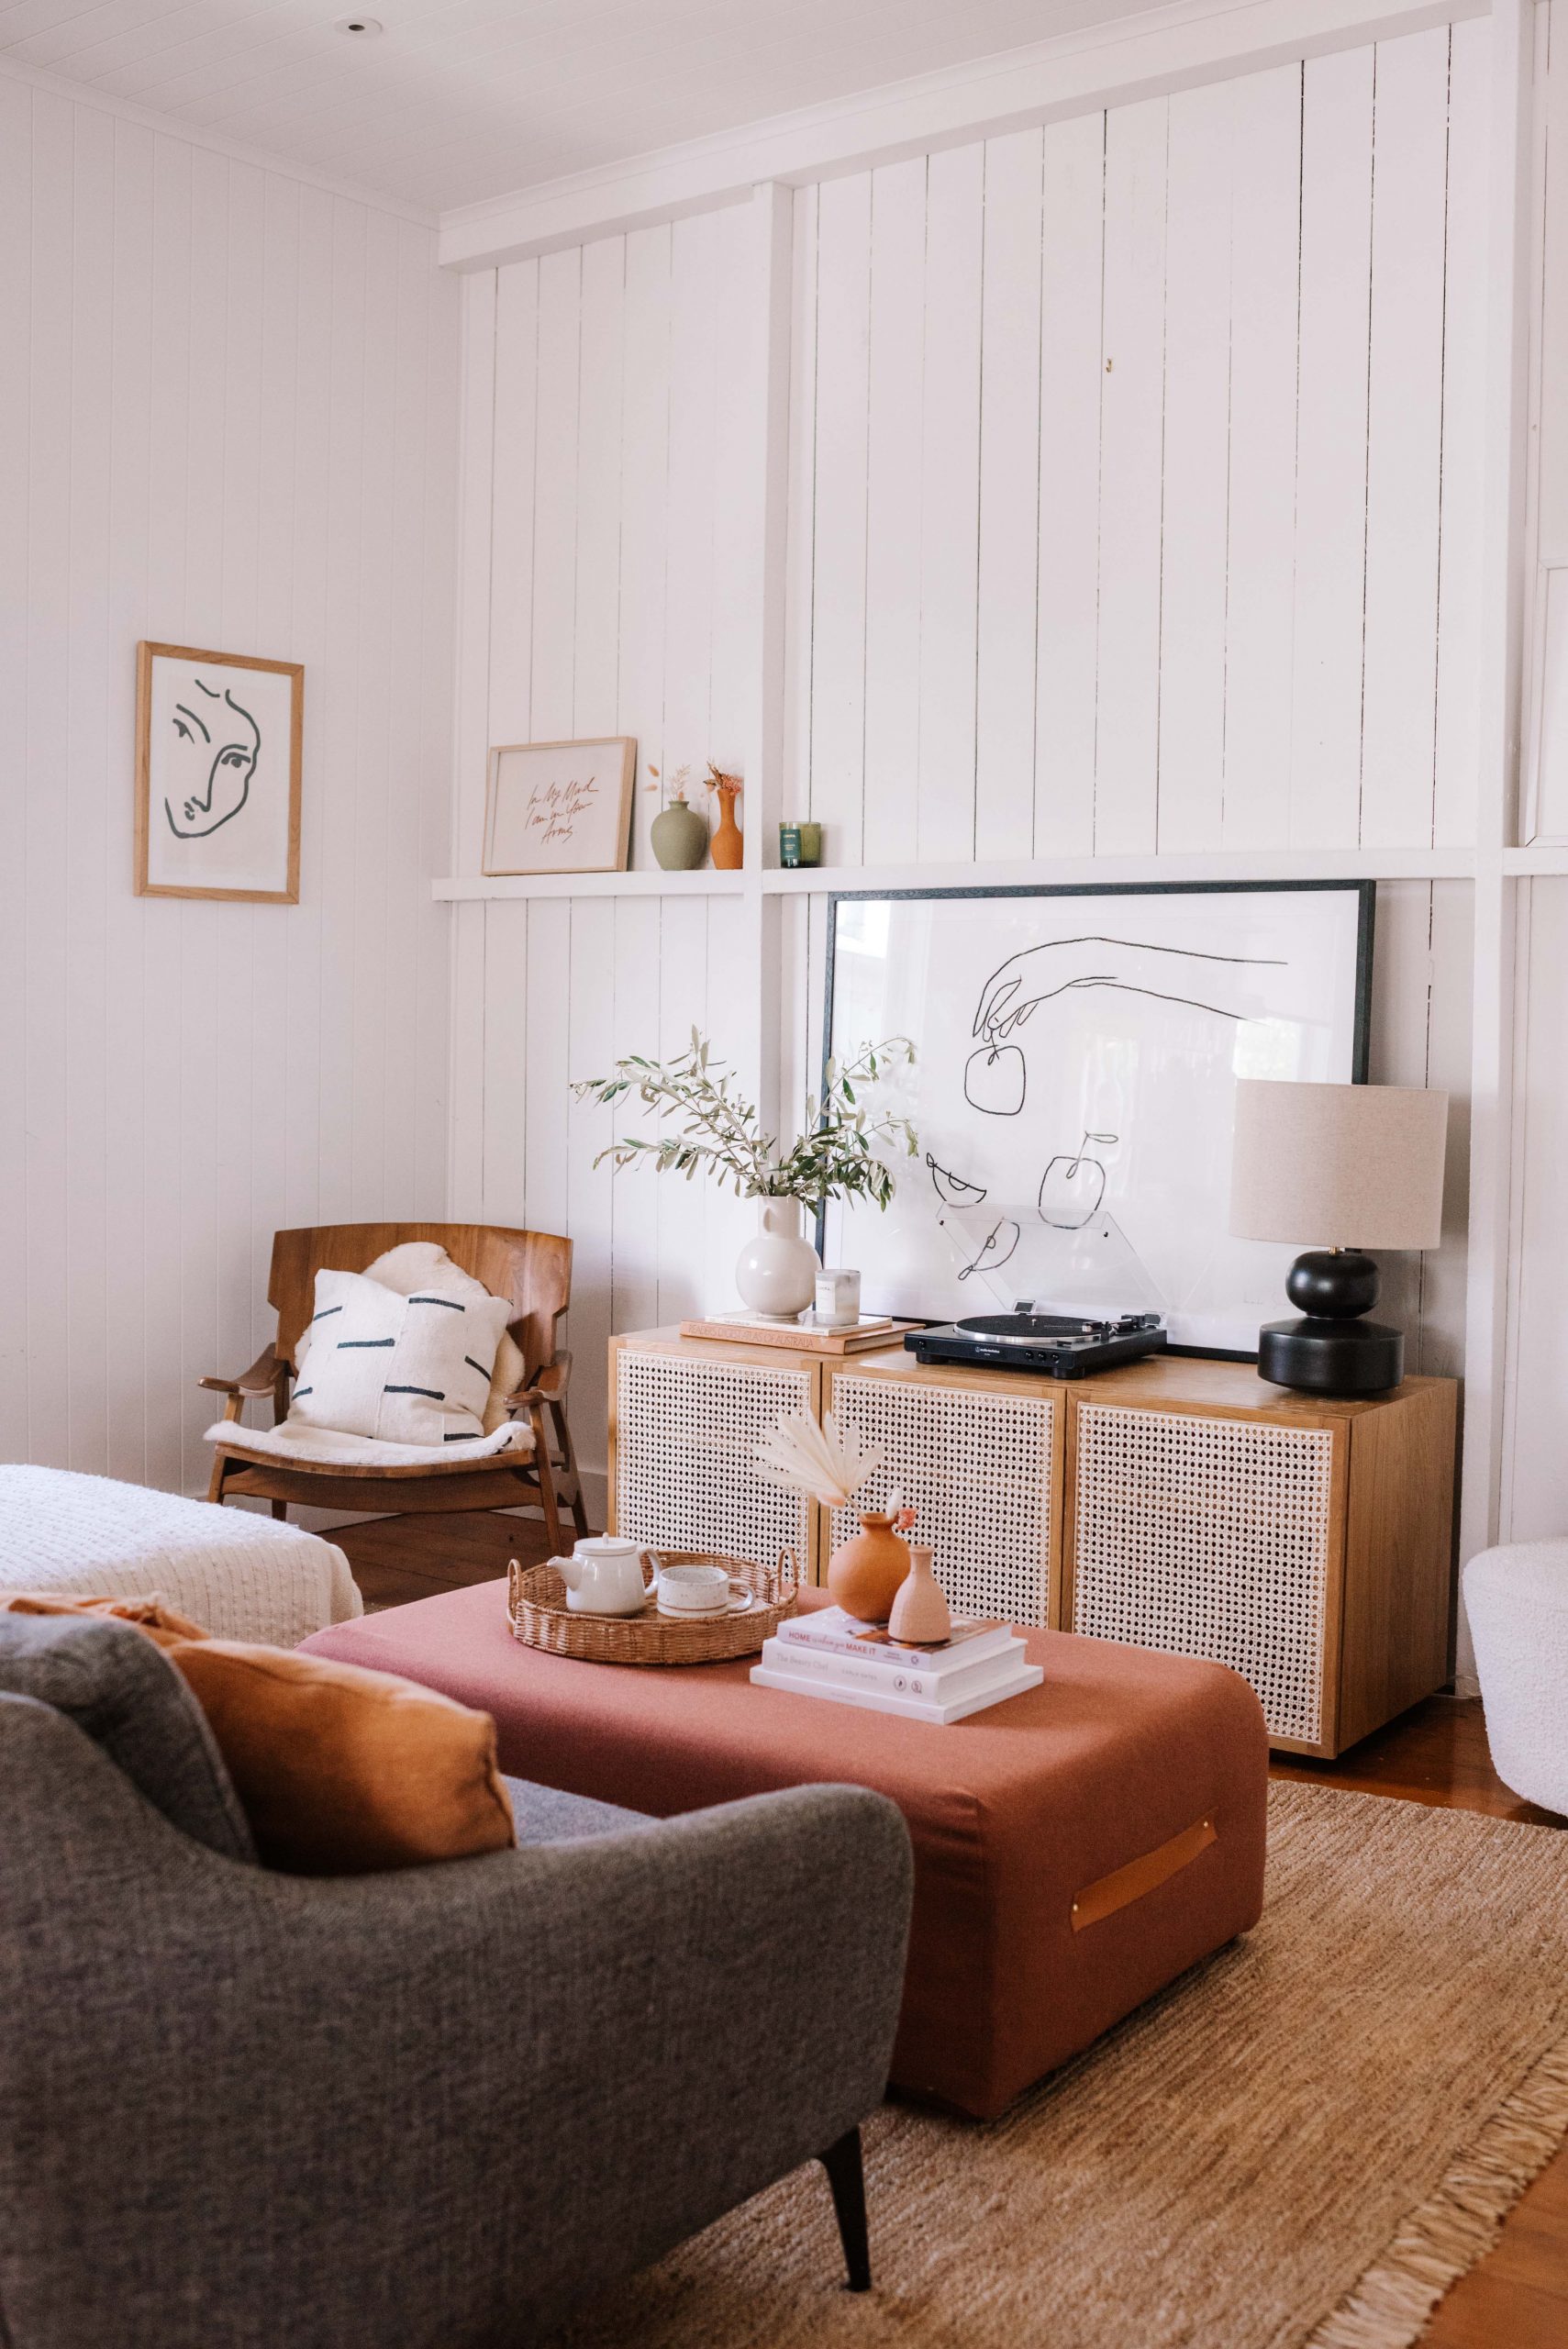
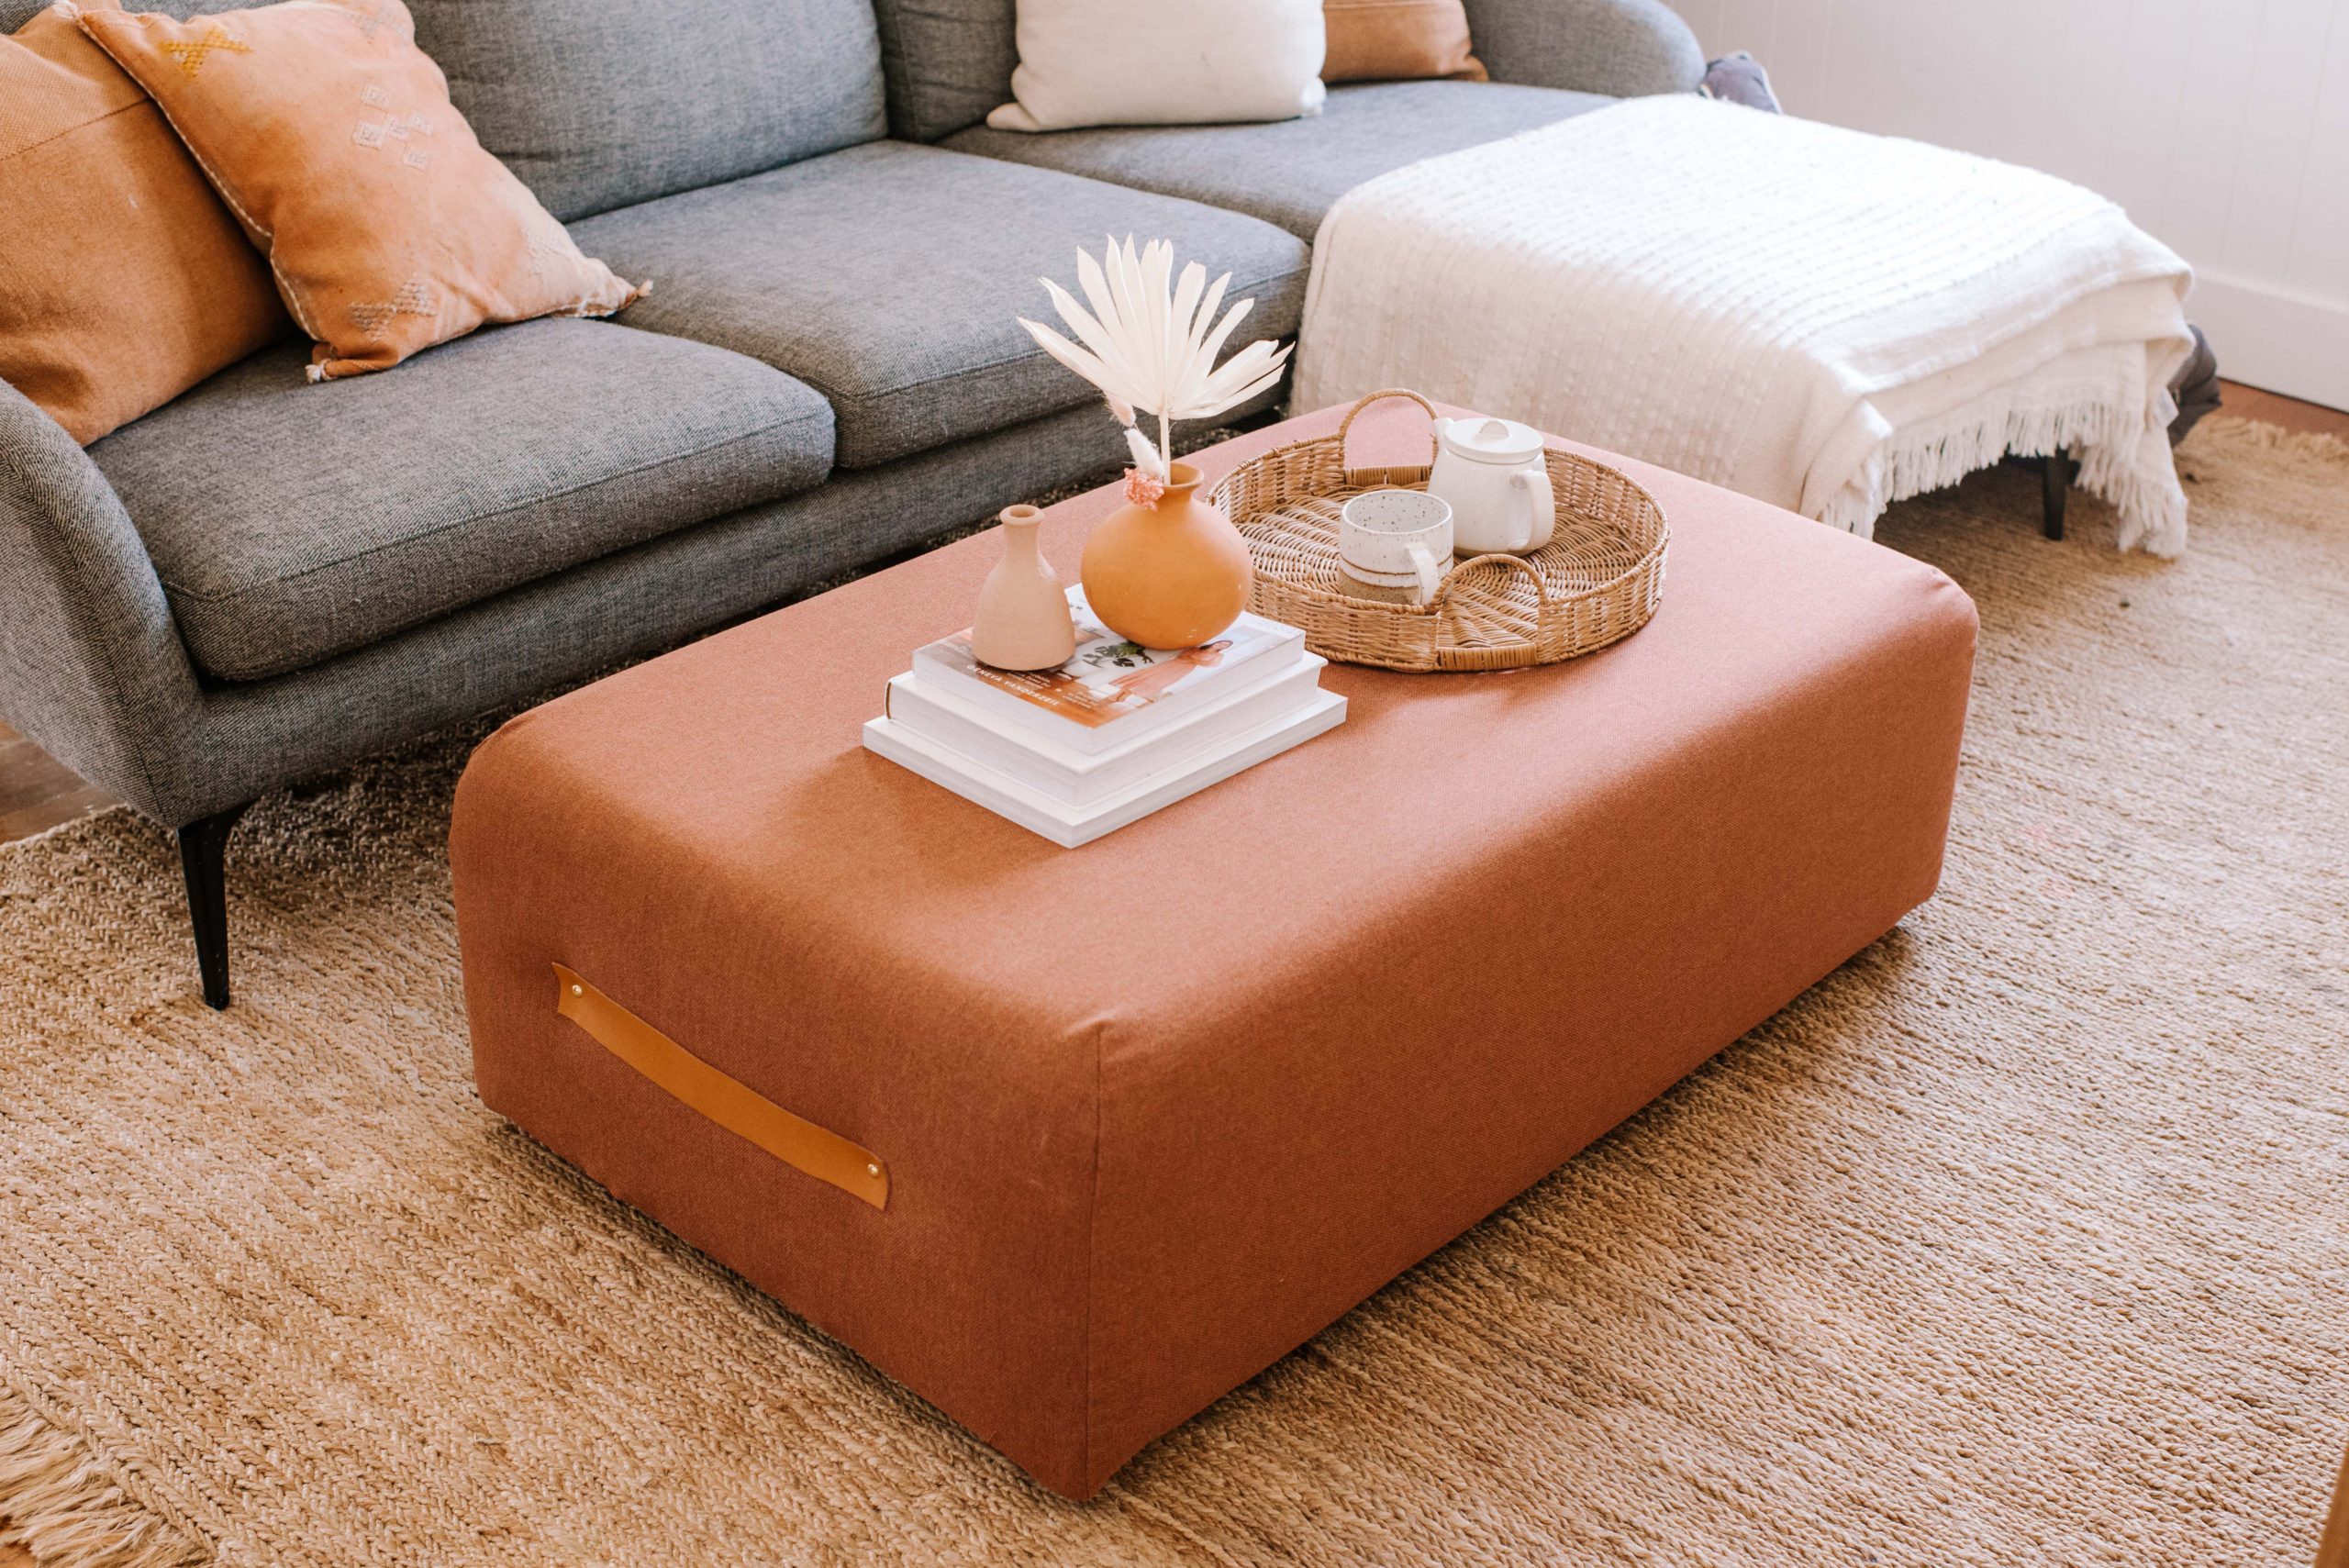
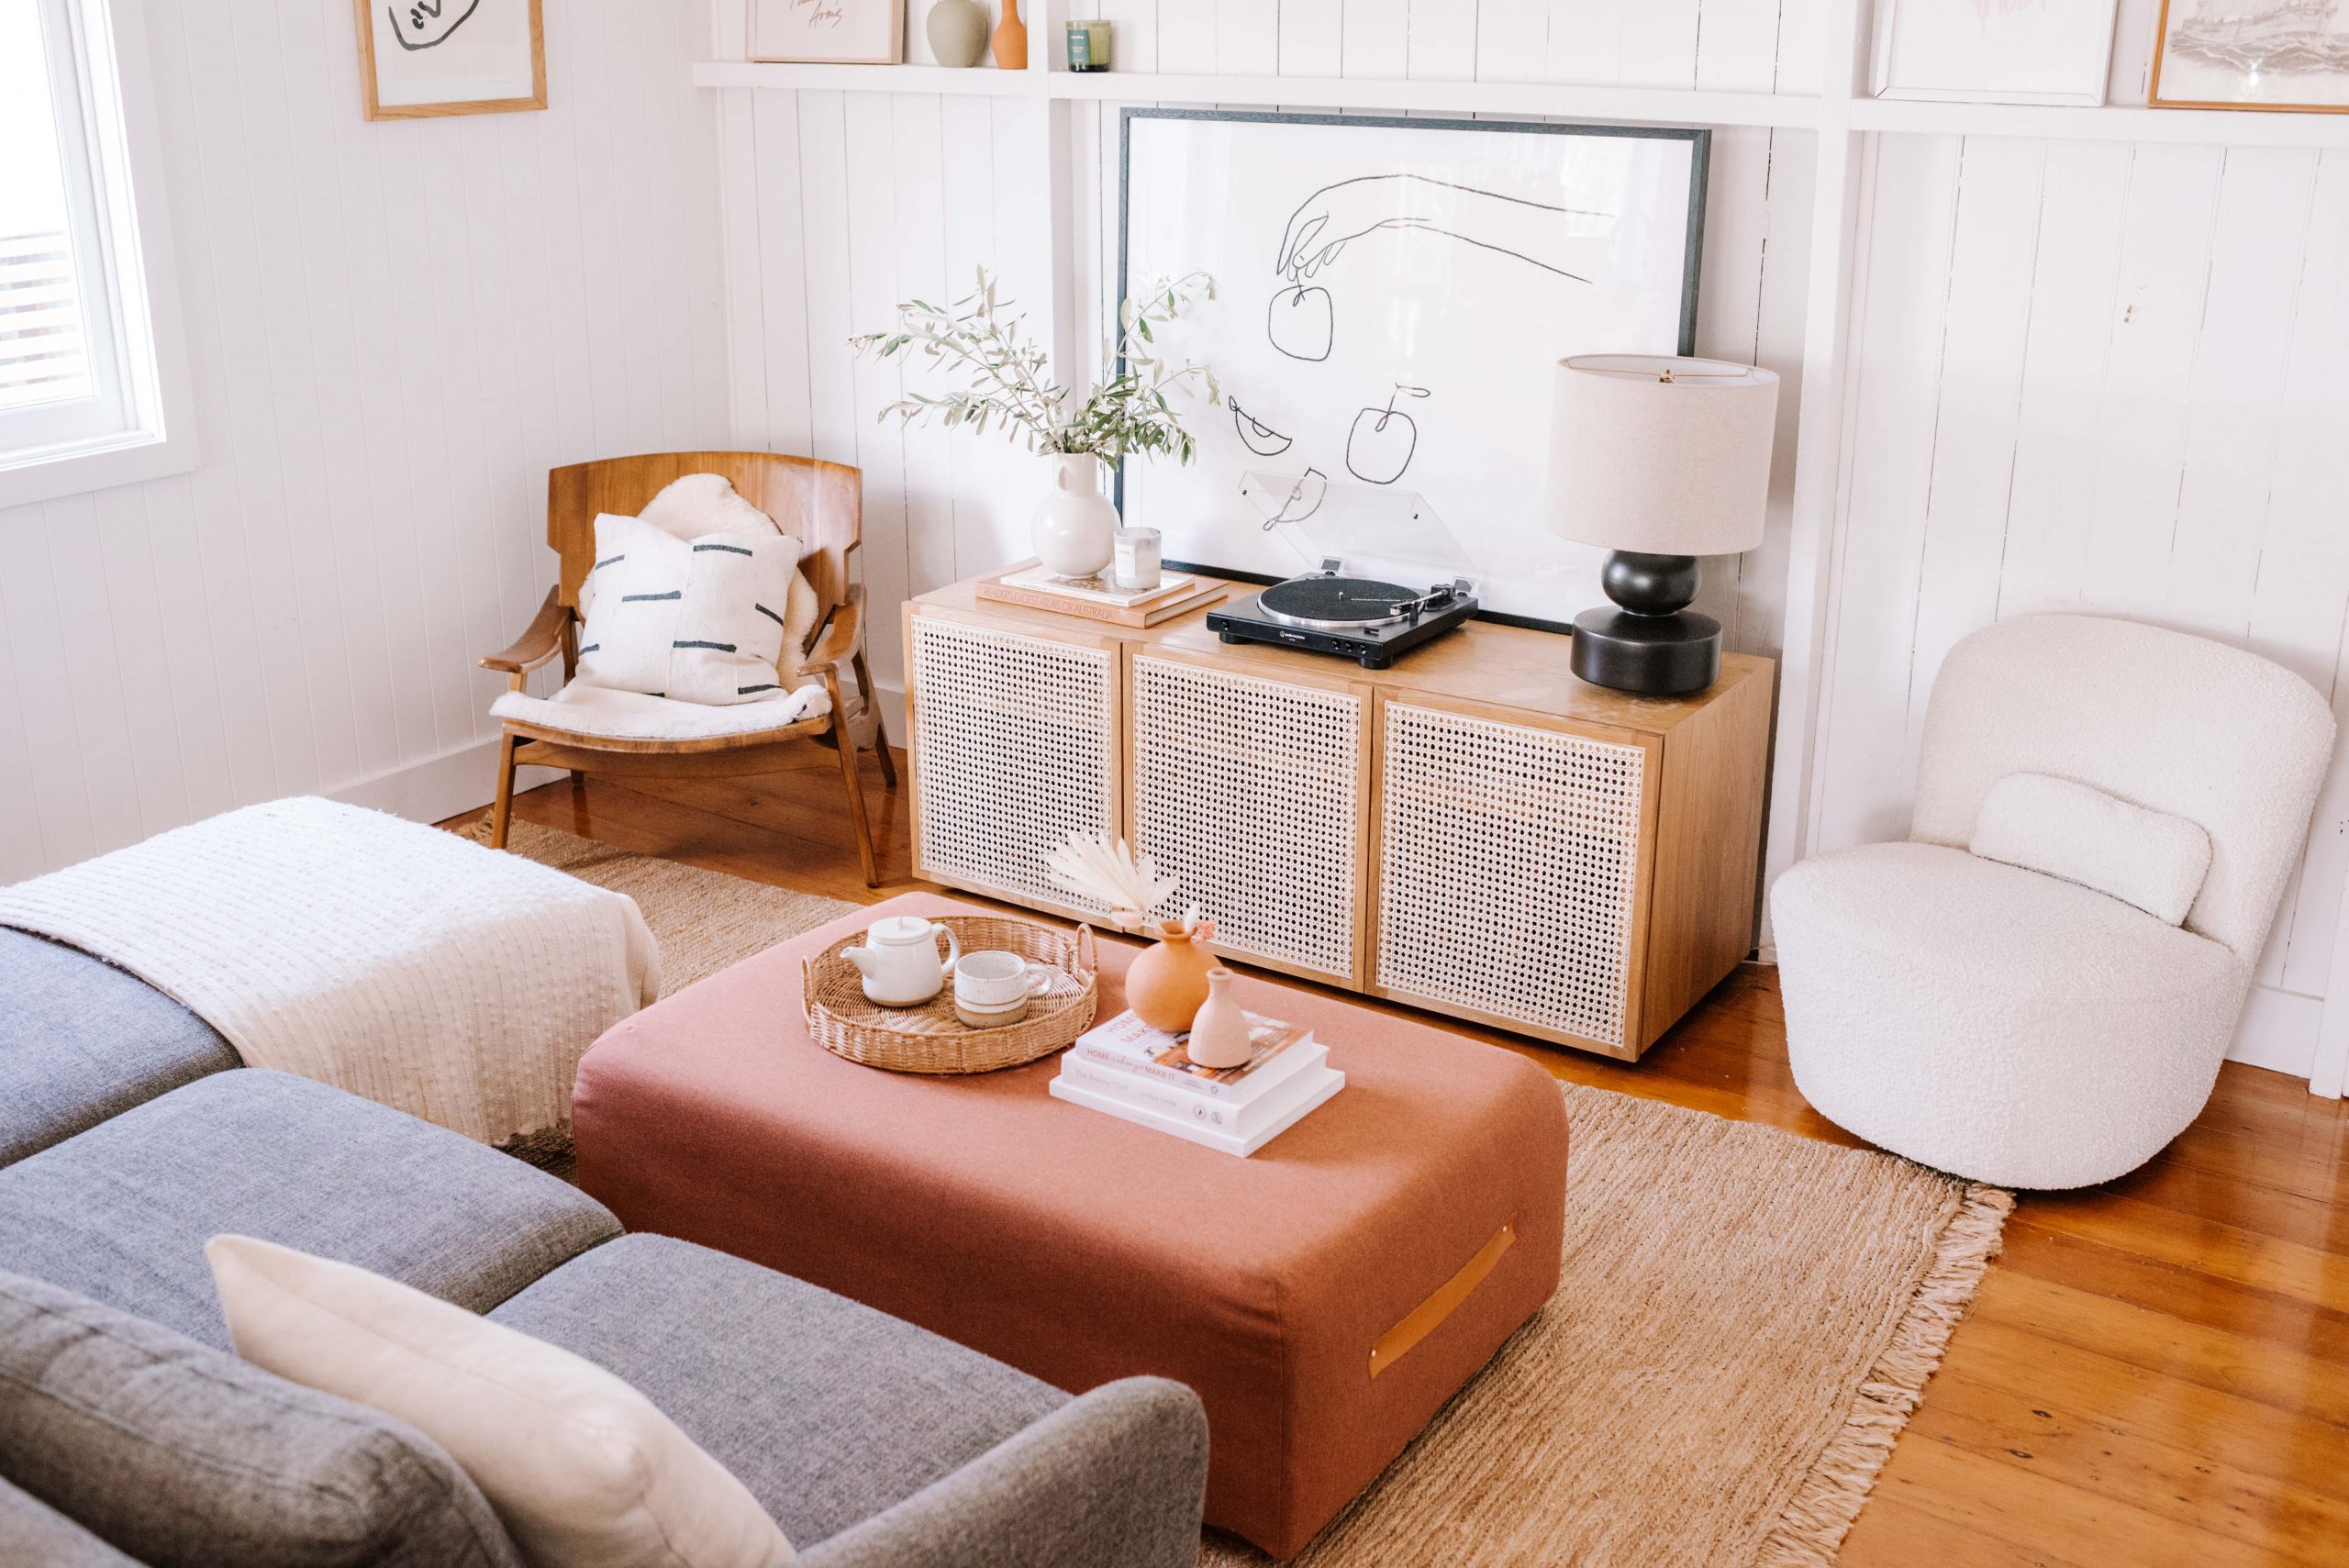
Whether it’s gotten a little worn or you don’t like the fabric or print anymore, it doesn’t mean you have to throw it away. That’s because they are so easy to update. A little while ago we shared a post about making your living room more family friendly, and in it we did an upcycle of an old ottoman using beautiful Sunbrella Blend Clay fabric. Lots of you asked for the detailed tutorial so here it is!
Materials
- Fabric to cover the ottoman. We used Sunbrella Blend Clay.
- Matching thread
- Sewing machine
- Measuring tape or ruler
- Dressmakers chalk or pencil
- Fabric Scissors
- Dressmakers pins
- Leather
- Upholstery tacks
- Staple gun
As I mentioned we used Sunbrella fabric for this, which is great because it repels stains and is washable. In this tutorial we secured the cover to the bottom of the ottoman using upholstery tacks, but you can also simply hem the edge of the cover and then use ties underneath to make a cover that is removable and washable.
Our fabric was wide enough that we could do a wrapped top without seams along the top edges, only those along the outer sides of the ottoman. This meant our process was a little bit simpler. However if your fabric isn’t wide enough to do this, rather than cutting out one single piece for the cover you can cut each side individually and sew along the top edges. The general process here will then remain the same.
How to recover an ottoman
2
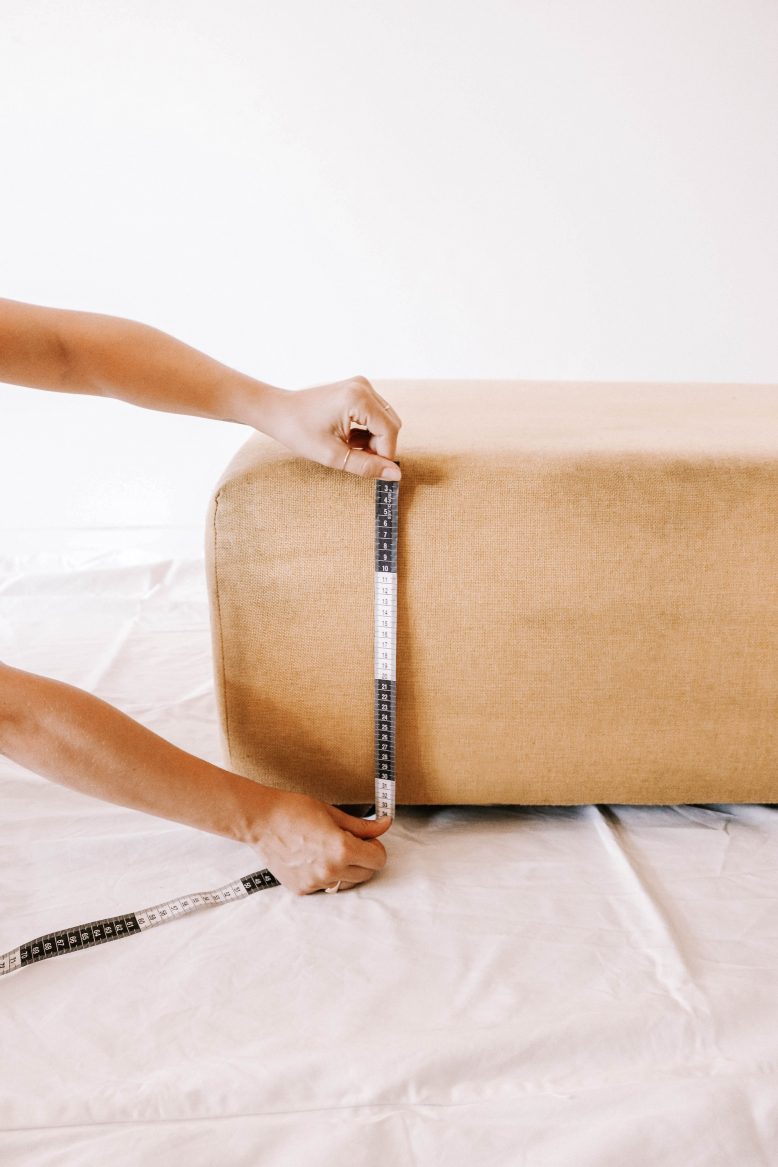
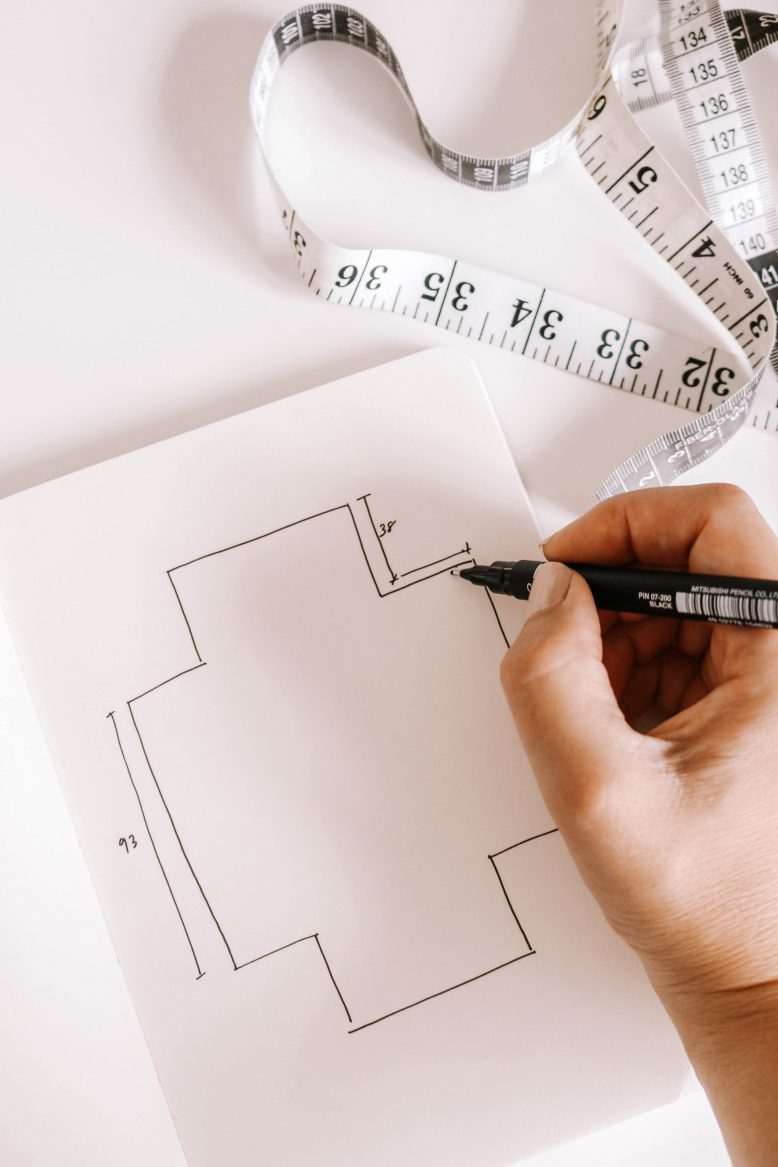
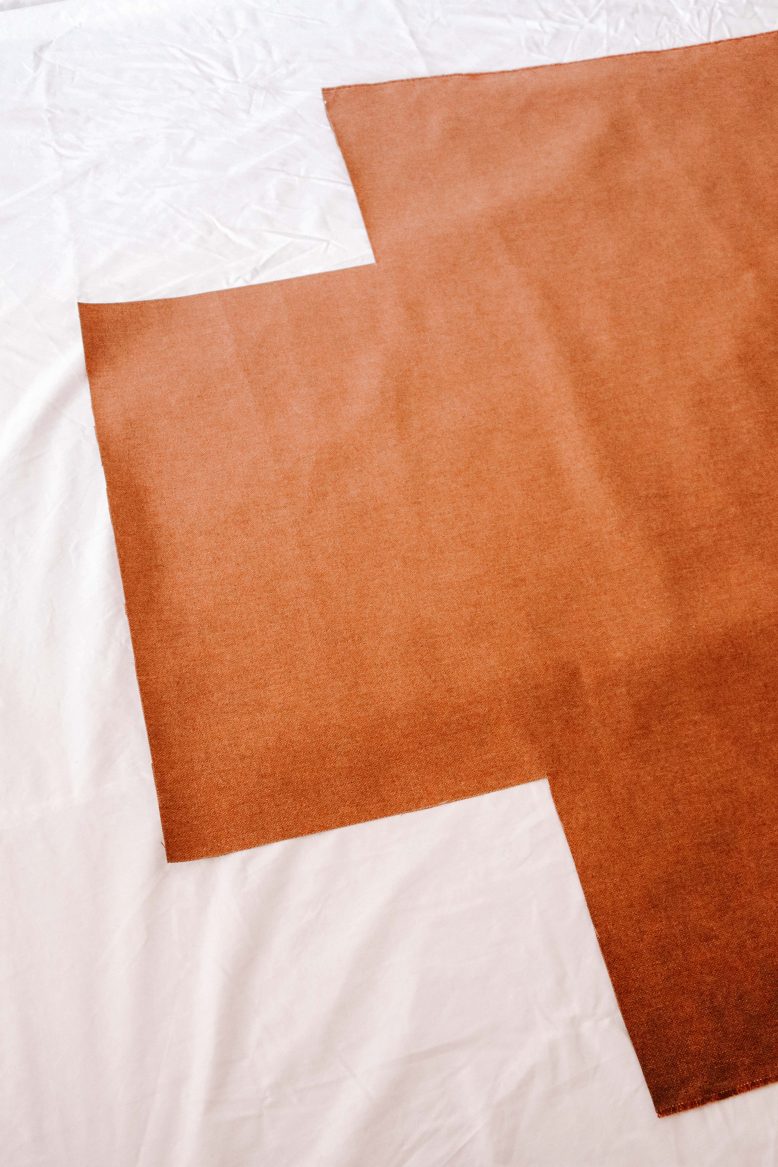
Sketch out your pattern to work out your seam allowances. We added a 1cm (¼ in) seam allowance to the side edges and 4 cm (1.5 in) to the bottom edges. Note: if your fabric is not wide enough as mentioned above, at this step cut out the sides and top as separate squares/rectangles (remember to add a 1cm (½ in) seam allowance for the top edges. Sew the top edges together to achieve the same ‘cross’ shape as step 5 (skip step 3 & 4).
3
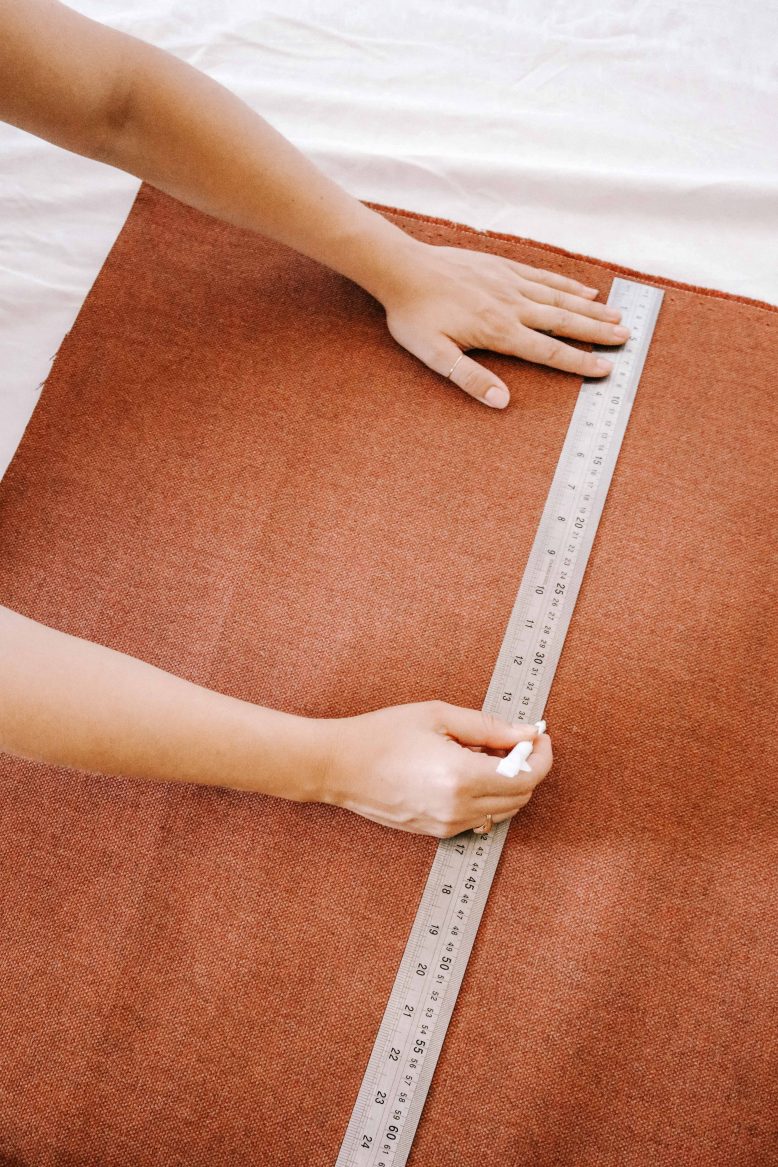
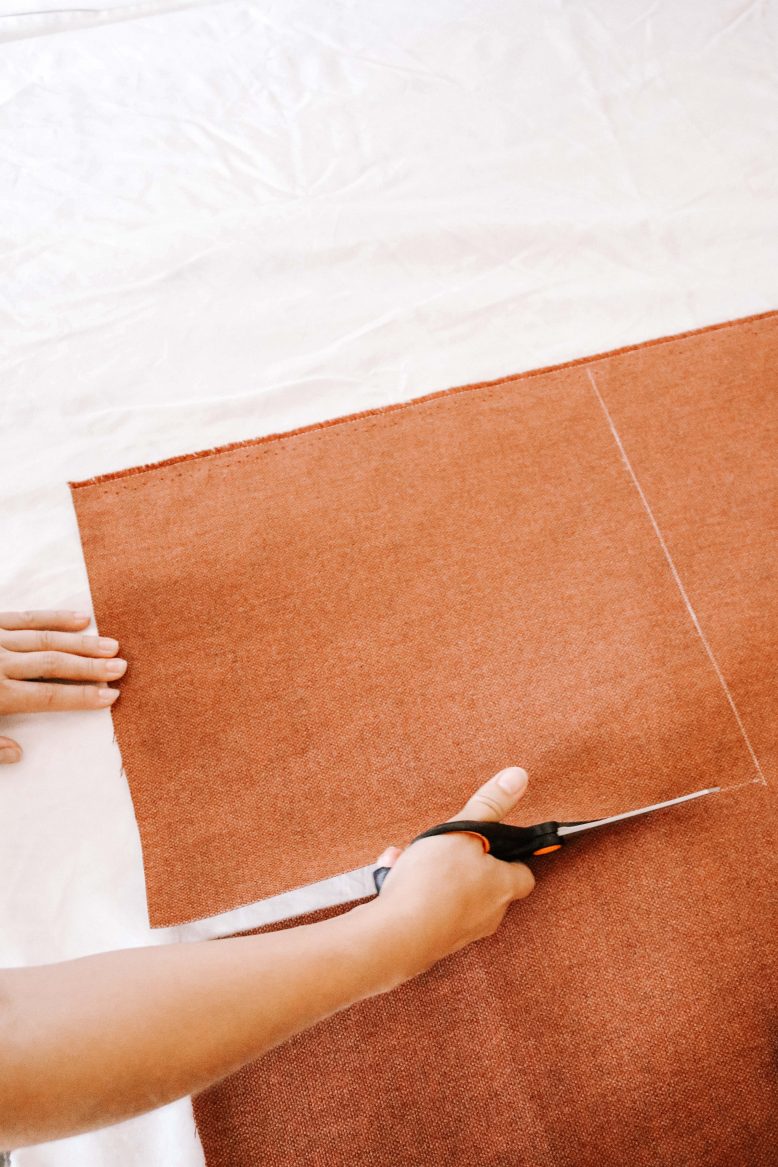
Measure and mark your pattern on the fabric with chalk or a pencil. Start with the overall size, then mark where you will have to cut in at the corners. Be sure to do this on the back side of your fabric to avoid any marks on the final product.
6
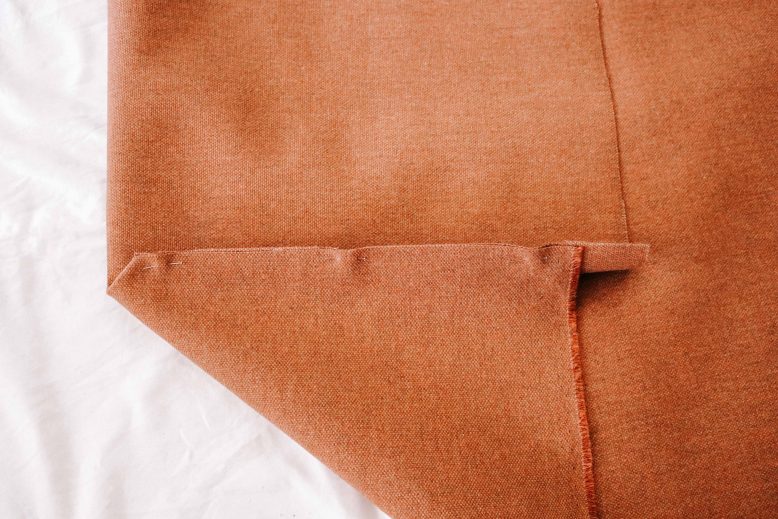
With the wrong side of your fabric still facing up, fold your corners back and pin together along the edges you cut out.
7
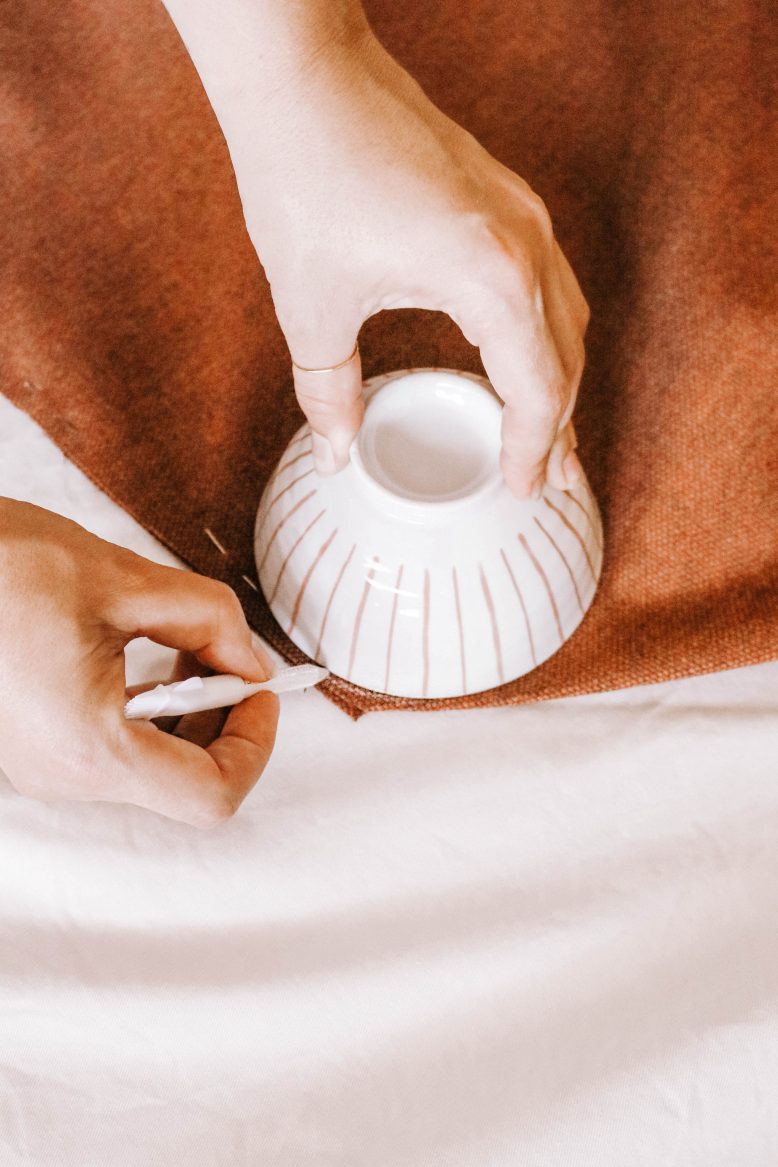
Gently take the fabric off the ottoman, being mindful of your pins. Our ottoman had quite curved corners on the top edges so to ensure the fabric sat flush over these we wanted to create a rounded dart. Use a round object (a small bowl is perfect) trace a curve to guide your seam line on the machine.
8
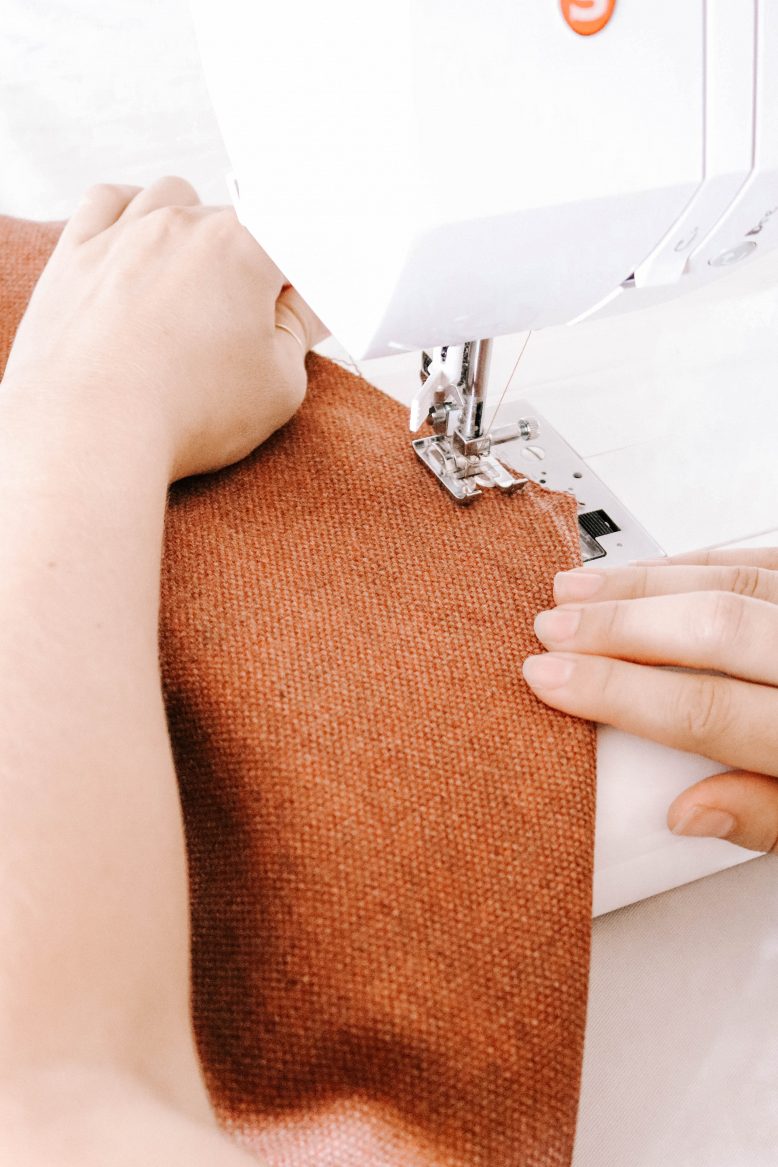
Sew along your pinned edges (1cm or ½ in seam allowance). Start at the bottom edge, then when you get to the top corners remember to follow the curved line you traced, as you get closer to the end start to taper the stitch close to the edge of the fabric (as you would a dressmakers dart).Note: if you are using a heavier upholstery fabric ensure that you are using a thicker needle on your machine.
9
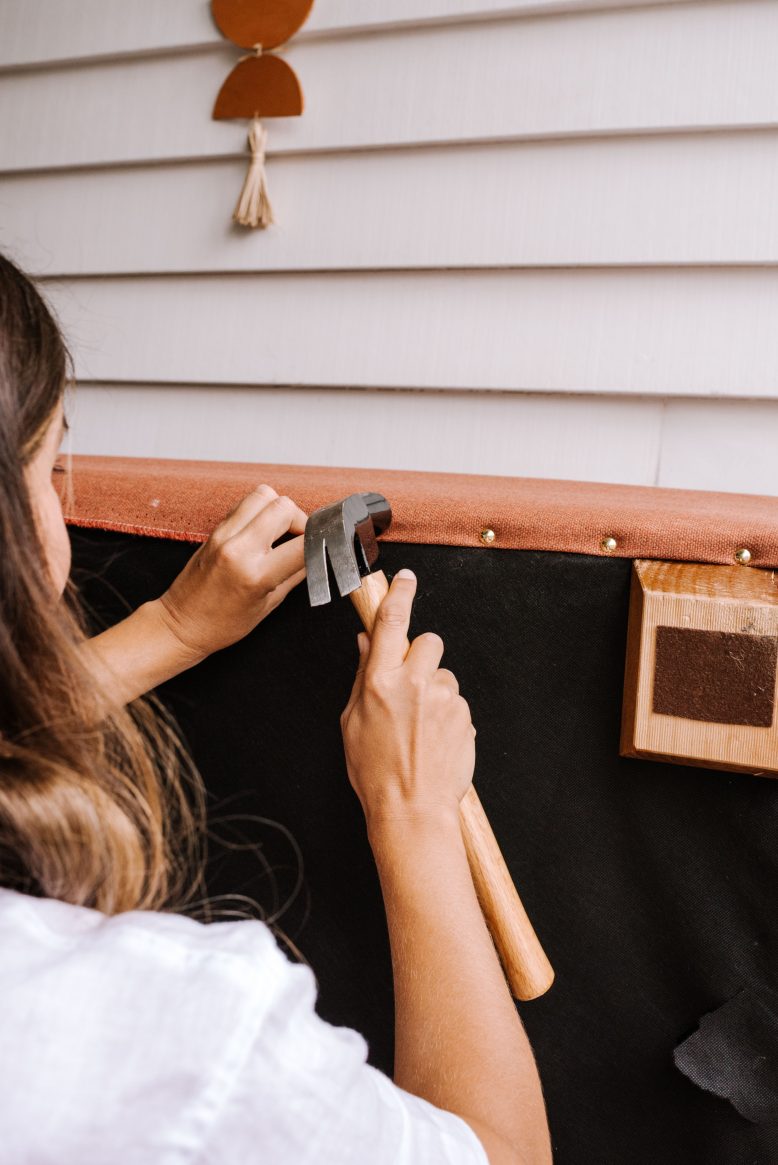
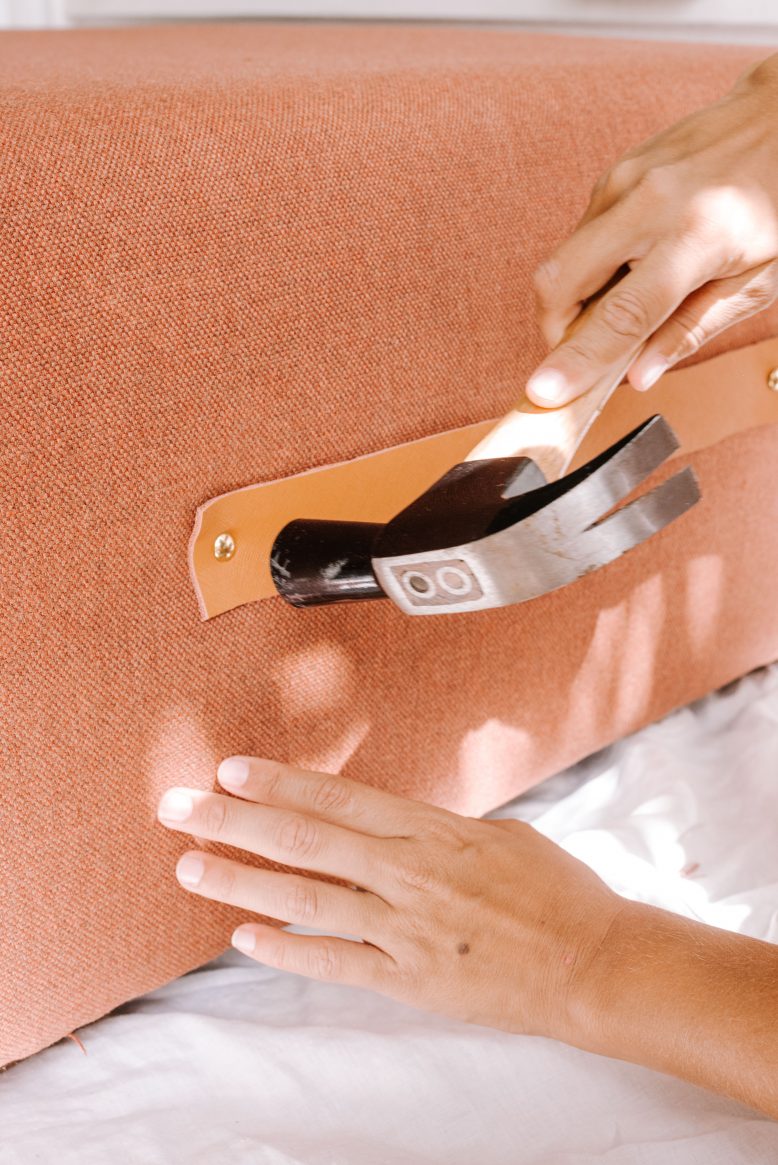
Slide the cover onto the ottoman, and then use the upholstery tacks or heavy duty staples to secure the cover in place. Cut any excess fabric from the bottom, ensuring that you leave 3 - 5 cm (2 - 3 in) overhang. Fold the edge of the fabric back 1cm (½ in) then fold again to hide the raw edges, then using (staple gun/tacks) secure the fabric to the underside of the ottoman.


