Finally wrapping up one of the longest running project of all time.
If you’ve been around here for a little while you will know all too well, that this wooden cabinet was quite the upcycling journey. It had highs, it had lows and it definitely tested my determination, and abilities! There were a few times I wanted to just give up on this little lady but I knew the end result was going to be worth it. And I have to say, It definitely is!
I wrote all about the process a little while ago here but I wanted to give you an update of how I finished it off and how it looks now that its completely done!
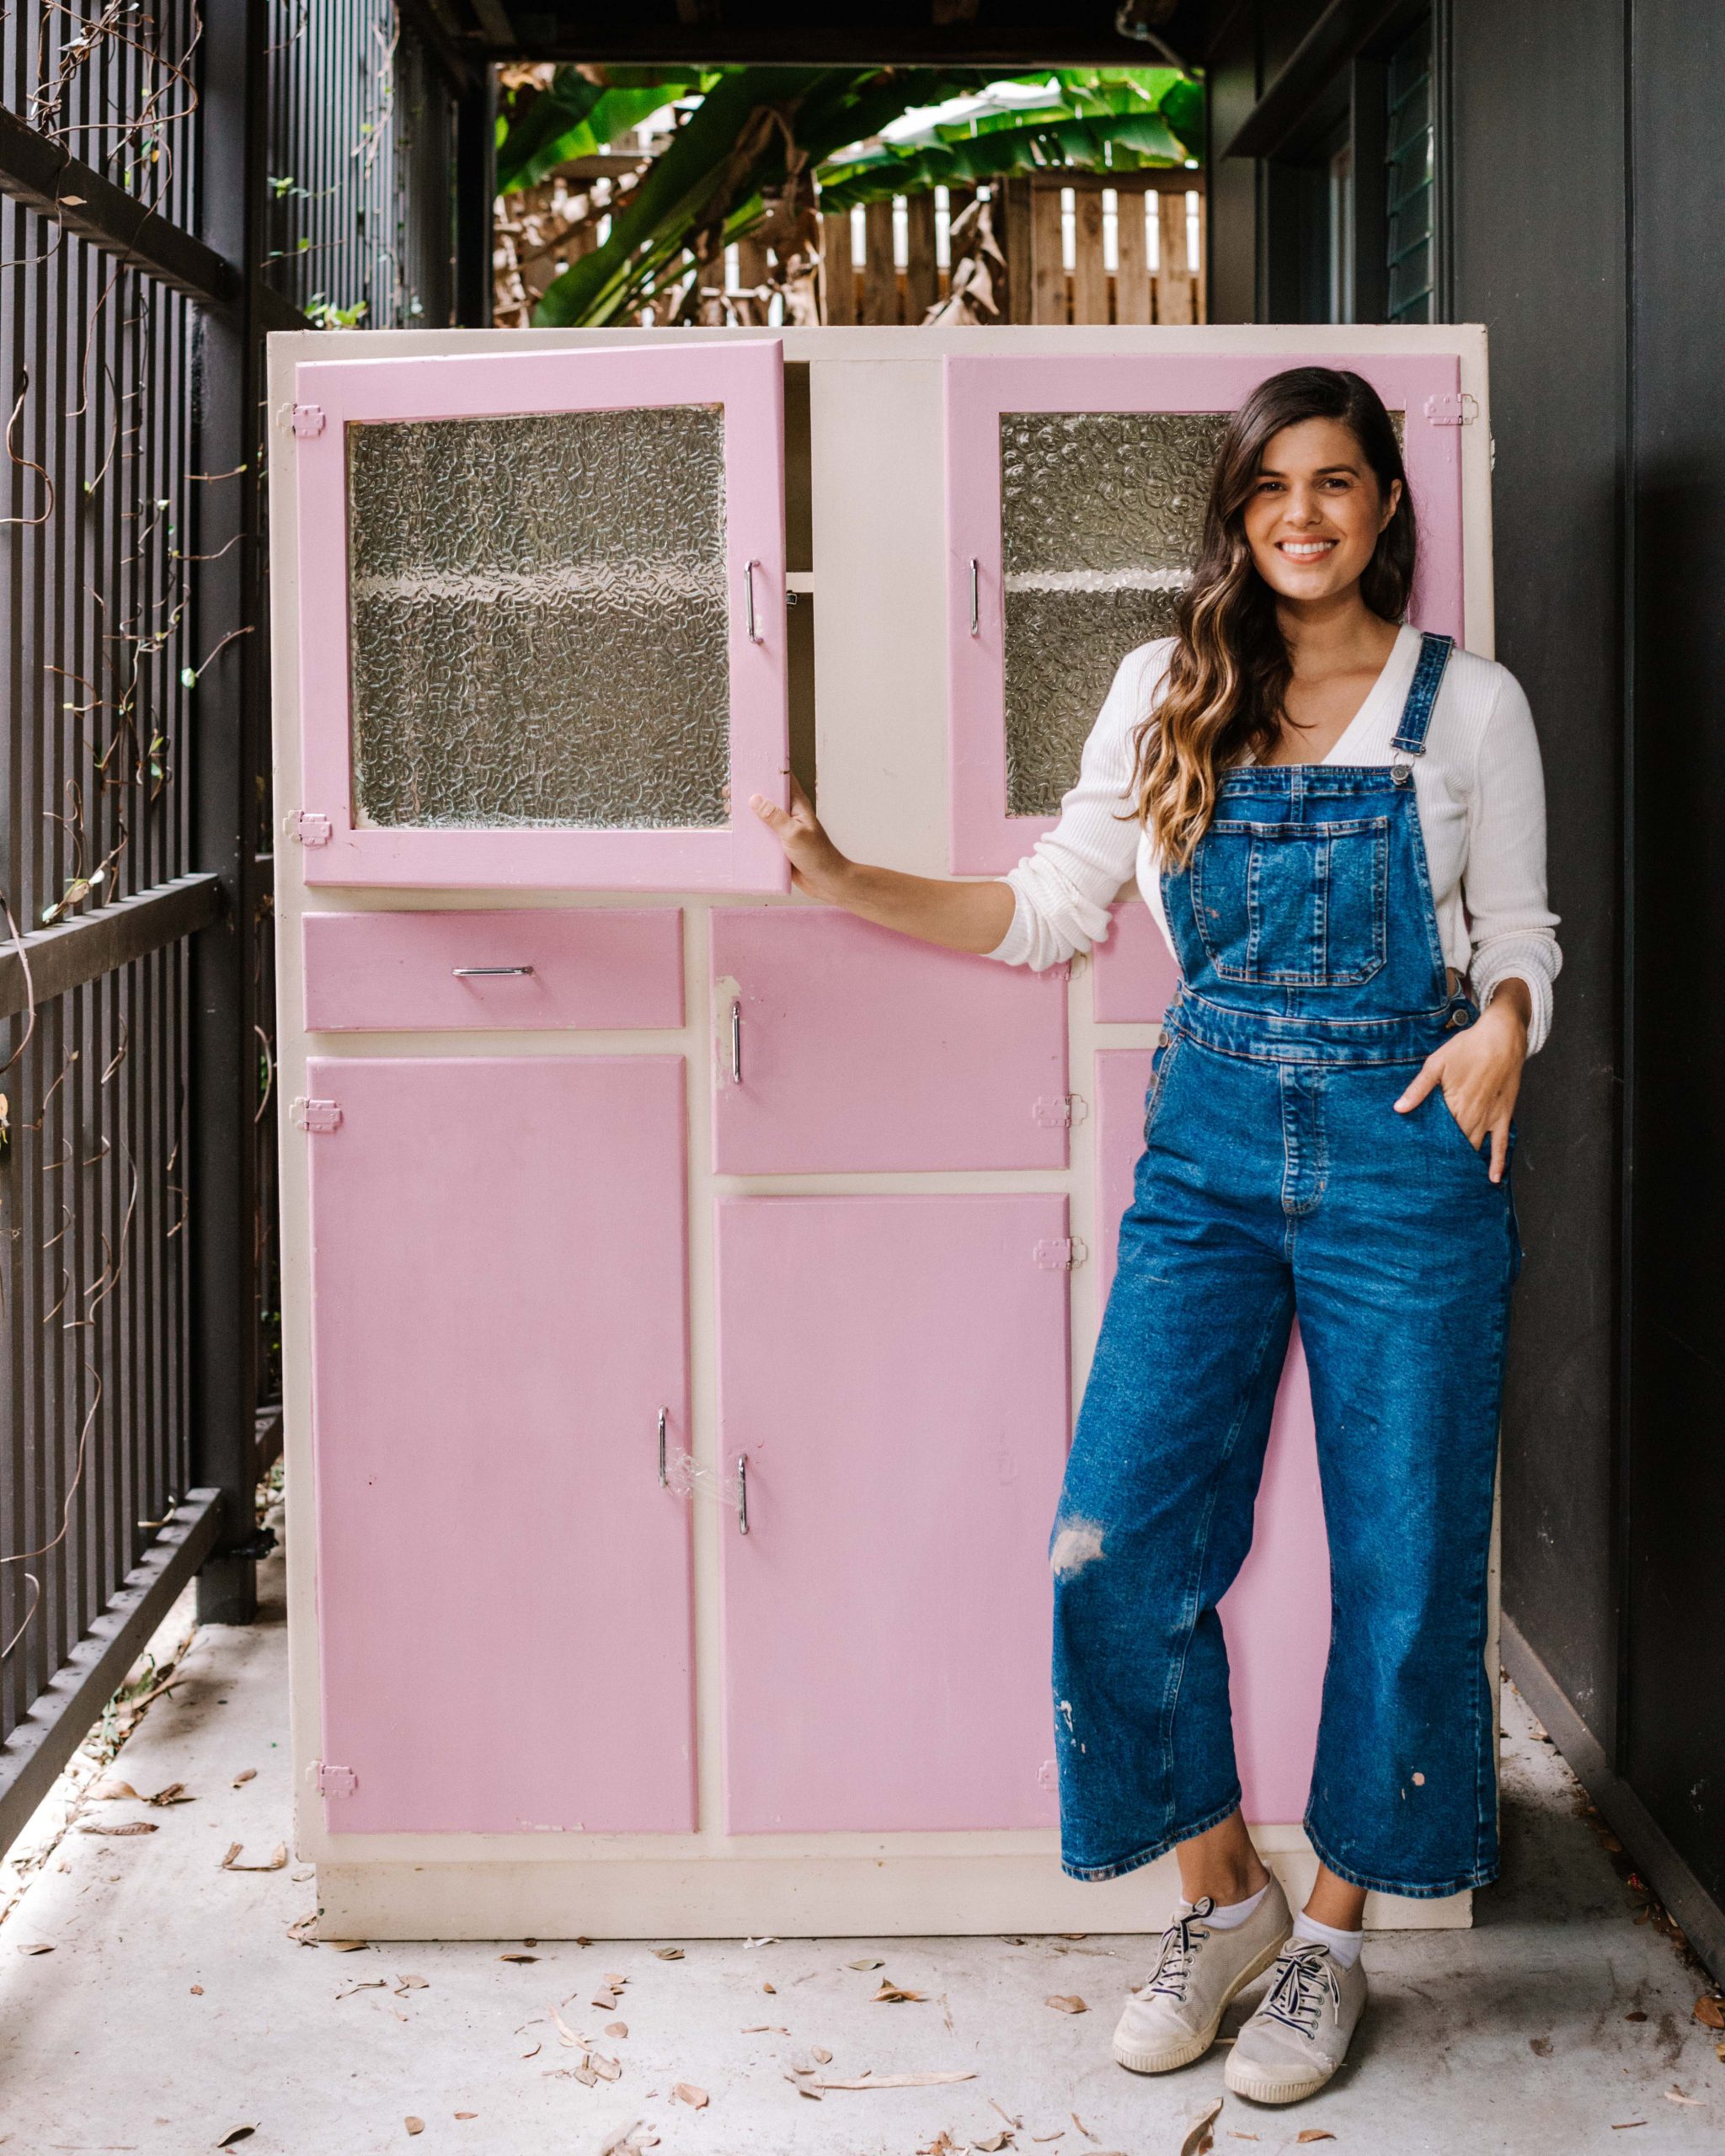
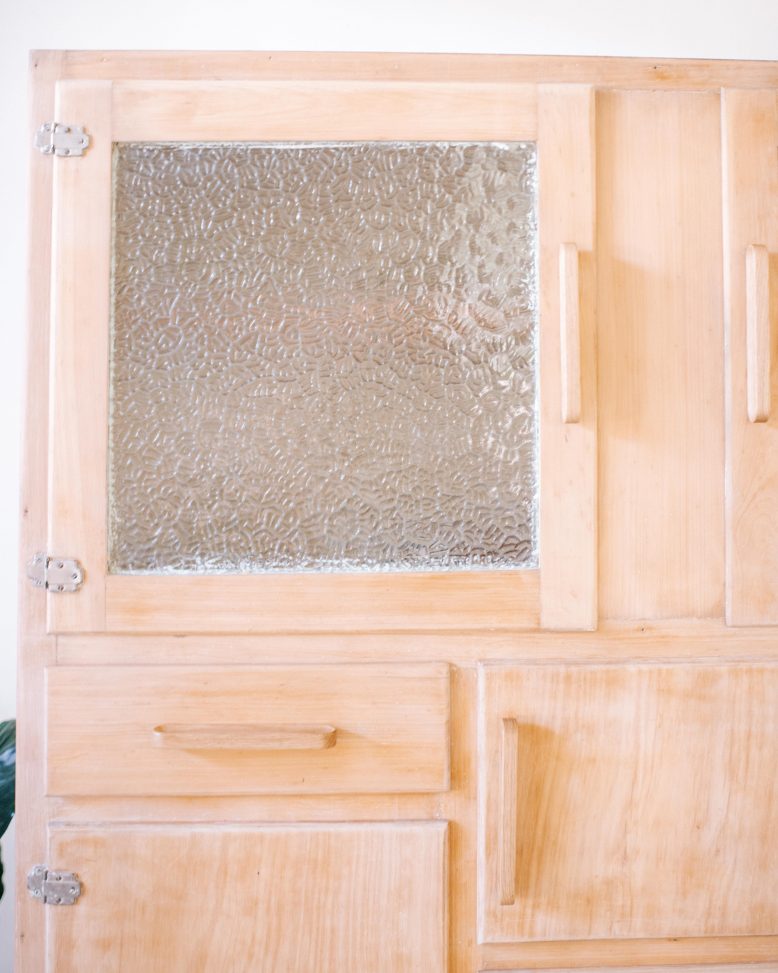
Before & After
- Before
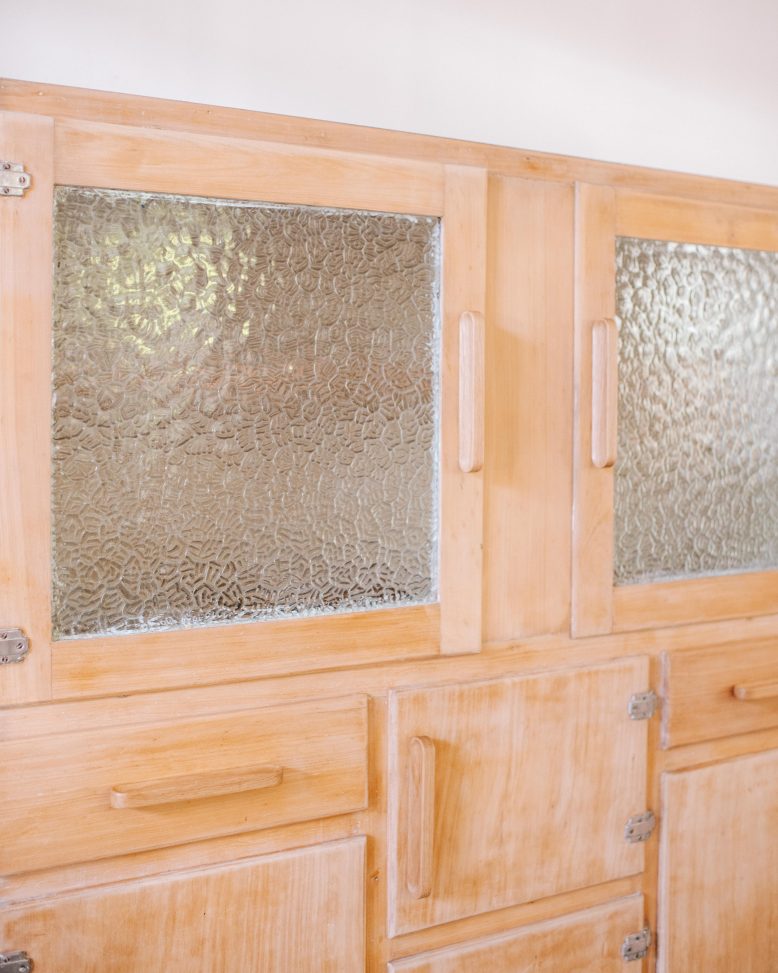
- After
Applying wax
To complete the piece and finish it the way it deserved, I thought it was important to seal the wood and protect it so I used the Feast Watson Hard Wax in Natural/Clear. It wasn’t until I applied the wax that I realised how thirsty this old wood piece really was. It happily soaked up this beautiful wax and looked much healthier after. And my favourite part about this wax is that it doesn’t change the colour of the wood at all, so you can keep that natural raw wood look without leaving it raw and unprotected.
Adding Handles
The final thing I did was to add some handles. I struggled to find the perfect handle for this piece and spent quite a while looking around. The cabinet needed something to modernise it without adding too much to the aesthetic as I loved it as it was. I decide a wood handle would fit the bill and landed on these beautiful handles from Kethy Australia. I had previous handle holes to cover that were a different spacing to modern handle sizes, so a pull handle like this works really well because it completely covers any holes underneath.
Finishing this piece really did bring me so much joy. I love quick projects that bring a bit of instant gratification but every now and then its nice to work on a bigger piece, slowly over a few months. It brings with it an added sense of appreciation of all the hard work you put in. And when the piece is this pretty its even better!


