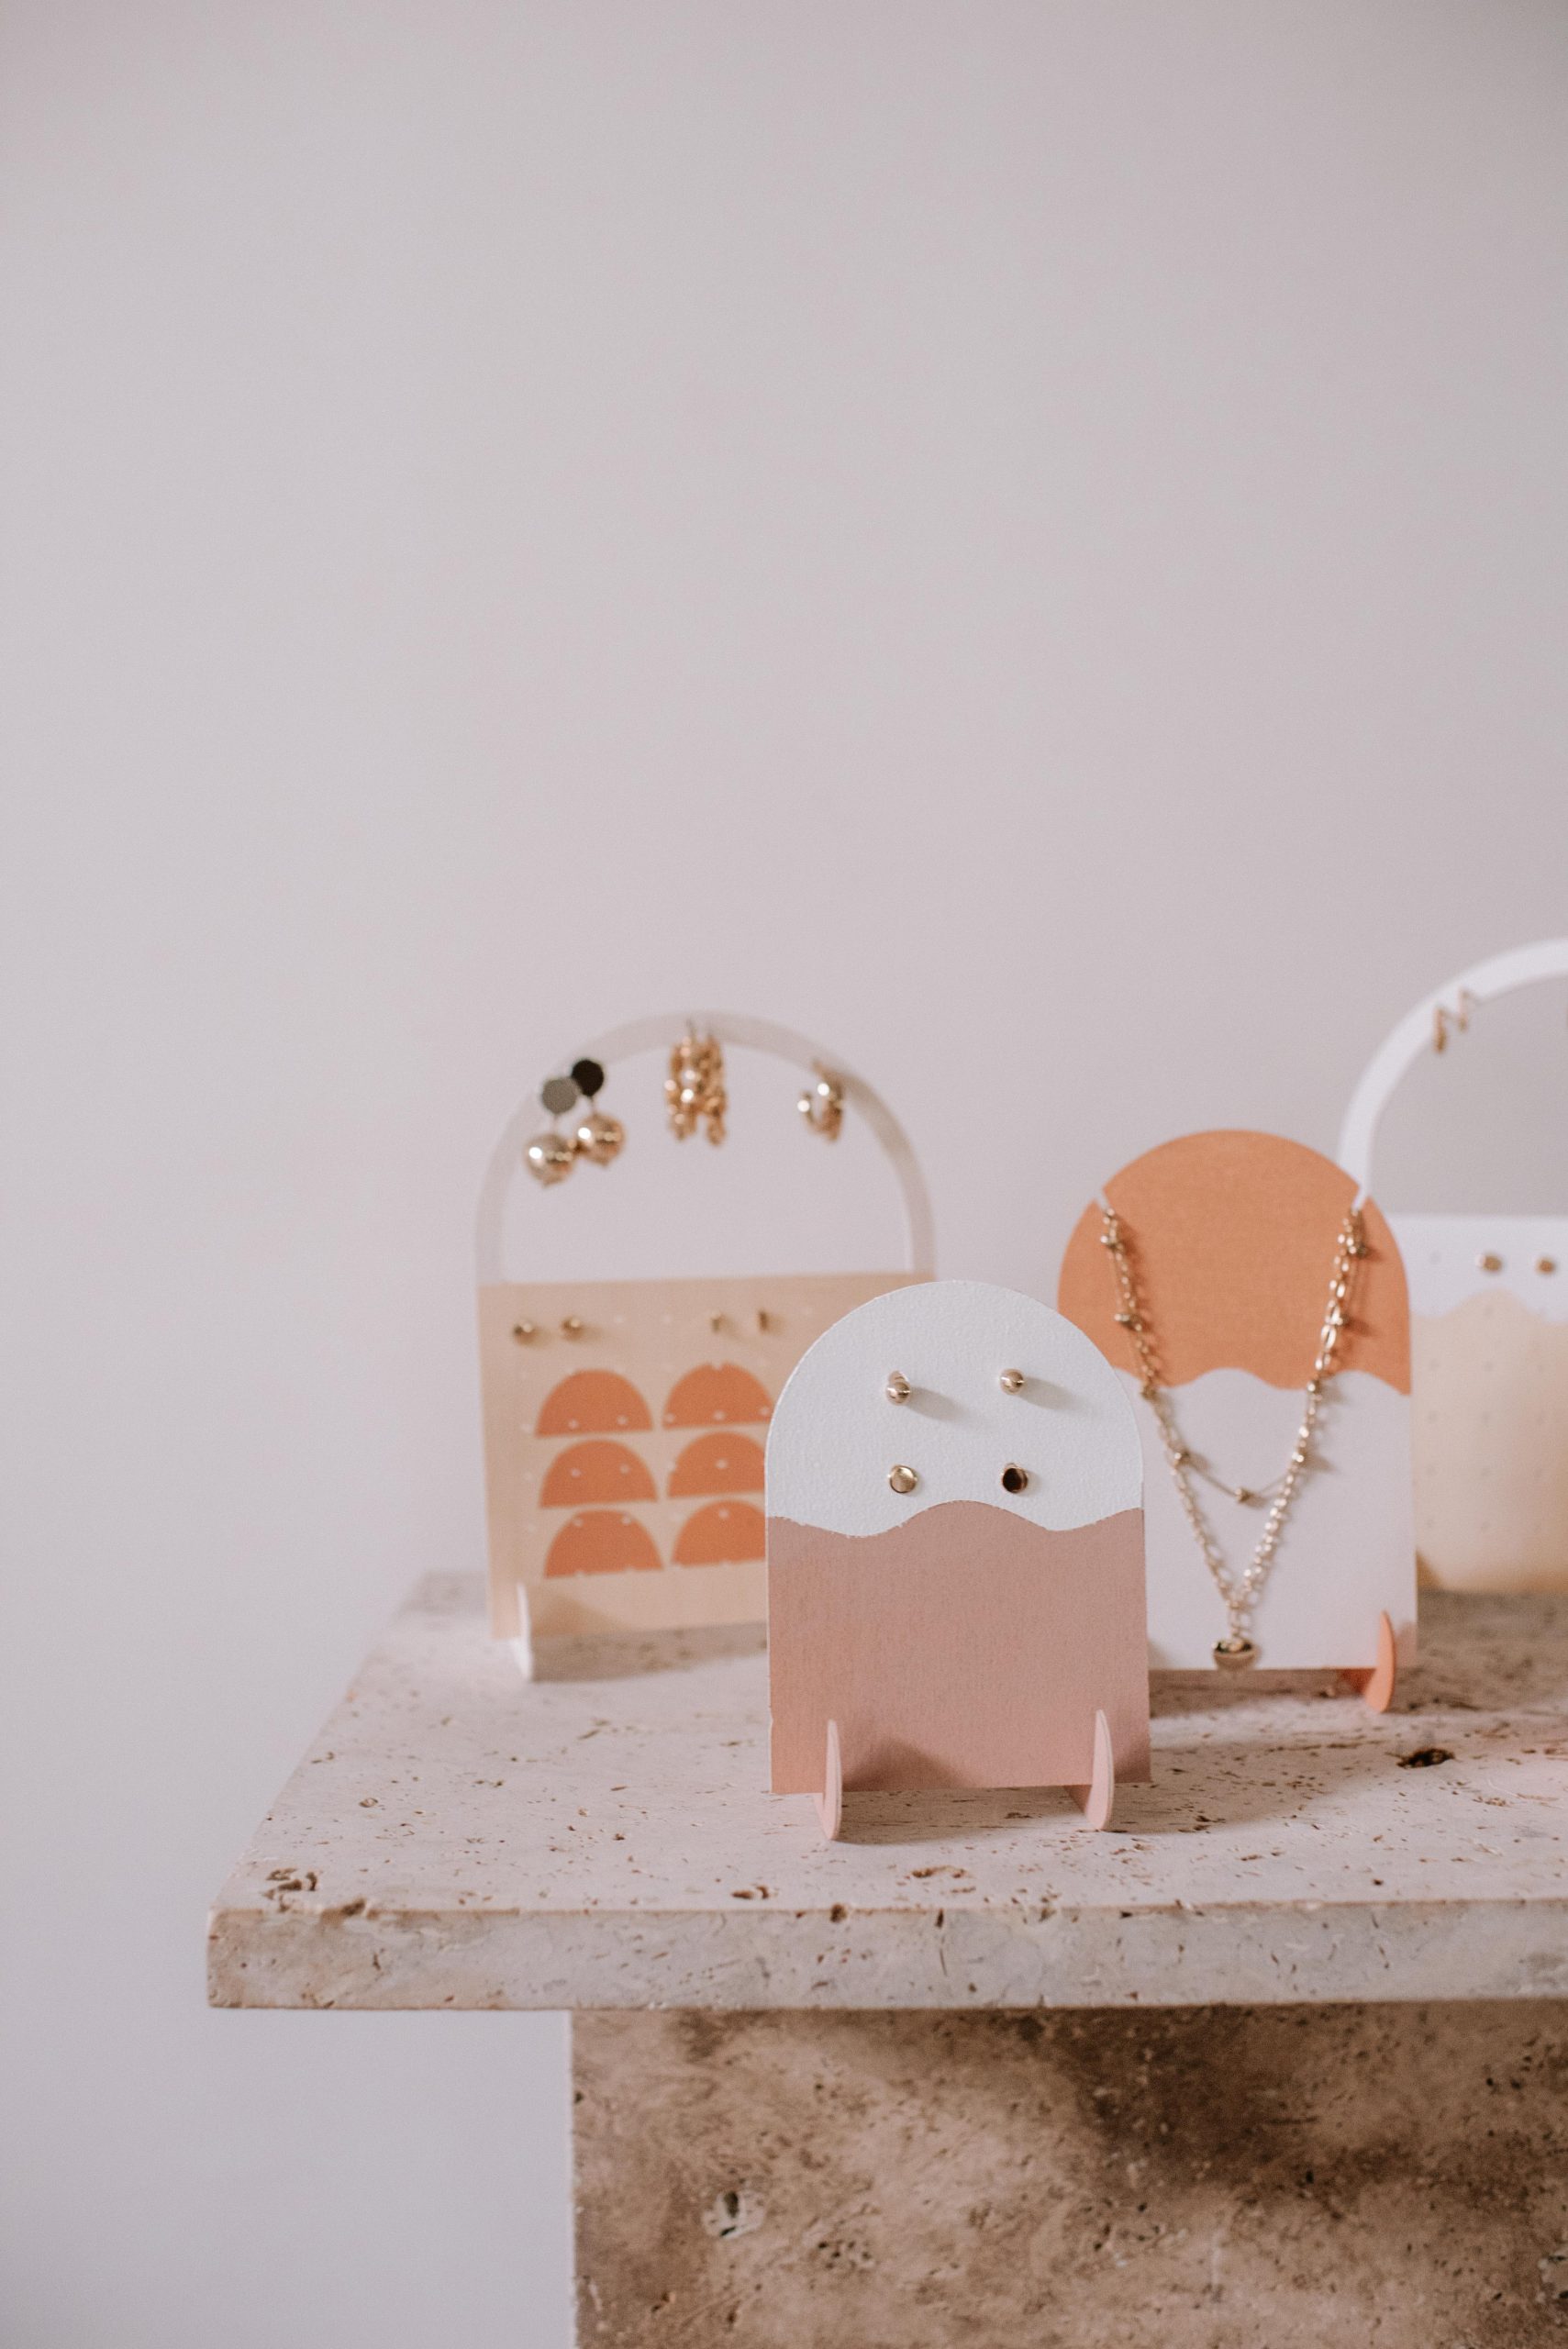
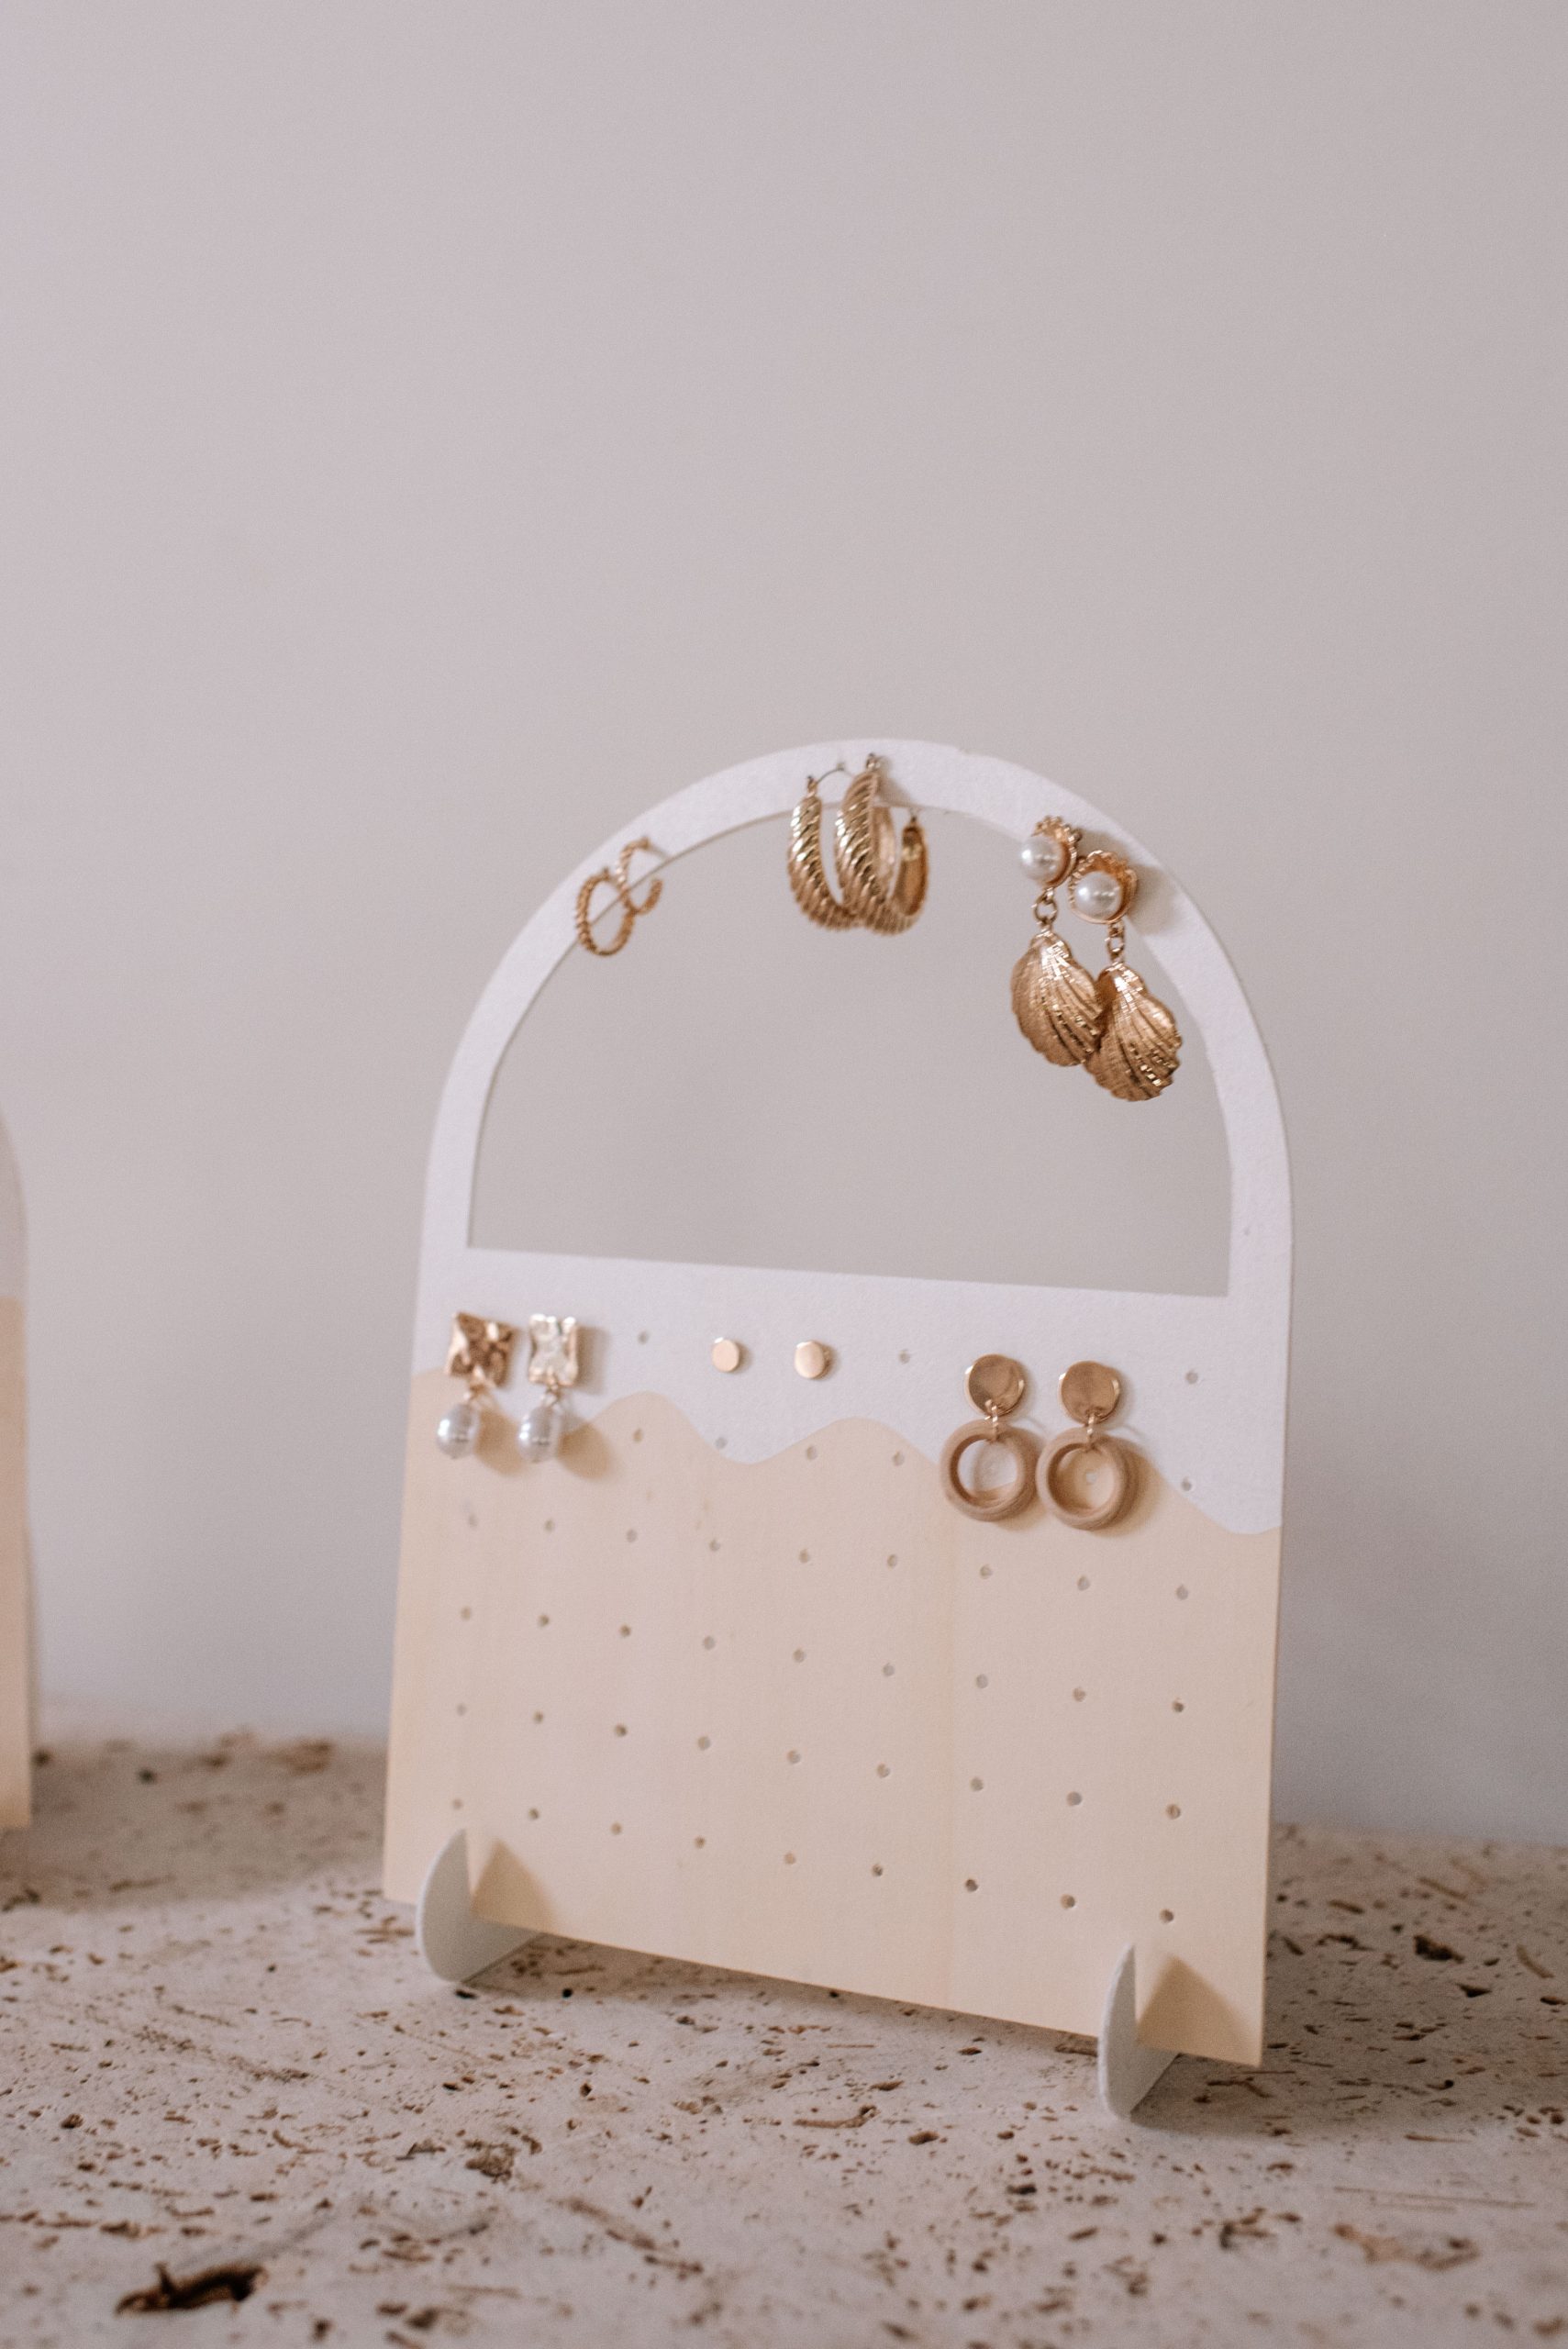
Using the Cricut to make home projects is one of my all time favourite things, so when I realised I could make a jewellery holder using just one material, and of course my Cricut, I was so excited to get started!
This is a project that I recently shared at a Cricut workshop in Sydney celebrating Mother’s Day, and I couldn’t wait to share it with you guys too. As you will know, I love using my Cricut to cut thin wood and I’m always amazed at the precise cutting and professional finish it provides. Every time I pop something out after it’s been cut my jaw literally drops.
I don’t know about you but, I always end up with a jumble of jewellery mixed up together because I haven’t stored it properly. So I decided it was time to make a new jewellery stand. Something that would be both functional and aesthetic. I used the Cricut to make some sweet little houses at Christmas *insert link* and since then I’ve been wanting to try a different design. A jewellery holder is the perfect thing to make from thin wood so I immediately started planning. Here’s how I made it.
Watch The Video
Materials You Need
- Cricut Maker 3 Machine
- Basswood sheets (these are from Spotlight)
- Cricut Stencil material or vinyl
- Glue gun
- Paint and paintbrush
- Tape
Creating a Design in Design Space
To begin, I created my design in Design Space by simply using the shape tool to create the design. I used an arch shape to create my main piece and then lined up small dots inside to create my earring holes. You can do as many or as few as you like depending on the design you want to create. For the stands, I overlaid a quarter circle and a half circle over the top of each other and then ‘welded’ them together to create the right shape.
Once I was ready to cut the design, I selected ‘Make It’ on the machine. You will need to select the correct material type and ensure the thickness is correct. For this one I used the chipboard 2mm material, as I have found it works the best for this specific type of material.
Get the design here: Simple Jewellery Holder, Large Jewellery Holder
Cutting The Wood
Before you begin cutting, insert the knife blade into the machine, and then calibrate it in the Design Space settings. Ensure that the material you use is only 27.5cm wide and align it with the top left corner of the adhesive area on the machine mat to prevent it from passing under the star wheels. If your wood is going under the wheels, then trim it down before you begin.
Tape the wood down to the mat (I used my purple strong grip mat) on all four sides to prevent slippage while cutting. Insert the wood into the machine and follow the prompts in Design Space.
The Cricut machine creates such a professional finish by making several cuts or passes, rather than cutting the design in one go. It’s amazing to watch! Once the design has been cut, the machine will stop and give you a chance to check that it has cut all the way through. If not, you can follow the prompts for the machine to make a few more passes.
Finishing The Design
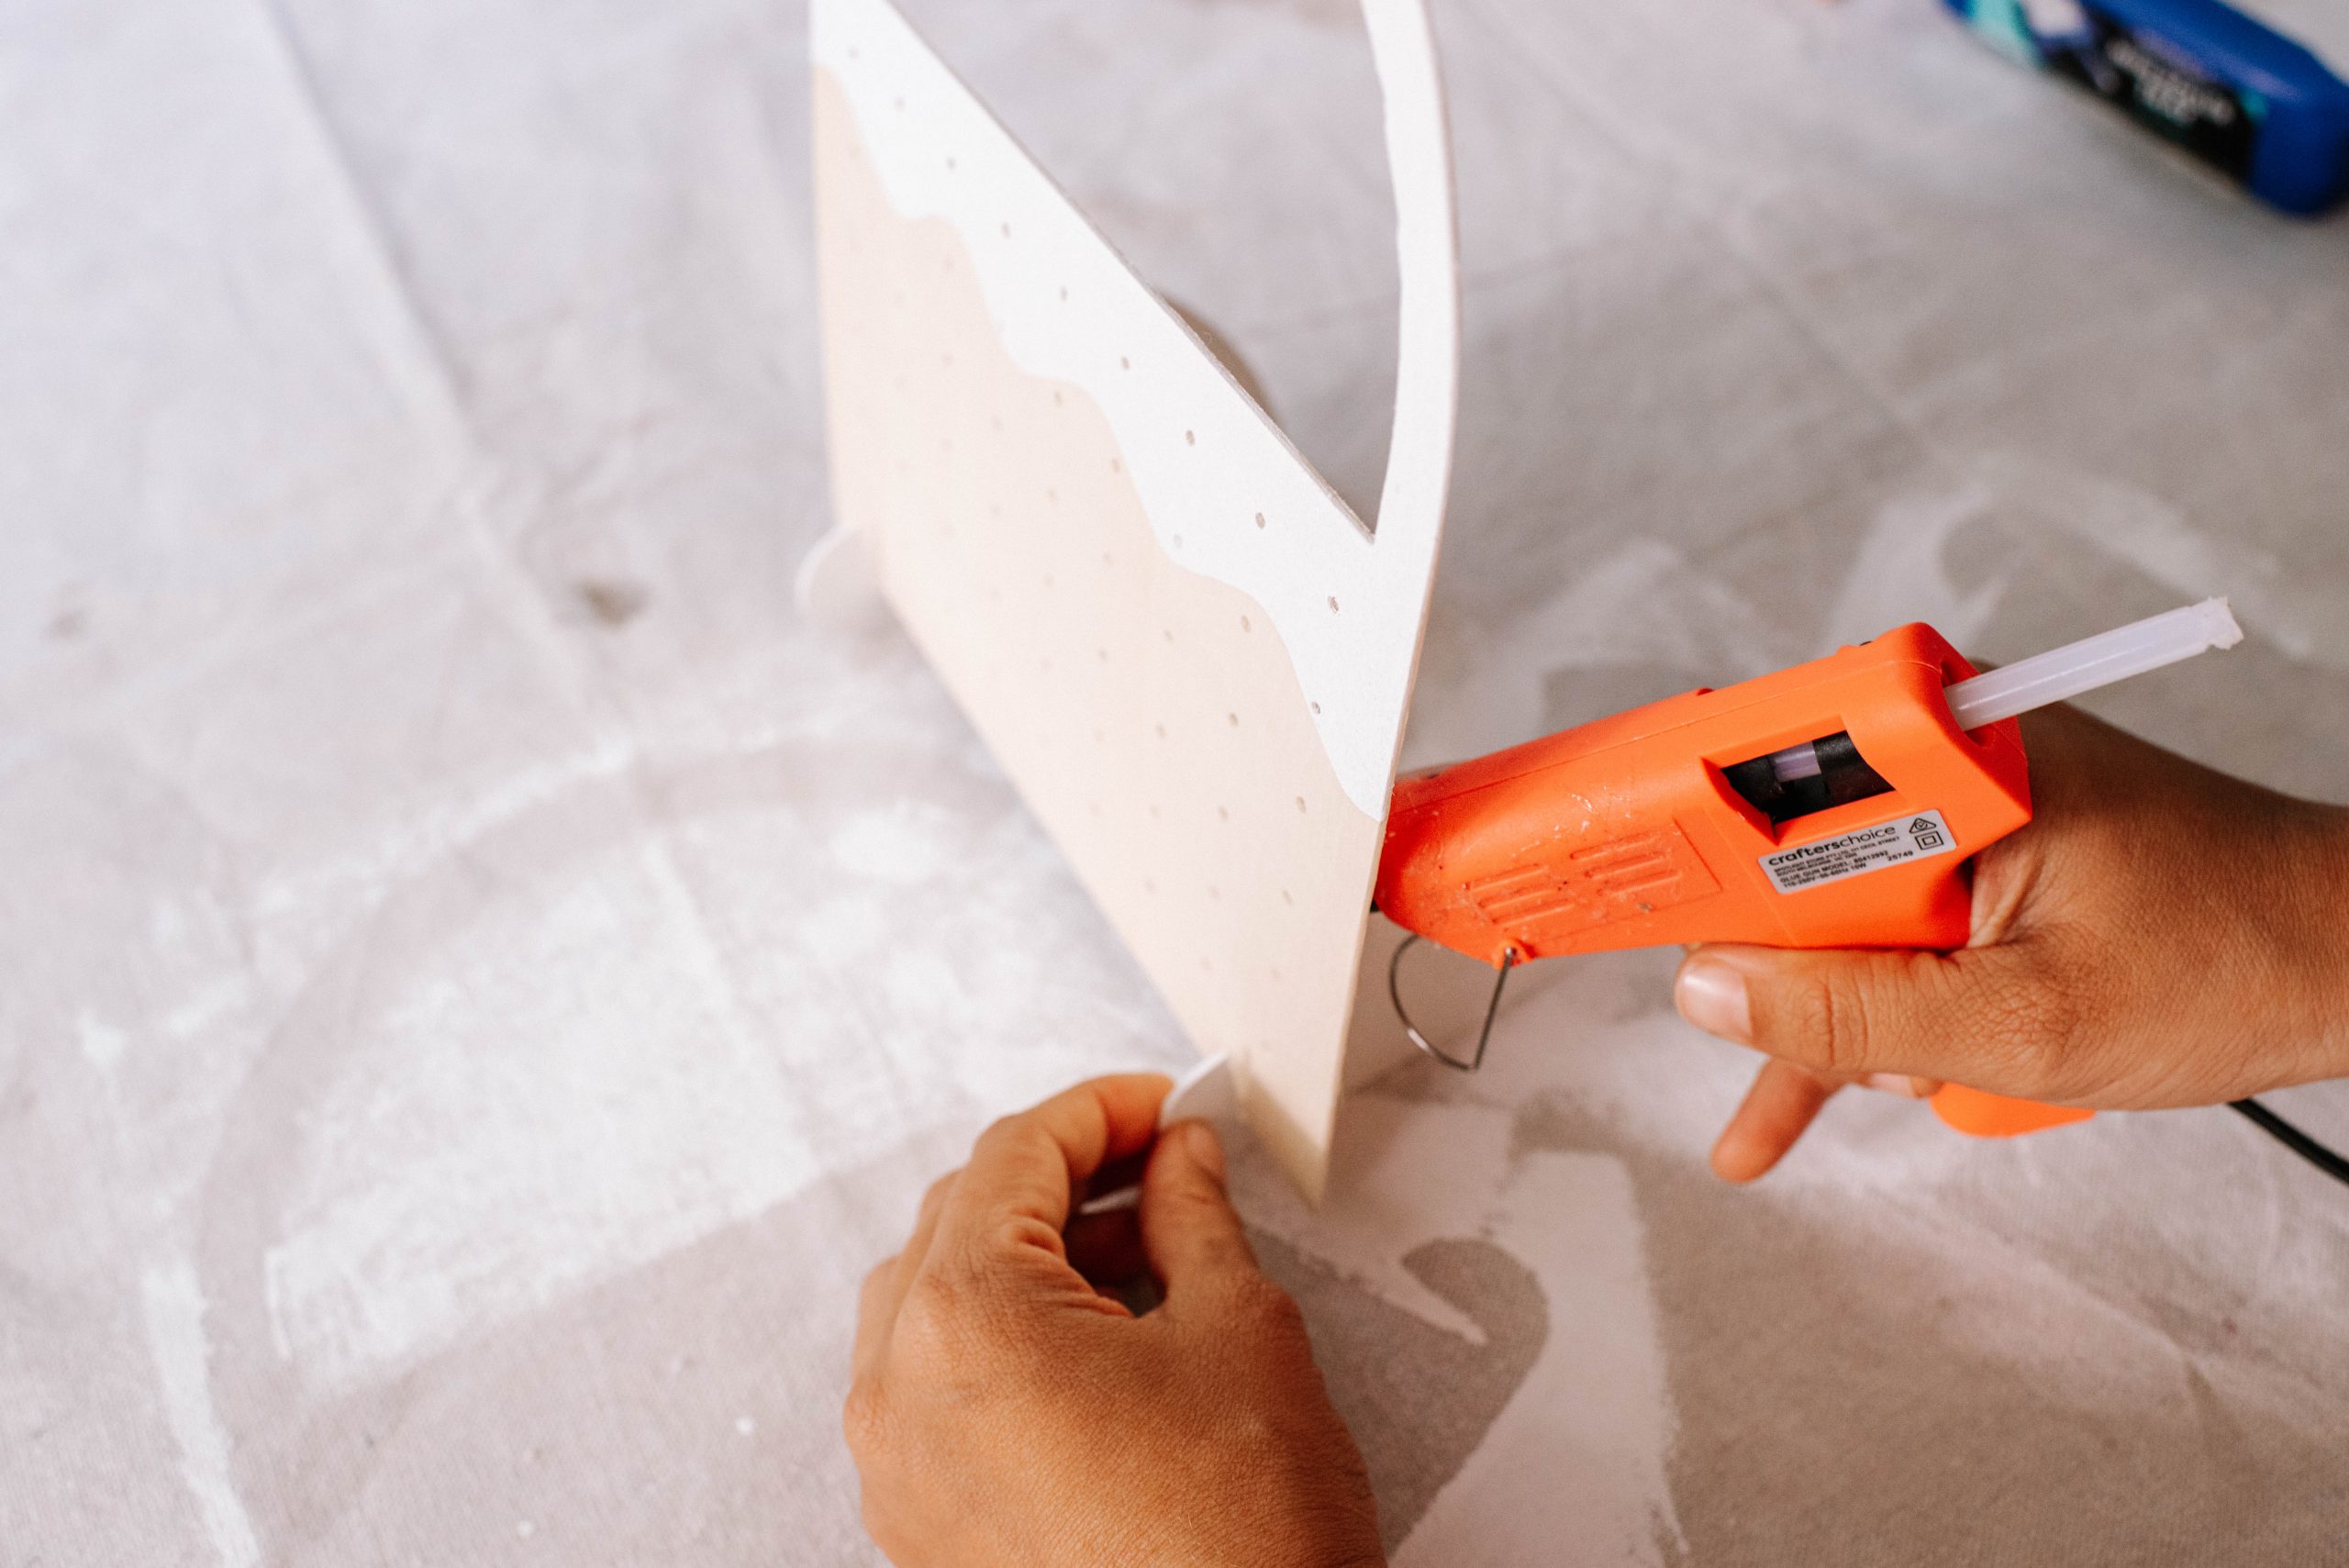
Once the design had been cut out, all you will need to do is pop the wood out (always the most fun part!), and put the design together. I used stencil material to cut a wave which I stuck on to the front and painted over. When I removed the stencil material, the painted wave design was left behind. I also put a dab of hot glue on the back of the stands just to make sure they weren’t going to move at all.
It’s as easy as that! The thing I love the most about the Cricut is, it literally does the hard for you. I love projects that I can set up, press ‘make it’ and then walk away for a cup of tea while the Cricut does it all. So satisfying.
Voila!
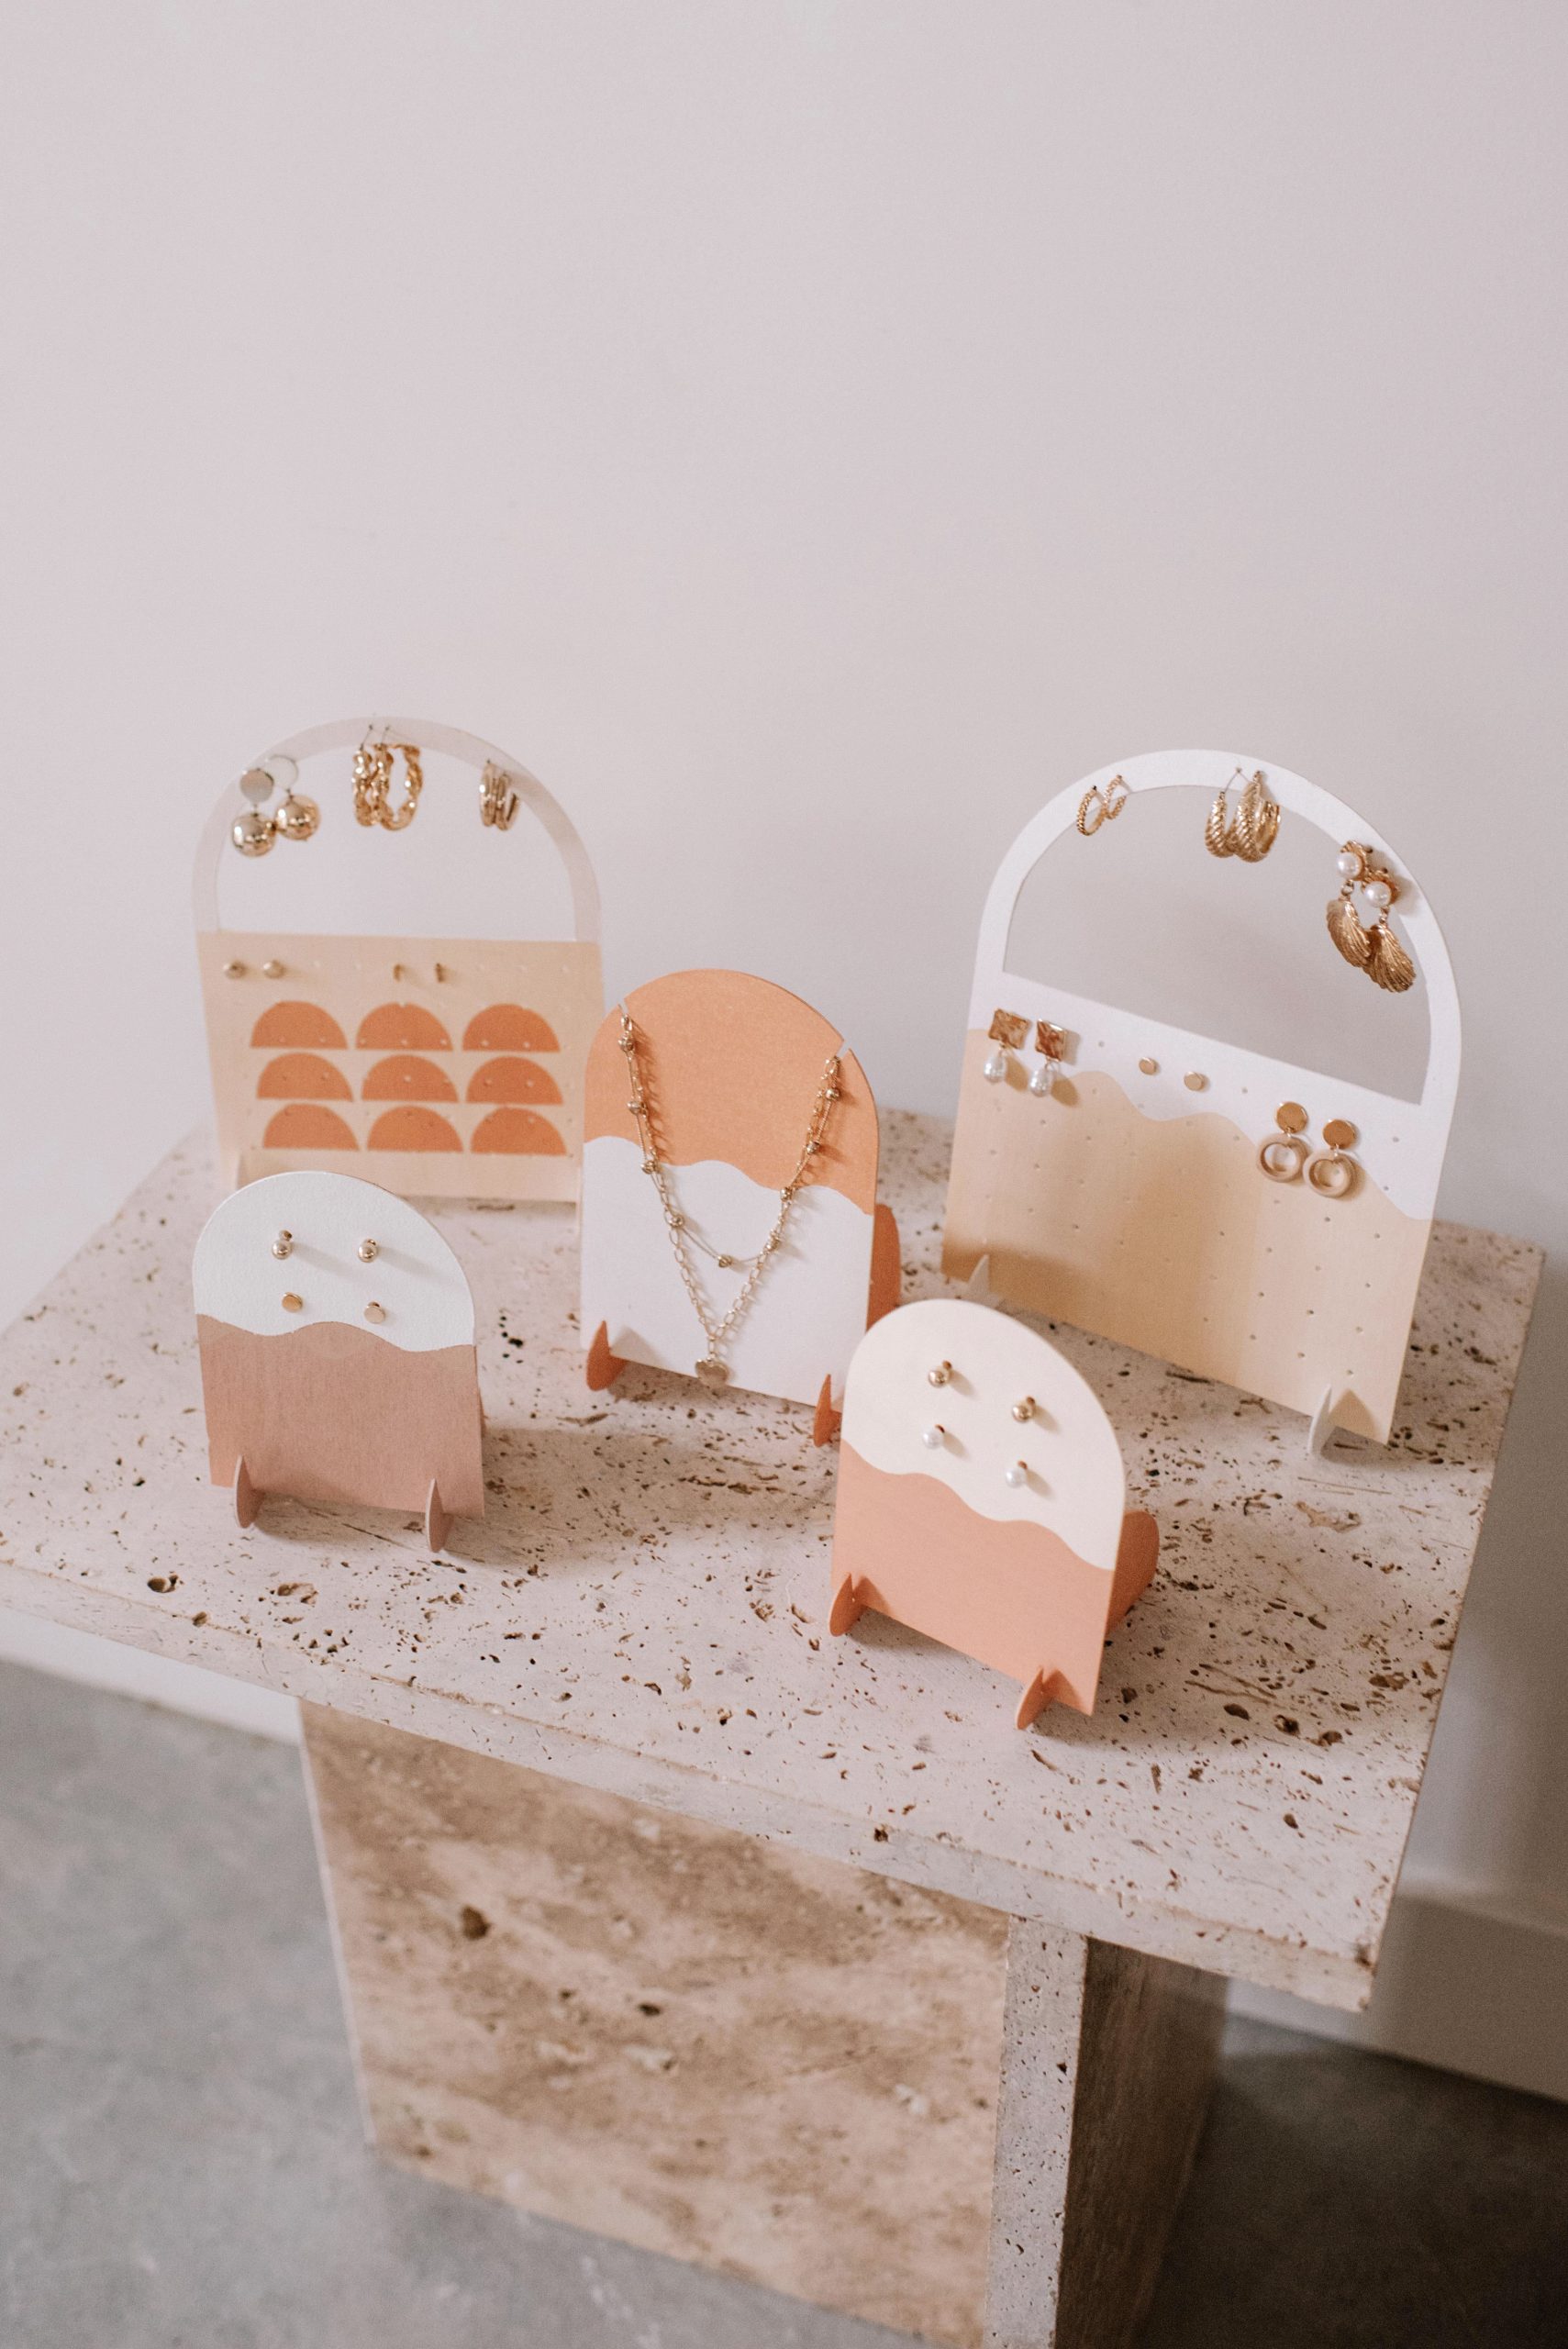
As, you can see, I got so excited and made a few different designs (who wants a jewellery holder for their birthday?!) and as with any Cricut project, you can use whatever shapes, colours and aesthetics suit you. Everything is always custom.
This post is in collaboration with Cricut
