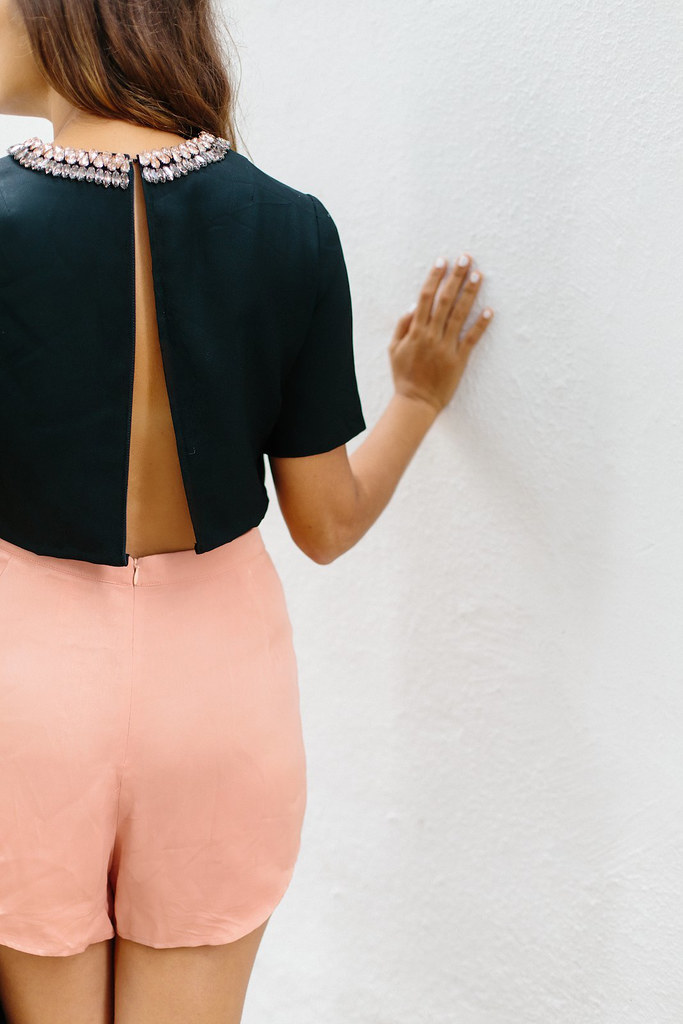
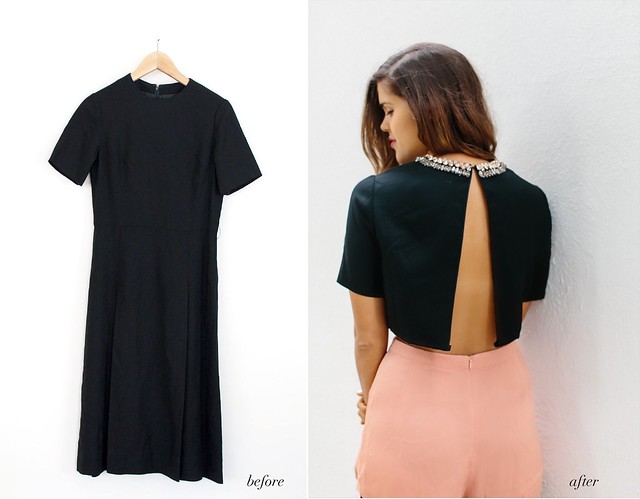
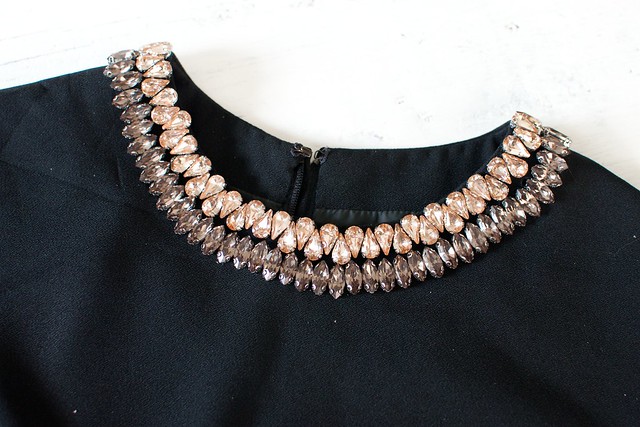
You may remember a while ago I turned the bottom of a plain dress into a shift style, complete with straps made from the fabric belt of the dress. The top section of the dress sat gathering dust for a while, mainly because in creating the skirt I cut the zip part off the top, making it hard to close it without adding a new zip or buttons. Argh who has time for that?! After I while I came to the conclusion that instead of adding a zip, it would actually work to just leave it open, securing it at the top with the hook and eye that was already there. Because the store has just received a new set of beautiful rhinestones, we decided to add a few amber and grey jewels around the neckline to give it more of a decorative edge.
The Backless Crop Top
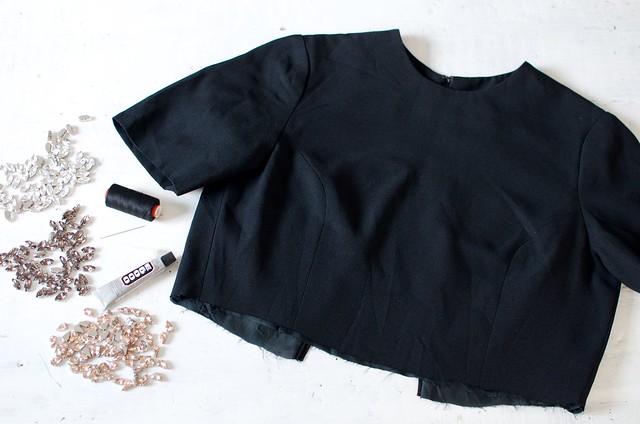
You need:
- a crop top or cut off dress top.
- assortment of rhinestones
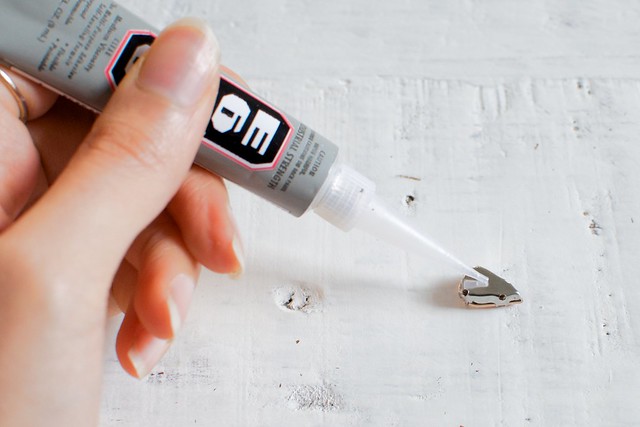
- E6000 Glue
- Needle and Thread
- Pins
How to:
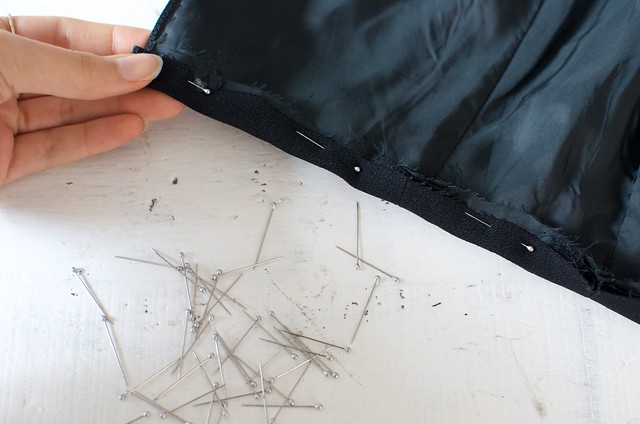
1. Pin your hem on your reversed side and the hand or machine stitch it.
2. Apply glue to the back of your rhinestone
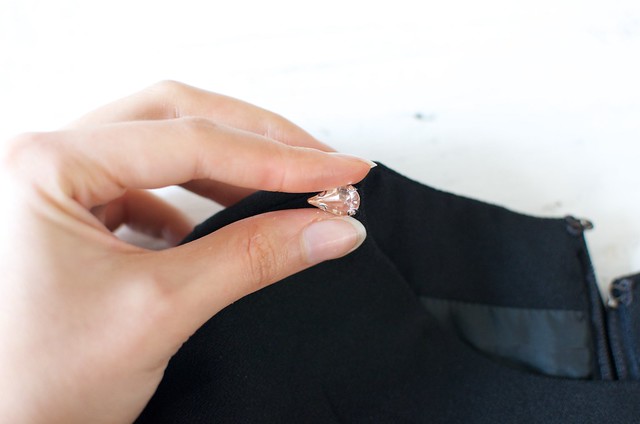
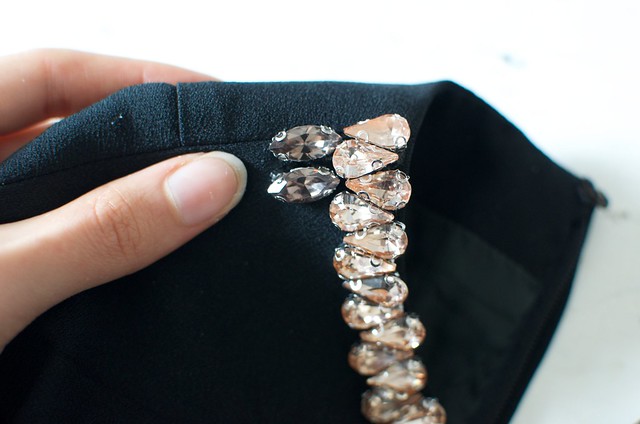
4. Start at your shoulder seam and stick your first rhinestone along the neckline
5. Continue applying rhinestones to complete a row along the neckline. Once you have done your second row, add another ow of stones.
6. Continue creating a new row of rhinestones and then allow to dry overnight. Voila!
Photos by Nicola Lemmon


