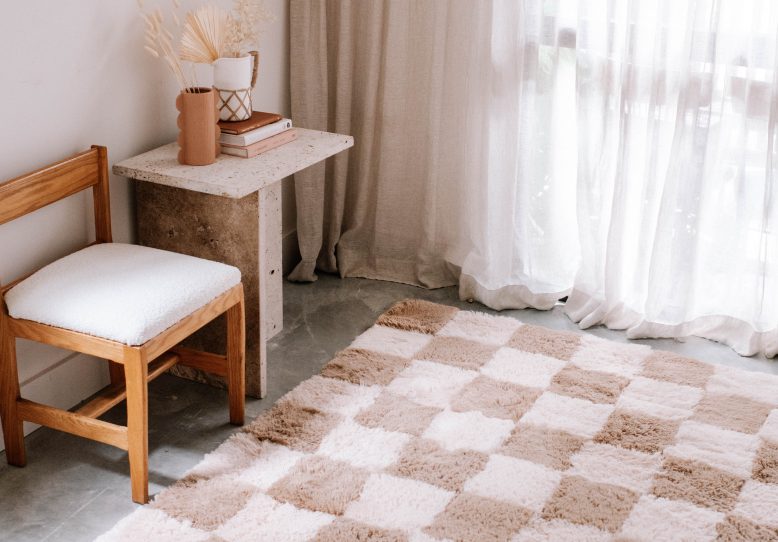
Turns out the way to make a rug is to cut up a rug! Ok so, that might initially no sense, but let me explain and show you how to make a patterned rug, in any design you like.
I’ve been so inspired by geometric shapes lately and have been wanting to try something unique and fun using a rug of some sort. I stumbled across a tweet about a girl who cut up two rugs and joined them together to create a different design using duct tape. I was so keen to try something similar but of course, put my own spin on it.
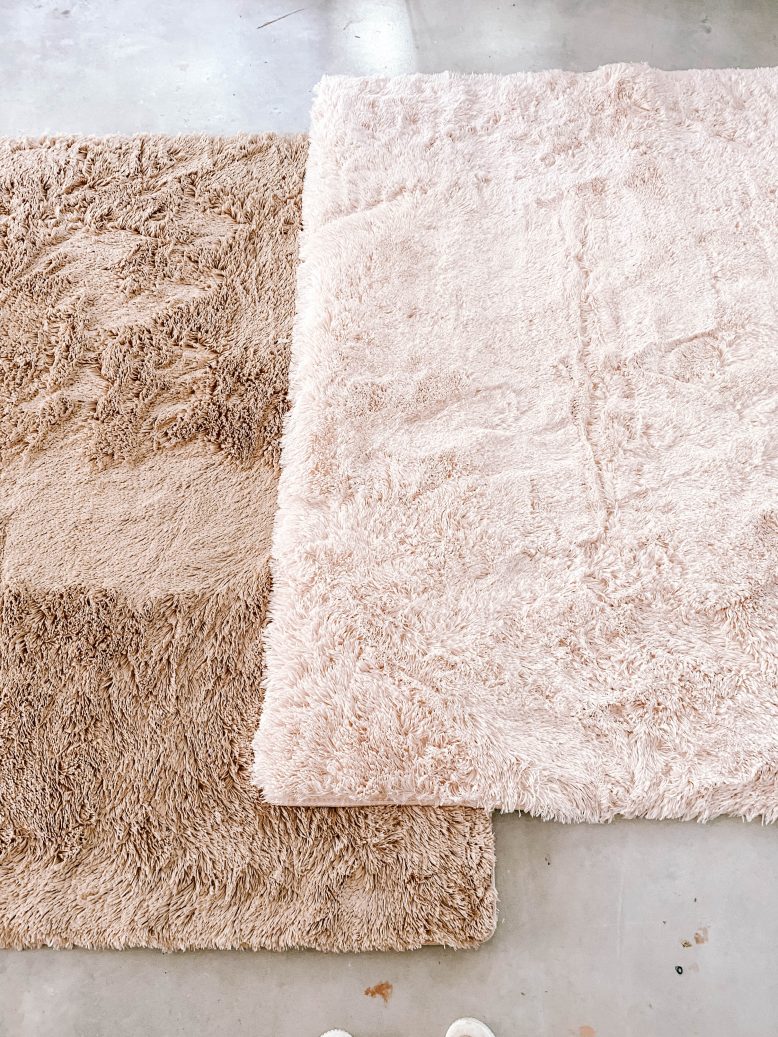
As soon as I have an idea in my head, I’m always getting inspired (or is it distracted lol) with different ways of doing it and different materials I might be able to use. I was strolling the aisles of Bunnings as I regularly do and walked past a pile of shag rugs for $50. Immediately my mind started racing with ideas and designs. These rugs were everything I had been looking for; great price, cute colours and they were sooo soft. I filled my trolley and ran for the check-out. Now to decide on a design. Checkered? Circles? … Or both? Read on to see how to make a patterned rug.
Ok so all of that excitement aside… this rug project needed some actual planning and brainstorming on techniques. I wanted to create something cute, of course, but I also wanted to make something that would stick properly and not fall apart.. So here we are, let me talk you through my three approaches to making a patterned rug that I tried and tested. The best thing about this method is that you can either make a huge rug, or you end up with two patterned rugs, nothing is wasted.
Three Approaches to Make A Patterned Rug
Option 1: Duct tape (as per the original inspiration)
Materials you need
- 2 Orville Shag Pile Rugs (one cream, one beige)
- Scissors
- Tapemeasure and marker
- Duct tape
- Non Slip Matting
- Spray Adhesive
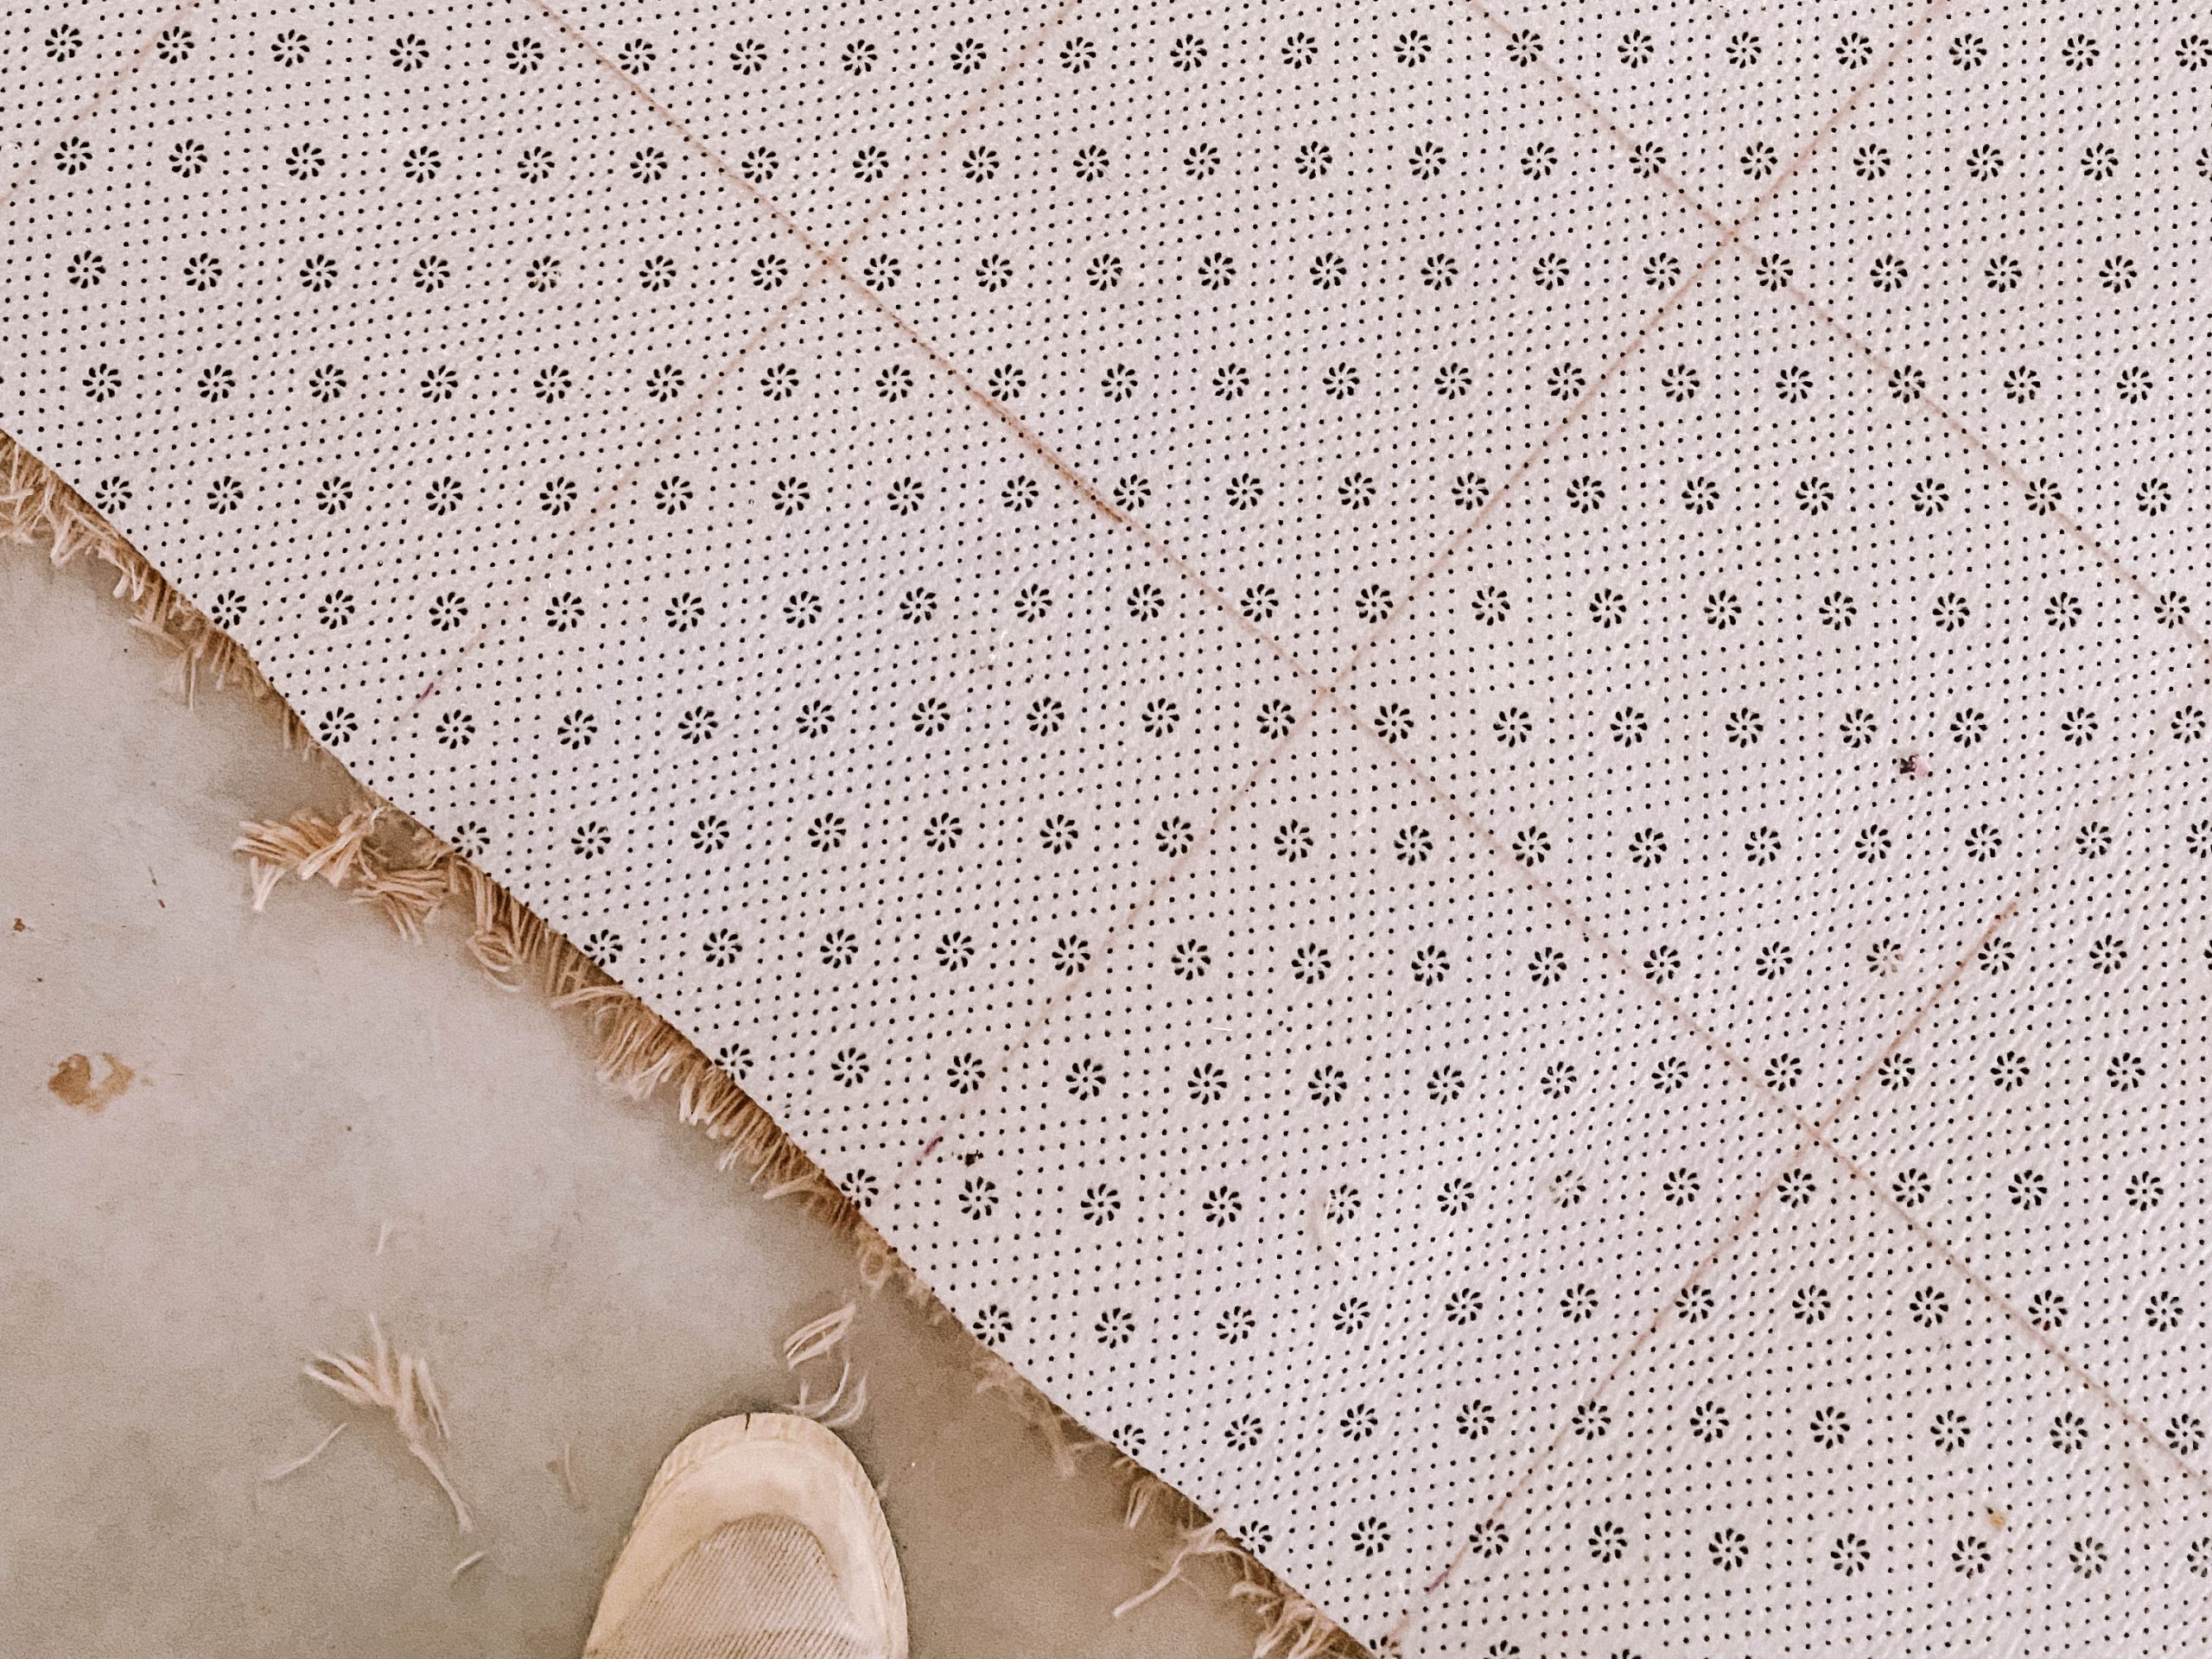
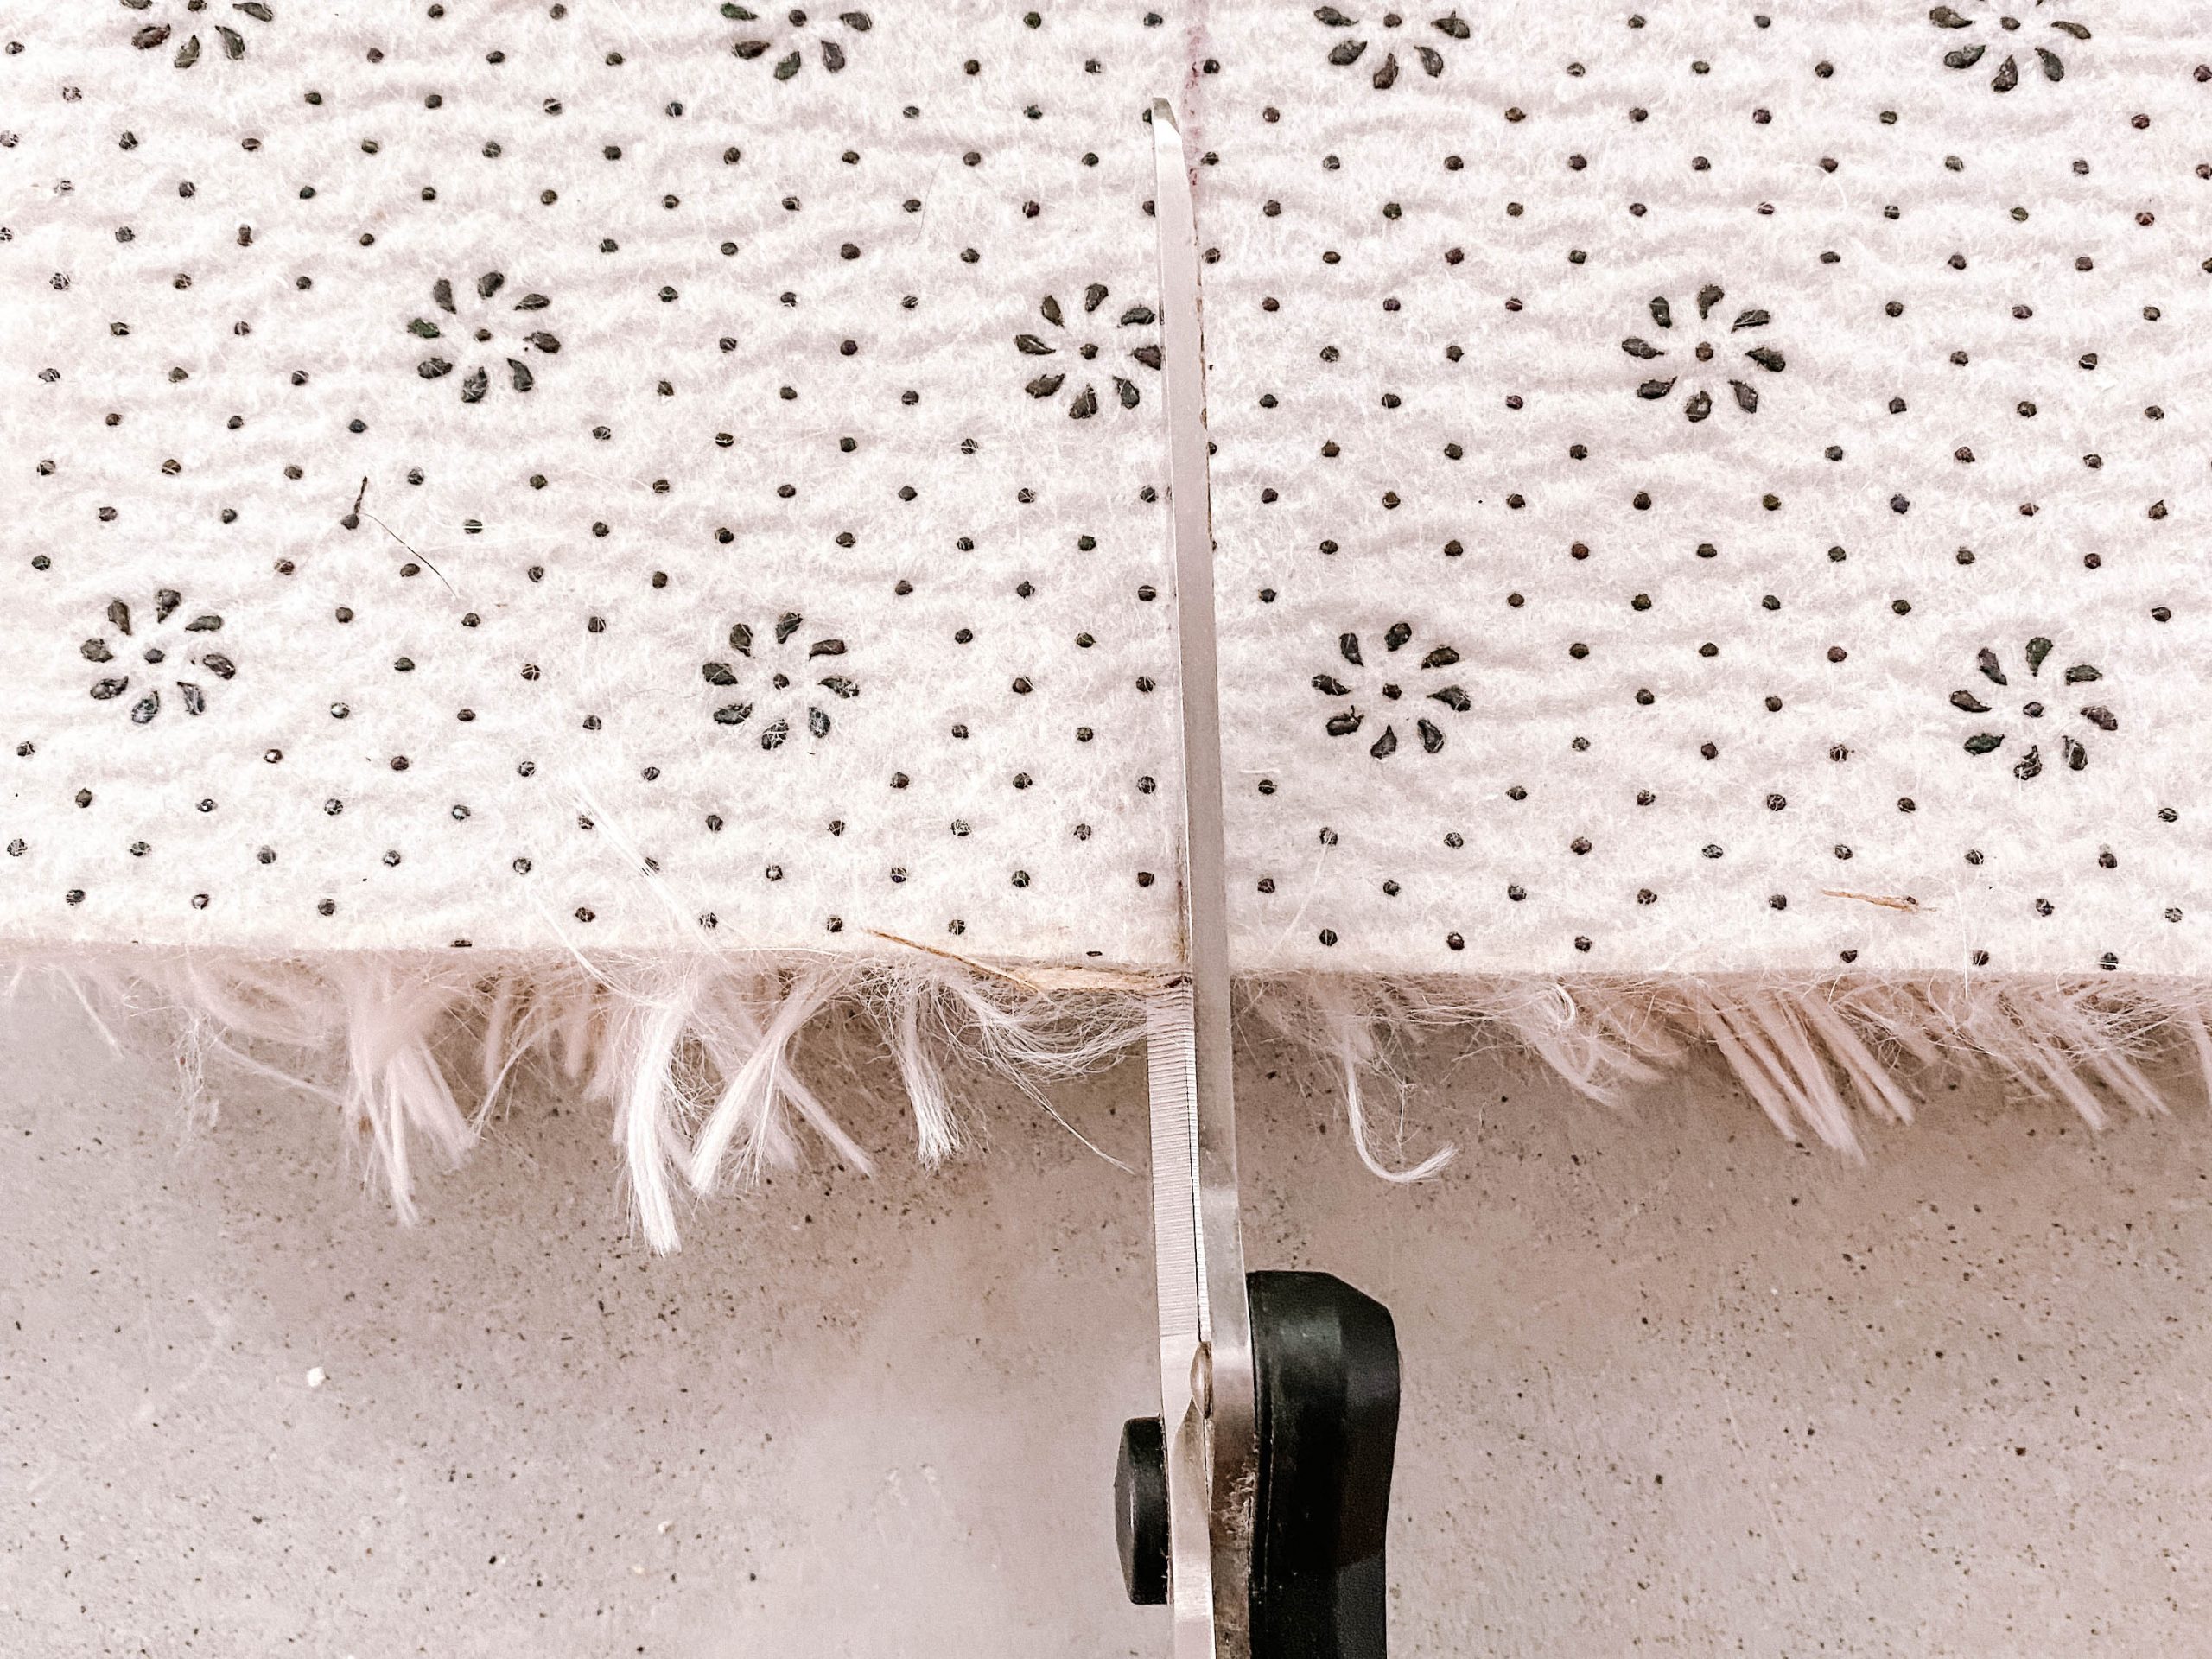
Method: I wanted to create a checkered rug so for this, I began by measuring and marking squares onto the back of both rugs. I cut the squares up and then lay them out, alternating the colours to create the checkered look I was after. From there I cut sections of duct tape and stuck the pieces together, making sure to place the tape evenly over all the edges. To finish this, I took some non slip matting and glue it onto the underside using spray adhesive.
Verdict: I found this approach the simplest however once I had the rug out for a few days, walking on it and moving it around the studio, I notices the edges started coming away from the tape a little. It seemed to be stuck well in the middle but given the edges will get the most wear and tear I wanted to try some other techniques.
Option 2: Glue and Backing
Materials you need
- 2 Orville Shag Pile Rugs (one cream, one beige)
- Drop cloth
- liquid nails
Method: With the leftover squares from my first attempt, I decided to cut the squares into quarters and create a smaller checkered pattern, this time as a runner. I wanted to try sticking every piece onto a backing to see if that would create a more secure result.
Once I had all my squares cut to the right size, I spread out my drop cloth and began gluing the squares down one by one. I applied the liquid nails directly onto the drop cloth and spread it out evenly before pressing the square firmly on. I was very careful to keep all of the shag up away from the glue!
Verdict: I actually found this approach quite therapeutic! I think the idea is probably one that would work quite well with a slight change in materials. The liquid nails didn’t fuse the fabrics together as well as I had hoped. I think a fabric flue or spray adhesive would have worked quite well with this method. One thing I did notice is that the glue method sticks the centre of the piece of rug down, but doesn’t attach the edges together.
Option 3: Carpet Seaming Tape
Materials you need
- 2 Orville Shag Pile Rugs (one cream, one beige)
- Carpet Seaming Tape
Method: Finally, with the very helpful suggestion of my Instagram followers, I decided to try Carpet Seaming Tape. I went with a different design for this one and started by cutting out an oval shape in some brown paper as a template. I then marked the shape onto the back of the rug, folding it over at the end to create a half circle shape. I did this on both rugs and then cut the shape out, being careful to stop cutting when one circle joined another so that I had one continuous shape. I then simply swapped the shapes between the two rugs and was left with two new rugs. The carpet tape was really easy to use – I cut sections and stuck the tape along the lines of my shapes, making sure not to leave any gaps so I knew it was stuck down really well.
Verdict: This was probably my favourite method! The carpet tape feels really secure which makes sense given it was made for the job. There were a lot less cuts to join on this design but I think even on the checkered rug it would have worked really well.
Other key learnings
Cutting up these types of rugs creates a bit of fluff, so keep your vacuum close by and vacuum as you go.
As one of my followers shared with me, using a Stanley knife apparently makes for much less fluff, so you may want to try that out instead of scissors.
Voila!
For some other fun rug projects check out some of my previous posts DIY Round Rope Rug, DIY Tasseled Rug and DIY Patchwork Kilim Rug!
This project was done in collaboration with Bunnings


