Let’s get weaving!
As I mentioned last week, I recently ran a workshop for Nespresso with a lovely group of women and men about how to create wall weaves. It was something I’ve been trying to perfect for a long time and I had so much fun teaching other people how to do it. I was amazed how quickly everyone picked it up too. Talk about talented! I thought it would be fun to create a video of the technique, particularly about how to add metals and other accents to your piece, I think that definitely takes it up a notch.
I created a video for this project, because I felt it was useful for conveying the techniques. See below to watch.
Learning to Weave & A Wall Weave With Metal Accents
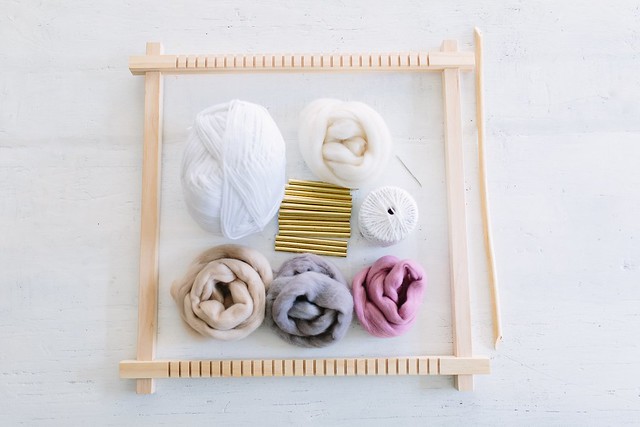
You need:
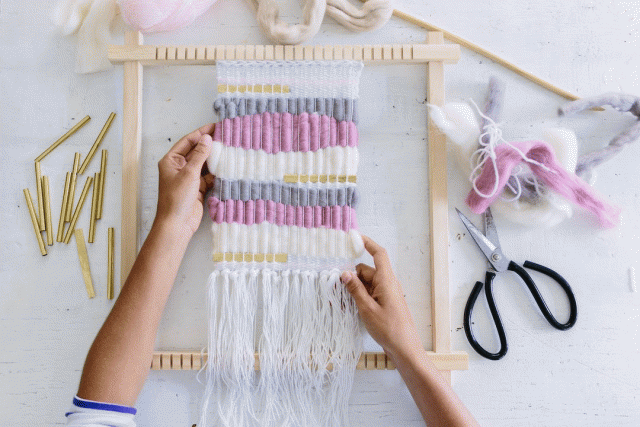
- A loom
- Wool yarn
- Wool roving
- An embroidery needle
- Warp thread or twine
- A dowel at least the width of the size of the weave you intend to make.
- Metal pieces. We hammered some metal cylinder beads flat so they fit into the weave better. Copper or metal pieces/strips from a hardware store or bead shop will work really well.
Instead of taking you through the tutorial in photos (you can see it in the video) I thought I would talk you through a few major points which supplement the video. I would love to have included all this in the video but then it would have been an hour long and you all would have skipped pretty quickly.
Warp vs weft
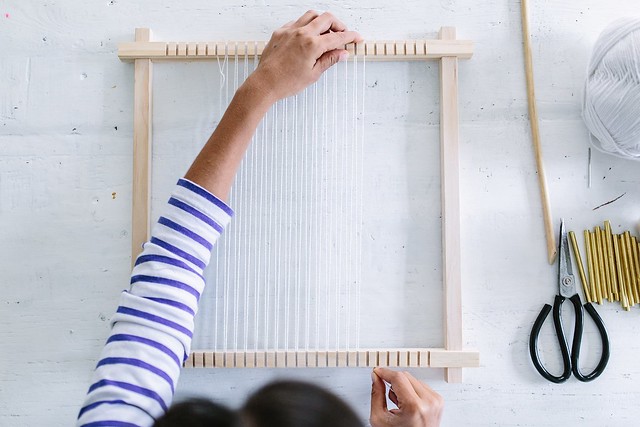
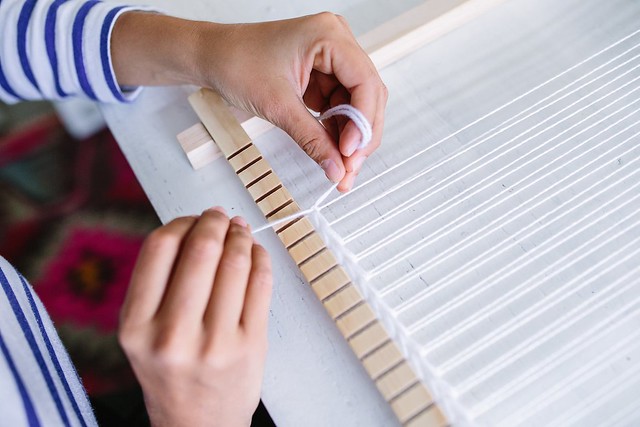
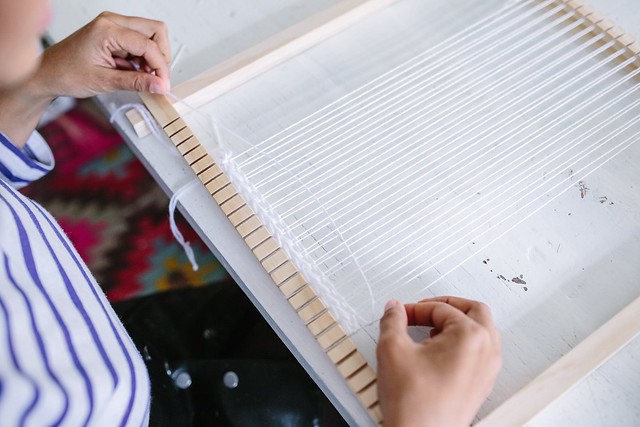
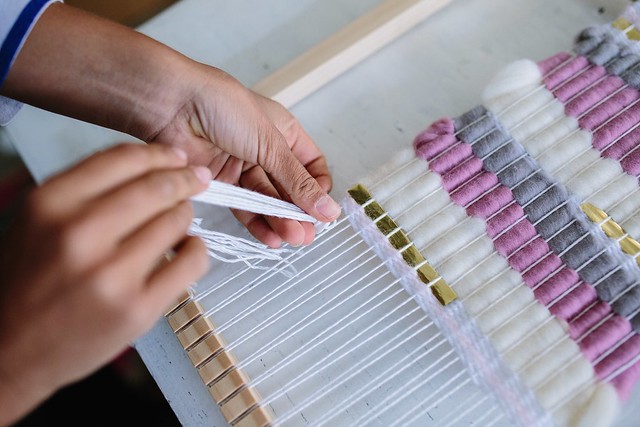
The warp thread is the one tied onto the loom. It creates the basis for the weaving and is what you weave your yarn, aka your weft, onto. By alternating the weft thread over and under one way and then under and over the other way, you create interlocked tension of the threads that holds the warp and the weft together.
Which loom should you buy?
There are so many different ways to create a loom, tutorials for which you can find everywhere online. DIY methods include photo frames, pieces of wood with nails in them and cardboard. I’ve done a few DIY versions in the past, however I was lucky to be given this frame one in the lead up to the Nespresso event I hosted, and quickly learnt that this type of loom is the best out there – the way you thread it allows you to simply lift it off at the end, and you come away with loops that you can thread your dowel through. This saves lots of time compared to what I have done in the past! Techniques differ a little depending on the loom – whether you weave from top to bottom or bottom to top, and the way the warp thread locks together. If you have a few dollars spare I recommend this one – you can get it from here or here. Otherwise DIY guys!
Tips for making a fishtail braided weave (aka the ‘soumak’):
I added one of these to the top of my design, so that it gave some definition to the top and also so the standard weft didn’t slip too much. I first threaded my needle with double yarn because I wanted the braid to be thicker. To create the braid all you have to do it wrap the yarn around each warp from the right side, working your way all the way along the warp. You’ll see you have half a fishtail knot. To finish off the braided shape, on the way back you then just have to flip or mirror the technique bringing it back through around the left side of each warp (instead of the right). Tie off with a knot on the end.
Tips for your yarn weave
In the video, I call a yarn weave a simple weave, it’s easy to do and creates lovely detail and some stability you can use to add other things like metal or wool roving. All you have to do is thread your needle with a single piece of yard (you can tie it off close to the needle so it doesn’t slip out). Then, as you see in the video, pass your needle through the warp over and under, over and under all the way to the end. On the way back, making sure you go all the way around the outer warp thread, reverse it so you are going under and over, under and then over. This will create the interlocking weave. Don’t worry if you make a mistake! It’s normal. If you see any weft threads that are running side by side (i.e., not alternating) you’ve missed a warp thread and need to go back and work out where so you can backtrack and fix it.
Tips for weaving with wool roving
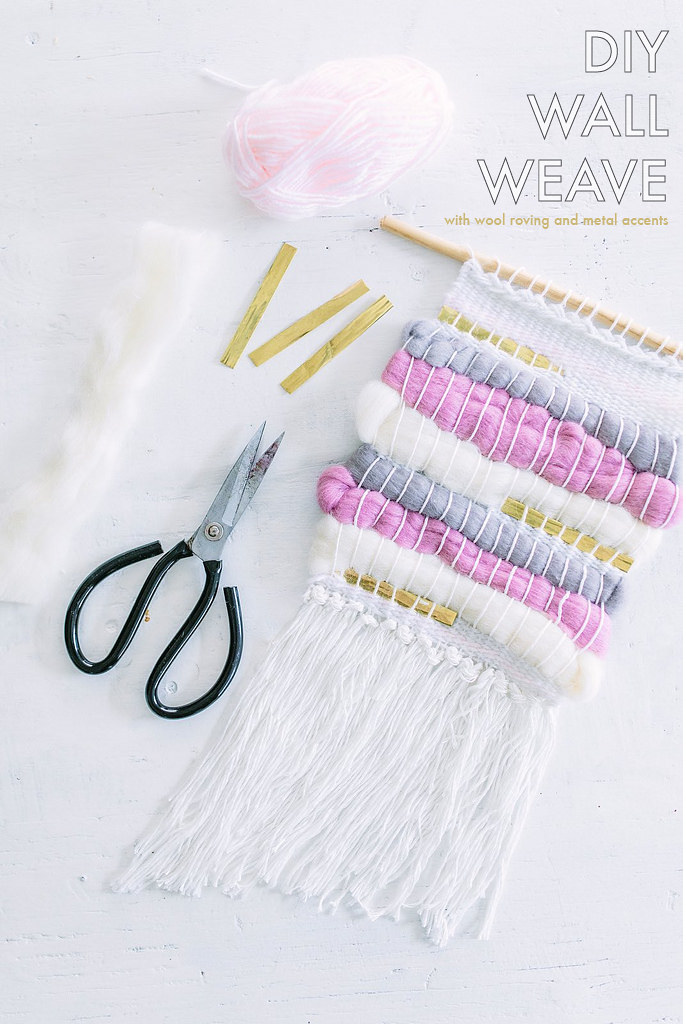
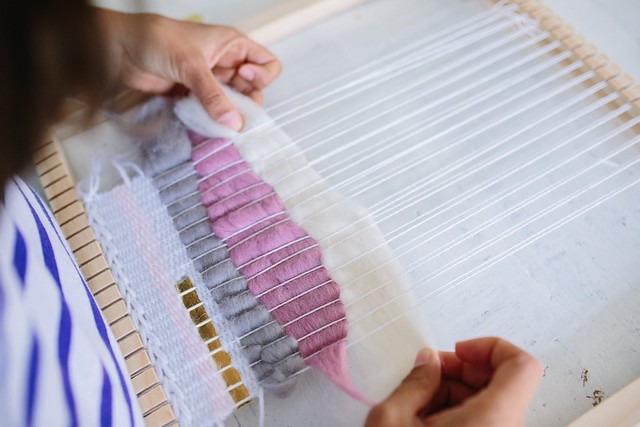
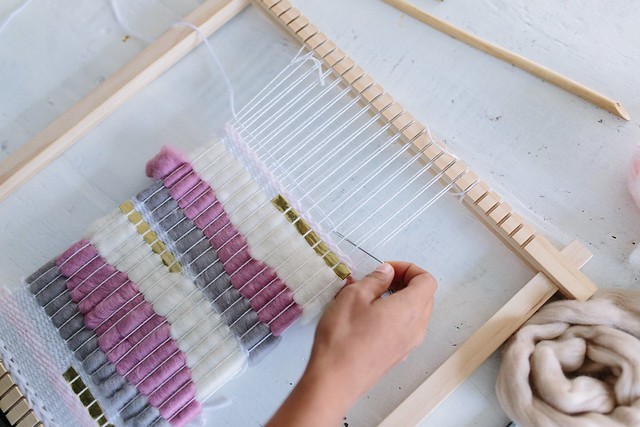
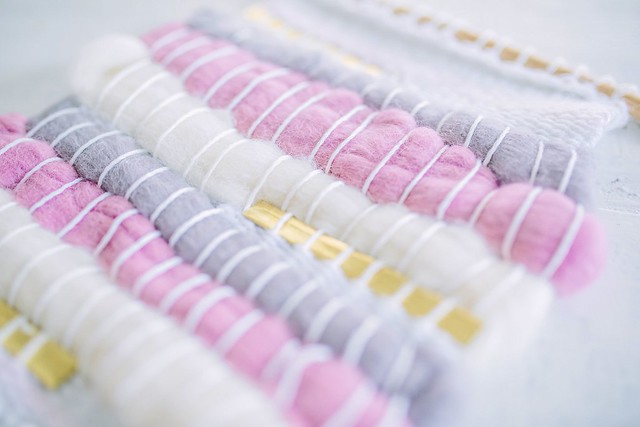
How gorgeous is wool roving? So pretty! I like it because it gives texture but also makes your weaving faster due to the thickness – yay for that! The thing about wool roving is that it’s not super structured so you’ll need to do some simple yarn weave now and again to hold it all together. I found that doing some at the top and bottom was fine. You can also give more or less texture to your weave depending on the amount of slack you give the wool. The one you see here is fairly tight and thus flat.
Tips for adding metal pieces (or anything flat) to your weave
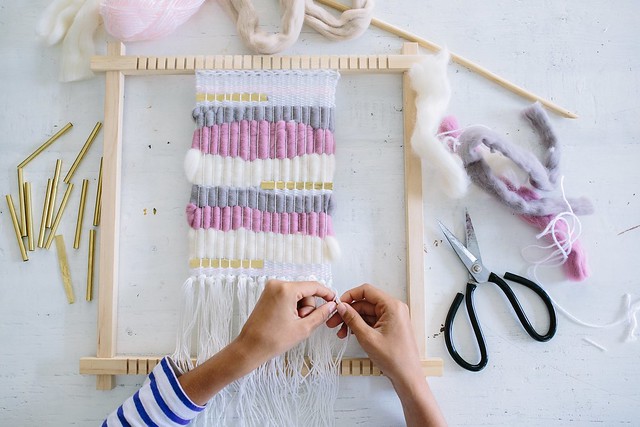
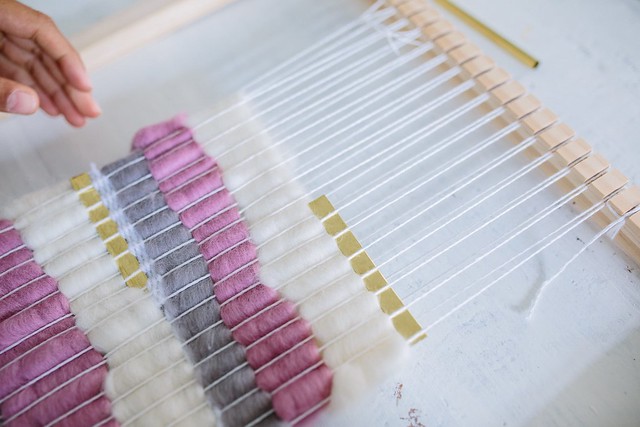
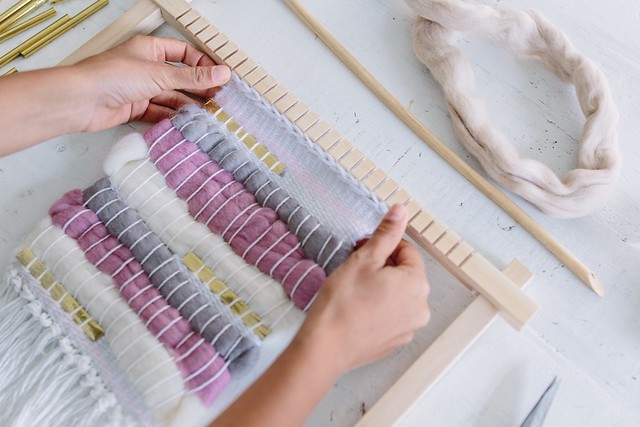
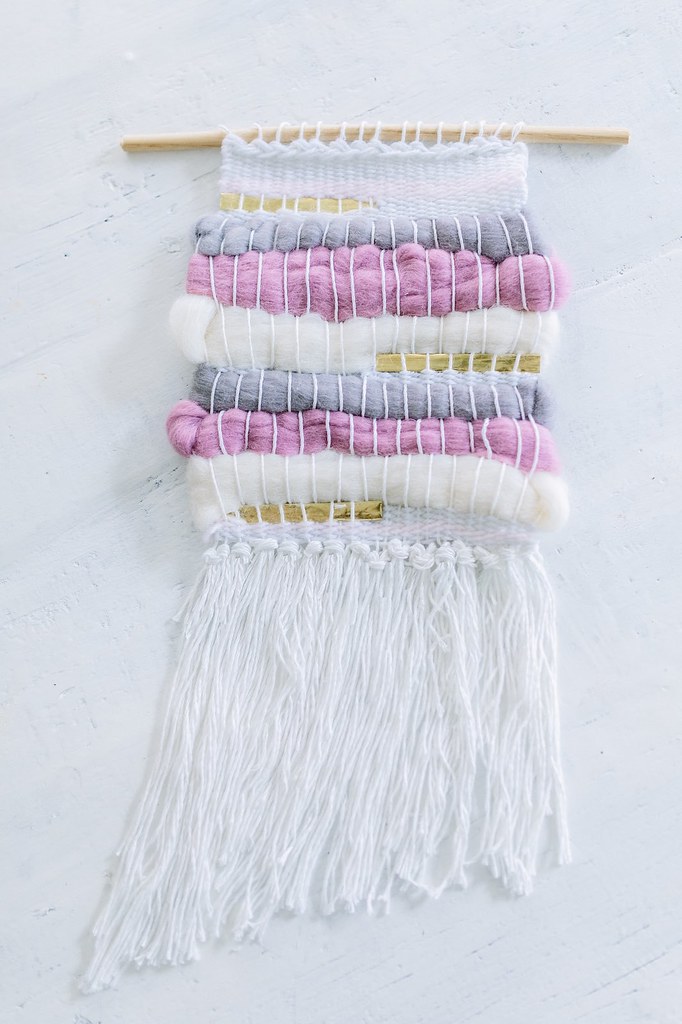
I think as soon as you add some different elements like beads, metal pieces or even bark you take your weaving up a notch, and it’s actually very easy to do. You can probably add anything as long as it’s nice and flat. We hammered some gold beading tubes flat so they fit well. You weave your pieces in as you would wool or anything else, and then surround it with the rest of the weave. One thing to be mindful of is that if your metal piece isn’t on enough to cover one side to the other of the weave, and you’ll need to do some extra weave in line with it. In this case, you need to make sure you match your weaving up properly with your metal piece, so that the next line of weaving after your metal piece alternates properly.
Can you see how the line of weaving above the metal piece alternates from the weaving of the metal? This will keep it in tight and have it looking consistent.
Tips for creating tassels
In my opinion, the thicker you do your tassels, i.e. the more pieces of twine you use to make them, the better they will look. I used 8 pieces here but I think double that would have looked ever better. I also think that instead of using your yarn for the tassels, it’s nice to match them to your warp thread. I also think the warp thread has a better weight in most cases so they will hang better, where as yarn is quite light.
Tips for trimming your tassels
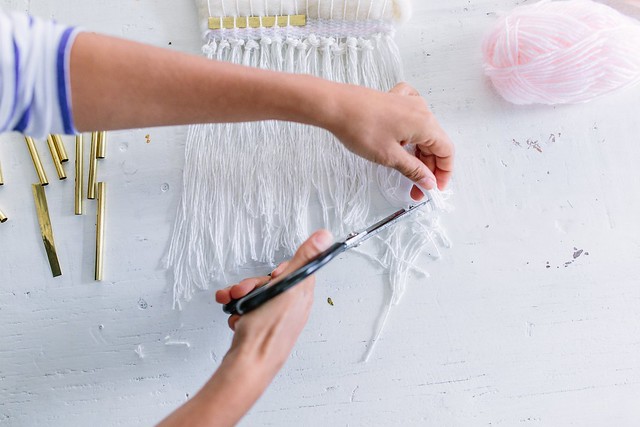
You can trim your tassels in any shape, or not trim them at all. One idea is to do a few layers of tassels in different coloured yarn, and then trim them in different shapes. I love to cut them in an asymmetric style or in a triangle, just make sure you carefully comb them out before you trim them because it’s easy to make a mistake.
Voila! Let me know if you have any questions (it’s complicated so don’t feel bad is anything doesn’t make sense). I can’t wait to make a HUGE one.


