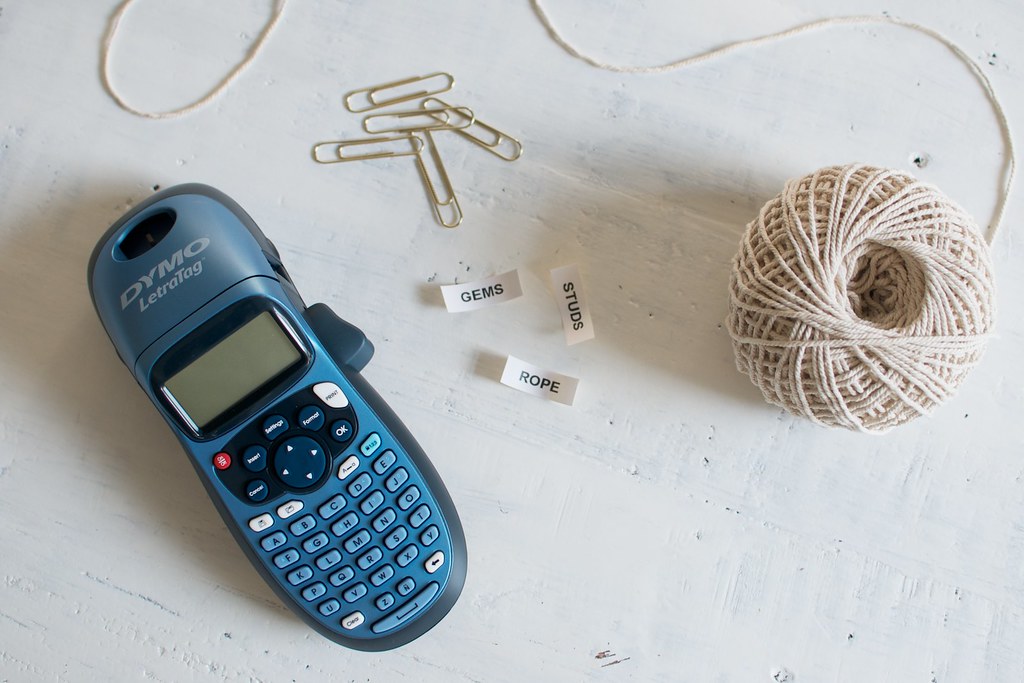
Moving into the new studio meant getting organised… Or did it? Interestingly in the hustle and bustle of moving into the new space I realised that I managed to transplant much of the chaos of my home office into the gorgeous new space – NOT ideal. And so in the last few weeks, finally back from travelling and other adventures, I decided it was time to master my workspace, reduce the chaos and build something inspiring that would get my ideas flowing, essential particularly at the end of the financial year. First it was all about equipping myself with the basics – the perfect notebook, the right filing system and the holy grail of ‘things organised neatly’ – a label maker. Next on my list is a new office chair, because to be honest my posture has been suffering a bit what with all that sitting hunched at a desk writing emails.
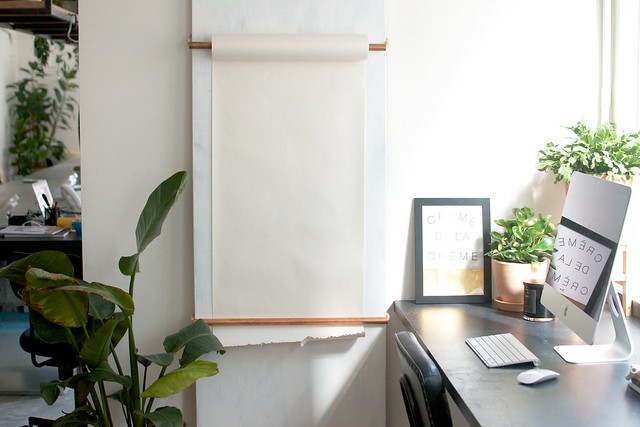
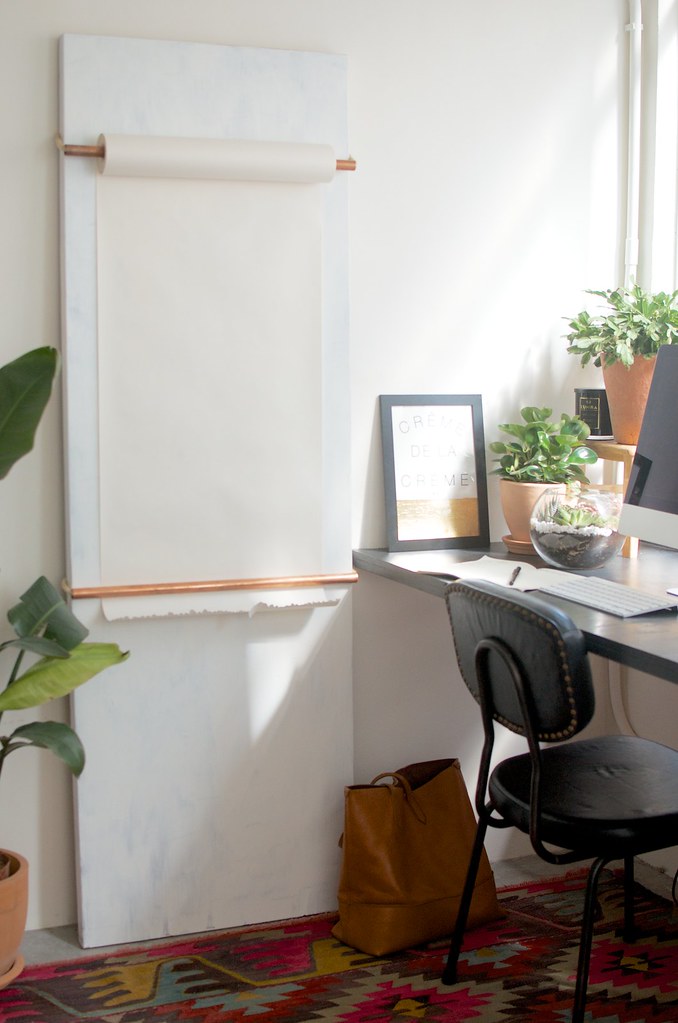
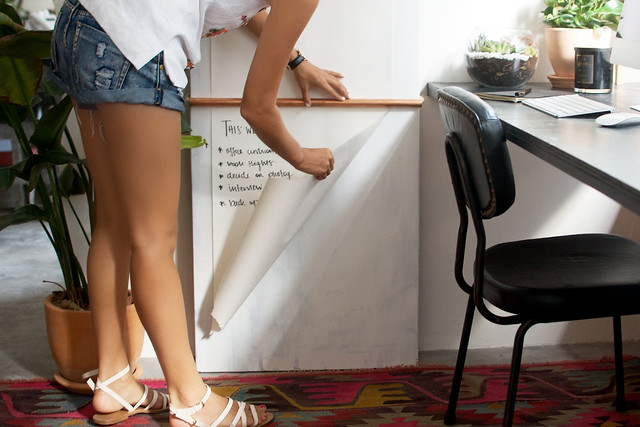
Another thing my corner was missing was somewhere I could map out ideas, create to do lists and visualise my strategy for the rest of the year (can you tell I’m getting all ‘business-y?). So when Officeworks asked me to create something inspiring for my new space, my mind immediately turned to this challenge, and the idea of this rolling note board was formed. I saw a hanging roll of paper in a cafe in New Zealand and knew it would work perfectly in an office space. Read on for the how to.
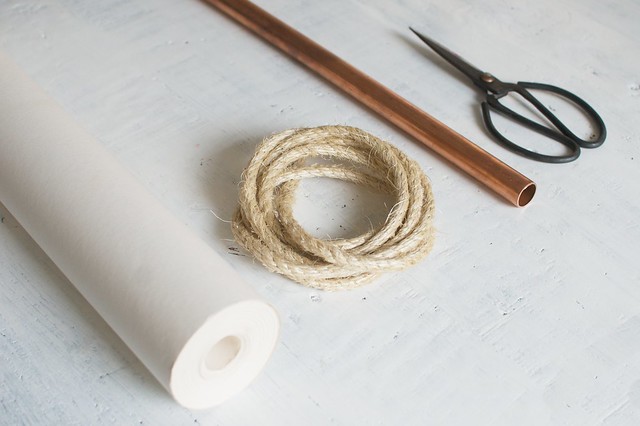
You need:
- Note paper roll – either white or brown paper would look really cool
- Rope or cotton twine
- 2 pieces of copper pipe slightly longer than your paper roll
- A piece of plywood or board around 2m x 1m (mine was an old table top)
- Nails
- Hammer
How to:
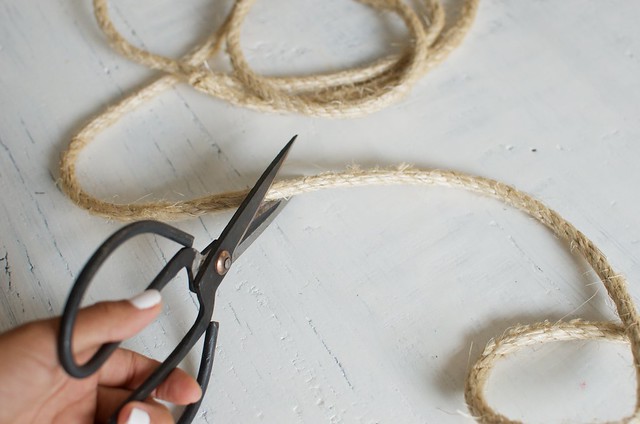
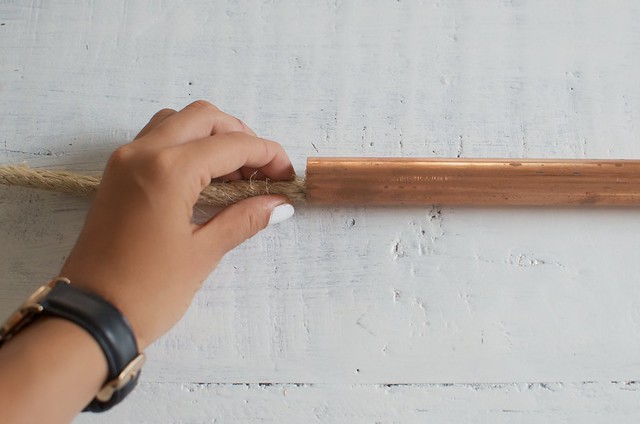
1. Cut two separate pieces of rope 2 x the length of the copper pipe.
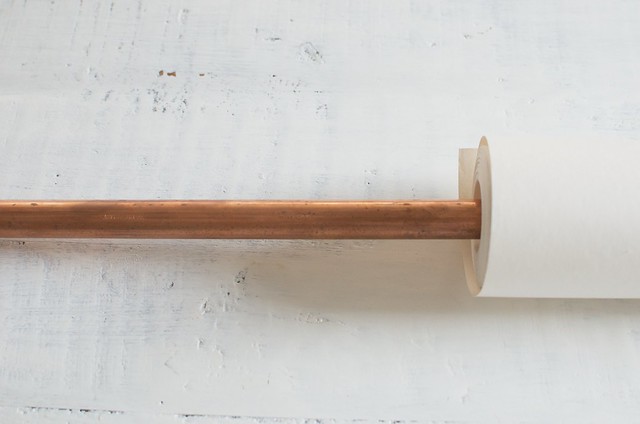
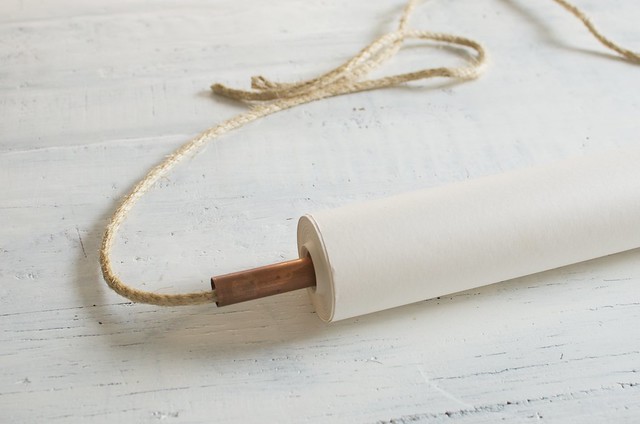
2. Insert one of the pieces of copper pipe into the paper roll.
3. Thread one of the pieces of rope through the copper pipe in the paper roll.
4. Thread the other piece of rope through the second piece of pipe.
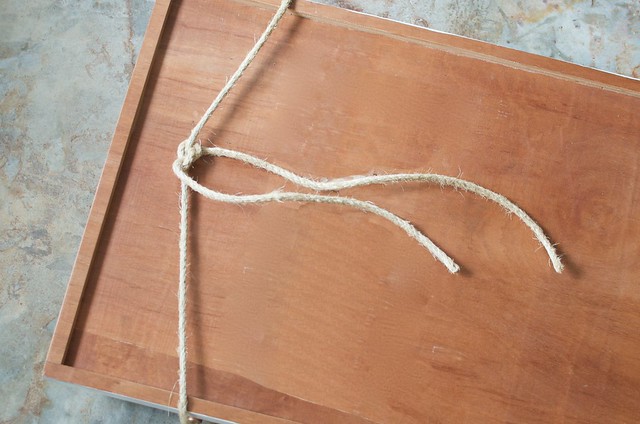
5. Attach the note roll to the top of the plywood by tying and nailing the rope to the back.
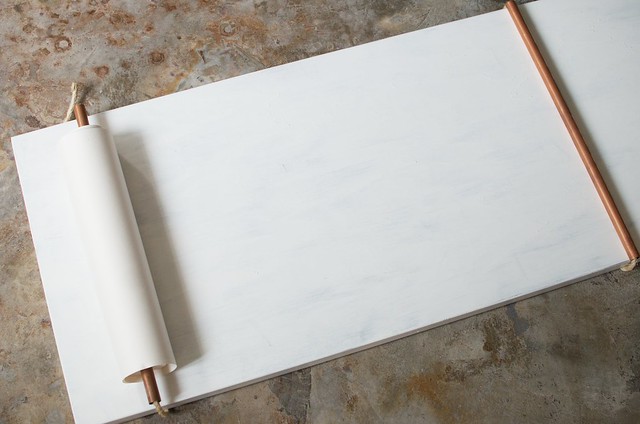
6. Do the same for the second piece of pipe and rope around 1.5 m below the paper tool to hold down the paper and stop it from unspooling.
Voila!
The copper pipe is the perfect method for holding down the paper and tearing it when you’re done. If this doesn’t help me get organised nothing will. For more ideas on how to master your workspace, check out the hashtag #mastermyworkspace!
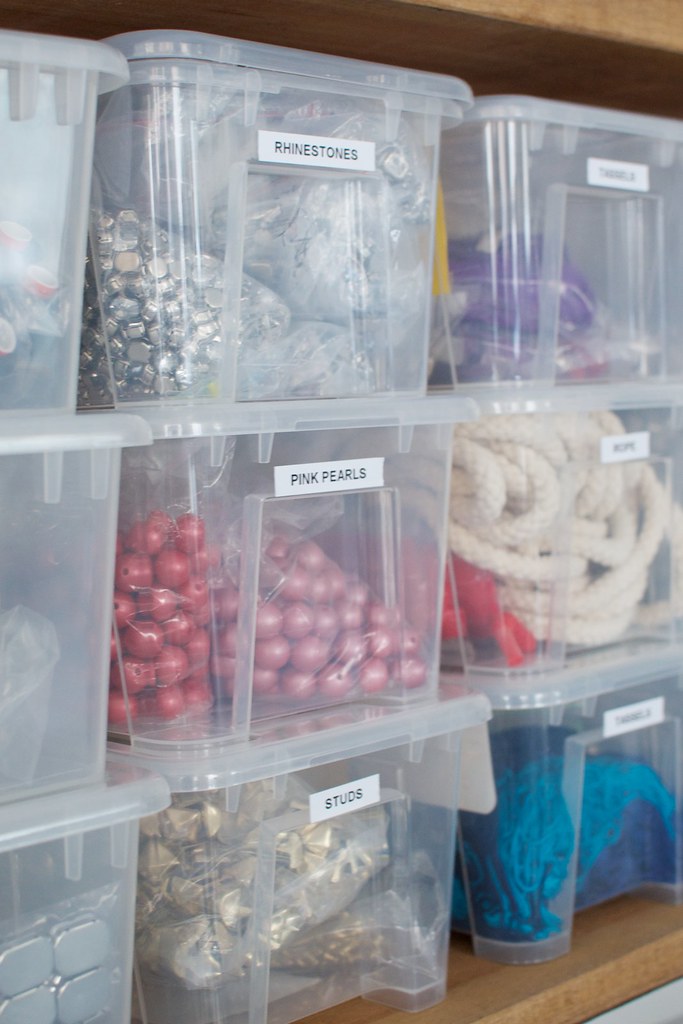
Once I finished my note roll board, I decided to put my label maker to good use, spending a good few hours sorting my craft supplies. Feel so good for everything to have a place – let’s just hope it lasts!
This post was created in collaboration with Officeworks, all opinions are my own.
