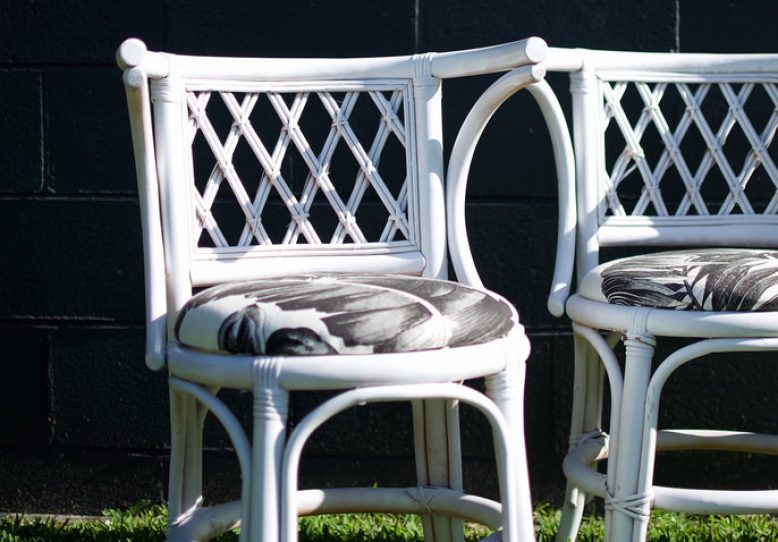
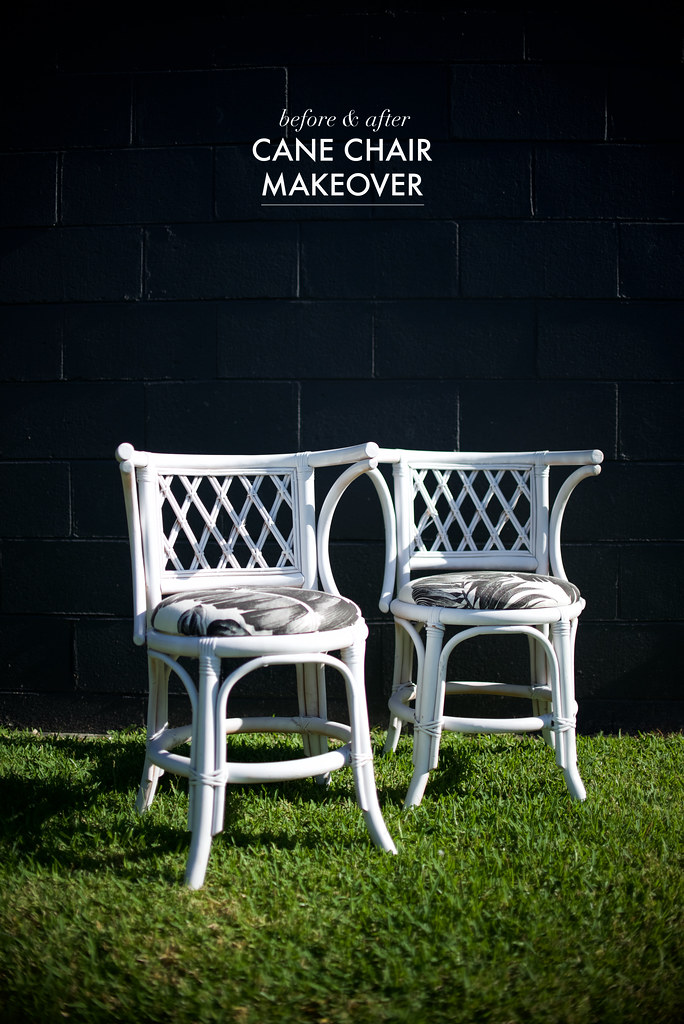
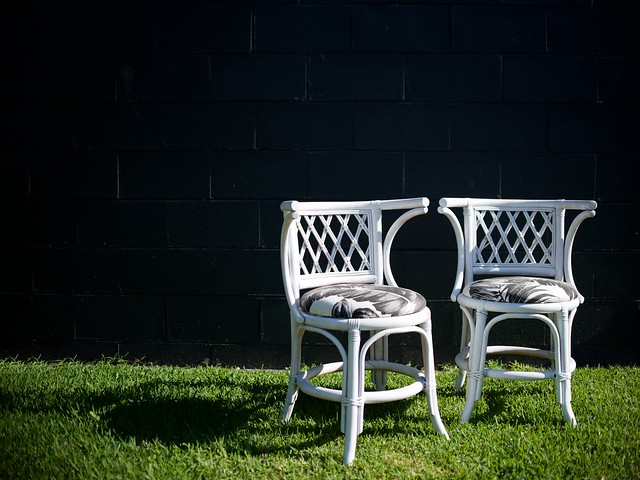
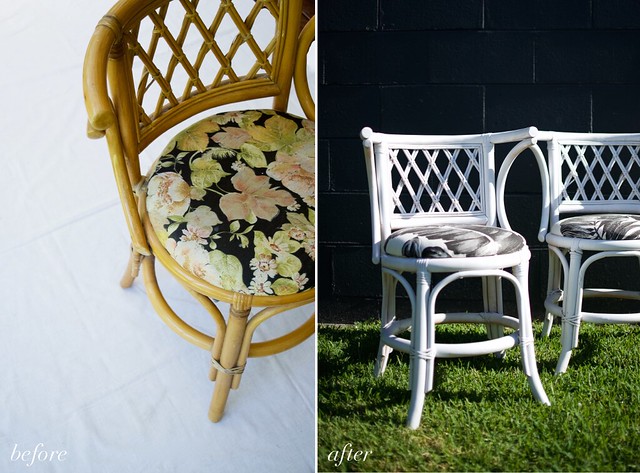
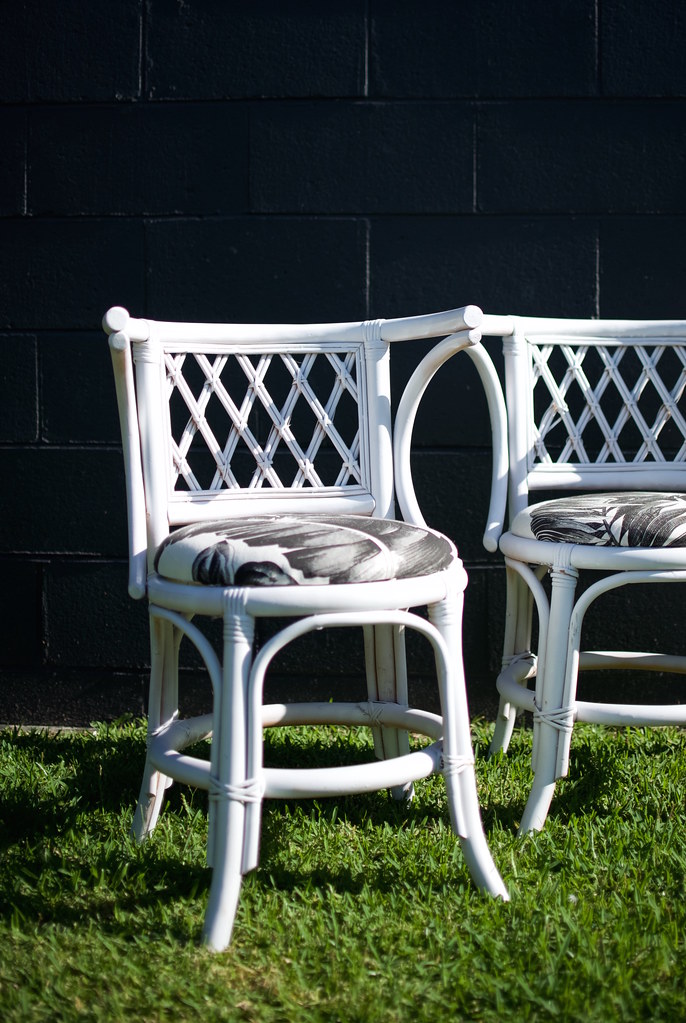
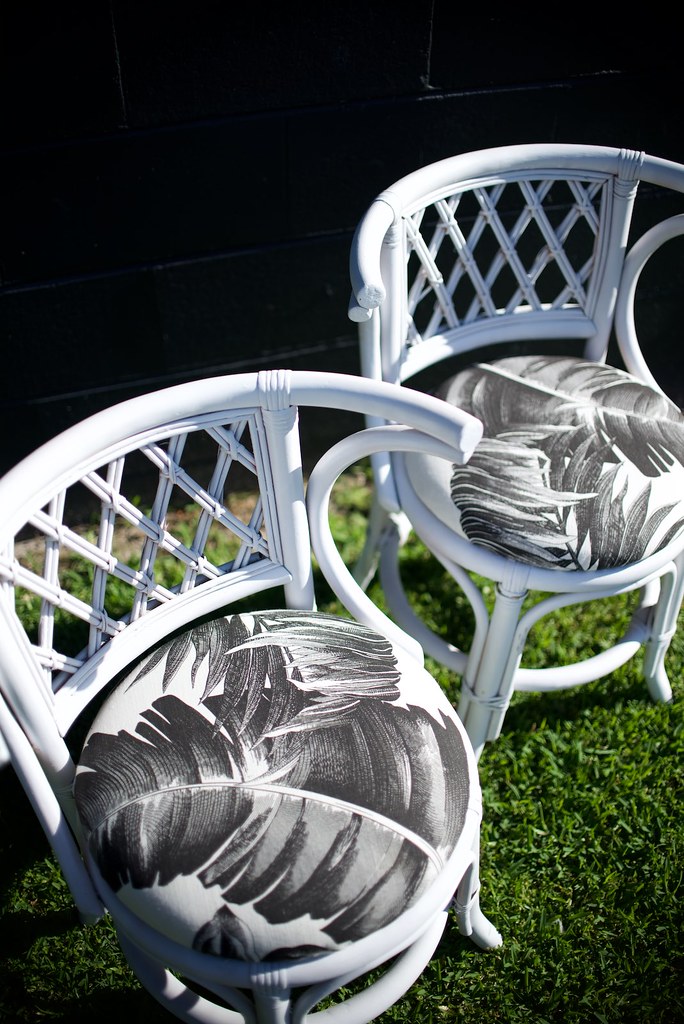
One man’s trash is another man’s treasure. Naturally you’ve probably heard this before, and therefore you’ll know it’s the sort of idea I can totally get behind -which is exactly wheat I did over the holidays when I was in Australia. Now I’m not sure if this is just an Aussie thing, but down under we have what they call ‘tip shops’. The tip meaning a dump or landfill site, and, ergo, a tip shop meaning a place that sells the junk the tip shop guy deems potentially attractive to someone – hence the trash to treasure. But in this case it was a woman and not a man. Basically I used my holidays to visit the tip shop as much as possible (poor Ben!), and although most of the stuff I found was rubbish (as in… actual rubbish), I got my hands on these chairs for, wait for it, ten bucks! Seriously. And although they started out U.G.L.Y, with a little love and lots of cans of spray paint, I managed to turn that around.
As you can see they weren’t that pretty… BUT they did have a good structure, were totally sturdy and seemed like they had a few more years in them. They made a great addition to my parents beach house!
Cane Chair Makeover
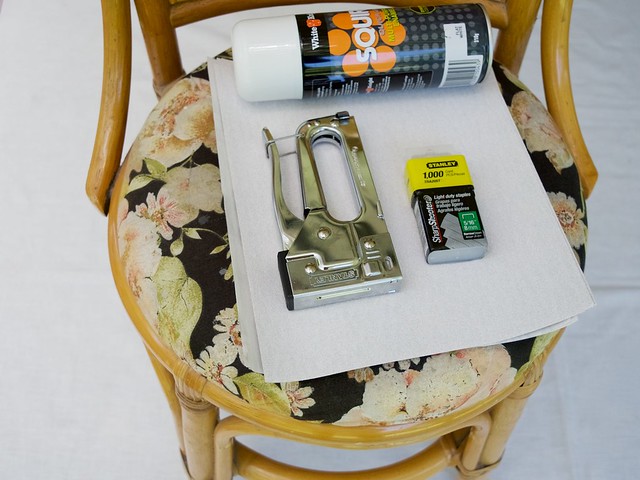
You need
- spray paint (satin will give a nice finish)
- sand paper
- staple gun and staples
- upholstery fabric
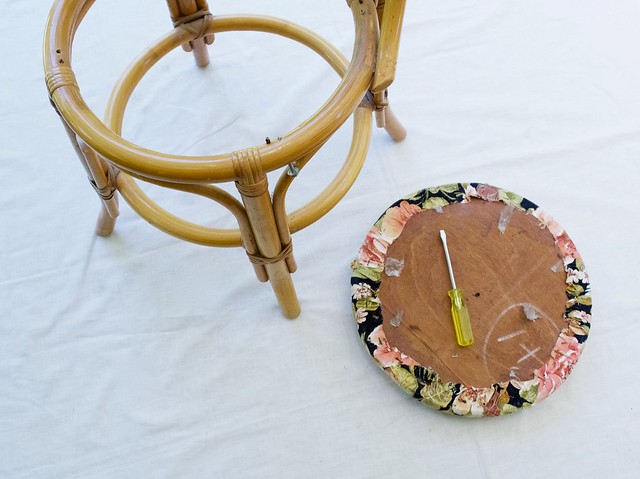
DISMANTLE IT
The first thing I did was take off the seats by removing the large bolts underneath.
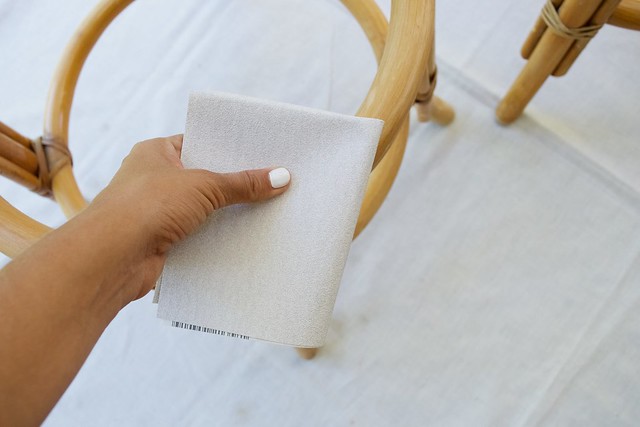
SAND IT
If your chairs have any sort of varnish you’re going to have to take that off. This is by far the most a) time consuming and b) annoying part of the process, particularly if your chairs have lots of fiddly bits like mine did. But so worth it so your paint doesn’t chip off – the top of the chair and the legs are a good place to focus on because they’ll bear the brunt of use.
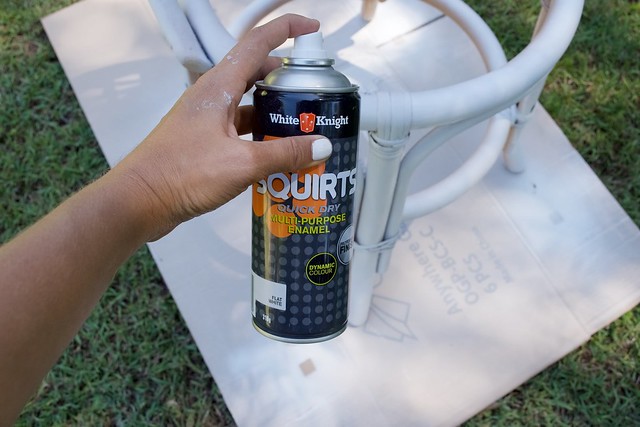
SPRAY IT
Now it’s time to spray your chairs, I did three coats, two from the top and one from the underside by turning the chairs over. In total it took up three cans of paint.
RE-COVER IT
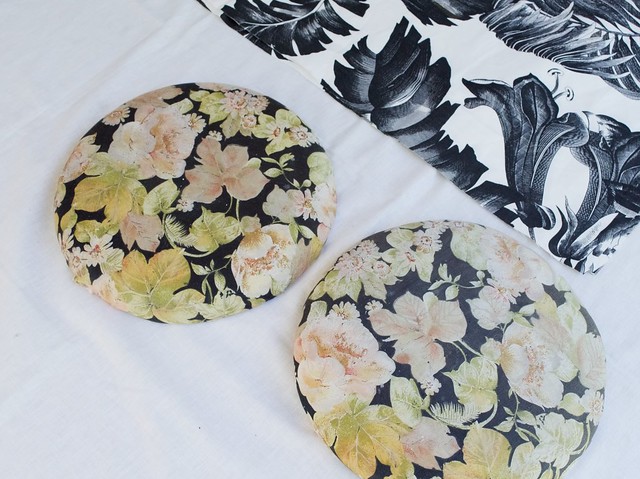
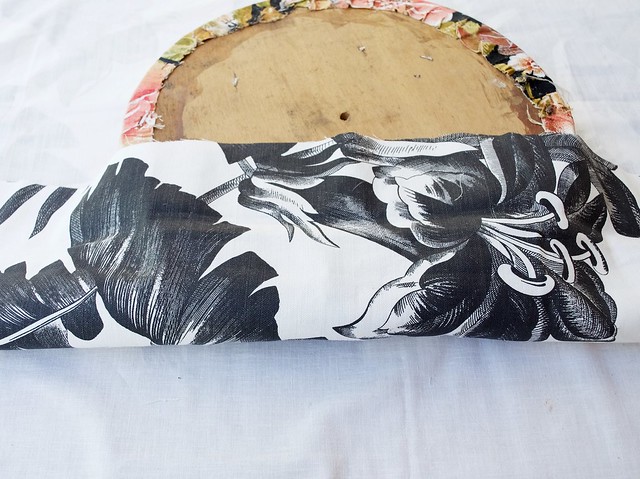
To give these chairs the 70’s palm springs vibe I was after, clearly that awful fabric had to go. Using the staple gun, I re-covered the seats using some amazing fabric my boyfriend’s family got for me from their furniture store (check them out here). Ben’s mum actually taught me a lot about upholstering that I never knew, such as how to get the tension right and how to get a clean edge.
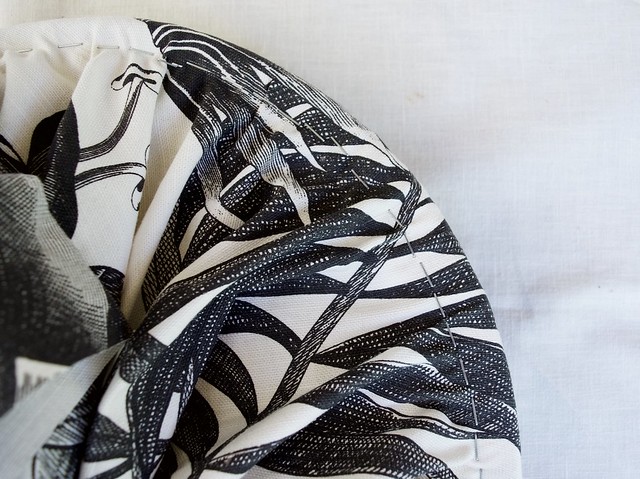
First we cut a square section larger than the cushions. Rather than starting from one side and working our away around, first we folded the two opposite edges in and pulled tight, putting a few staples in along the rim of the cushion base to secure. Then we swapped over and folded the other sides in and stapled them down.
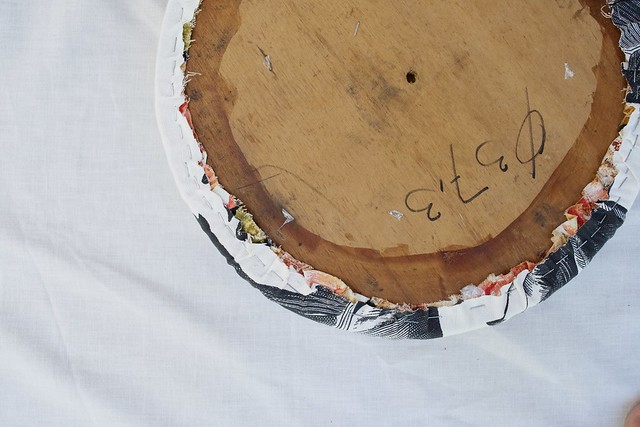
Then all we had to do was pull the fabric tight all the way around the fill in the stapled edges between the four corners we created. I was surprised because instead of folding the fabric to create gathers, which often show on the edge of the seat, you actually pull it tight all the way around. This makes for a much cleaner edge and the perfect tension. I’m going to be sharing that in more detail here soon on upholstering in case this is confusing!
We then trimmed the edge of the fabric all the way around and then bolted the seat back onto the chairs… Not bad for a few hours work.
Voila.
If you’ve been watching me on snapchat you would have seen this whole process in detail (follow me: apair_andaspare). I’ve uploaded the video to Facebook if you want to see it here. I’m really loving sharing the process of a DIY in that medium so definitely get on it if you aren’t yet!
Thanks Ambience for the amazing fabric.


